A while ago I made one of those vices used for bookbinding which is called a ’lying press’, not because it is used to print articles for the Lügendpresse, whoever that might be, but because it is a press and lies down, in a bench called a tub. There are many drawings, etc, all over the internet. My press is a little different: I used old windowsill ‘mahogany’, and took advantage of the profile to make one side a ‘backing press’ with protruding jaws planed away after a picture I found in an old book somewhere. Nobody seems much to bother with them these days, but it was fun; in fact the whole thing was fun: finished up to a very high degree of accuracy entirely with hand tools, including planing all the timber square with a marvellous 22" wooden smoothing plane.
For bookbinding you need a lying press, another press to glue in (standing press?), a plough to cut off the edges, and a tub to stand—sorry, lie—the lying press in. But you can get away with a chisel to cut off the edges, and balance the press on old timber; so I never got round to the tub or the plough. It still, largely, works:
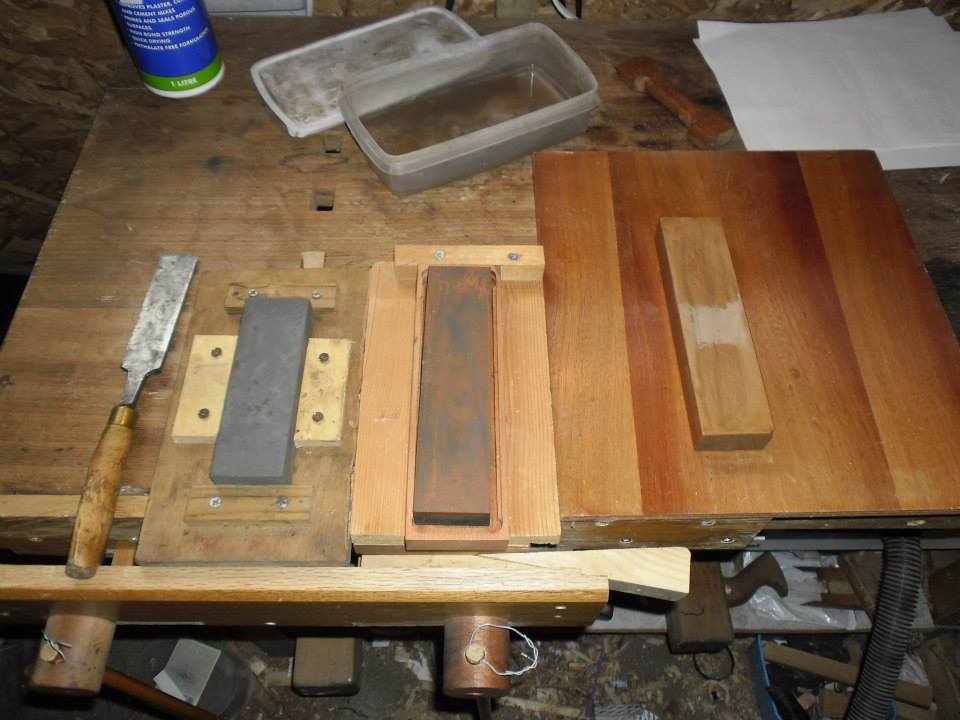
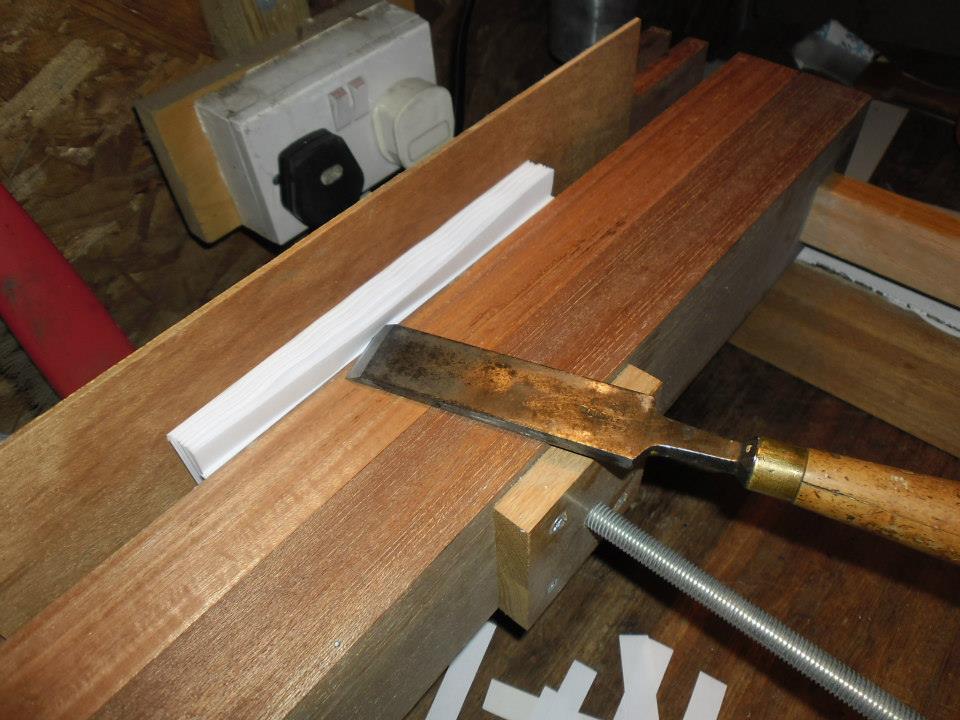

…at least, if the chisel is nice and sharp. Now, about those other two components… the plough will have to await another post, though I think it will happen shortly (I’ve a load to bind, and using a chisel rapidly gets annoying). But the tub is simple, right? It just needs to be a solid open frame, completely square, and easy to take apart (the press lives indoors—I finished the timber square three times before working out that daily moisture variation was what was changing its size).
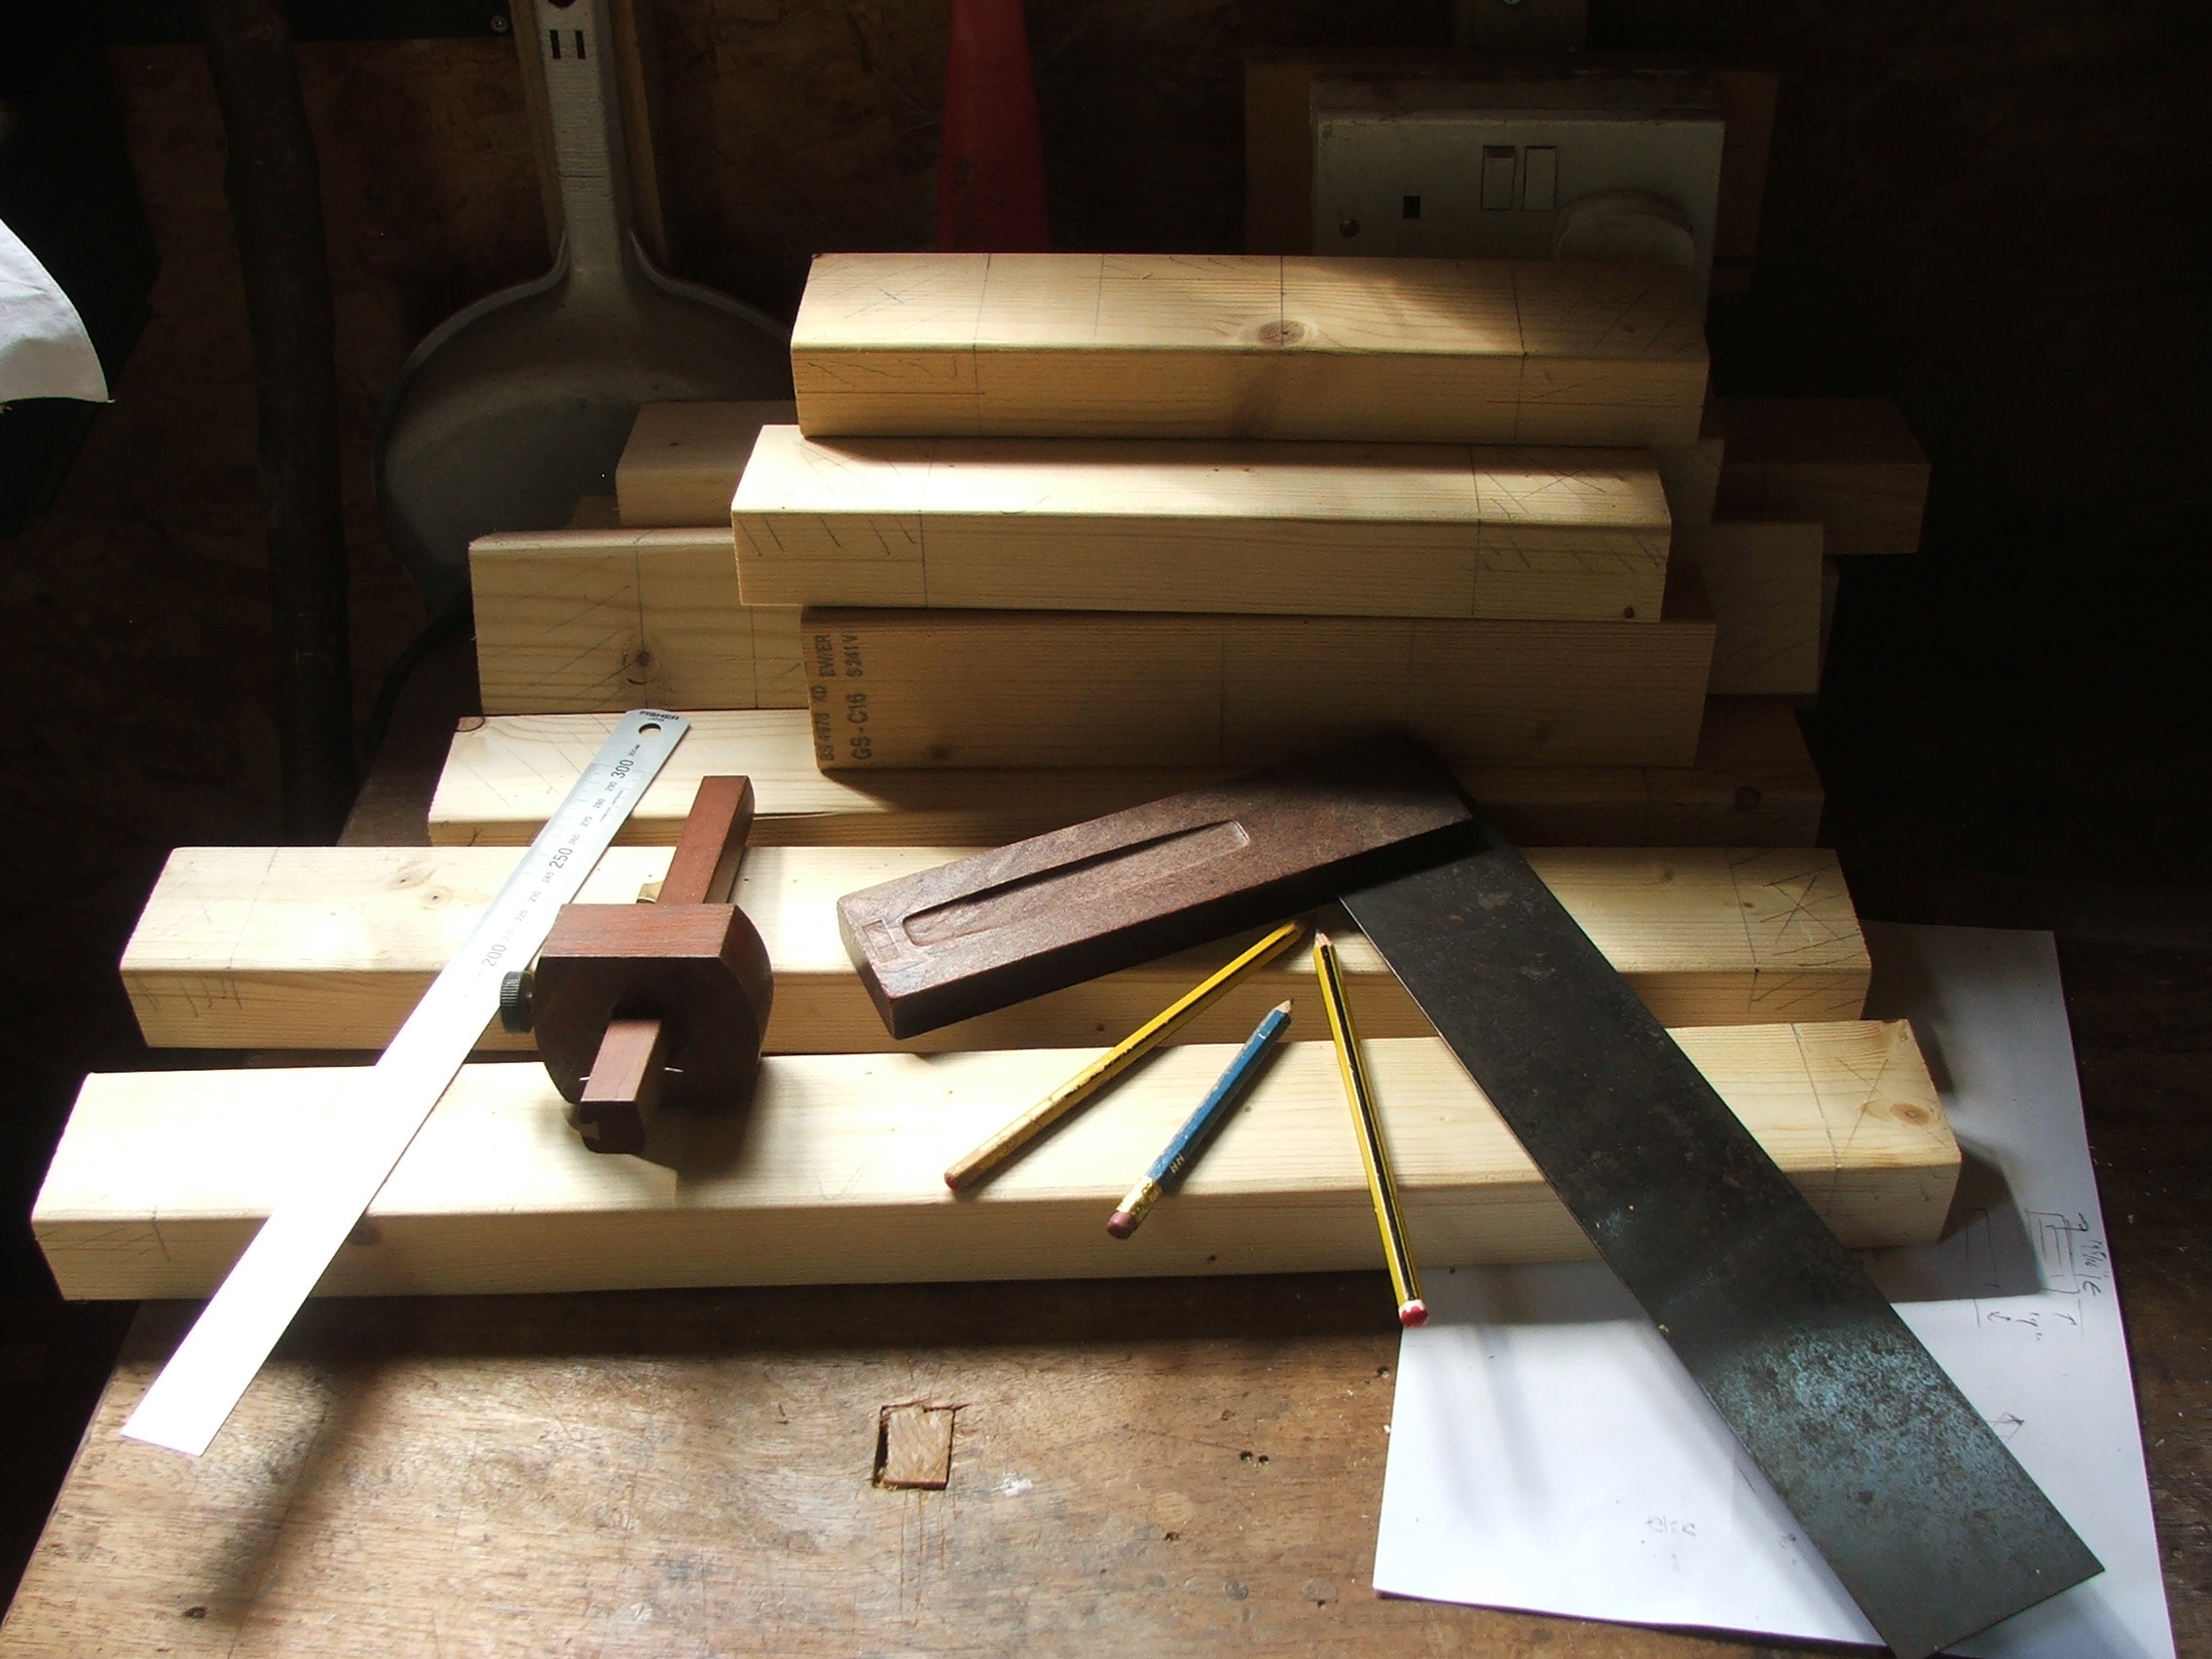
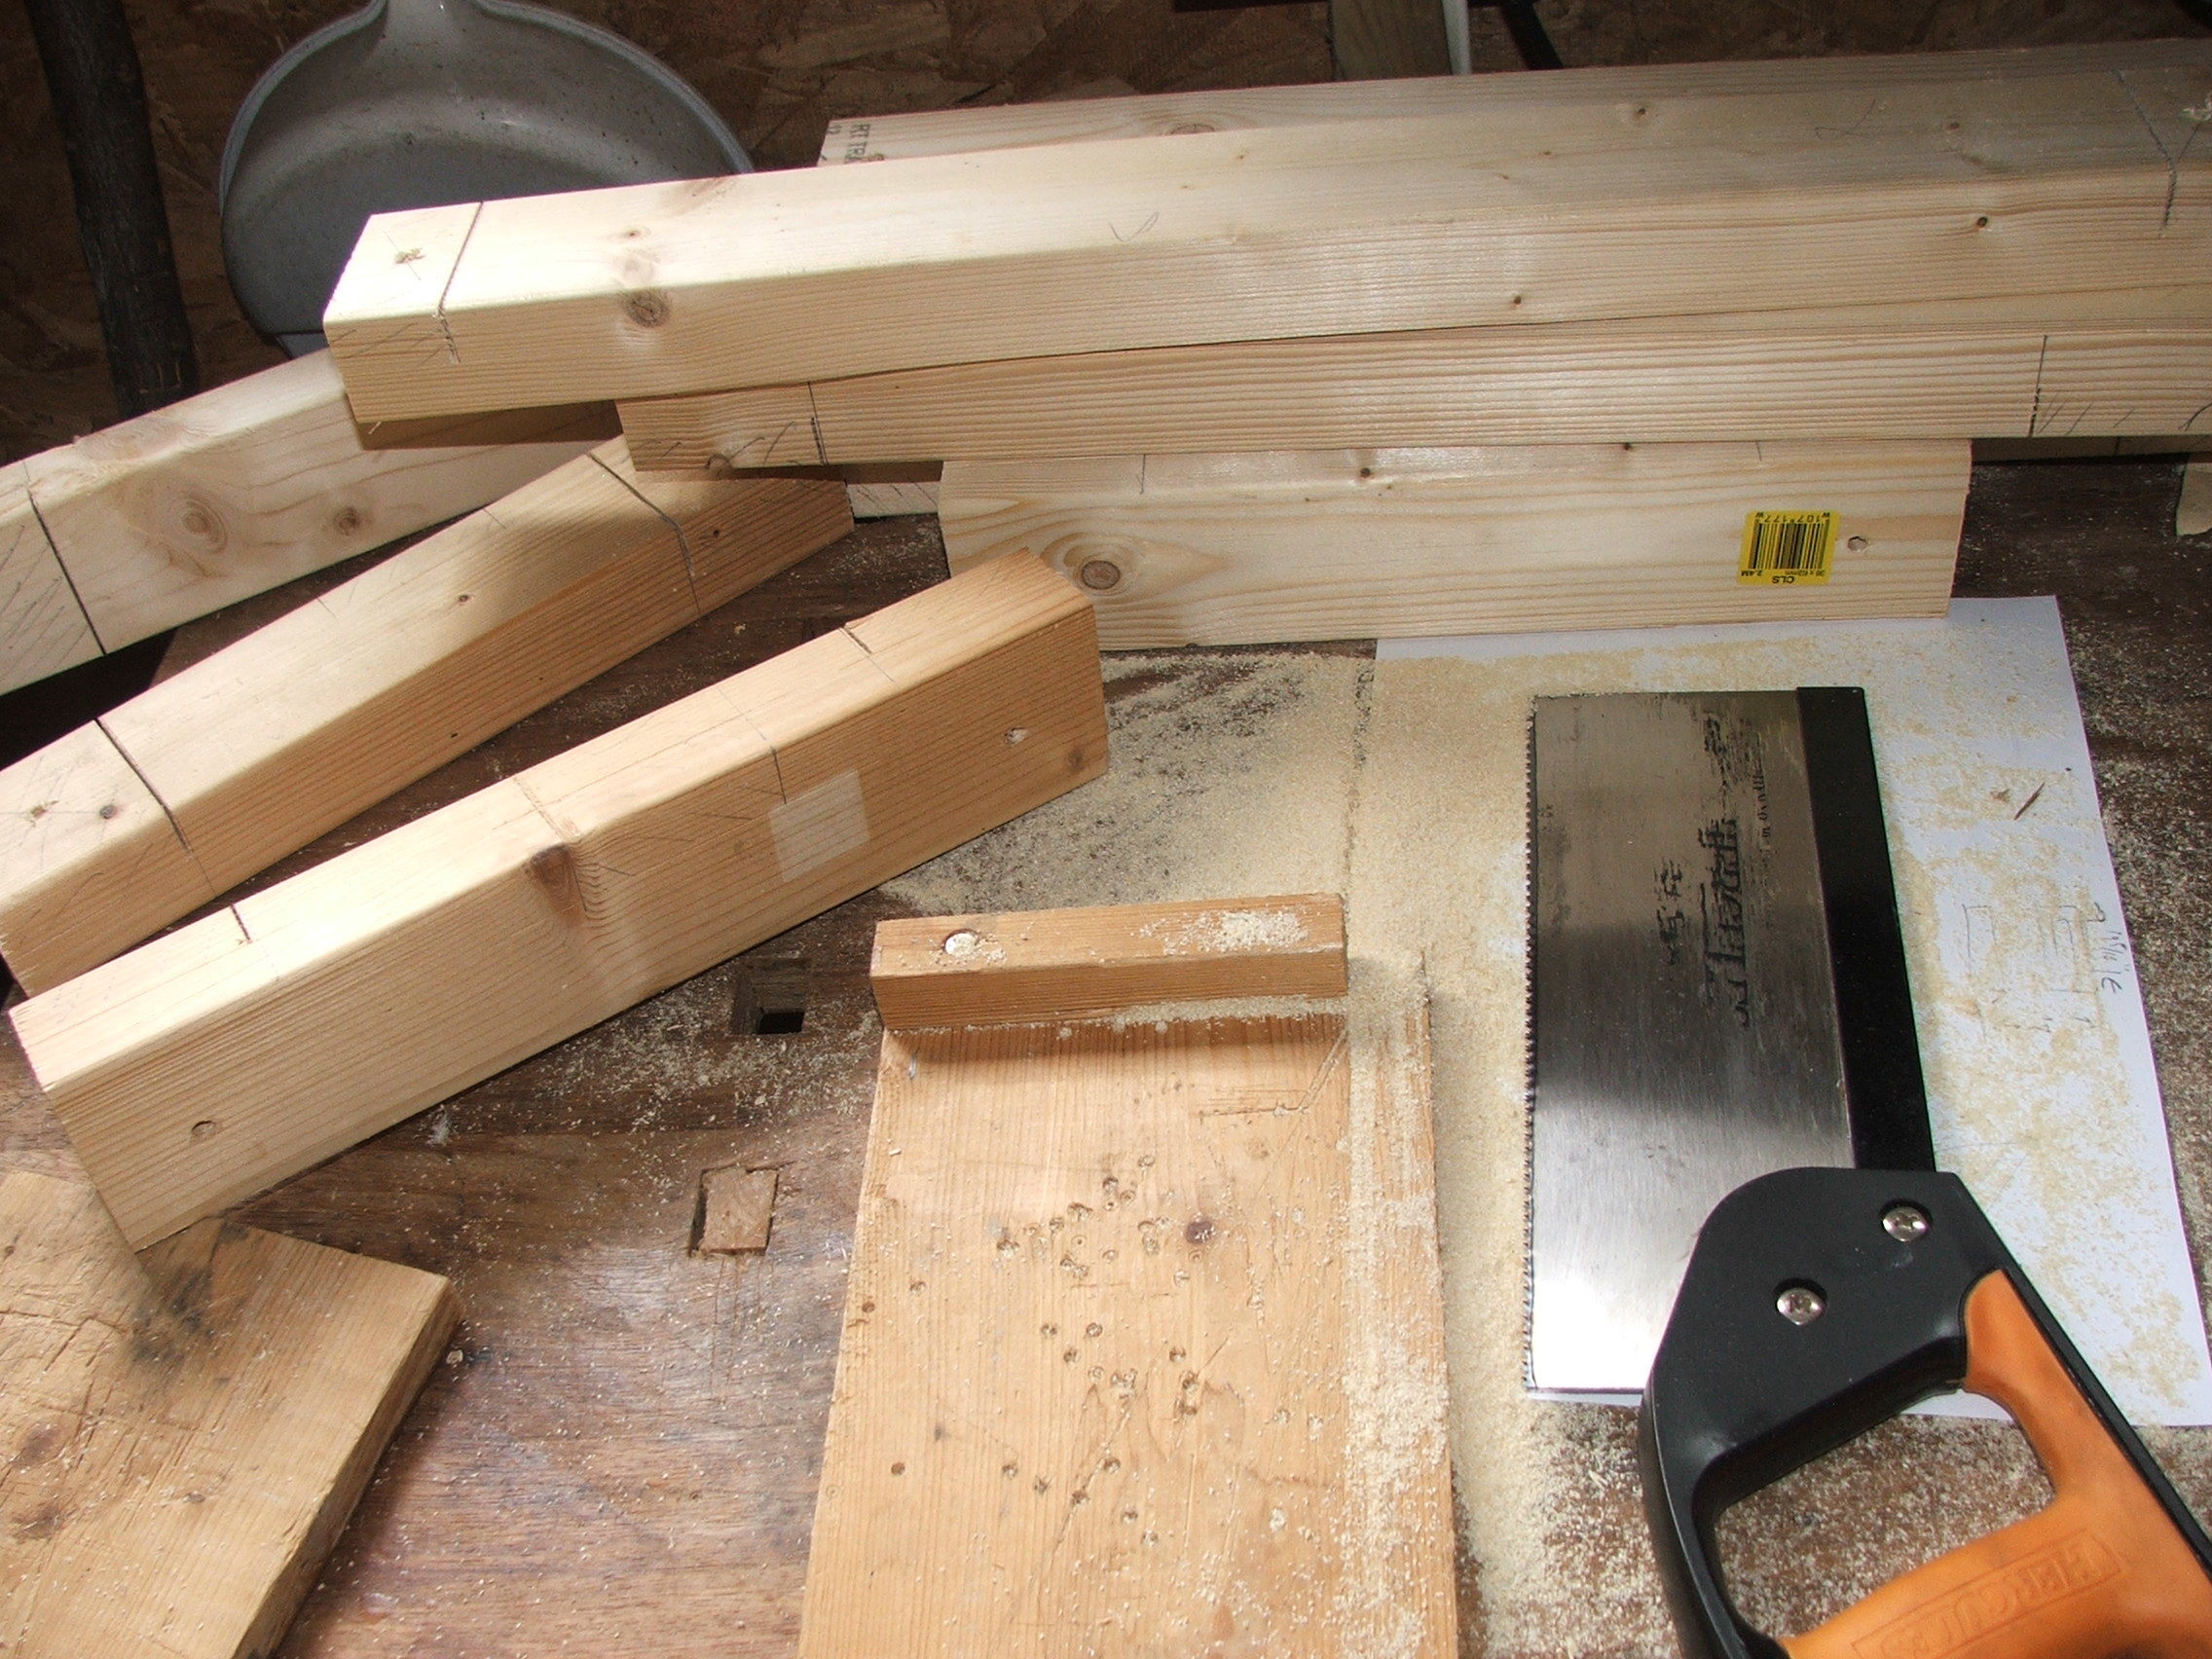
A half-lapped bolted frame of 2x4 seems good enough. I don’t mind the height above the bench, but it needs to be deep enough to take a slightly-larger-than-a4 book cover. 12" plus the ~3" height of the jaws should do. First cut all the timber to size:

Nothing much interesting yet. A lot of marking up to do:
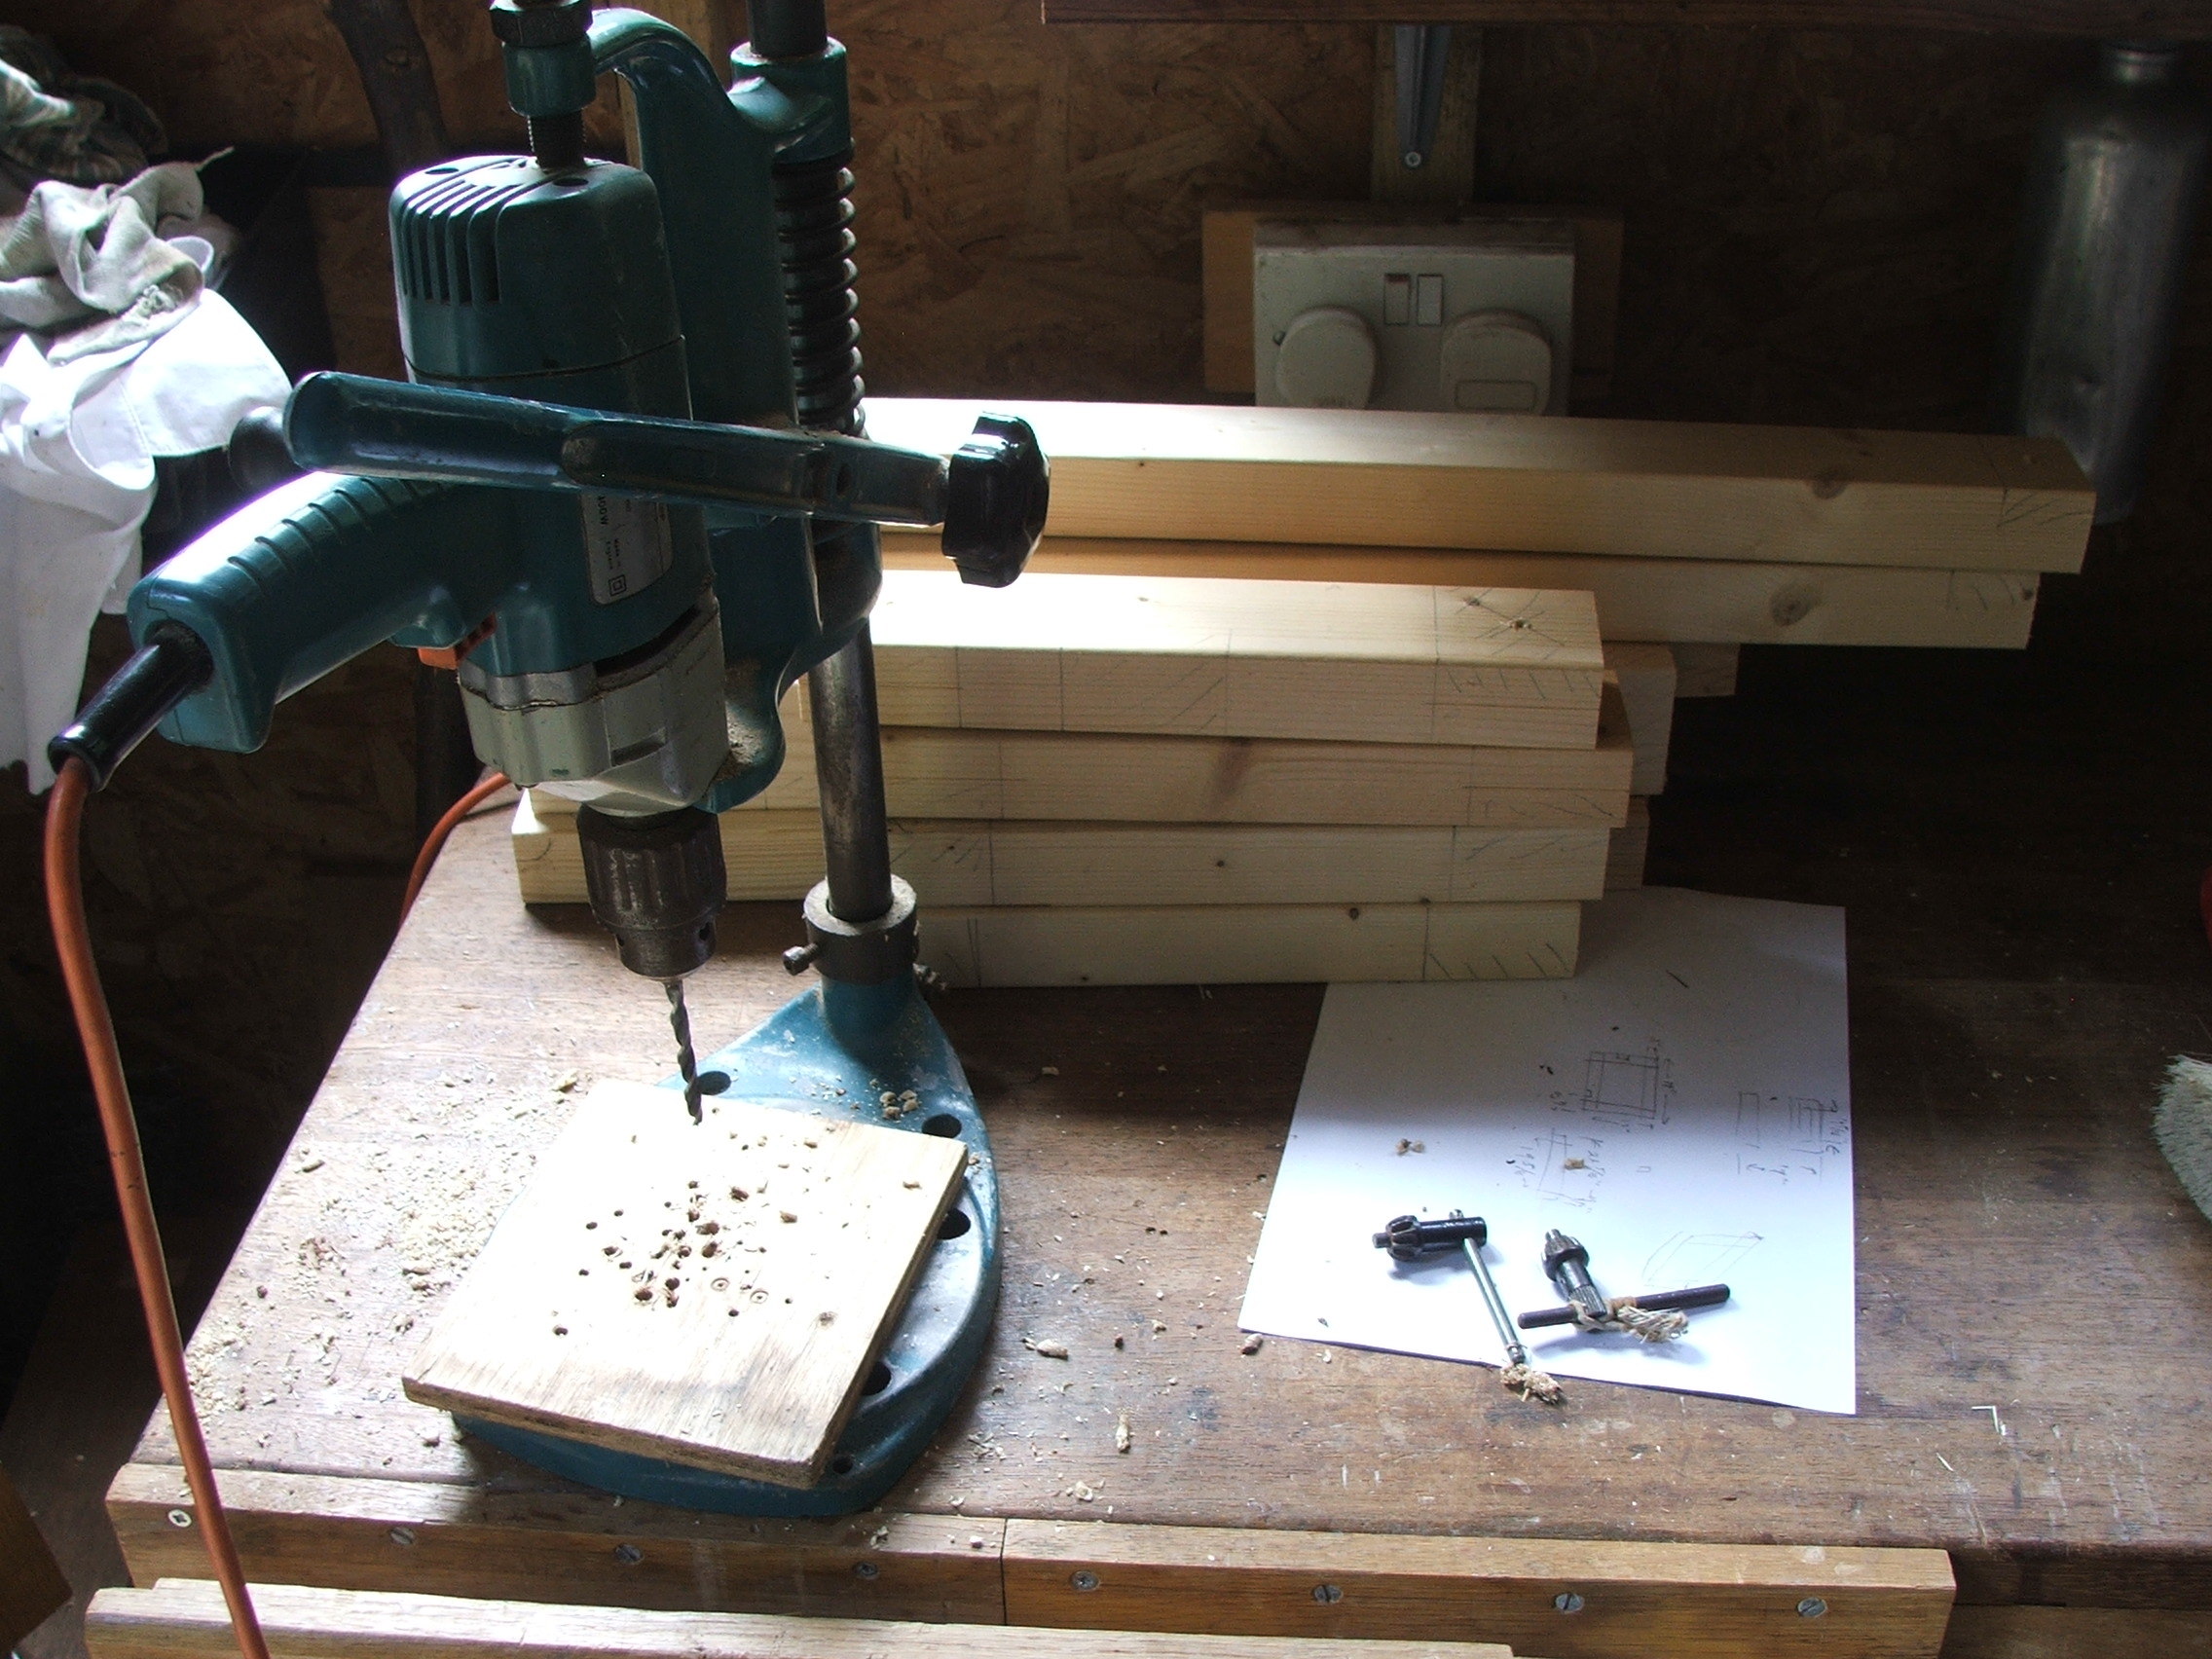
Drill out half, to mark the other half off, and then the easy bit—all the cross cuts [gallery ids=“148,149” type=“rectangular”] And then the hard bit: the rip cuts. There are 2x4x2+2x2 = 20 rip cuts to do, and all need to be right on the line, as touching up is no fun, even with a shoulder plane (which I don’t have). When you’ve finished that you’ll realise just how daft the idea that one has to go to the gym to exercise really is…
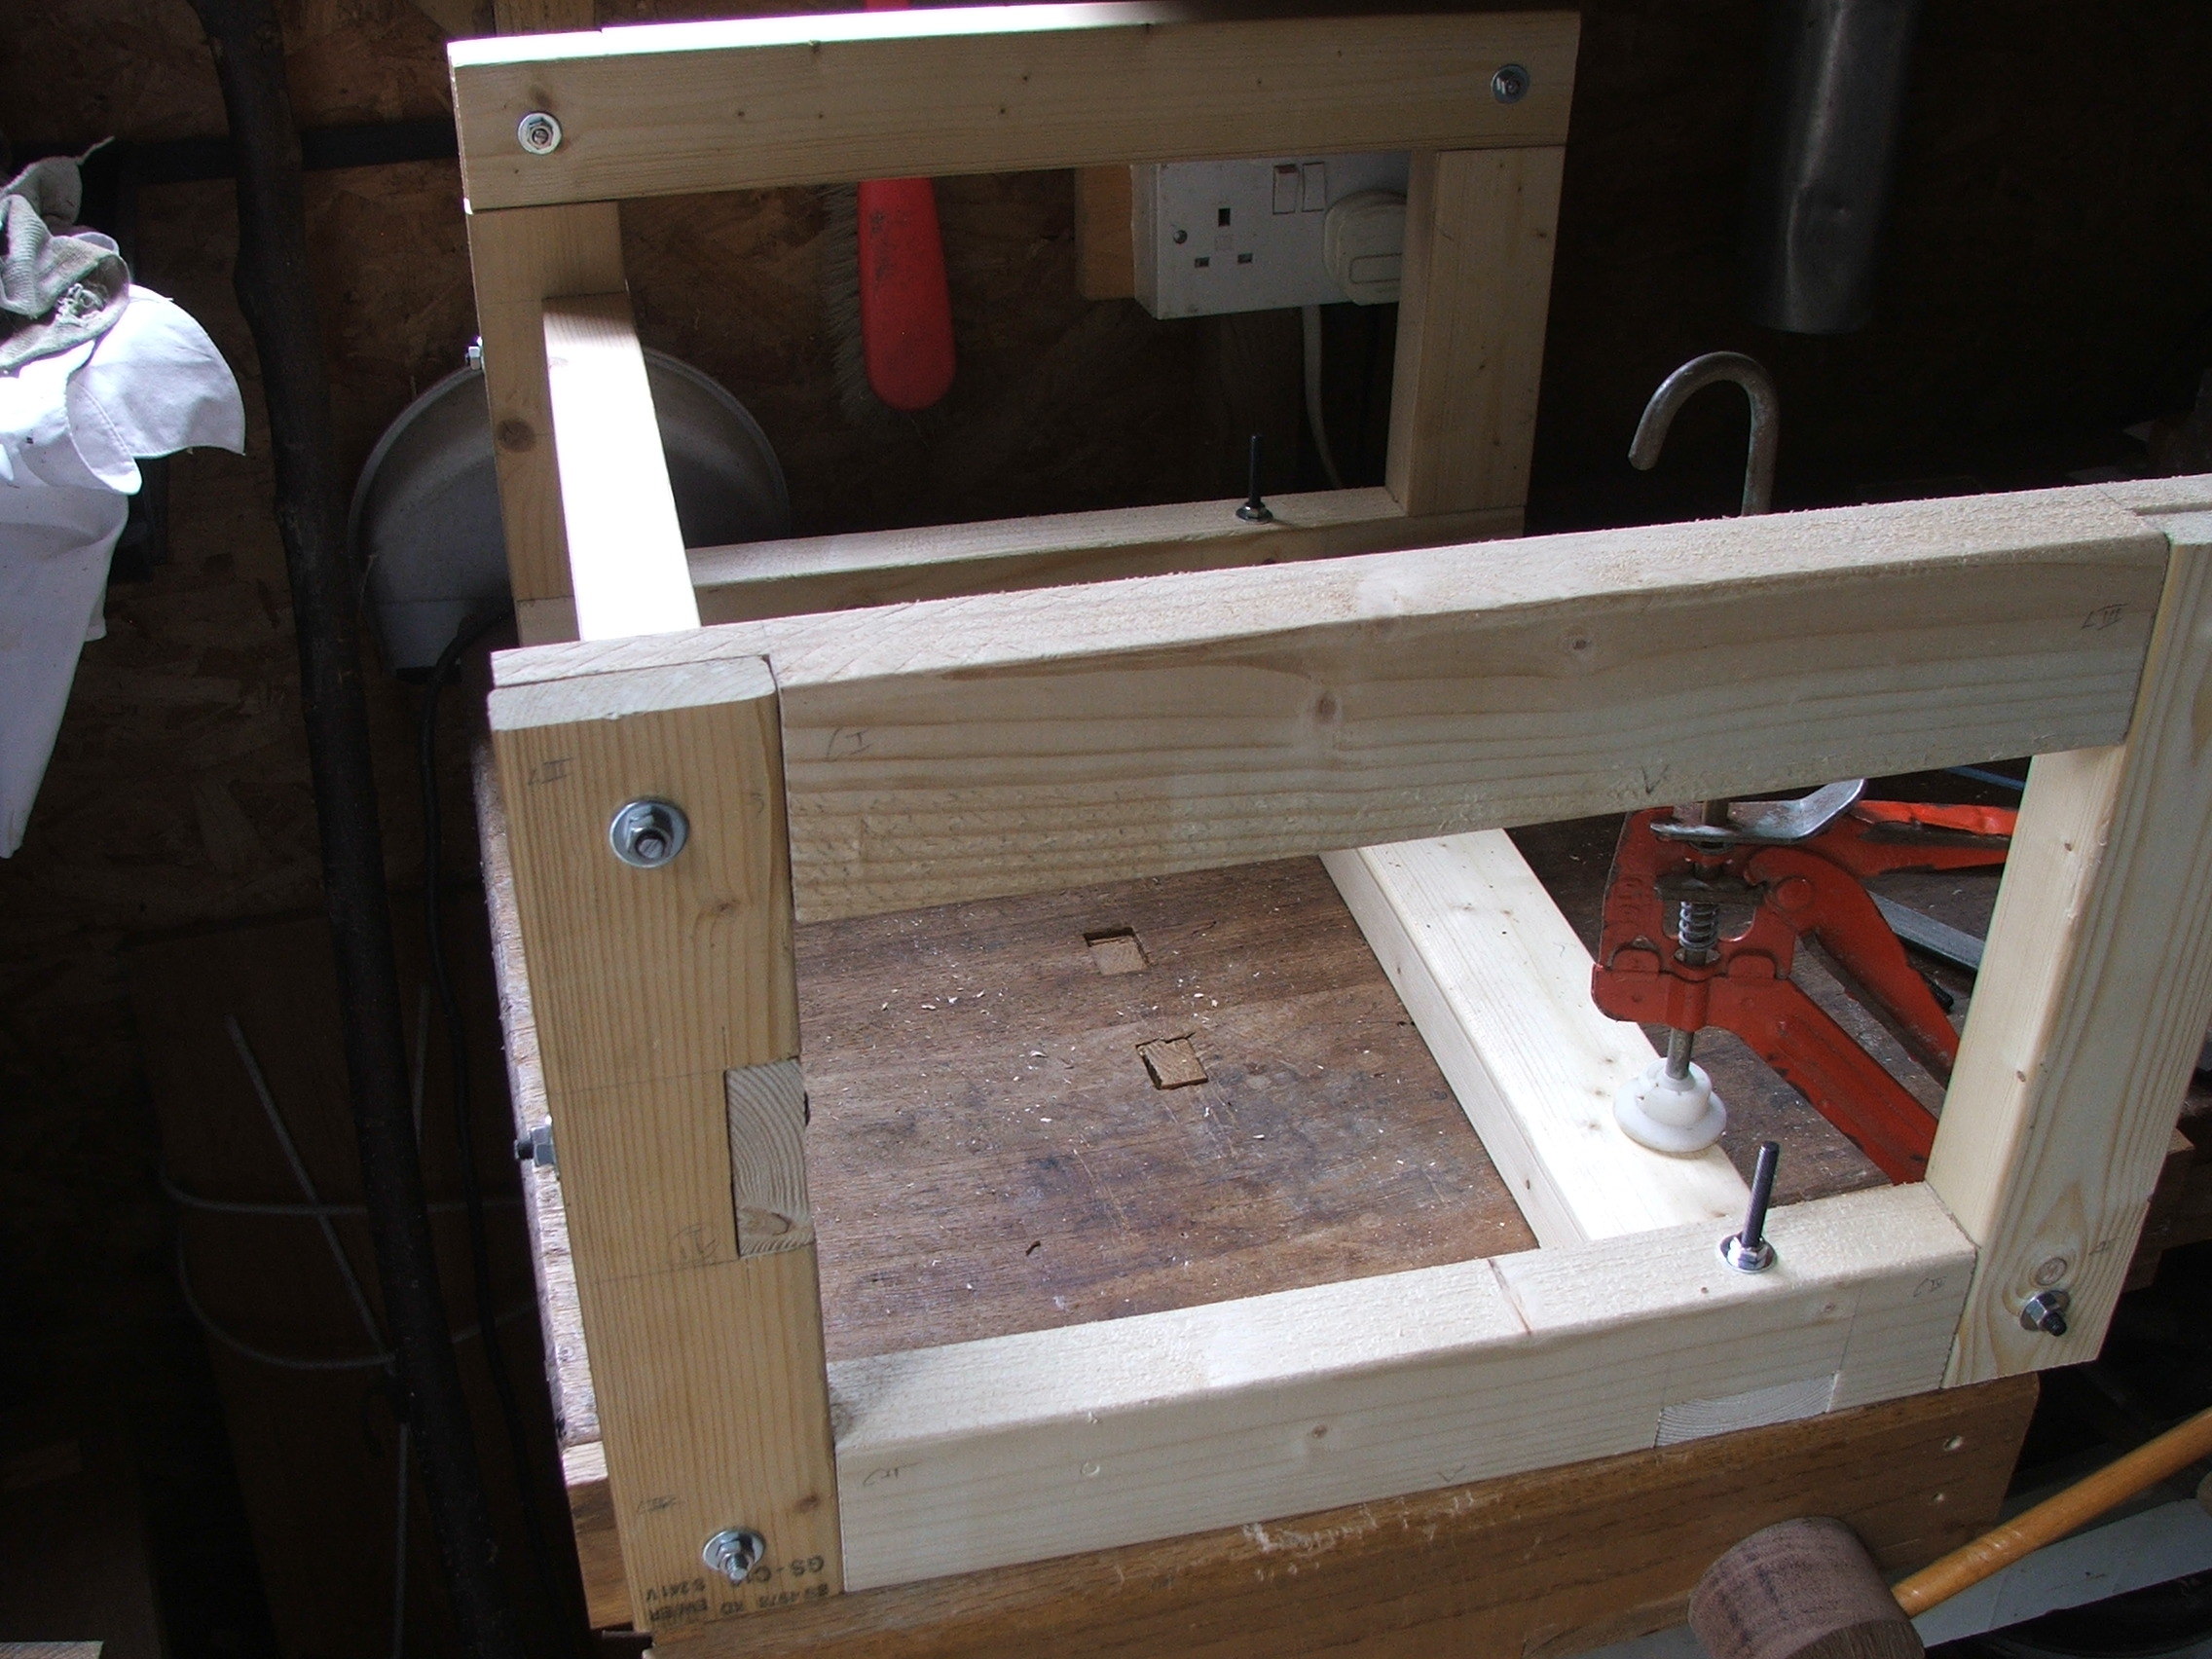
Then chisel out the mortices, and mark everything through the holes, test assemble, and drill:
If you look carefully you’ll see (as usual) that that assembly is the wrong way round. What’s worse is that I spent a while thinking about it. Fortunately the holes were sufficiently standard to work the other way round, too. It went together:
The bolts were far too long: in fact, so long that I cut off the excess, peened a head on it like a rivet, added a nut and used them as bolts on the other side. I’ve left the bottom bolts long, mainly because I was getting tired by this point. Here’s the full thing, in its glory:
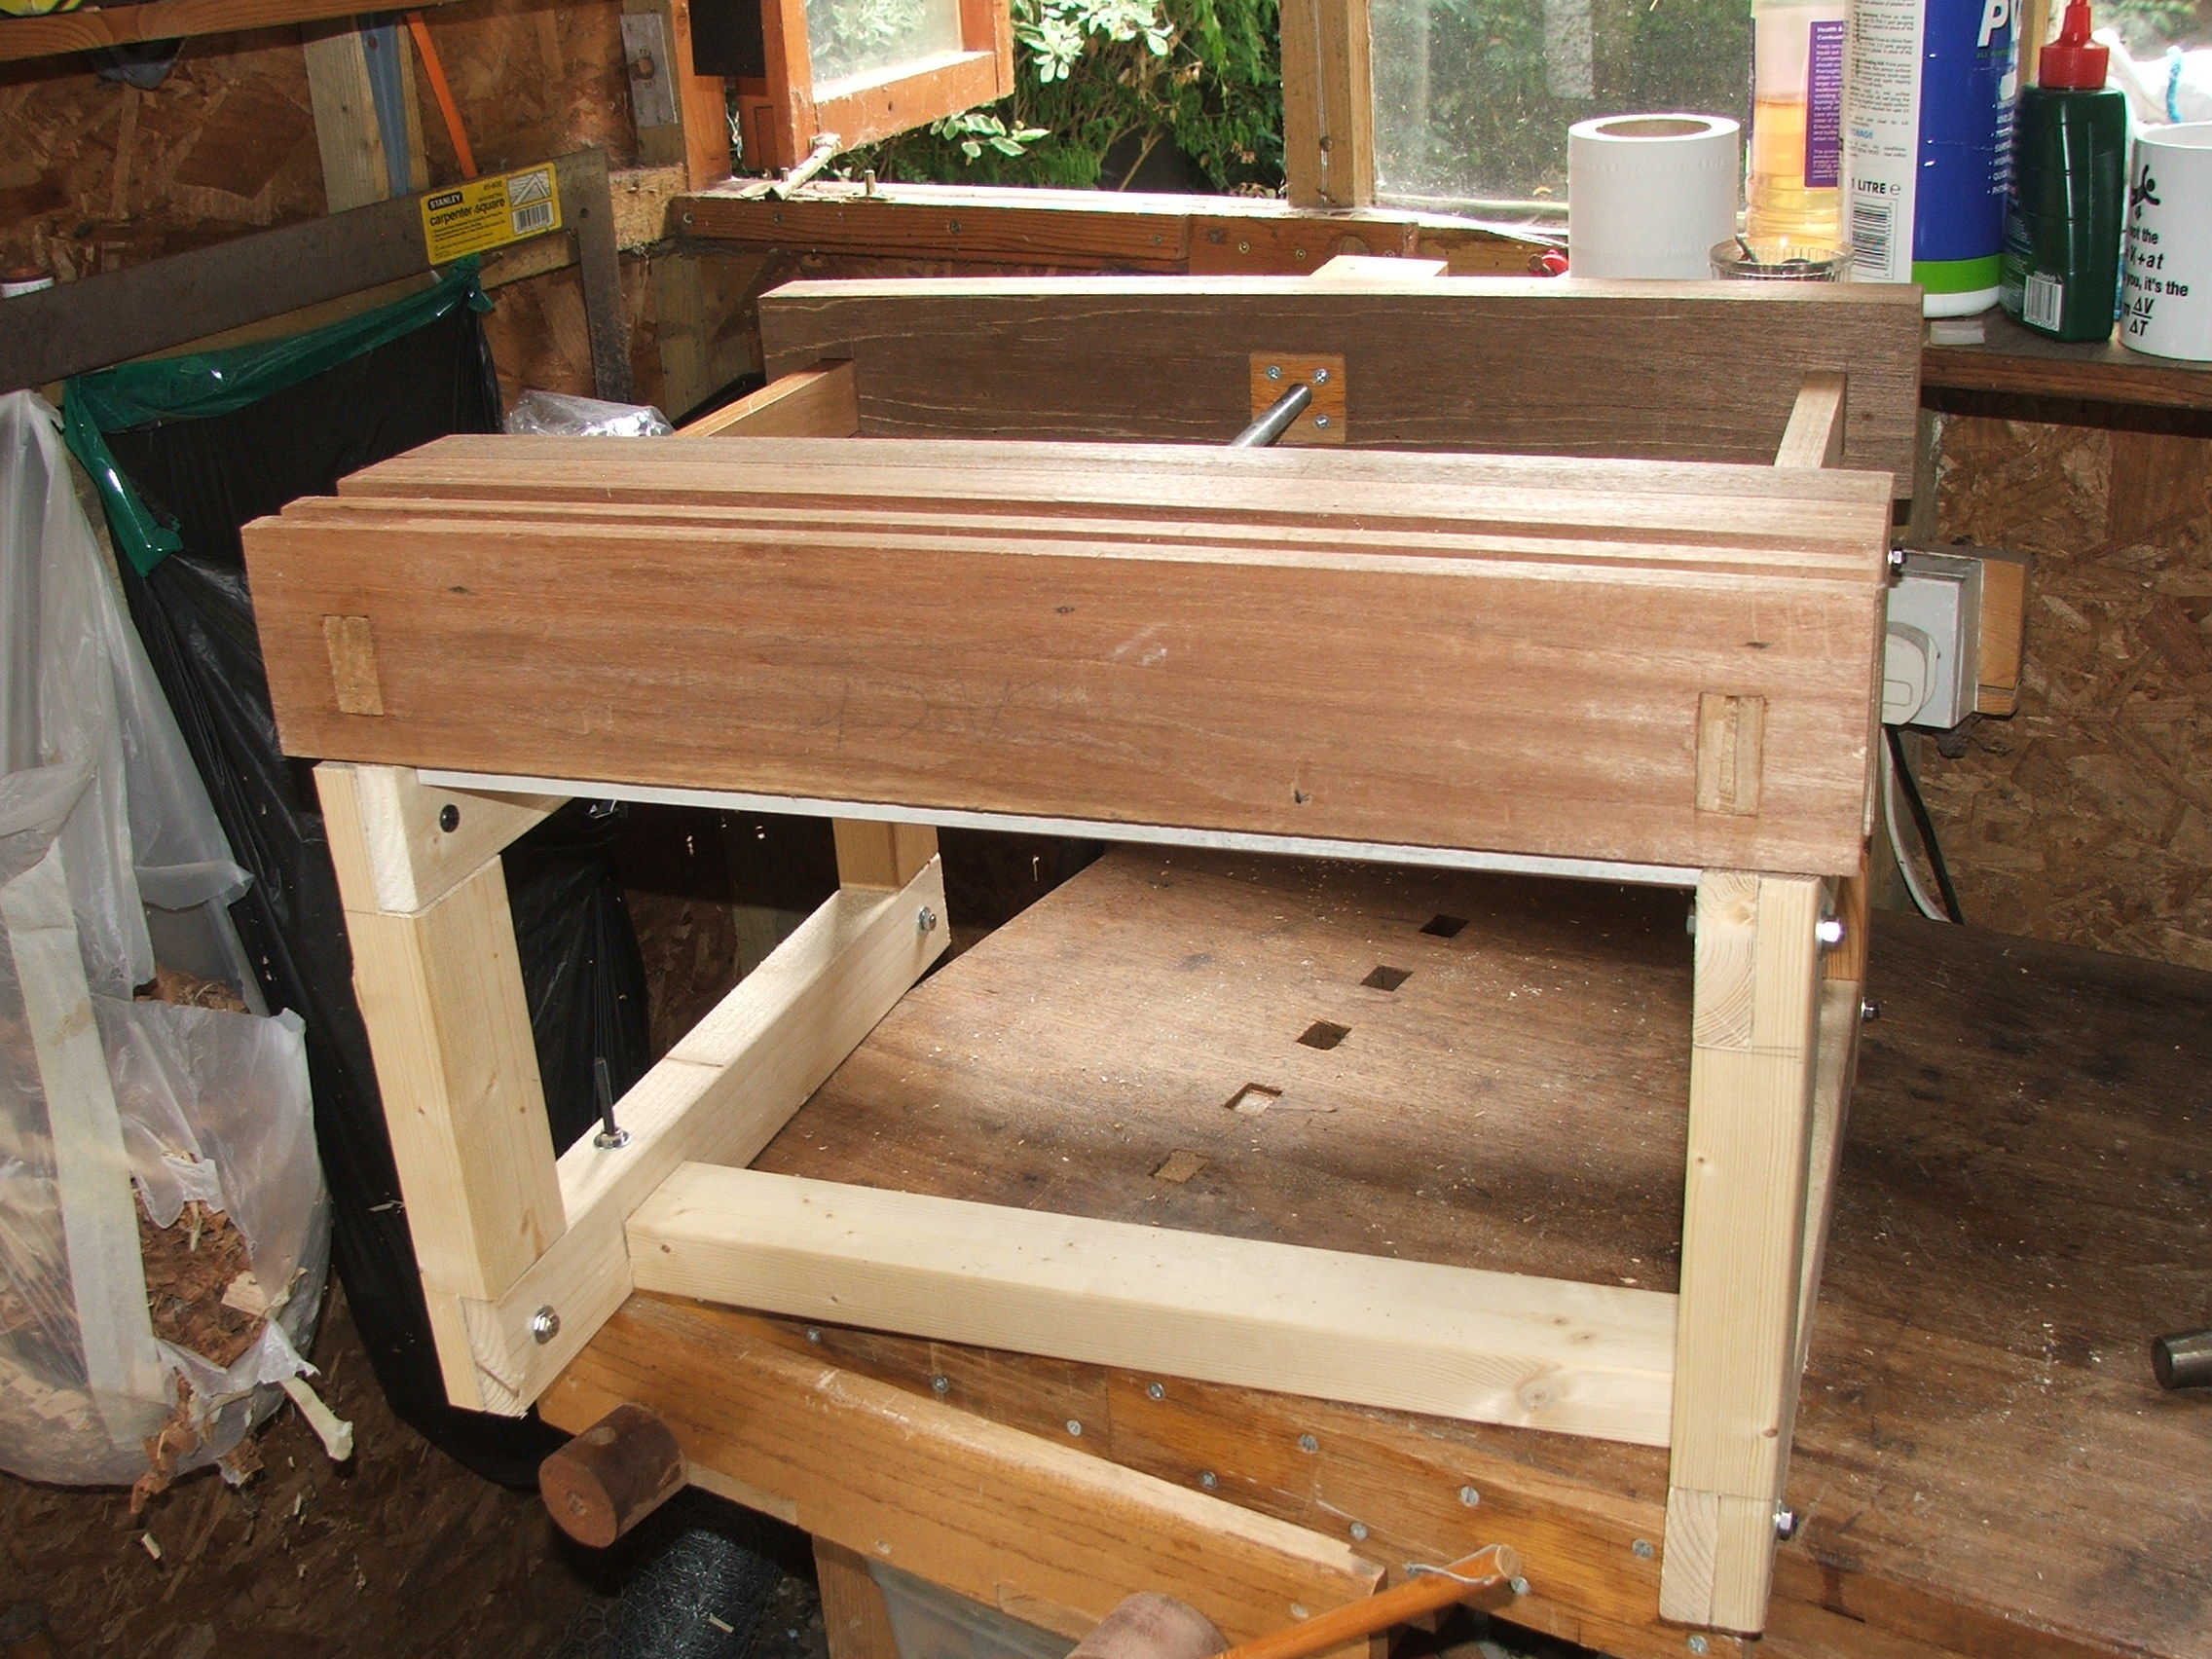
Now to make something with it—but that’s another post.