Due to measures to combat the epidemic of bigamous marriages or something of the kind, we ended up having a wedding reception in the garden. Thus we needed tables, and benches, and things of the kind. Time to put the workbench to work.
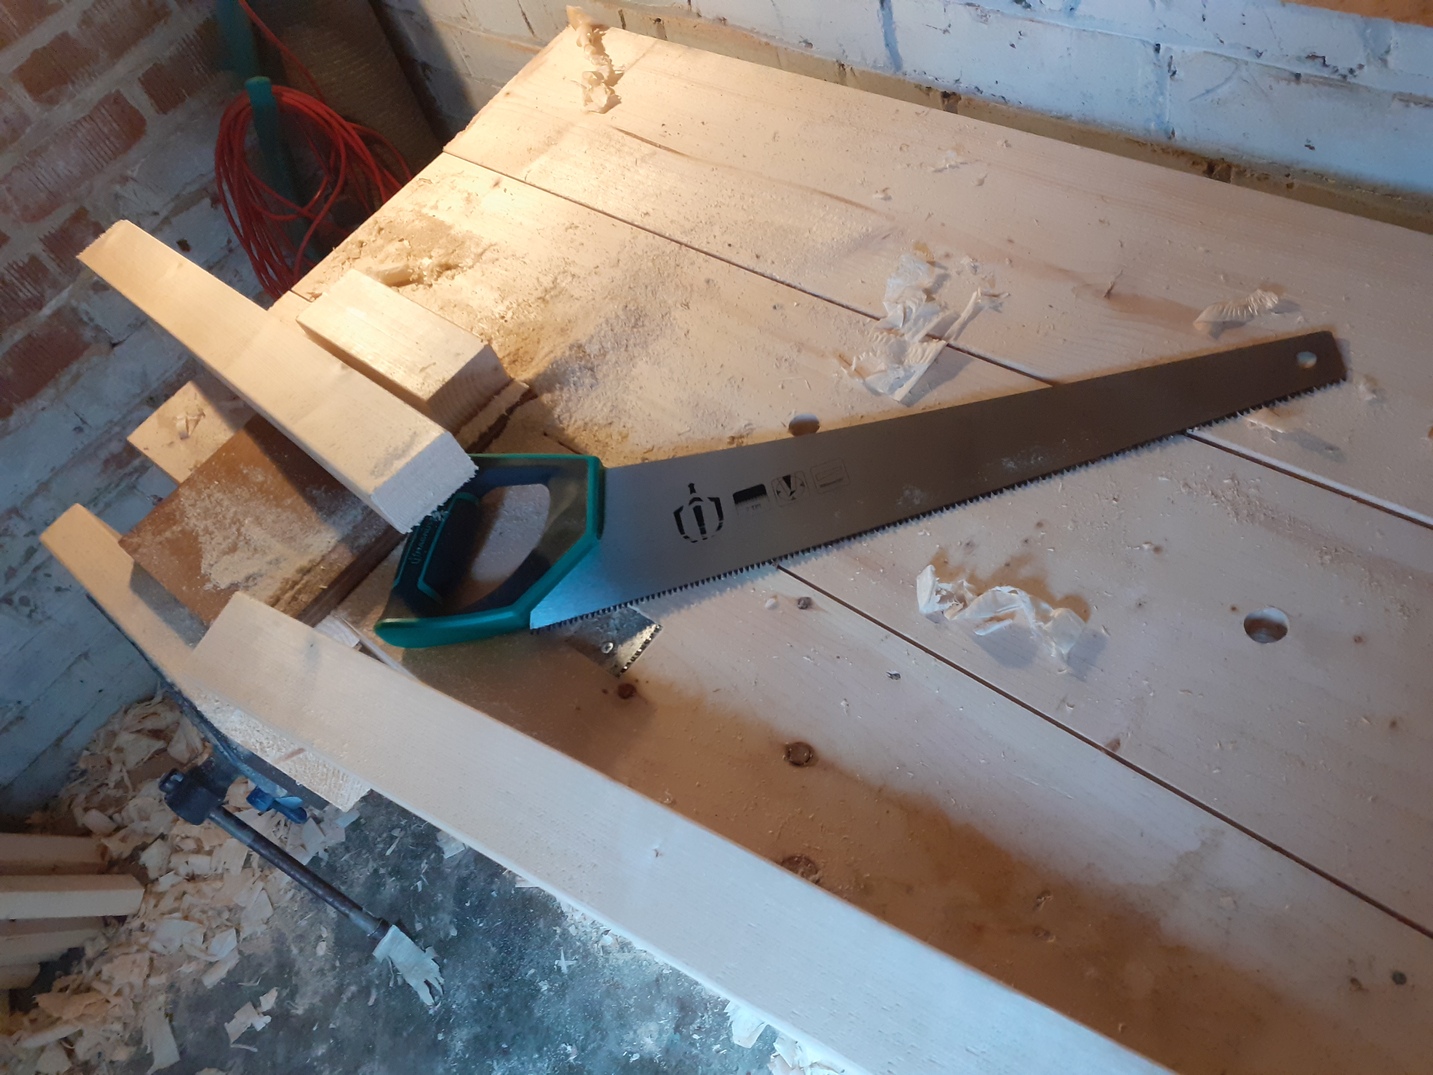
Firstly there was a lorry:

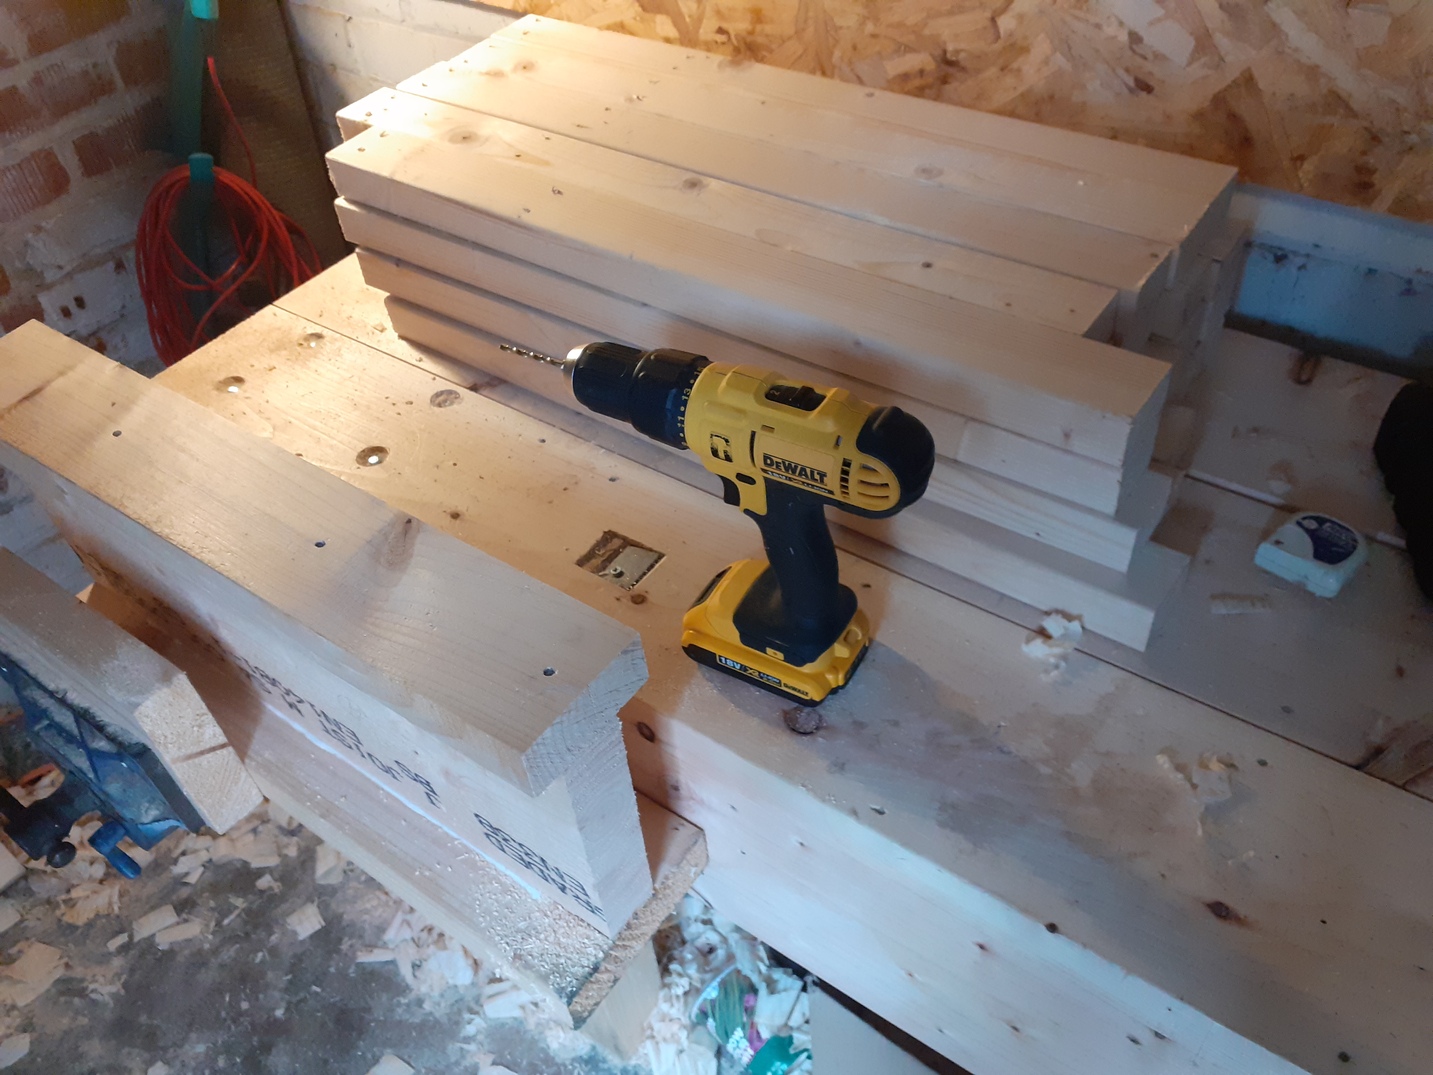
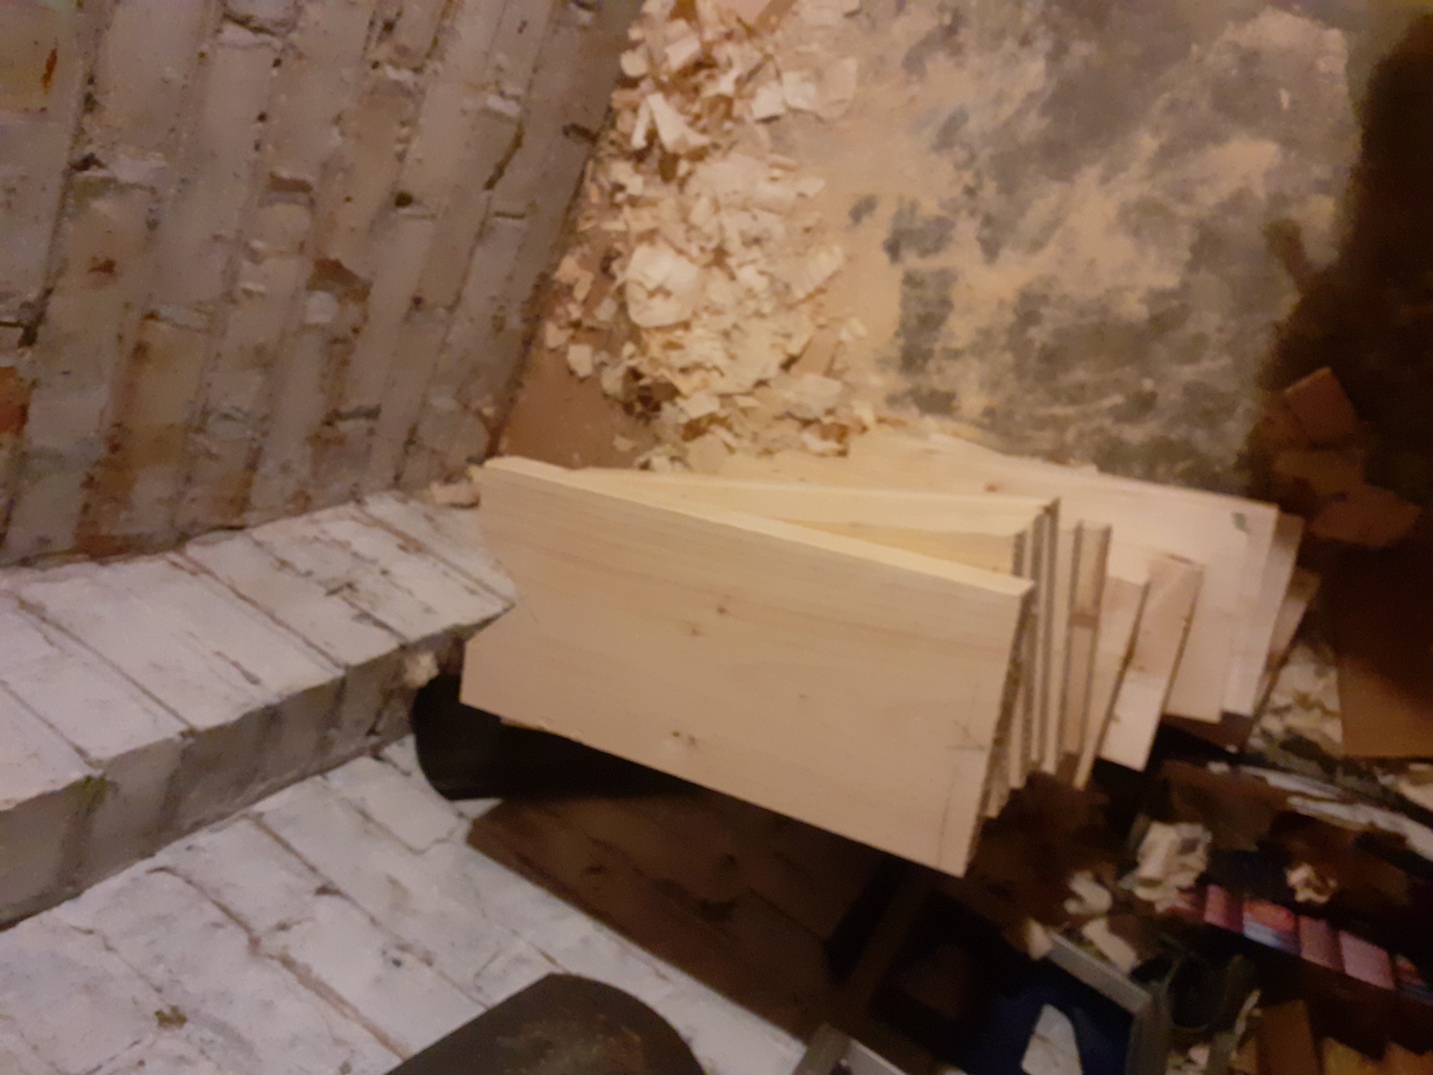
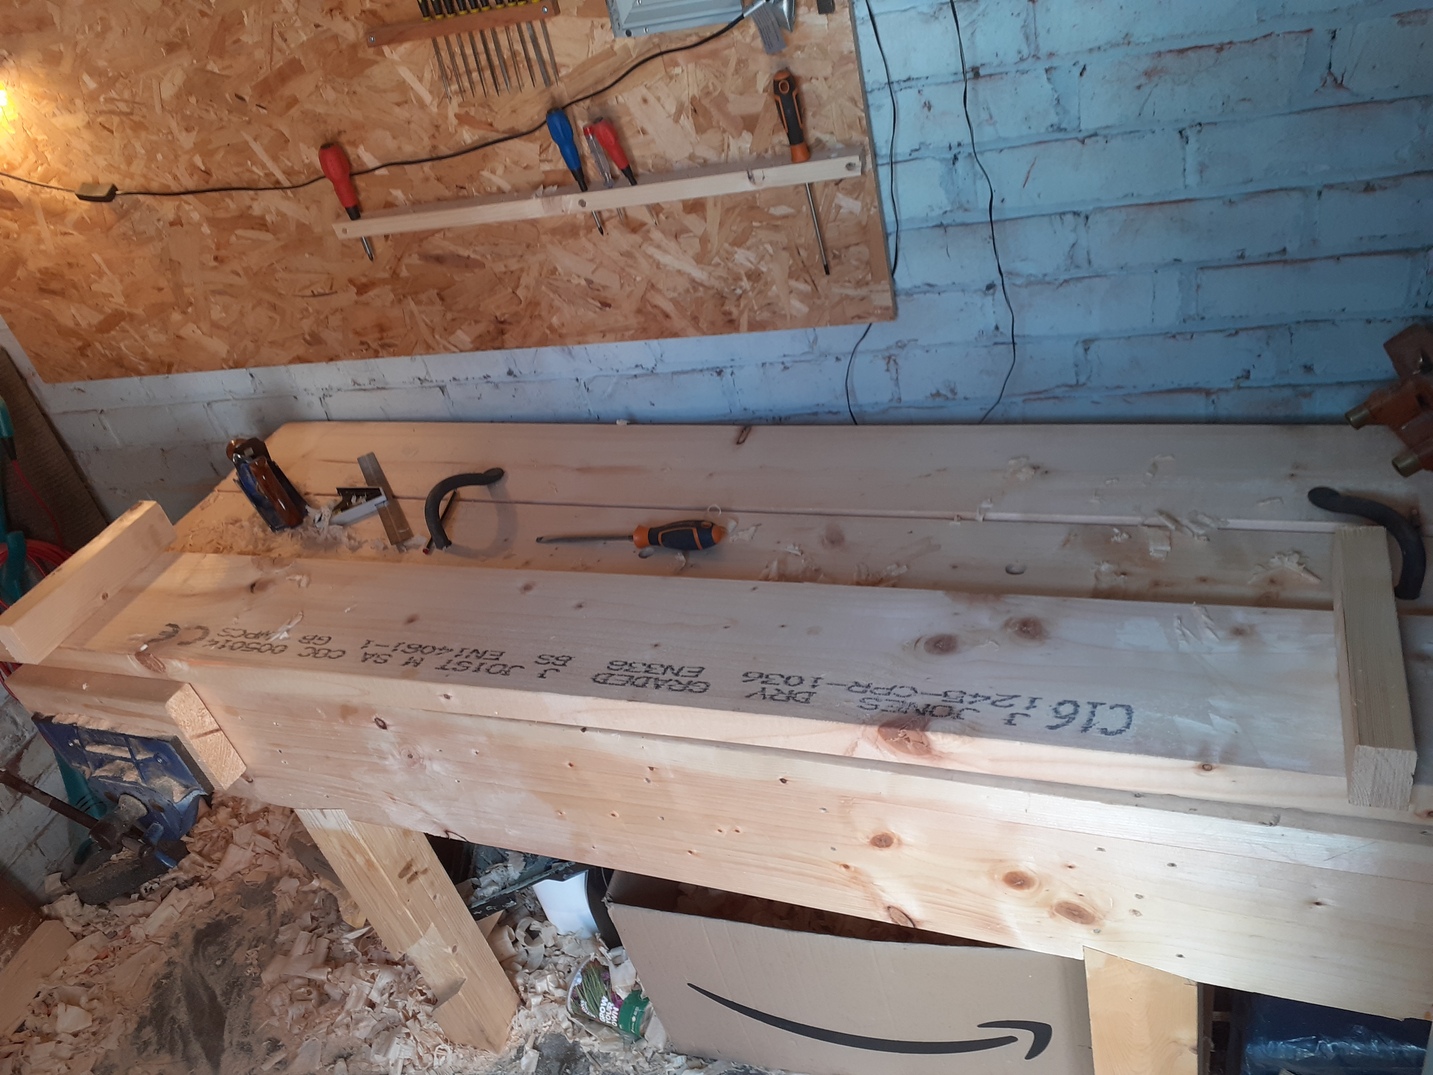
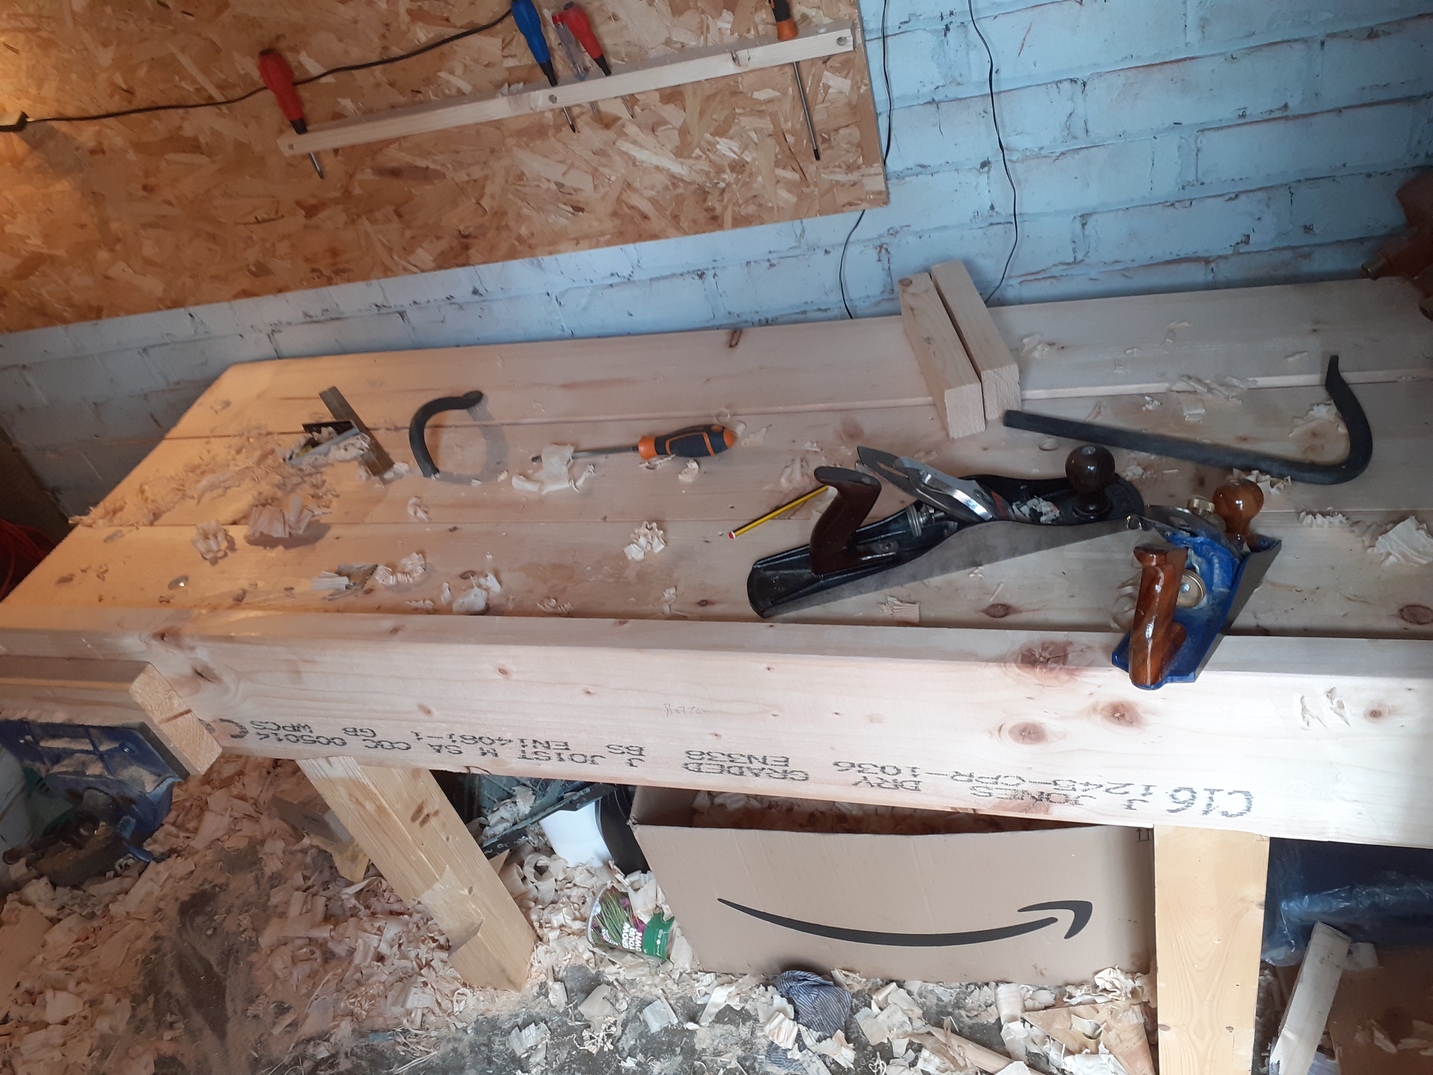
Then there was a lot of wood:
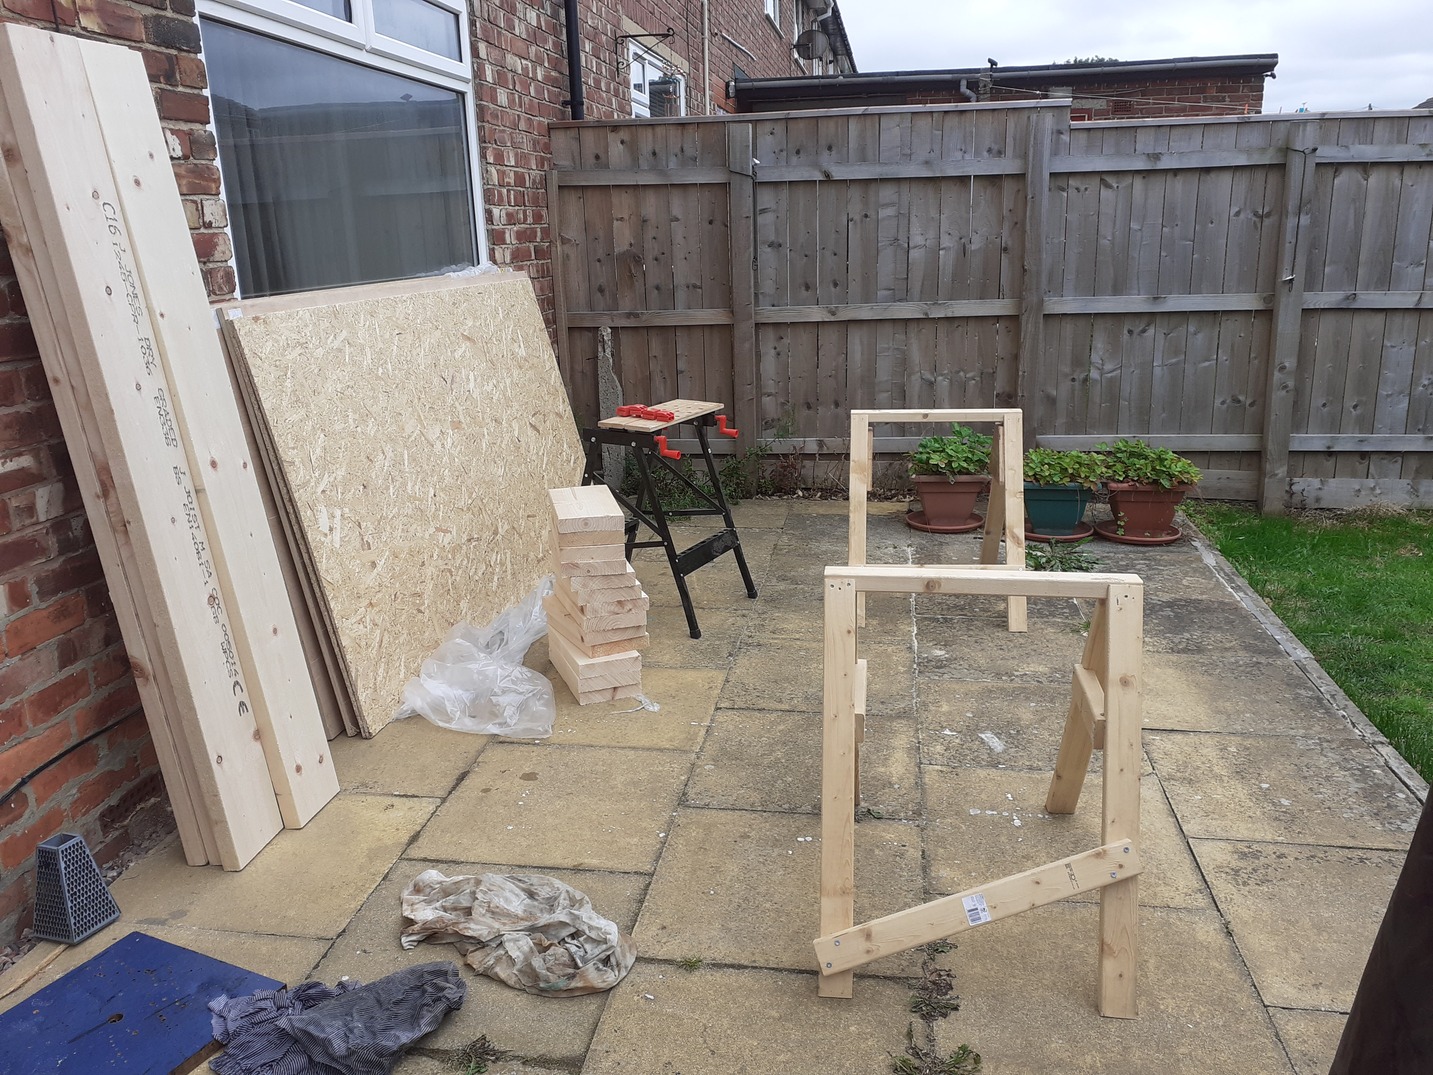
The short pieces are legs for the benches; the longer will become benches and trestles (and will replace these horrible trestles I made earlier). But the OSB was even more of a nuisance, so that got sliced up first.
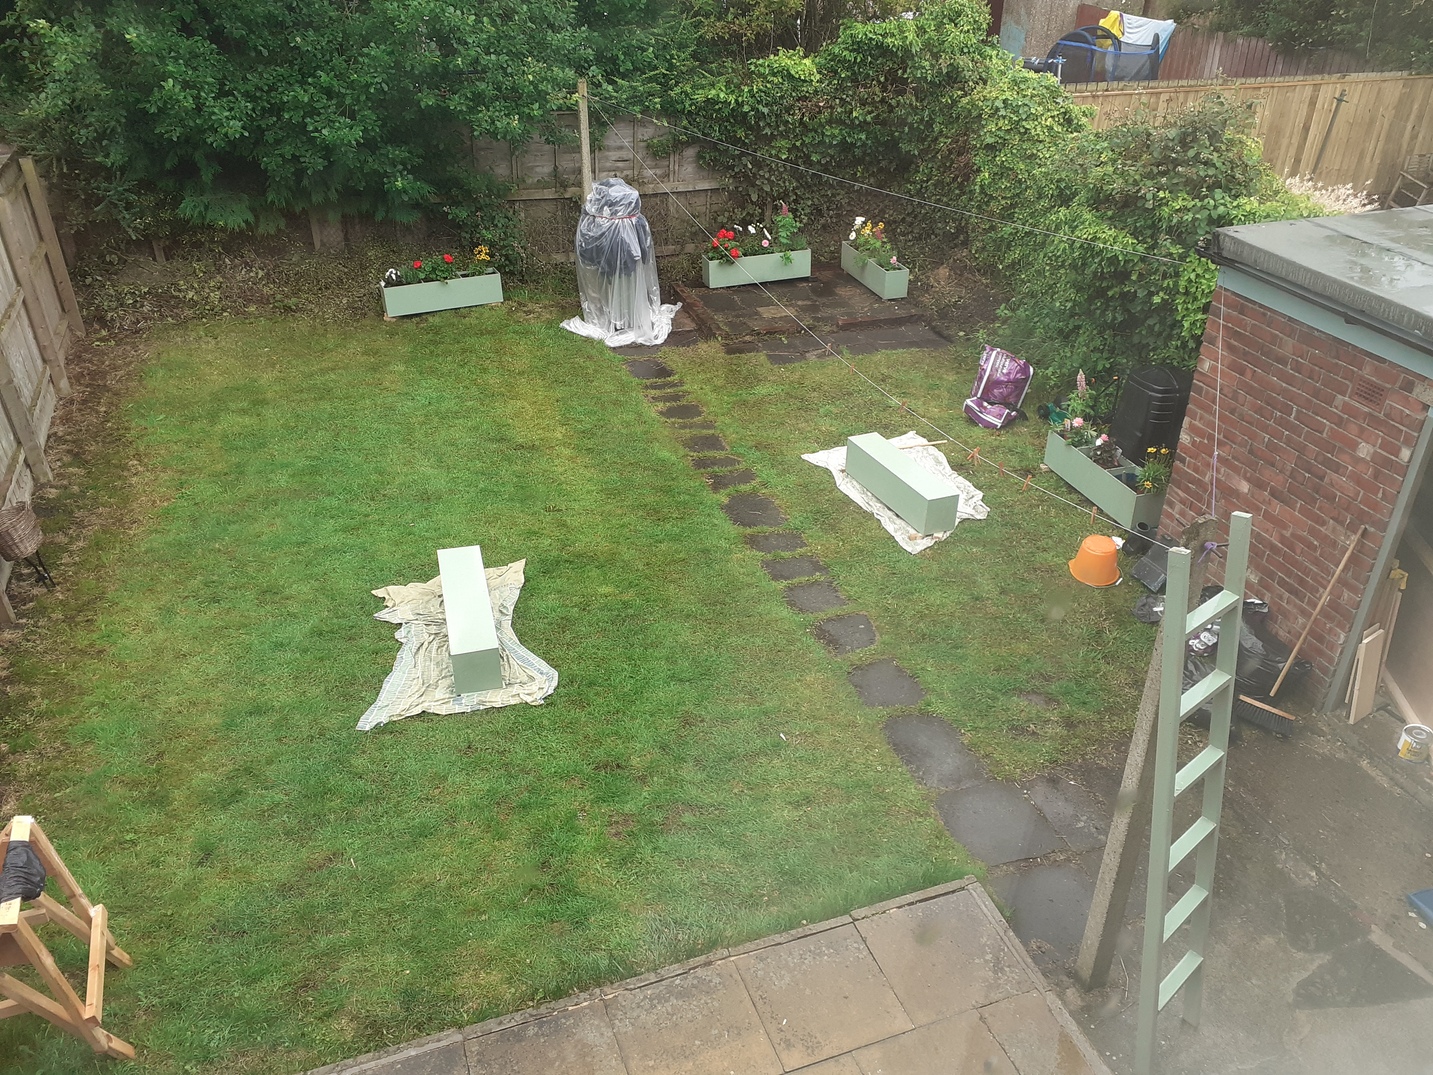
Planters
The OSB was cut with the plunge saw:
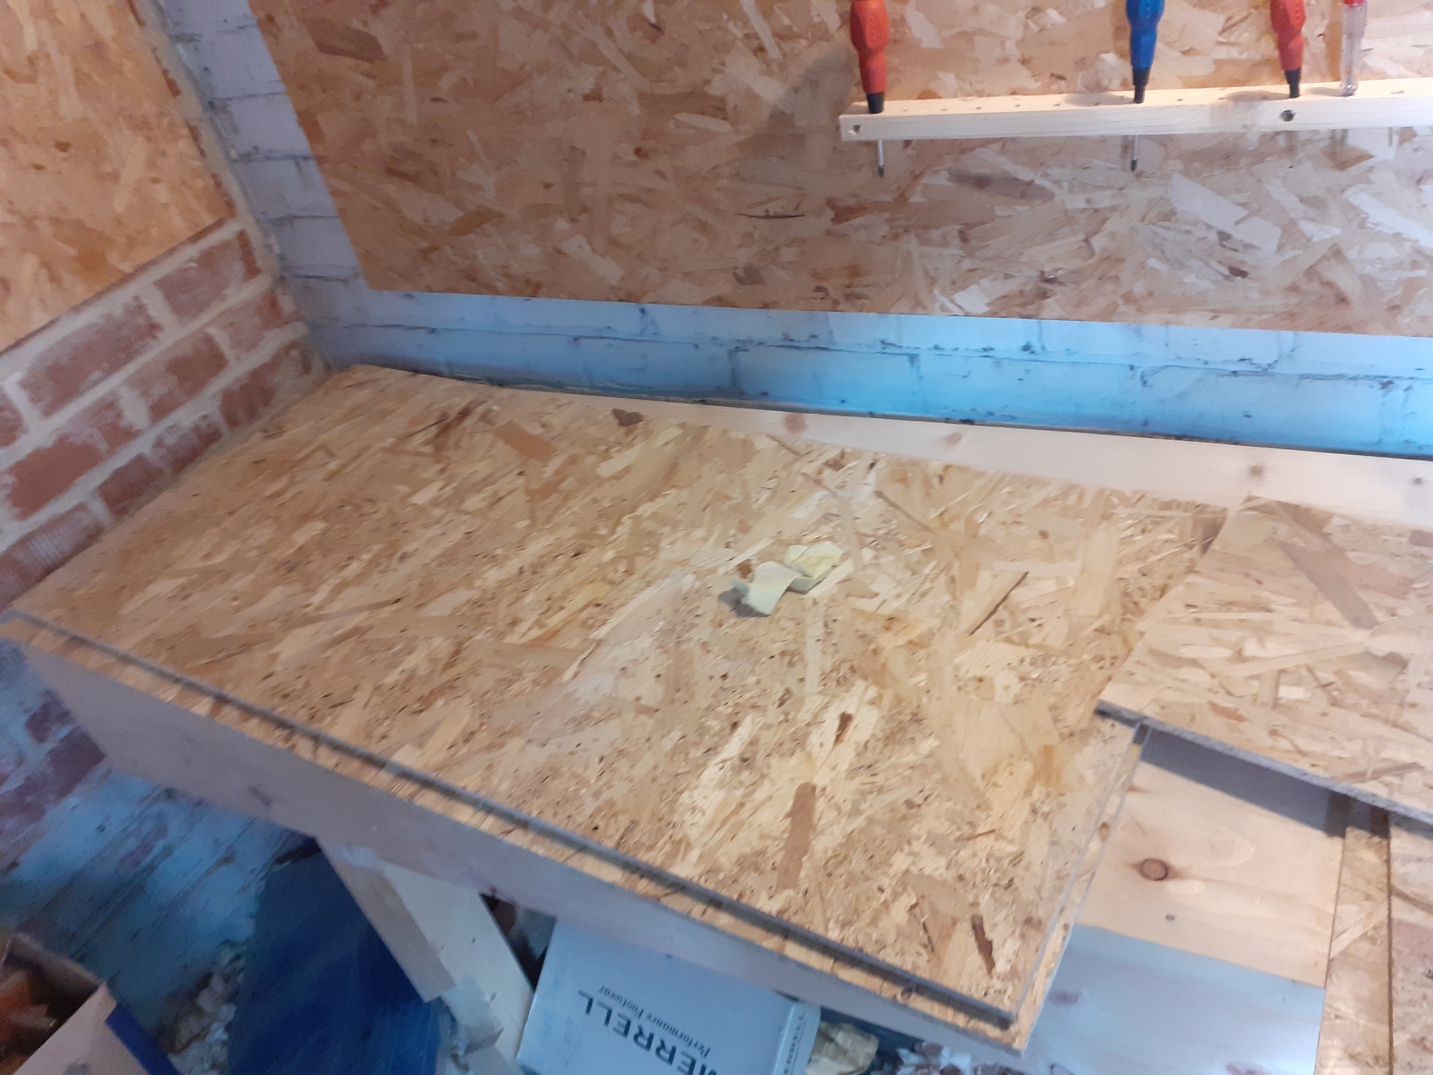
The first of which I treated with PVA to waterproof it:
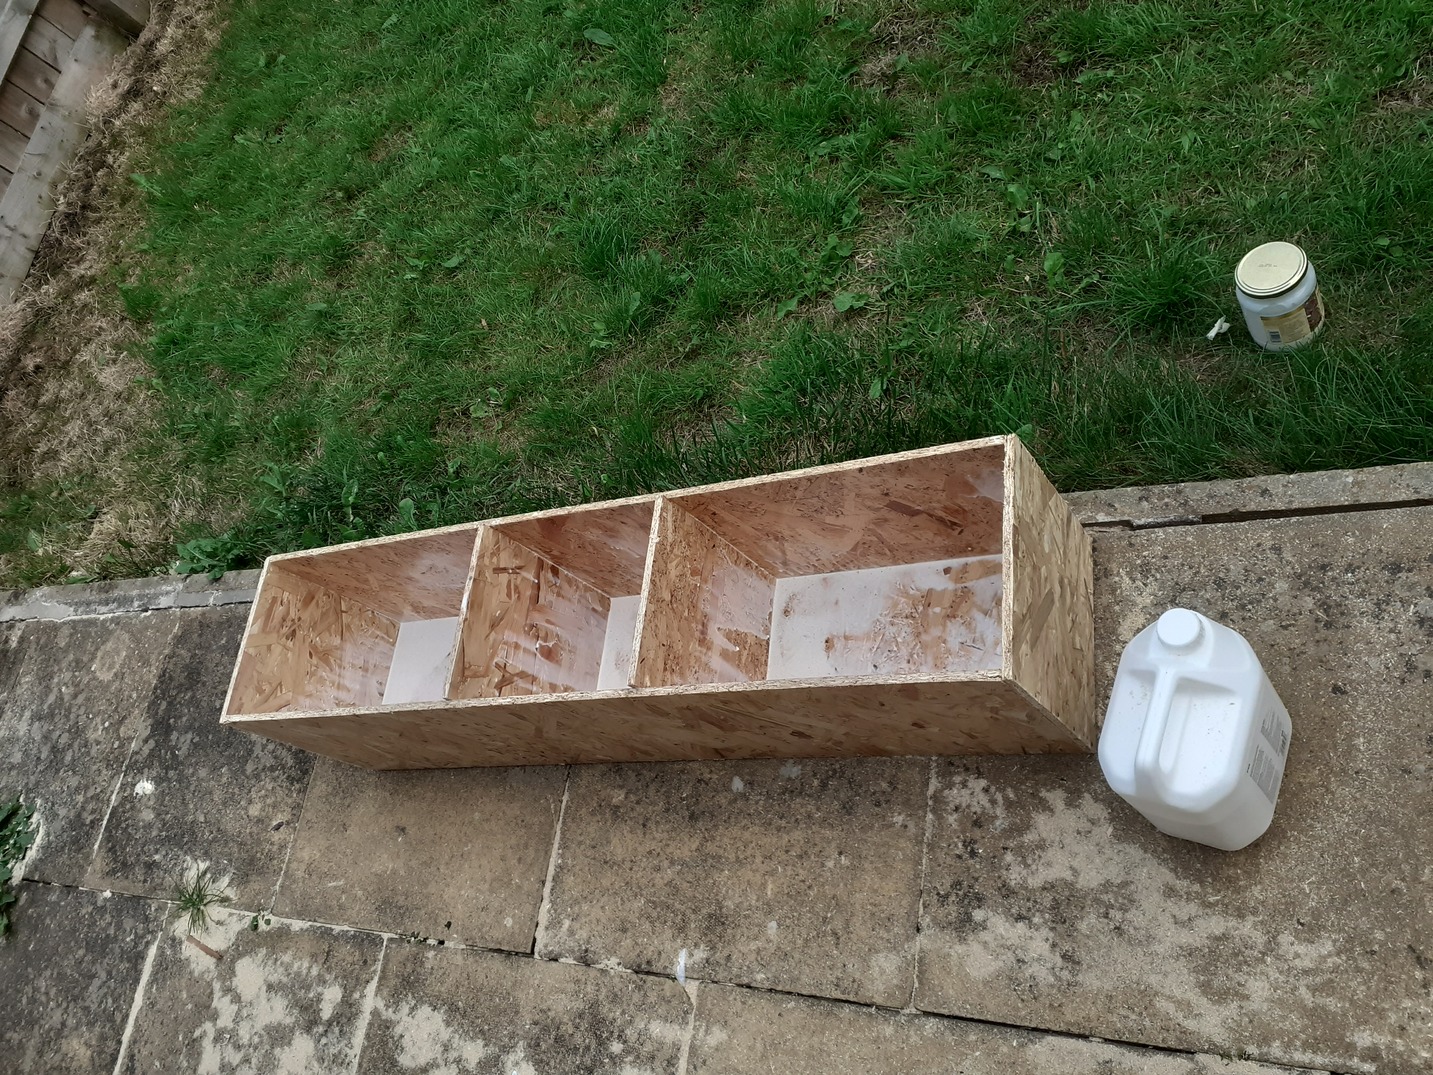
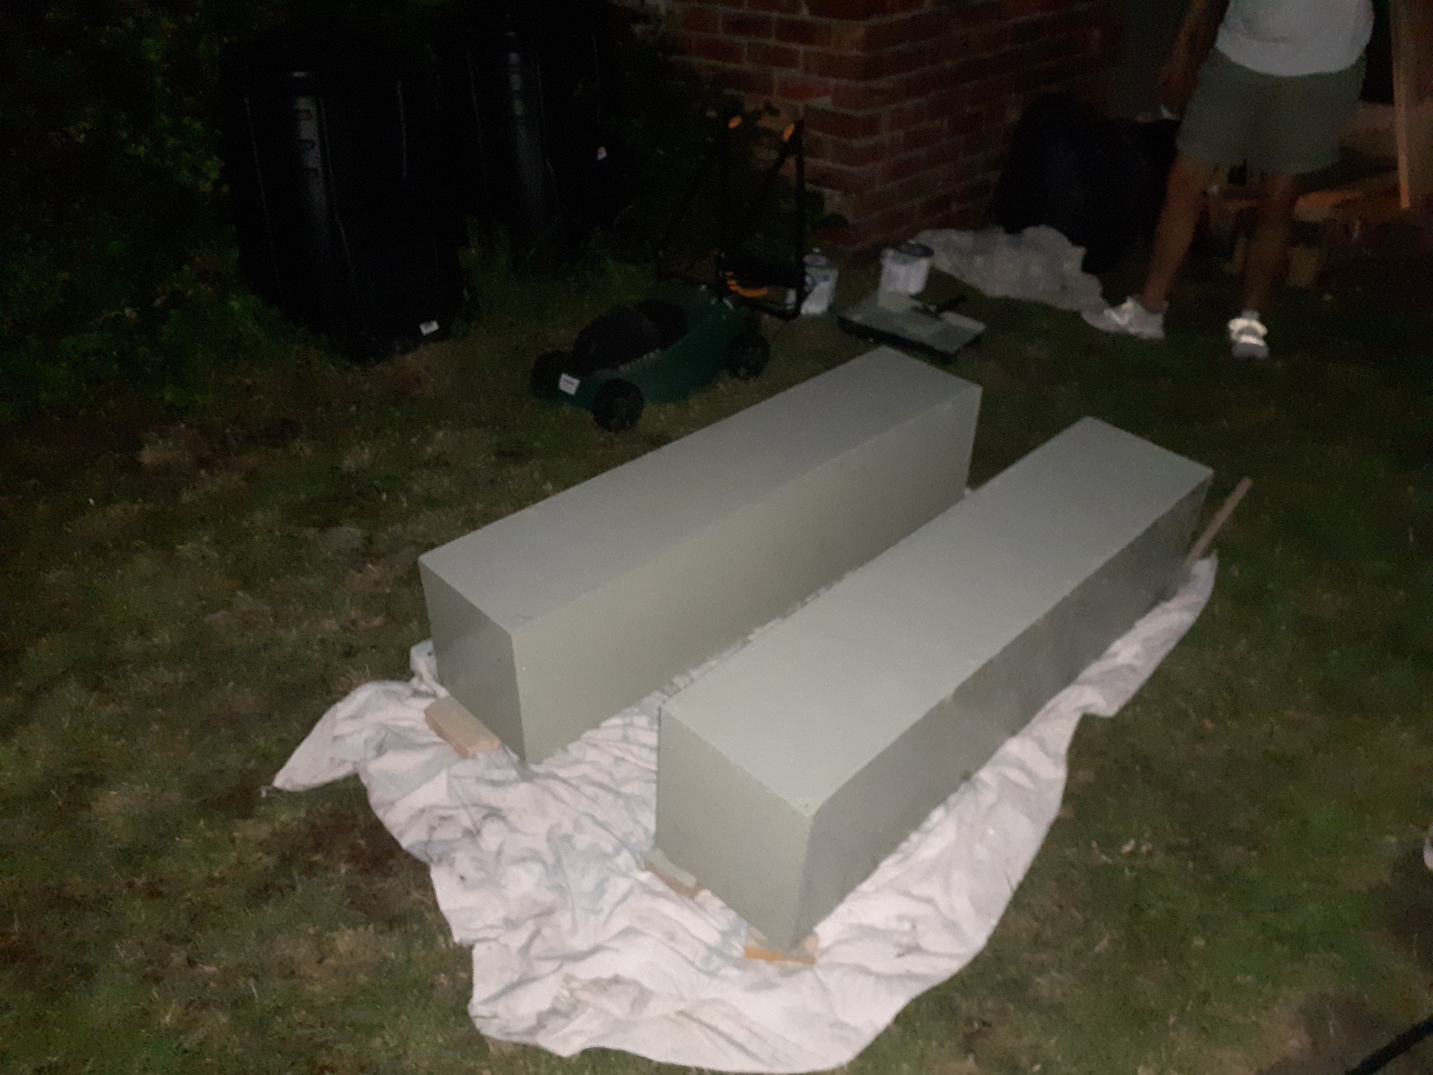
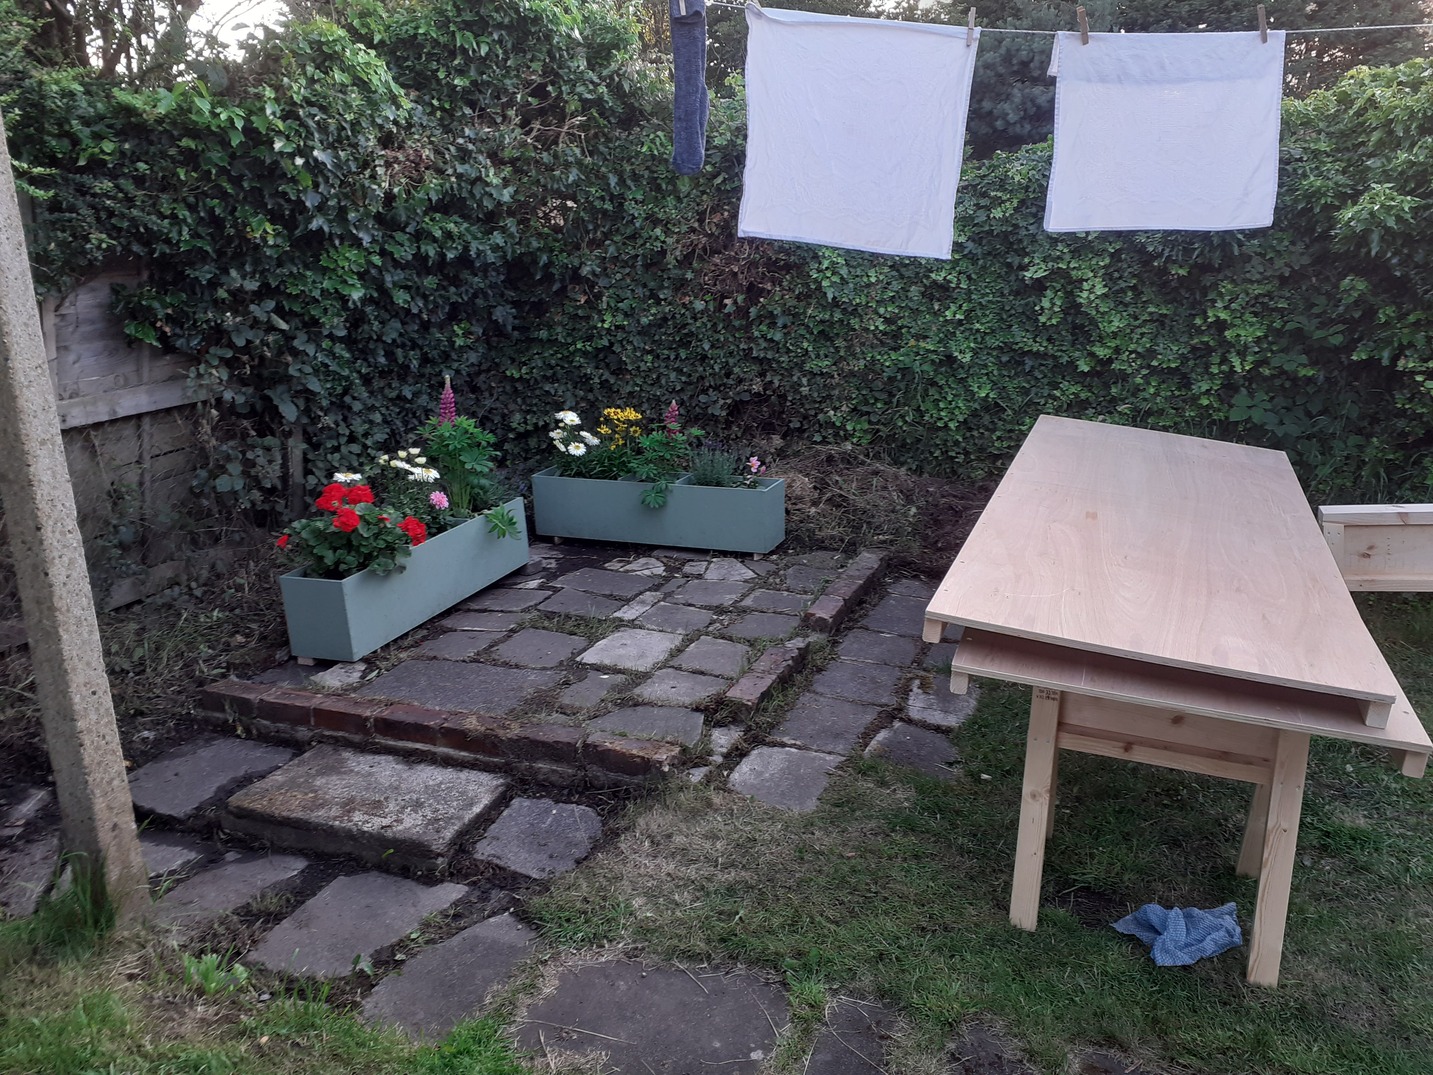
Each sheet of 1/2" OSB yields three planters (if I recall correctly), and the first set were all waterproofed. Dad made the rest and Mum painted them and then lined them with builder’s plastic:
A wooden chalet wall
One great sheet of 3/4" osb was clad in pine cladding and then oiled:
This stands on two feet on the worksurface in the kitchen and has pans hung on it. It was a wedding present, so it made sense to do it first. But in fact, I over applied the oil that evening, left it overnight, and had partially dried oil to remove the next morning with a stiff cloth. Notes for applying drying oils (like boiled linseed):
- you can over apply.
- don’t use wire wool unless the surface is glassy. Yes you get a lovely finish—but the wire wool will catch and stick to every tiny imperfection in the grain.
- apply many small coats rather than one big.
In other words, it’s much more like paint. On the other hand, with raw linseed I soak and even heat it to get it right into the wood.
Tables
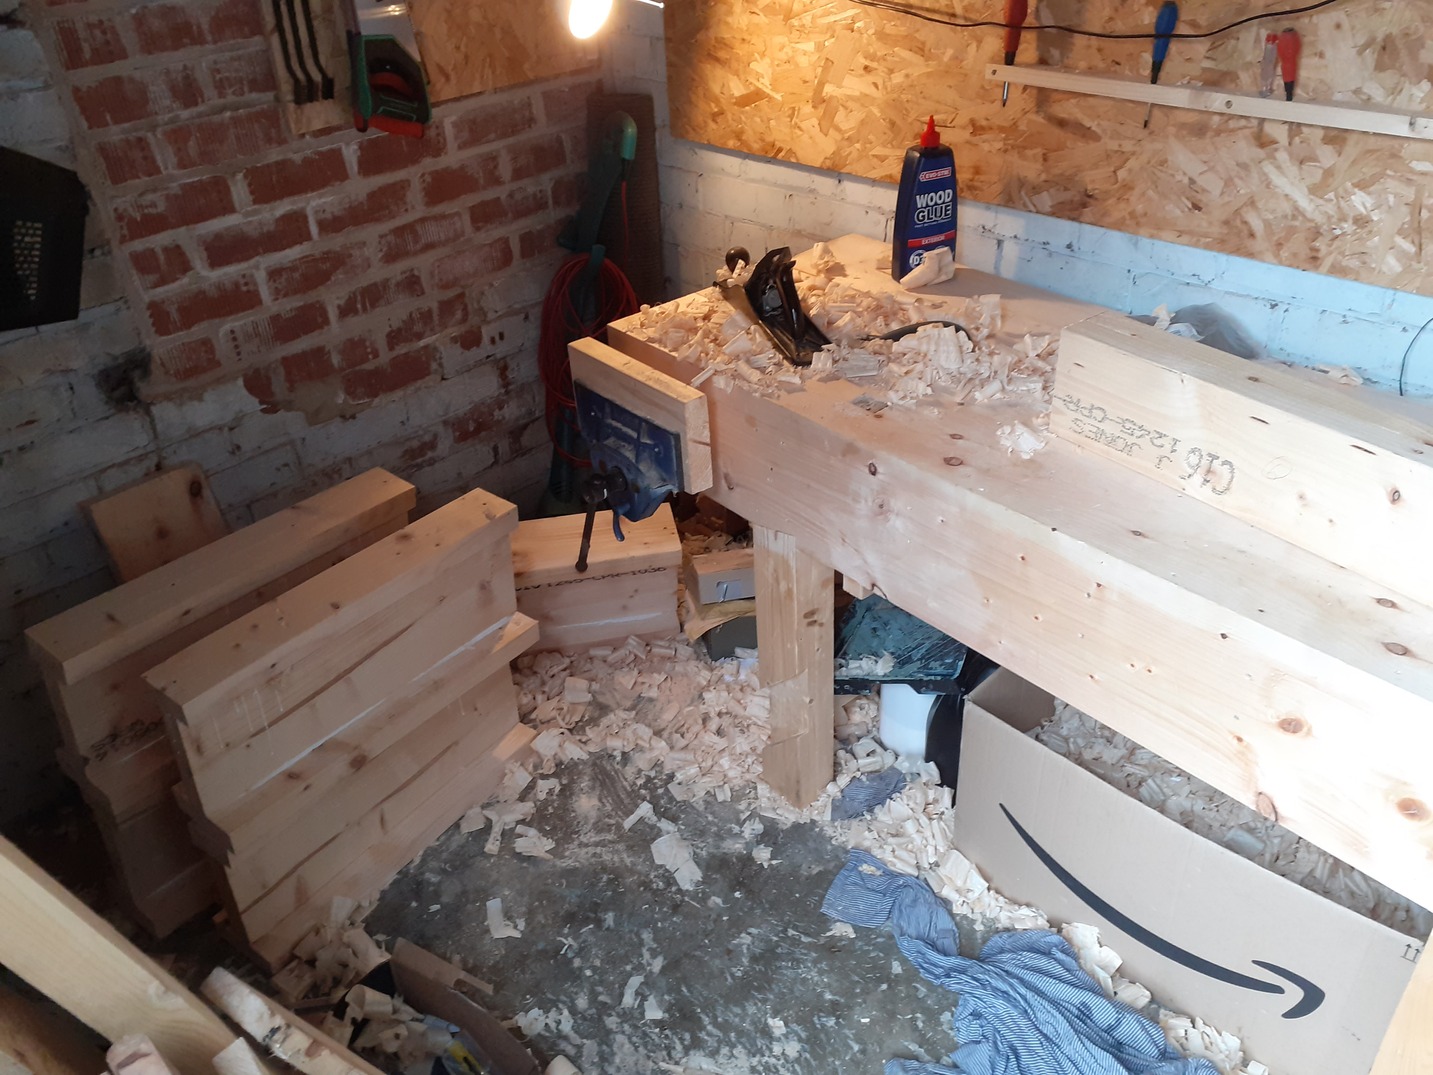
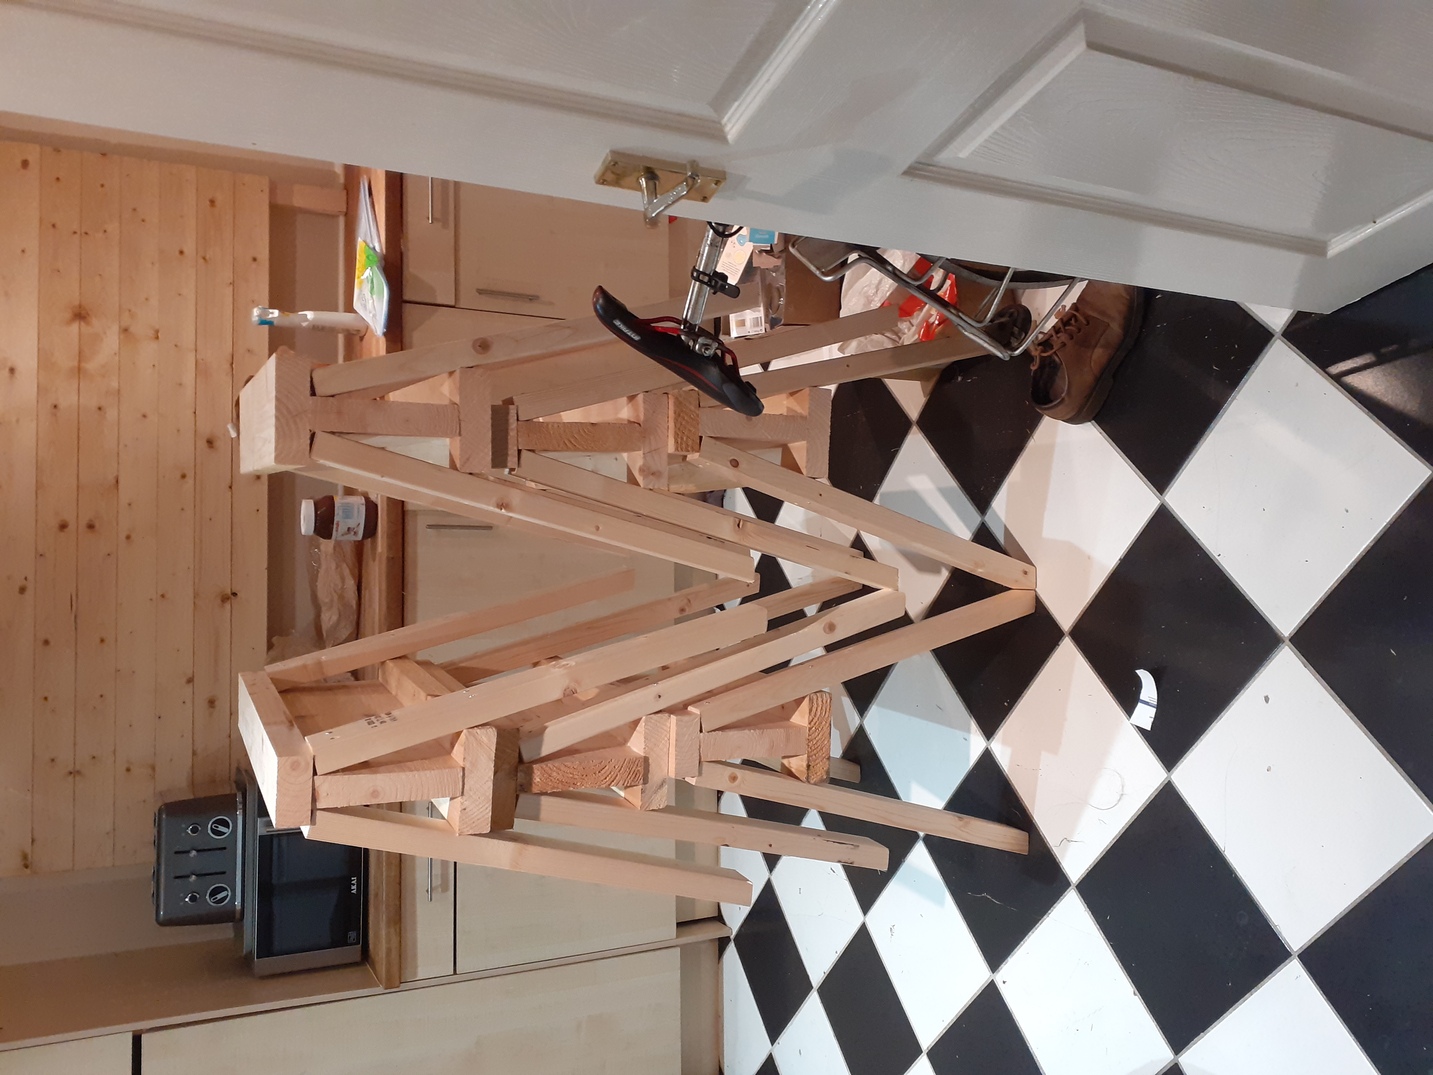
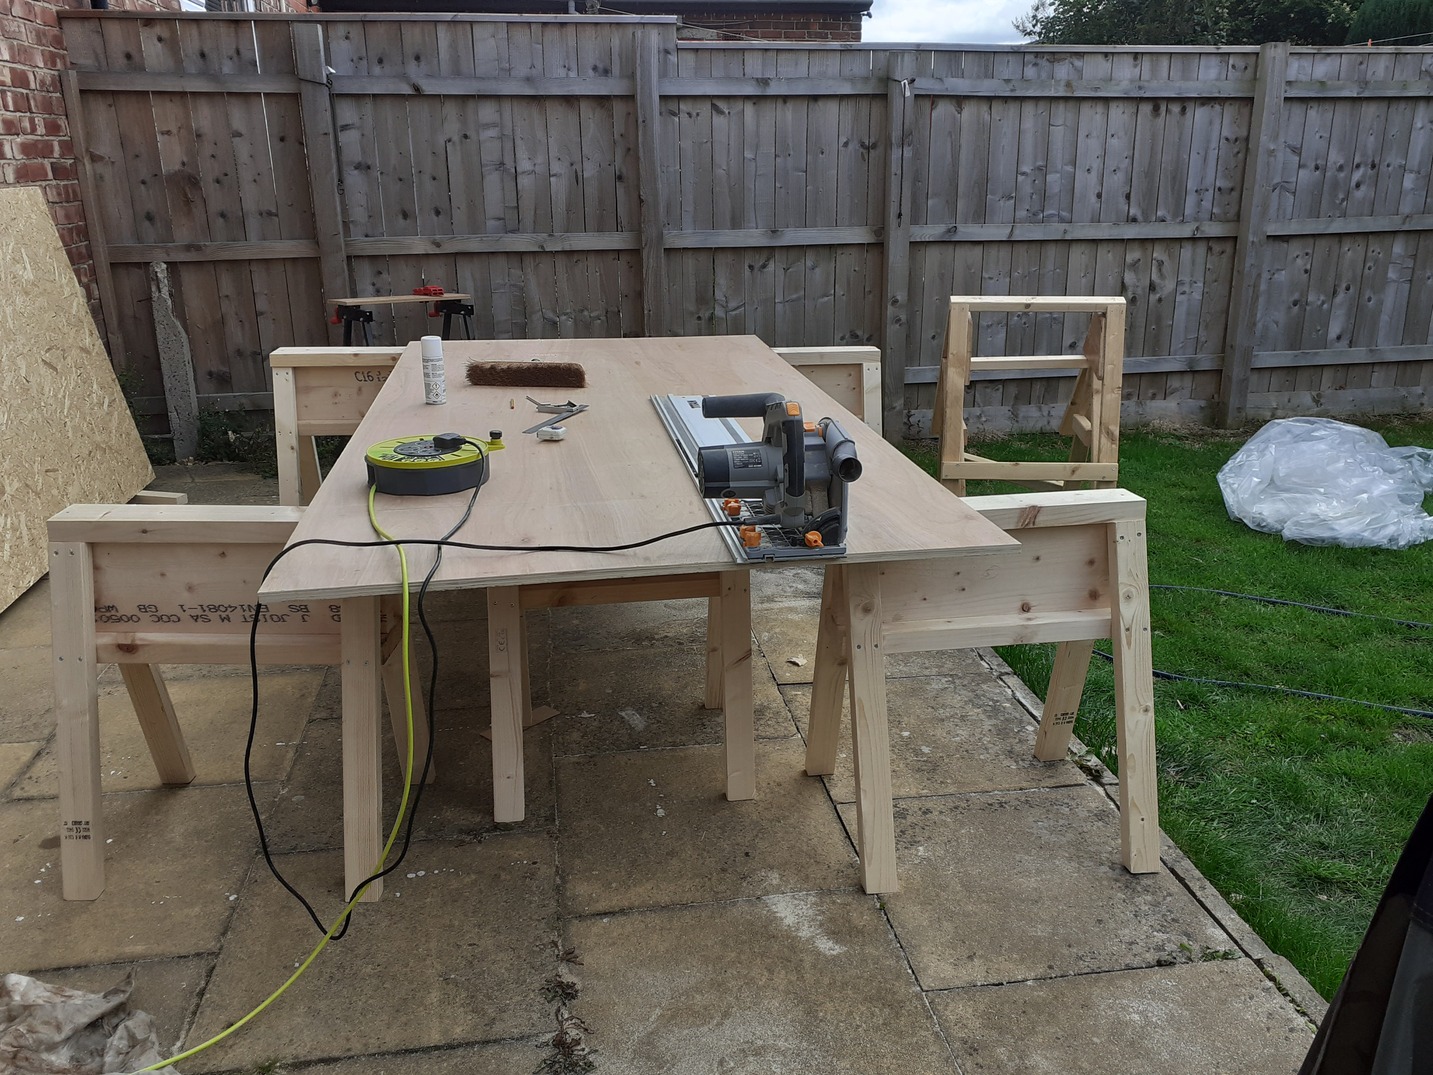
The trestles had to be planed flat top and bottom of the long end of the I-beam and flat and square all round for the horizontal pieces. Twist was taken out in the long piece, but the faces were not made parallel. Gluing up was done by eye with one end of the I-beam, and then using the bench top to register the other. The result by the evening was a pile of trestles:
After which the legs could be cut to length:
And screwed in place with the trestles held in the vice:
then wedged up flat on a sheet of ply and scribed flat:
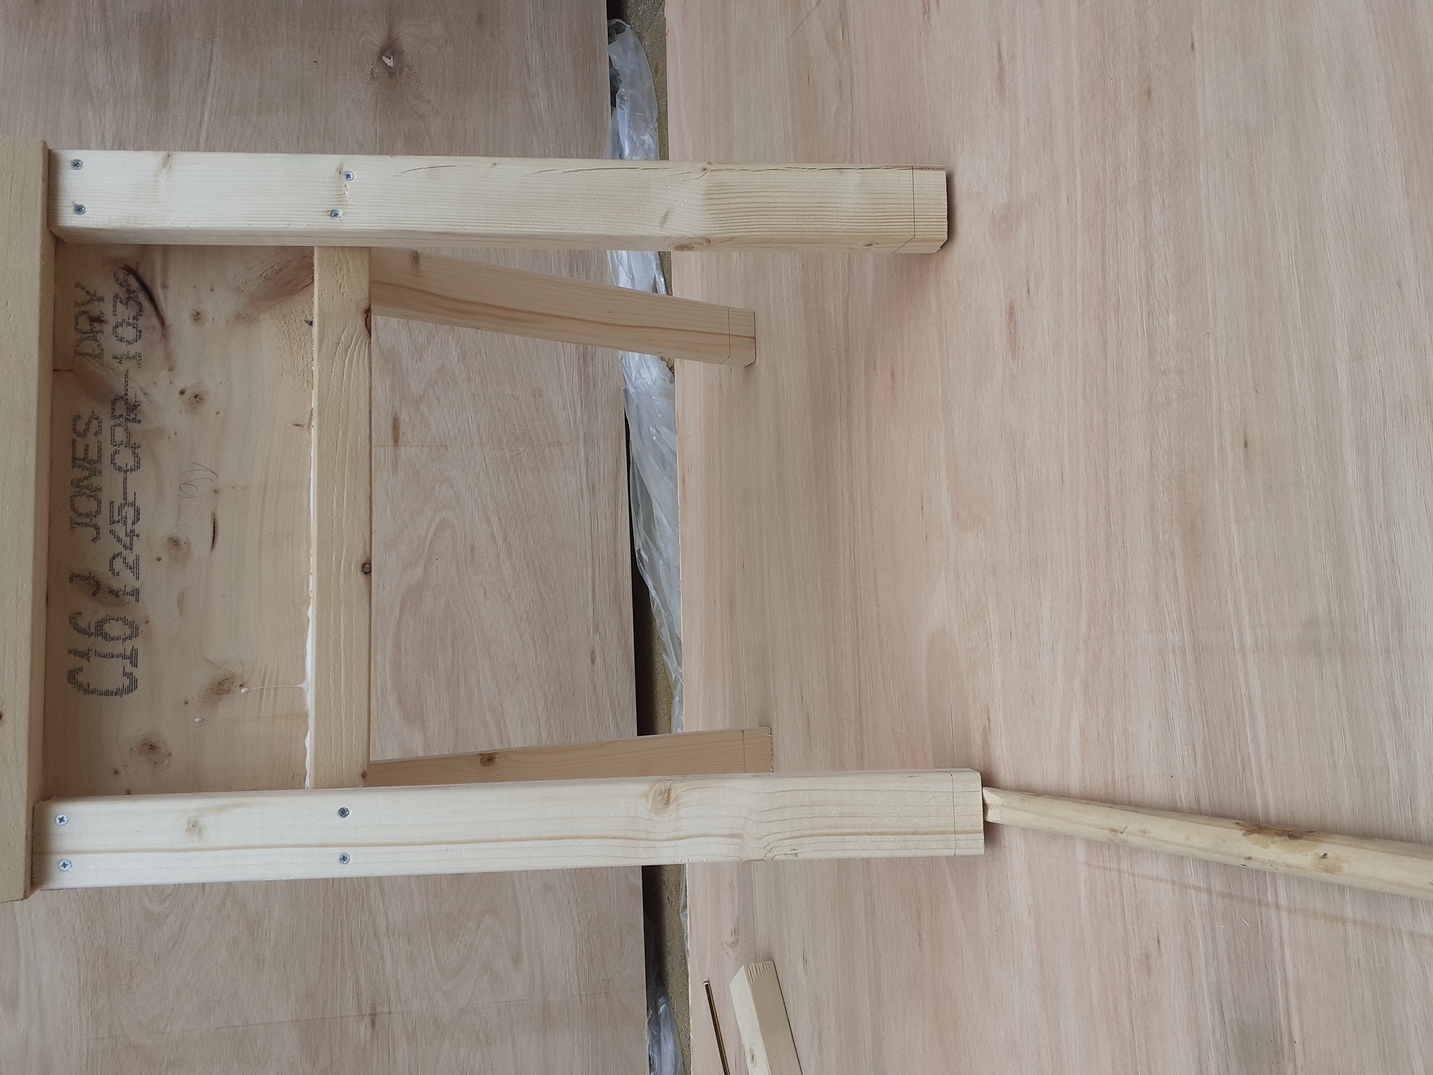
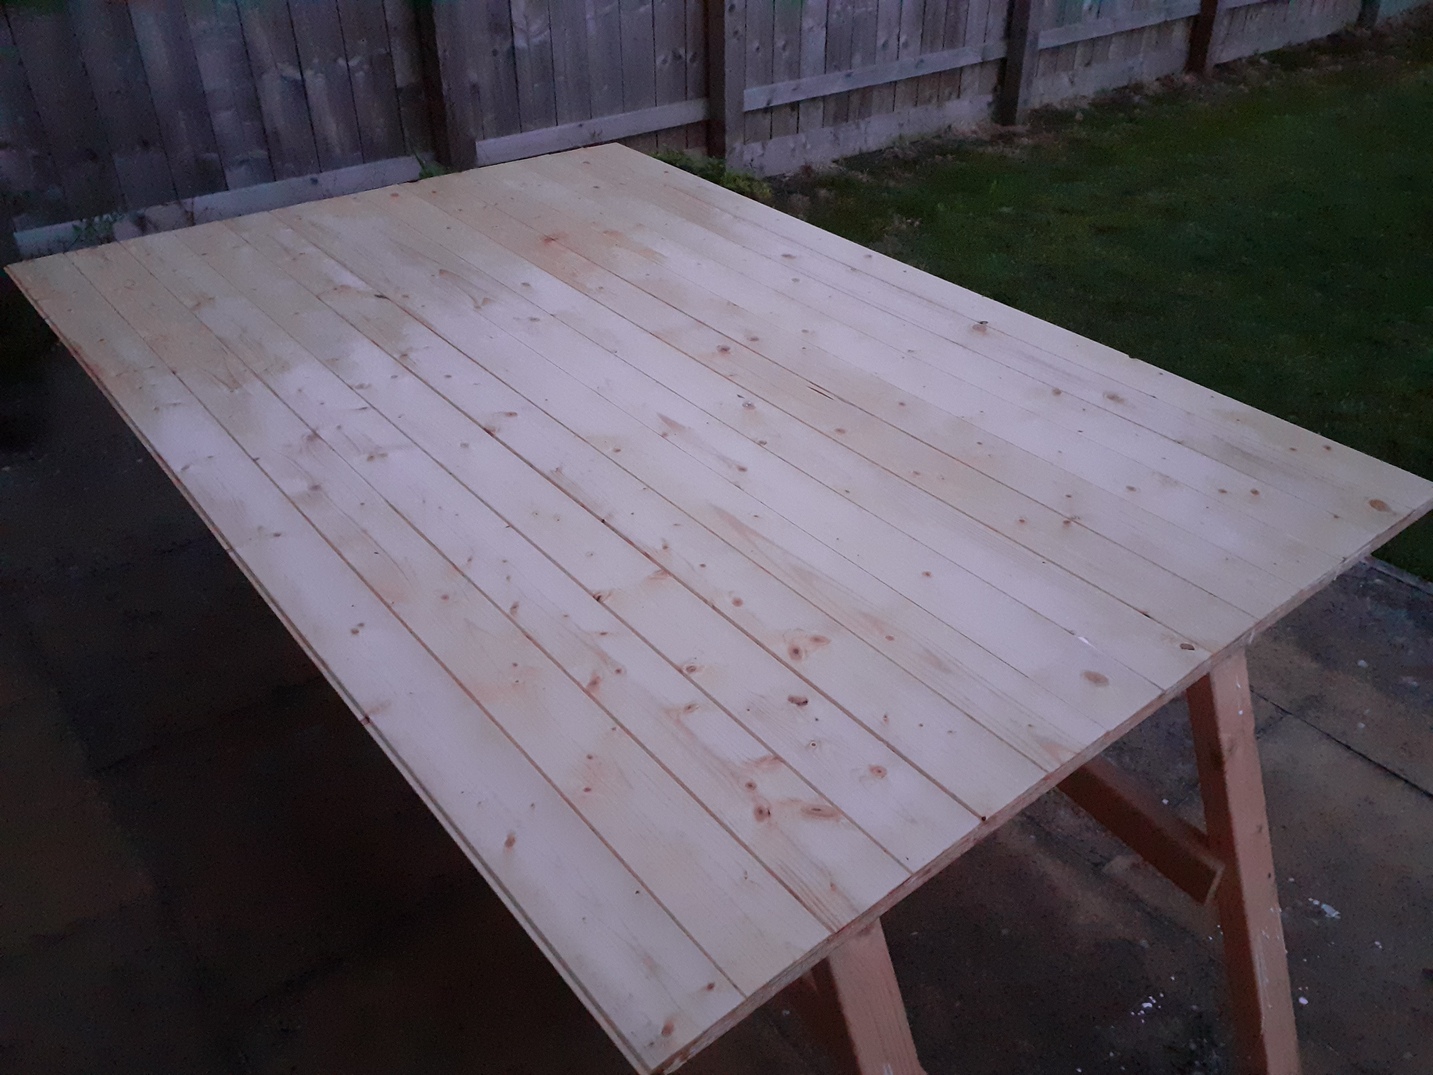
Here they all are:
The table tops are merely 18mm exterior ply, 8’ in length with 18" cut off one side with the plunge saw, and CLS screwed along to prevent bending. The edges were pared off with the block plane.
Benches
The benches were from the same rough sawn timber. The legs were planed smooth (rather than flat) and rounded all round, with a notch in the middle. Originally I planned to use this as a bracket, but my cutting was not precise enough—given that three tables needed six benches or twelve feet, it was all done rather fast. One understands why traditional woodworking does not use butt joints if possible: a degree of error is invisible in a cut like this but immediately ruins the joint. And I was not planing 24 faces just for a little bit more security. So the joining face was flattened and squared with the plane, and the feet end was done by eye. Here they are with edge marks:
Then the benches themselves had to be prepared. The undersurface was planed only in the region of the joints, which were aligned with winding sticks (I could probably do with some longer winding sticks, and I think these have since disappeared):
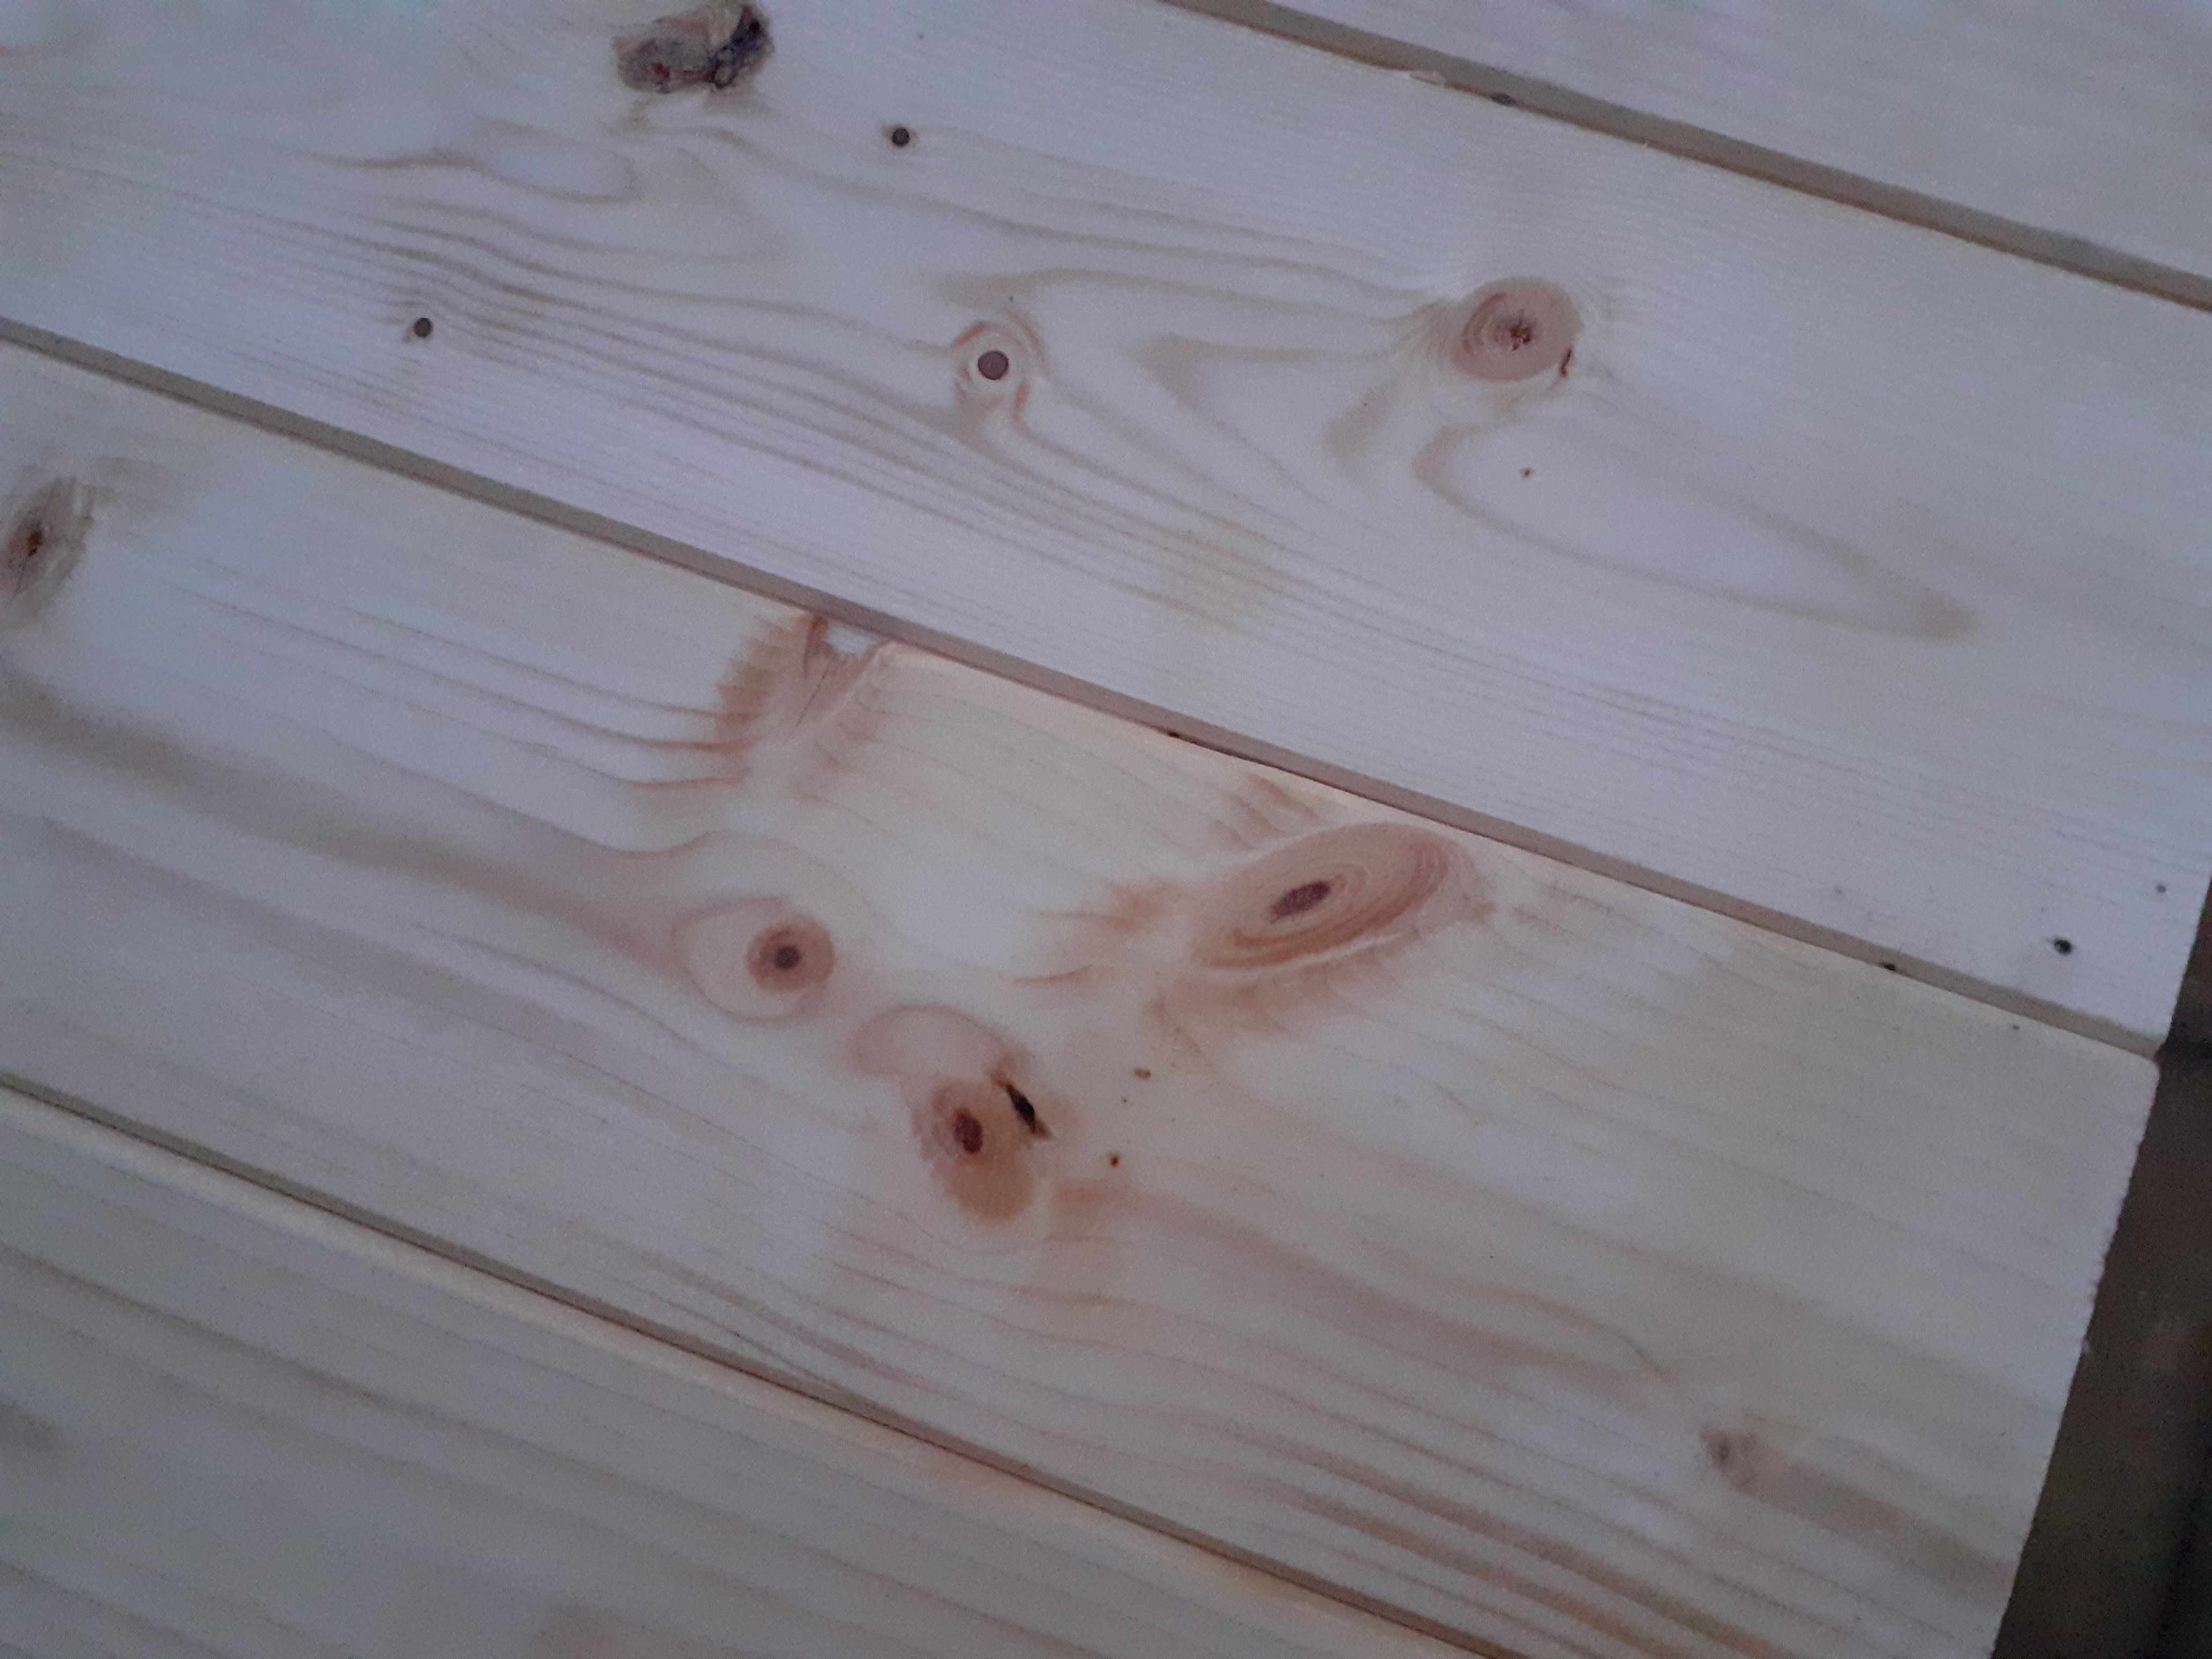
Then the top face and both sides were straightened, flattened and rounded fairly heavily with the planes:
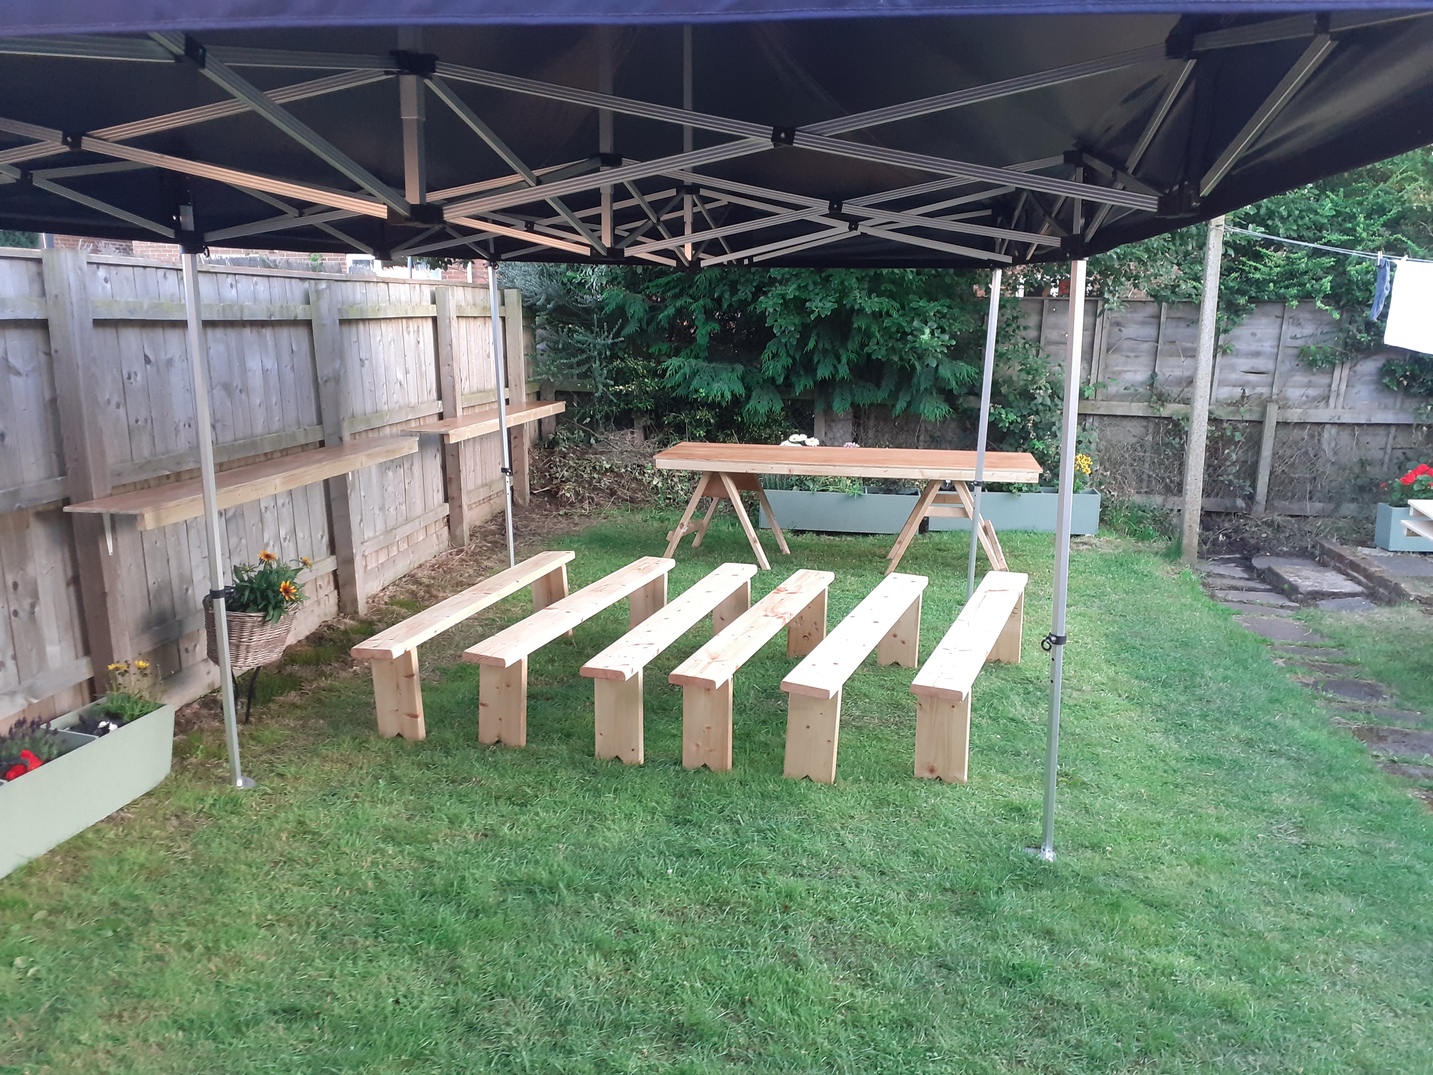
and the legs glued and screwed in place. Here they all are:
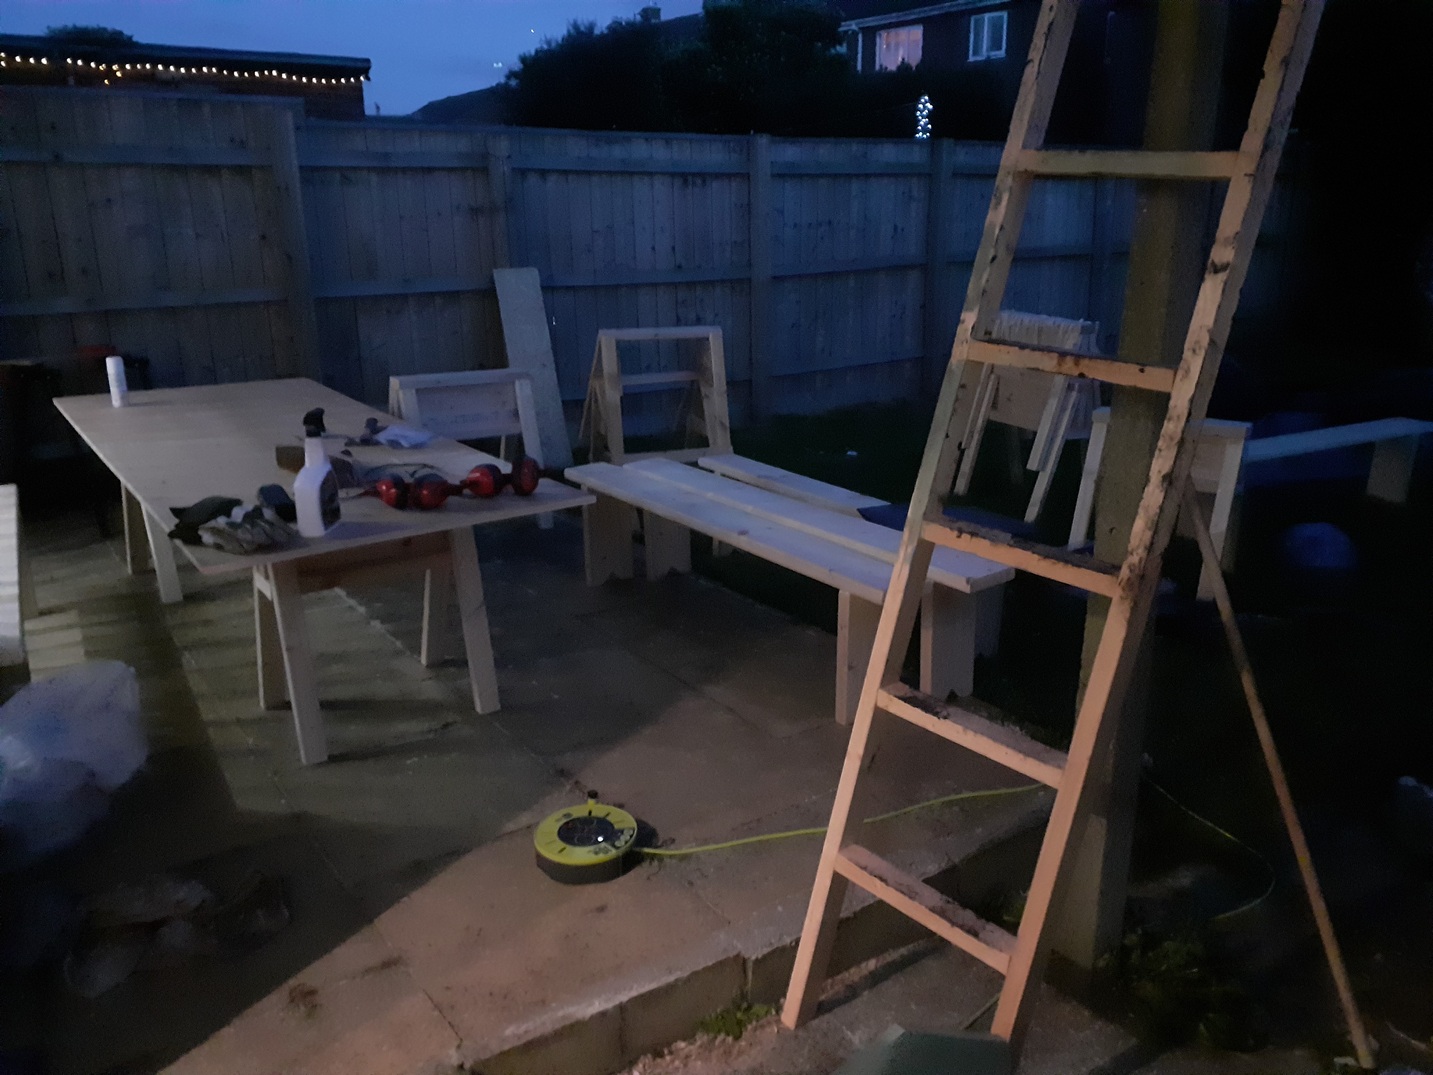
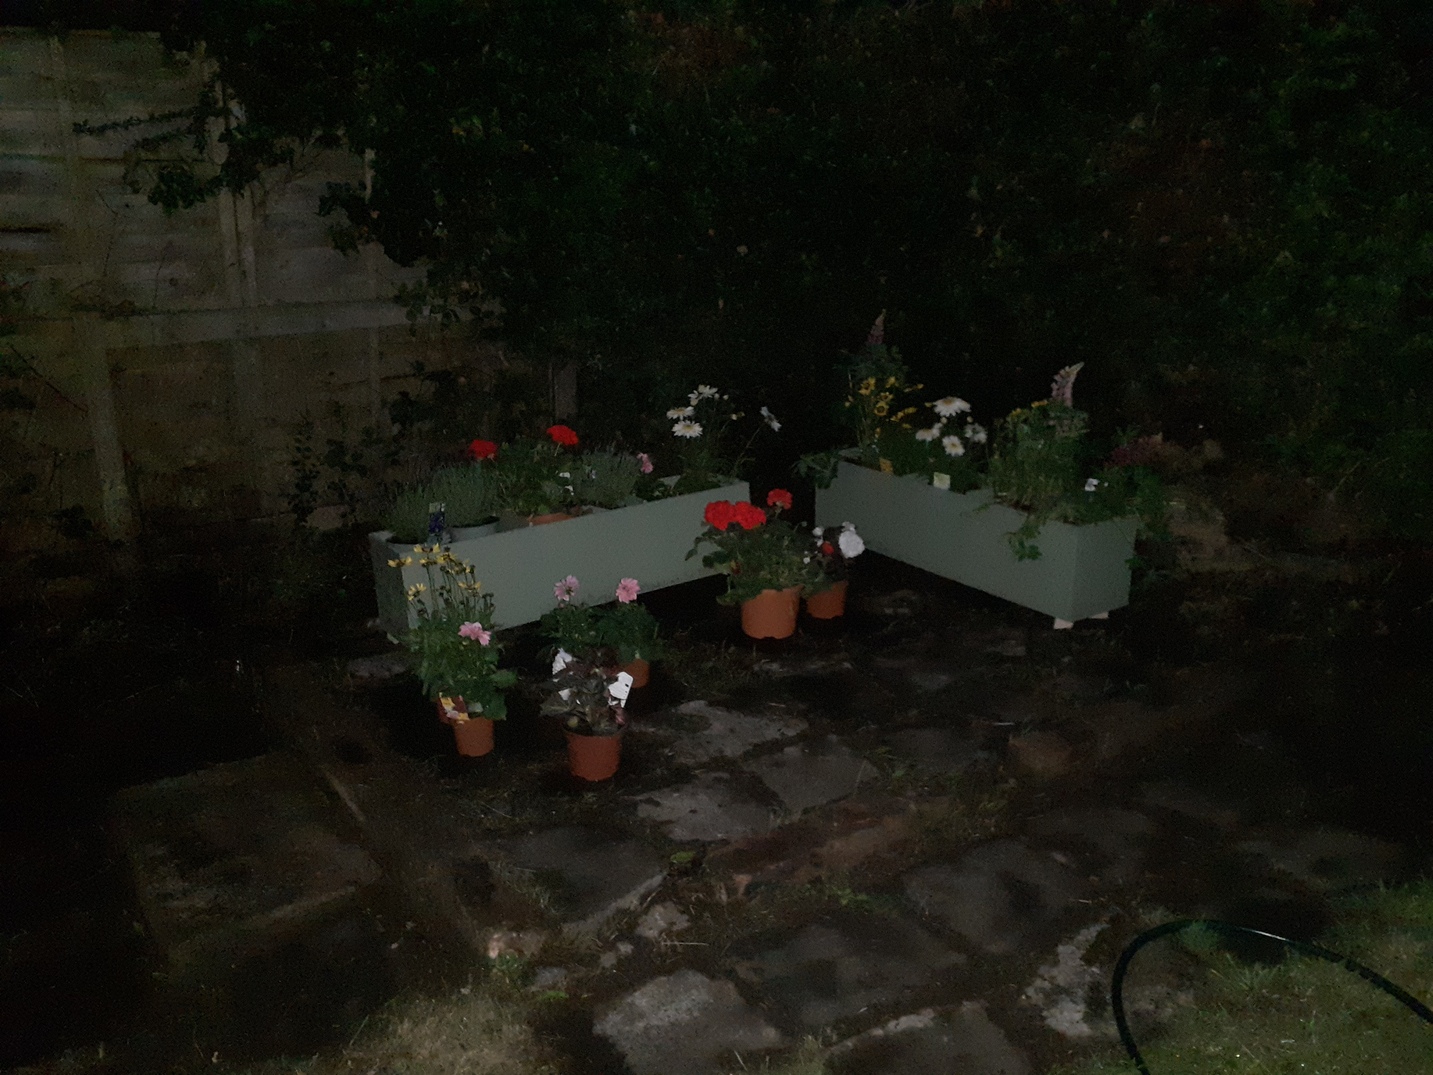
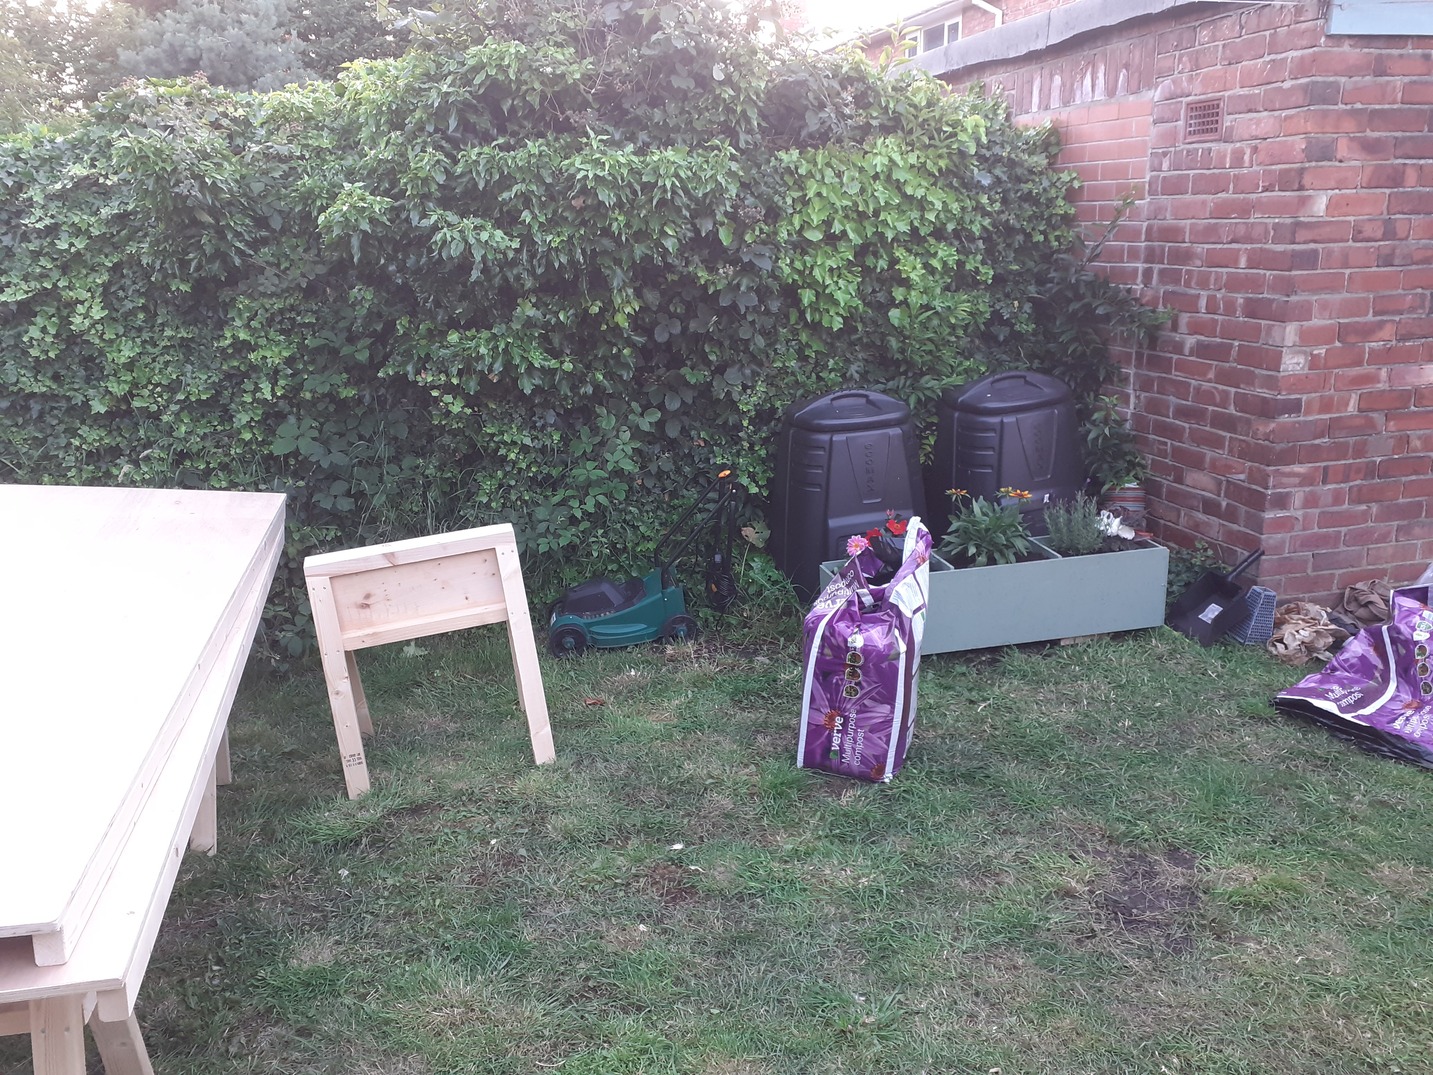
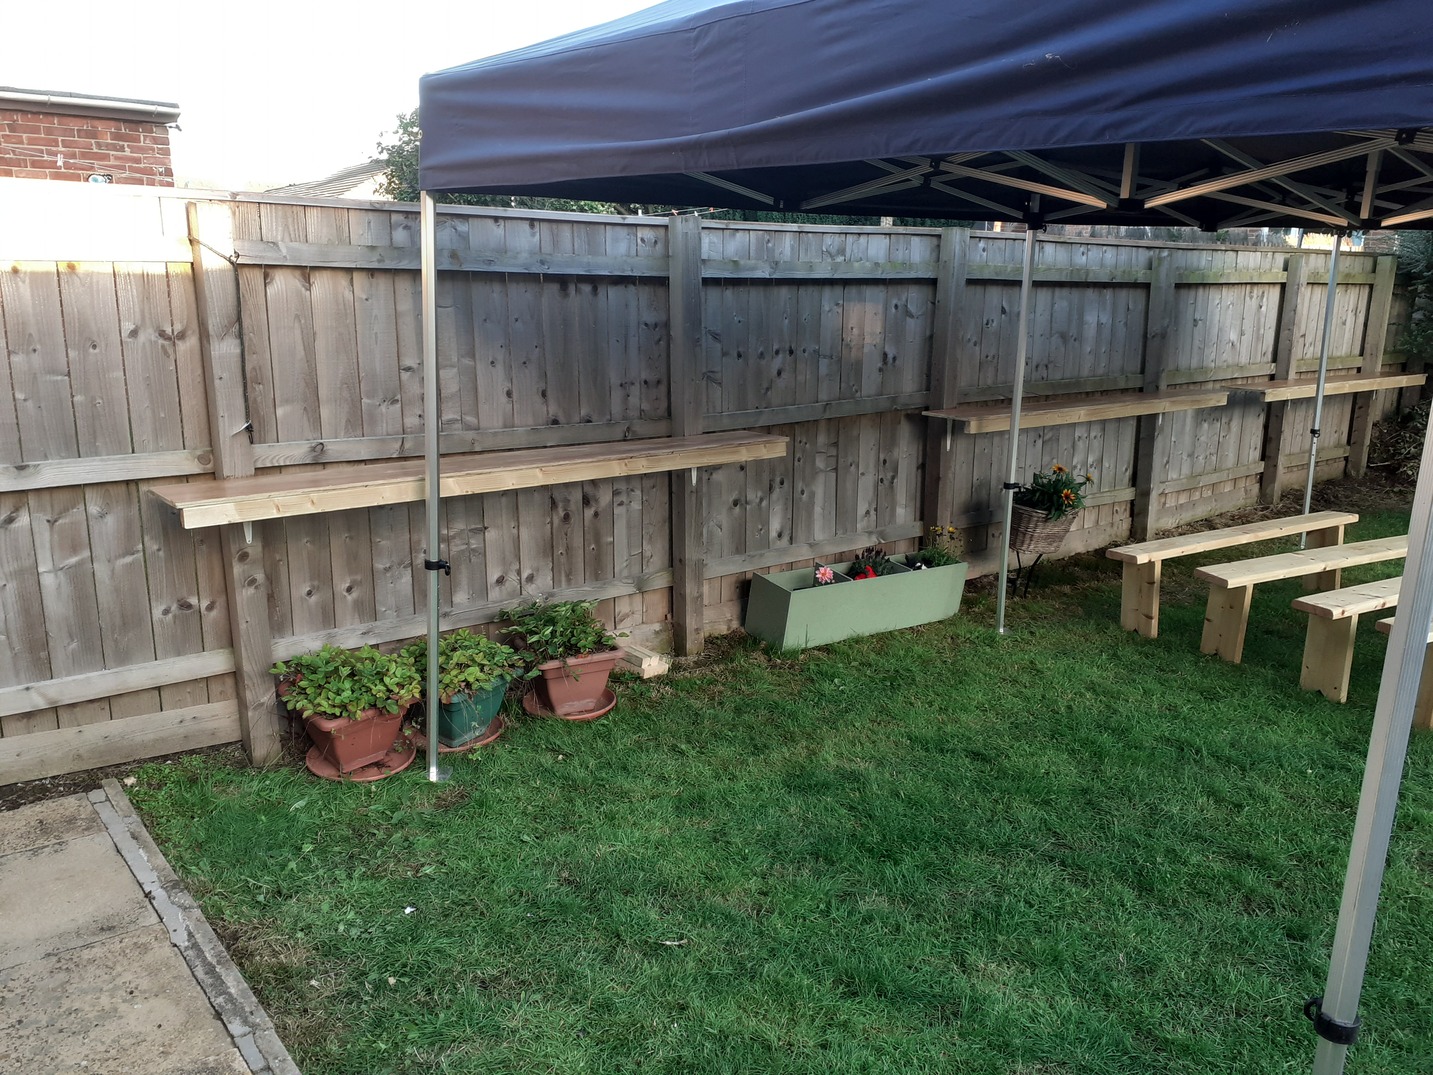
And the garden almost ready:
Then it was just coats of oil (thinned with turpentine substitute to ensure it dried in time) on all the benches, shelves up on the fence for the buffet, coated with yacht varnish and with another CLS along the length to prevent bowing (which Dad picked up in one of the many runs to B&Q).
What is not included here is all the work planting, clearing, weeding, painting, oiling, fetching and carrying, and generally turning what had looked like an overgrown building site into somewhere we could welcome guests, all of which was done by Mum, Dad and my sister whilst I was generating plane shavings. Not to mention cutting down piles of vegetation and digging out the soil which had covered the rear paving, which my wife did a month or so before when we thought we might just have to use the garden, or the cooking and decorating and everything else which my in-laws did on the day before and even the morning of the wedding itself.
Here is a photo chosen purely to show the furniture in use:
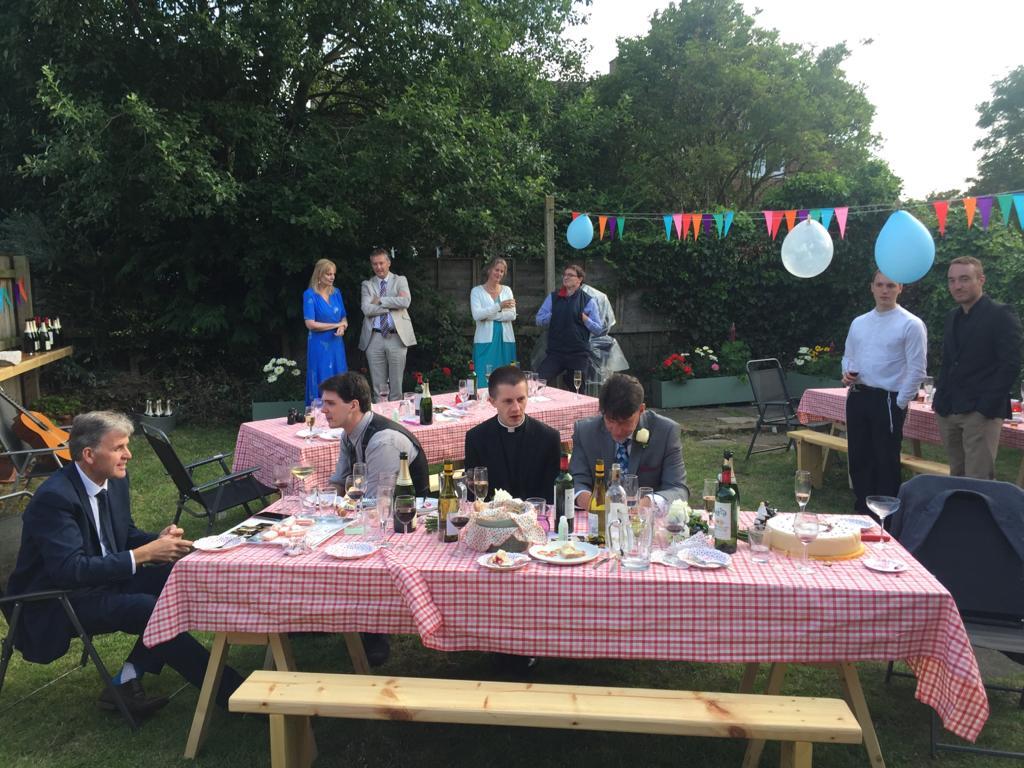
As for the others… well, I shall not bore you with wedding photographs here, except for this one, which showcases nothing made by human hands at all:

Post-scriptum: Working by hand
Doing this kind of thing in a hurry has the salutary effect of curing bad habits. They become painful after about half an hour. Thus:
- get low and use your weight. Bend from the knees, not the back.
- a low bench is a very good thing (this bench is nice and low)
- sharpen tools the moment they need it. Once or twice I let the plane get a tad too blunt. Sharp it just slices through softwood: on a deep cut the wood purrs as it folds into the waste; shallow pairing lifts an even wafer all over. Slightly blunt and you are fighting the tool and the workpiece, and it wanders everywhere with the grain.
- economise on tool changes: all the coarse planing, then the fine, etc.
- a sharp chisel covers a multitude of sins.