Background
This workbench is built almost exactly to a published design and following the videos. One has to buy the videos. This is the first time I have ever done anything like this, and it was a very good idea. Buy them; watch them; copy them. Unless one is very lucky one simply doesn’t get to watch a good craftsman up close very often, but the ability to pause, zoom, replay, and see exactly how to position your hands and body when paring with a chisel, for example, is worth any amount of textbooks.
Notably:
- it’s made from pine. Pine, apparently, has the advantages (besides being cheap) of gripping better, being lighter, and not mattering. So you can put a nail in it to hold a workpiece in place and not worry.
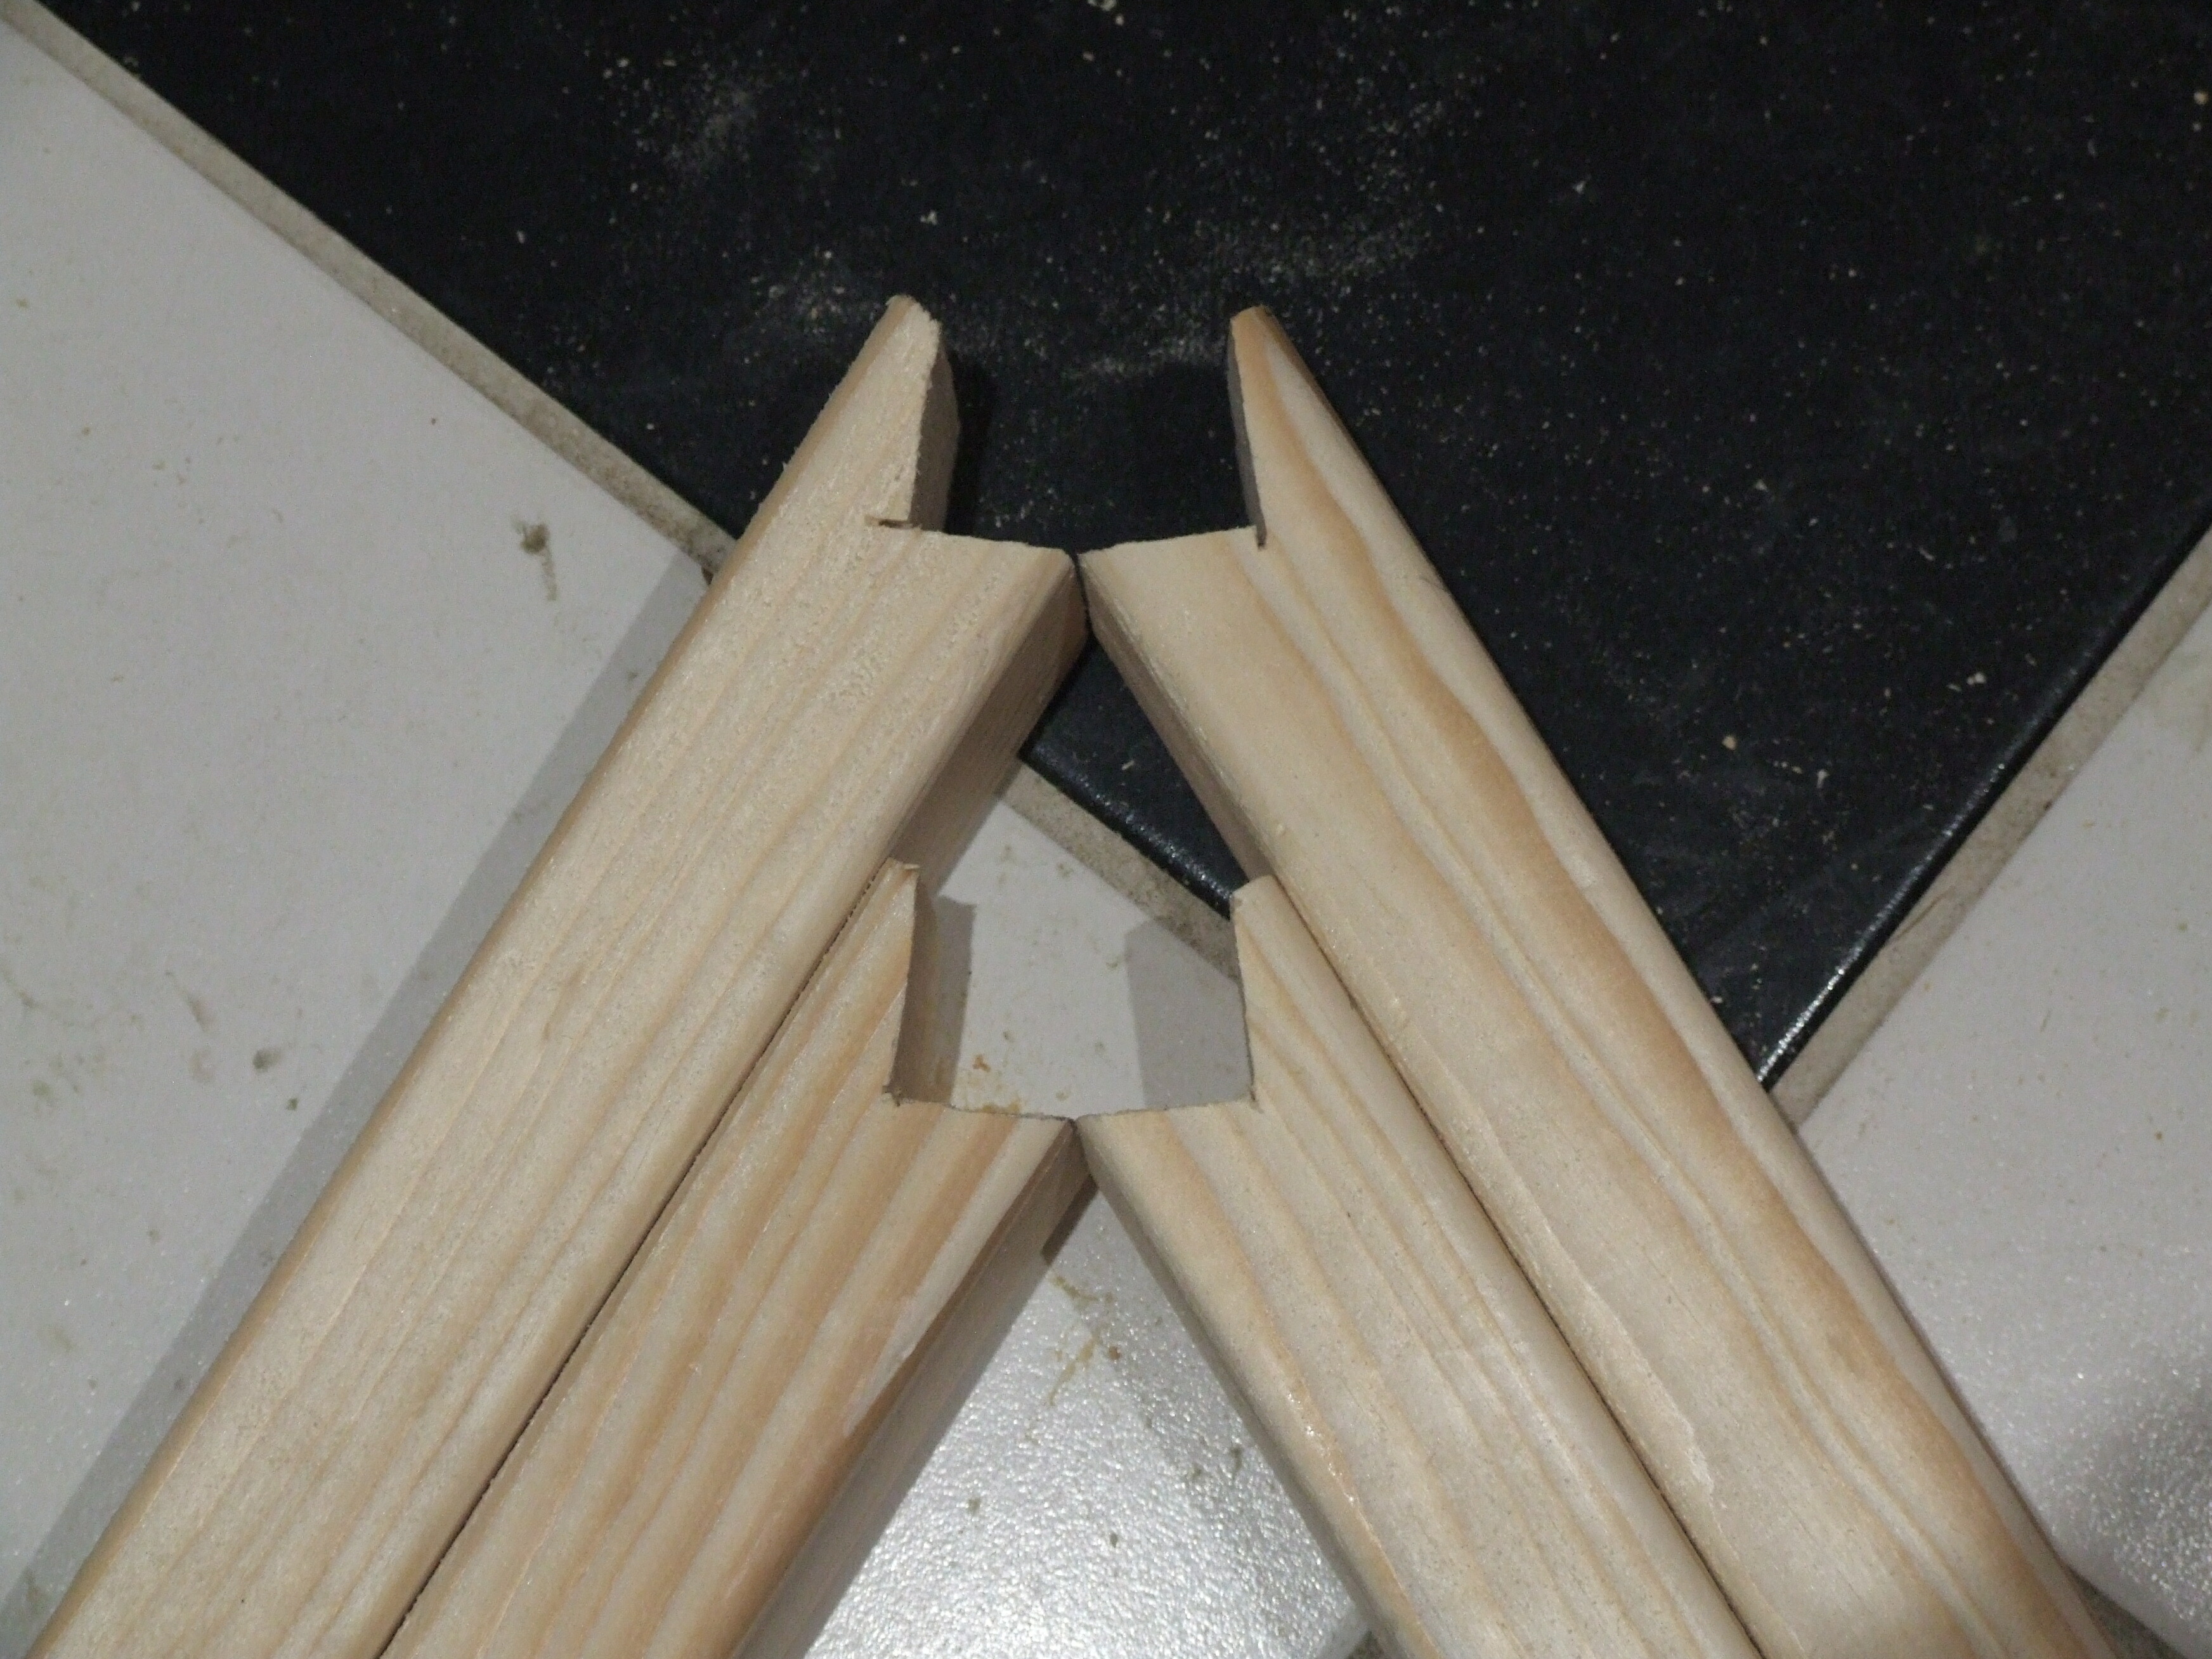
- stability comes not from weight, but from the massive (6") front apron and its dovetails
- the front dovetails are made with a gap (about 1/16") to allow for movement in the timber. (This makes sense as the notched edge is what provides the bracing, and the apron will get deeper rather than longer with moisture).
That said I’ve changed a few things. I have a small shed, so the bench had to be small—6’ in length, not the enormous 12’ of that design. Likewise, it is only 2’ deep. I have a record quick-release vice I found cheap on Ebay, so that went in instead of the wooden screw and handmade vice here. I couldn’t get 4x4s for the legs, so mine are laminated up from 2x4s; and I bought all of the timber rough sawn to force me to get efficient at planing up stock.
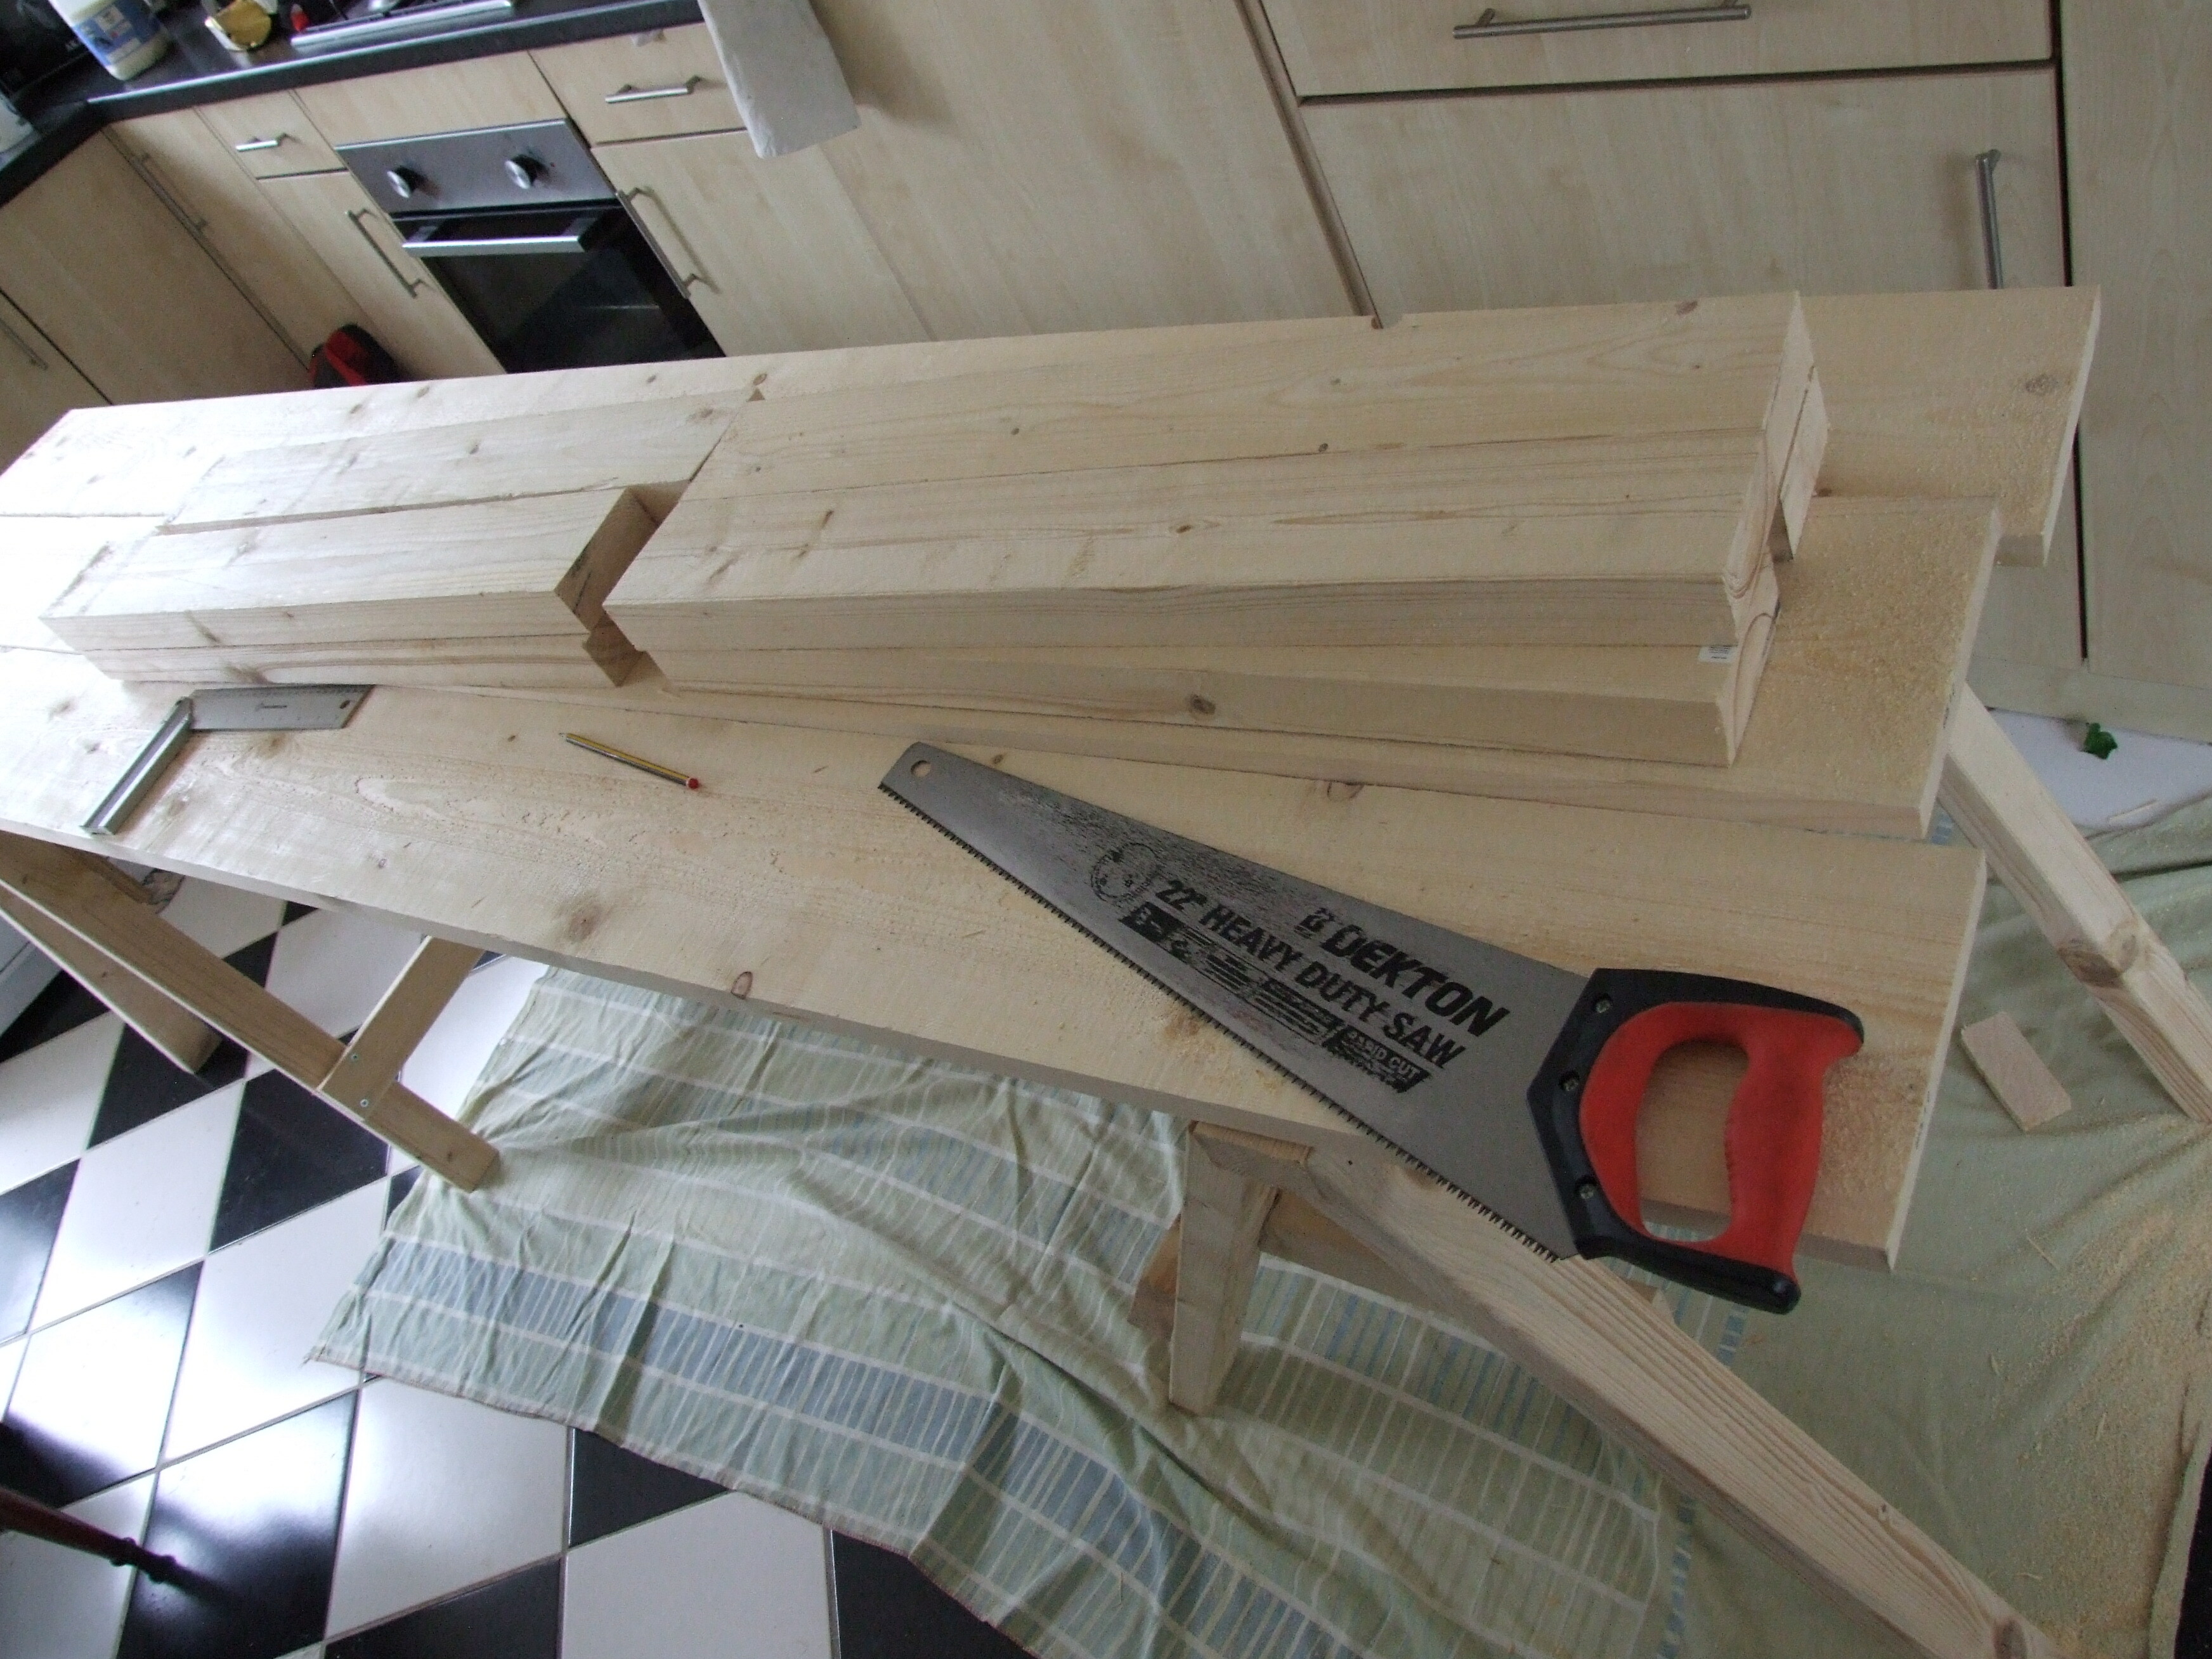
Frame
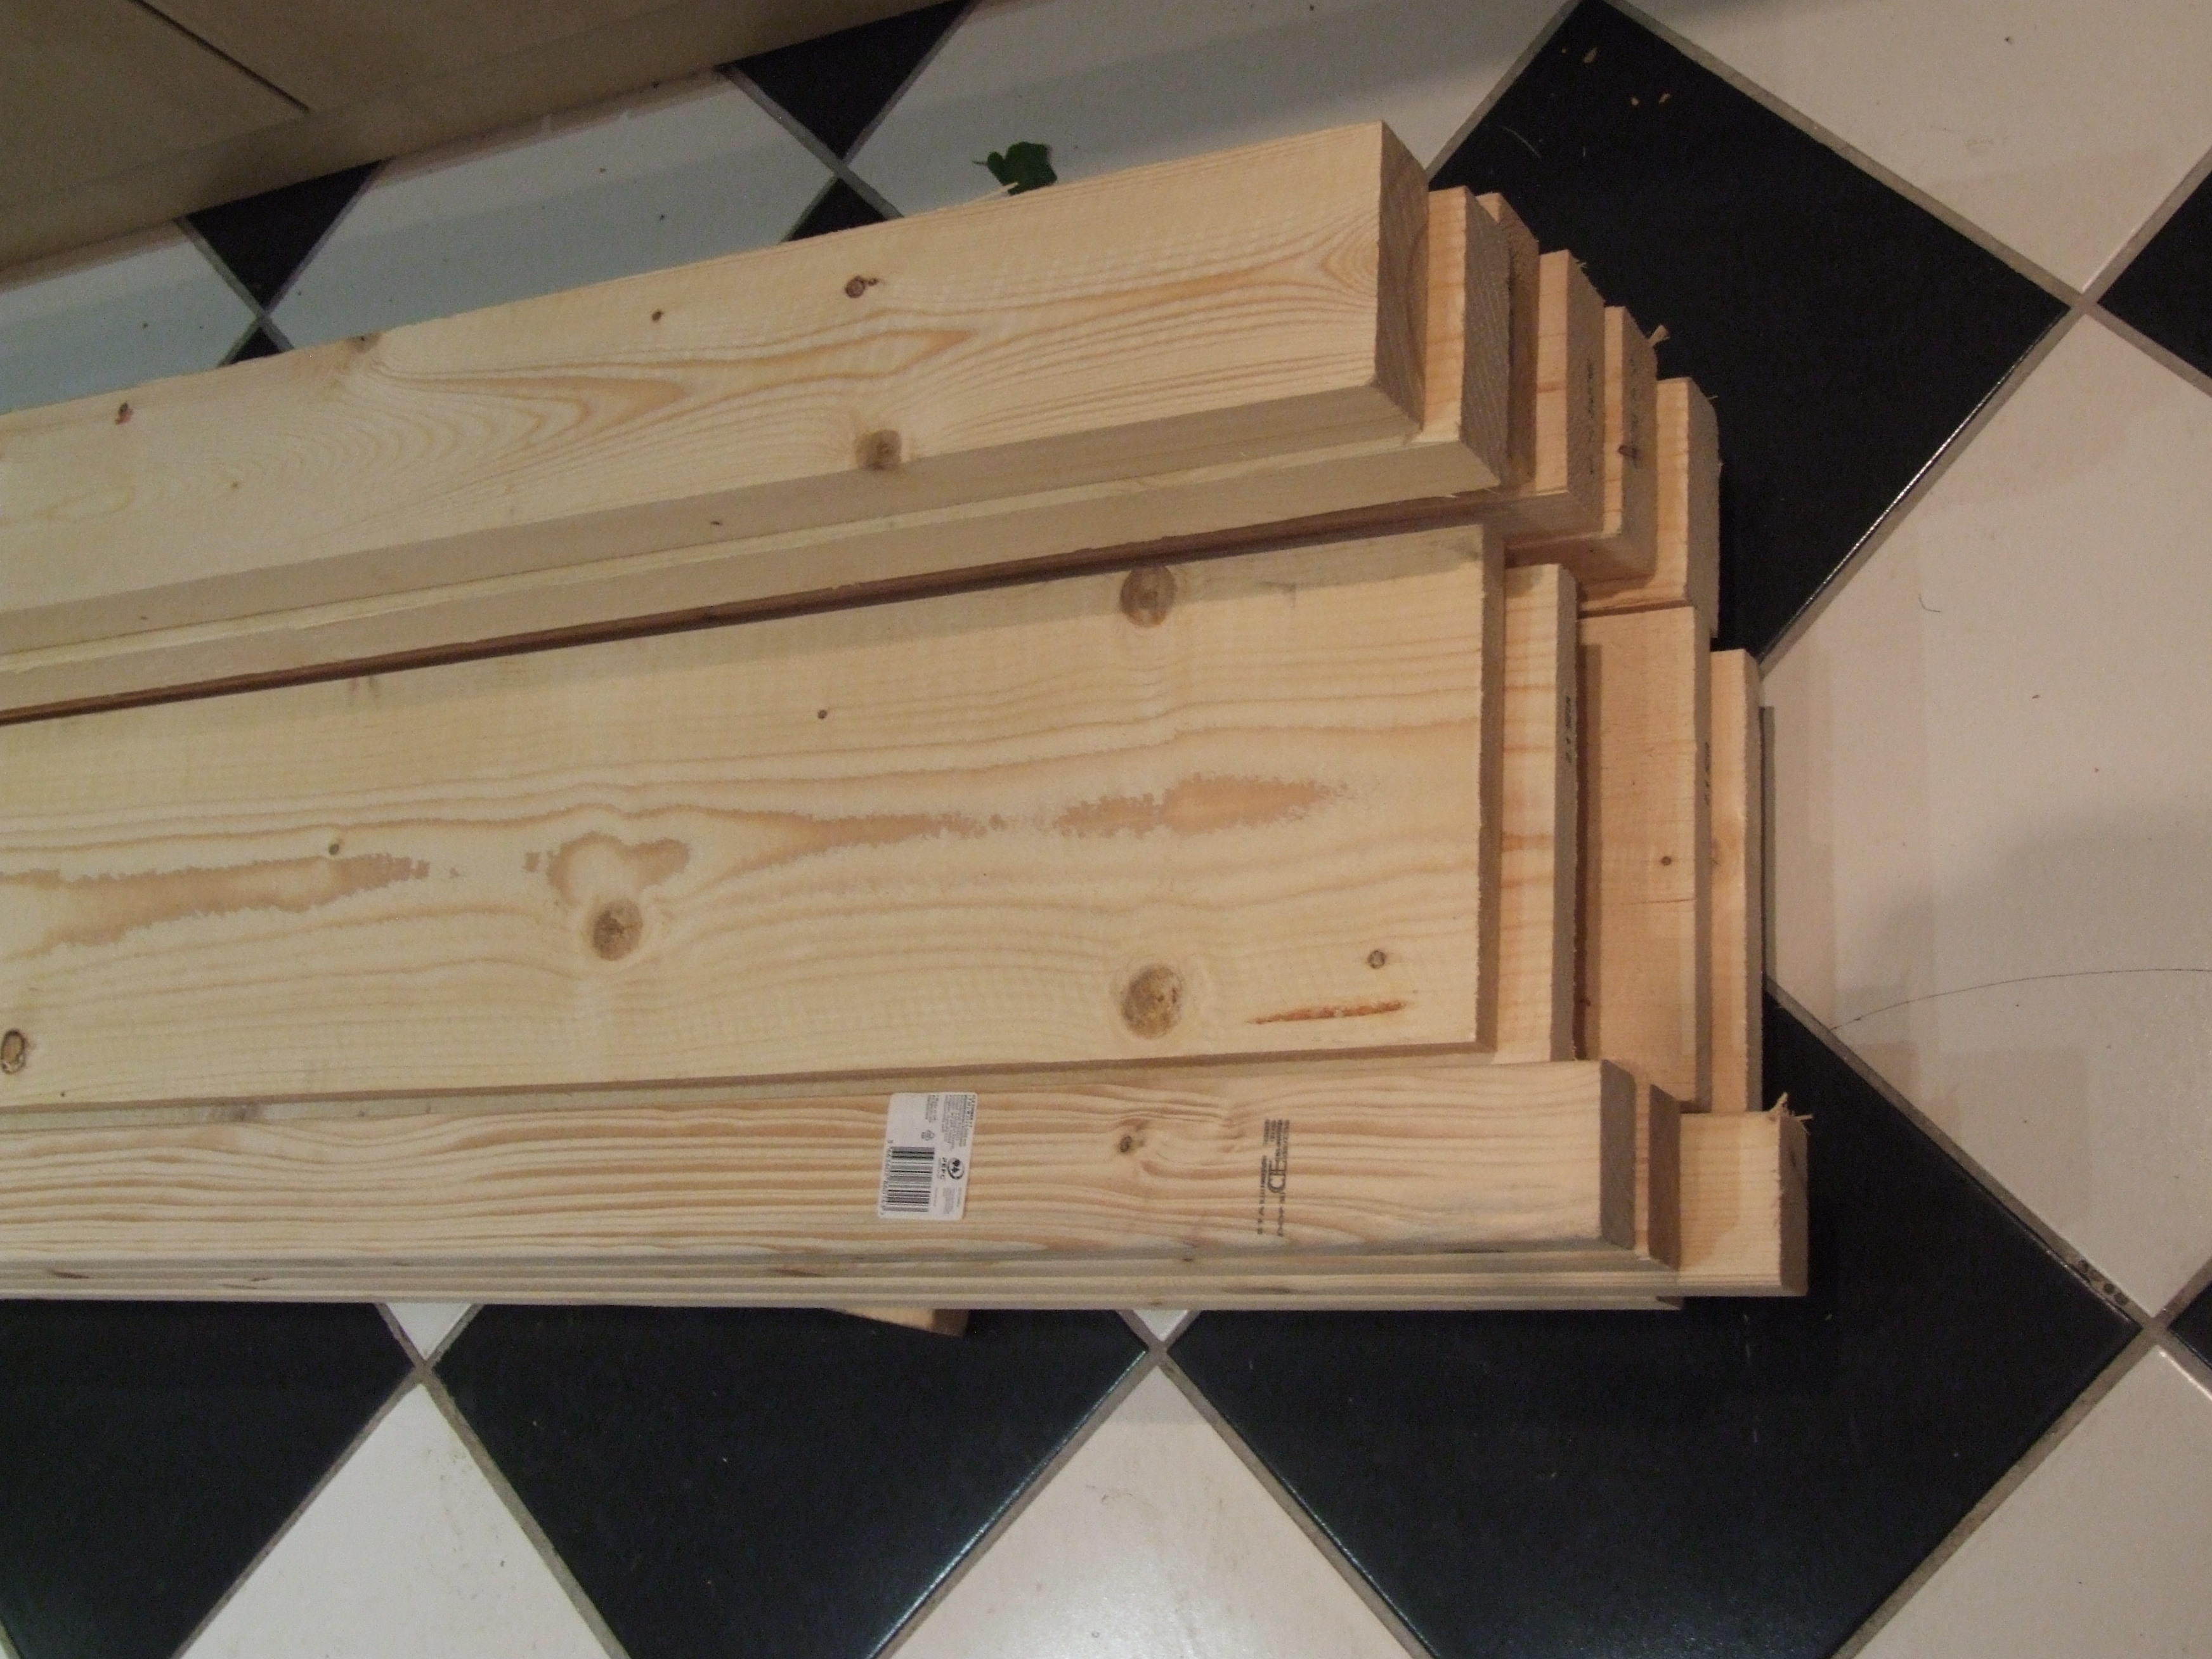
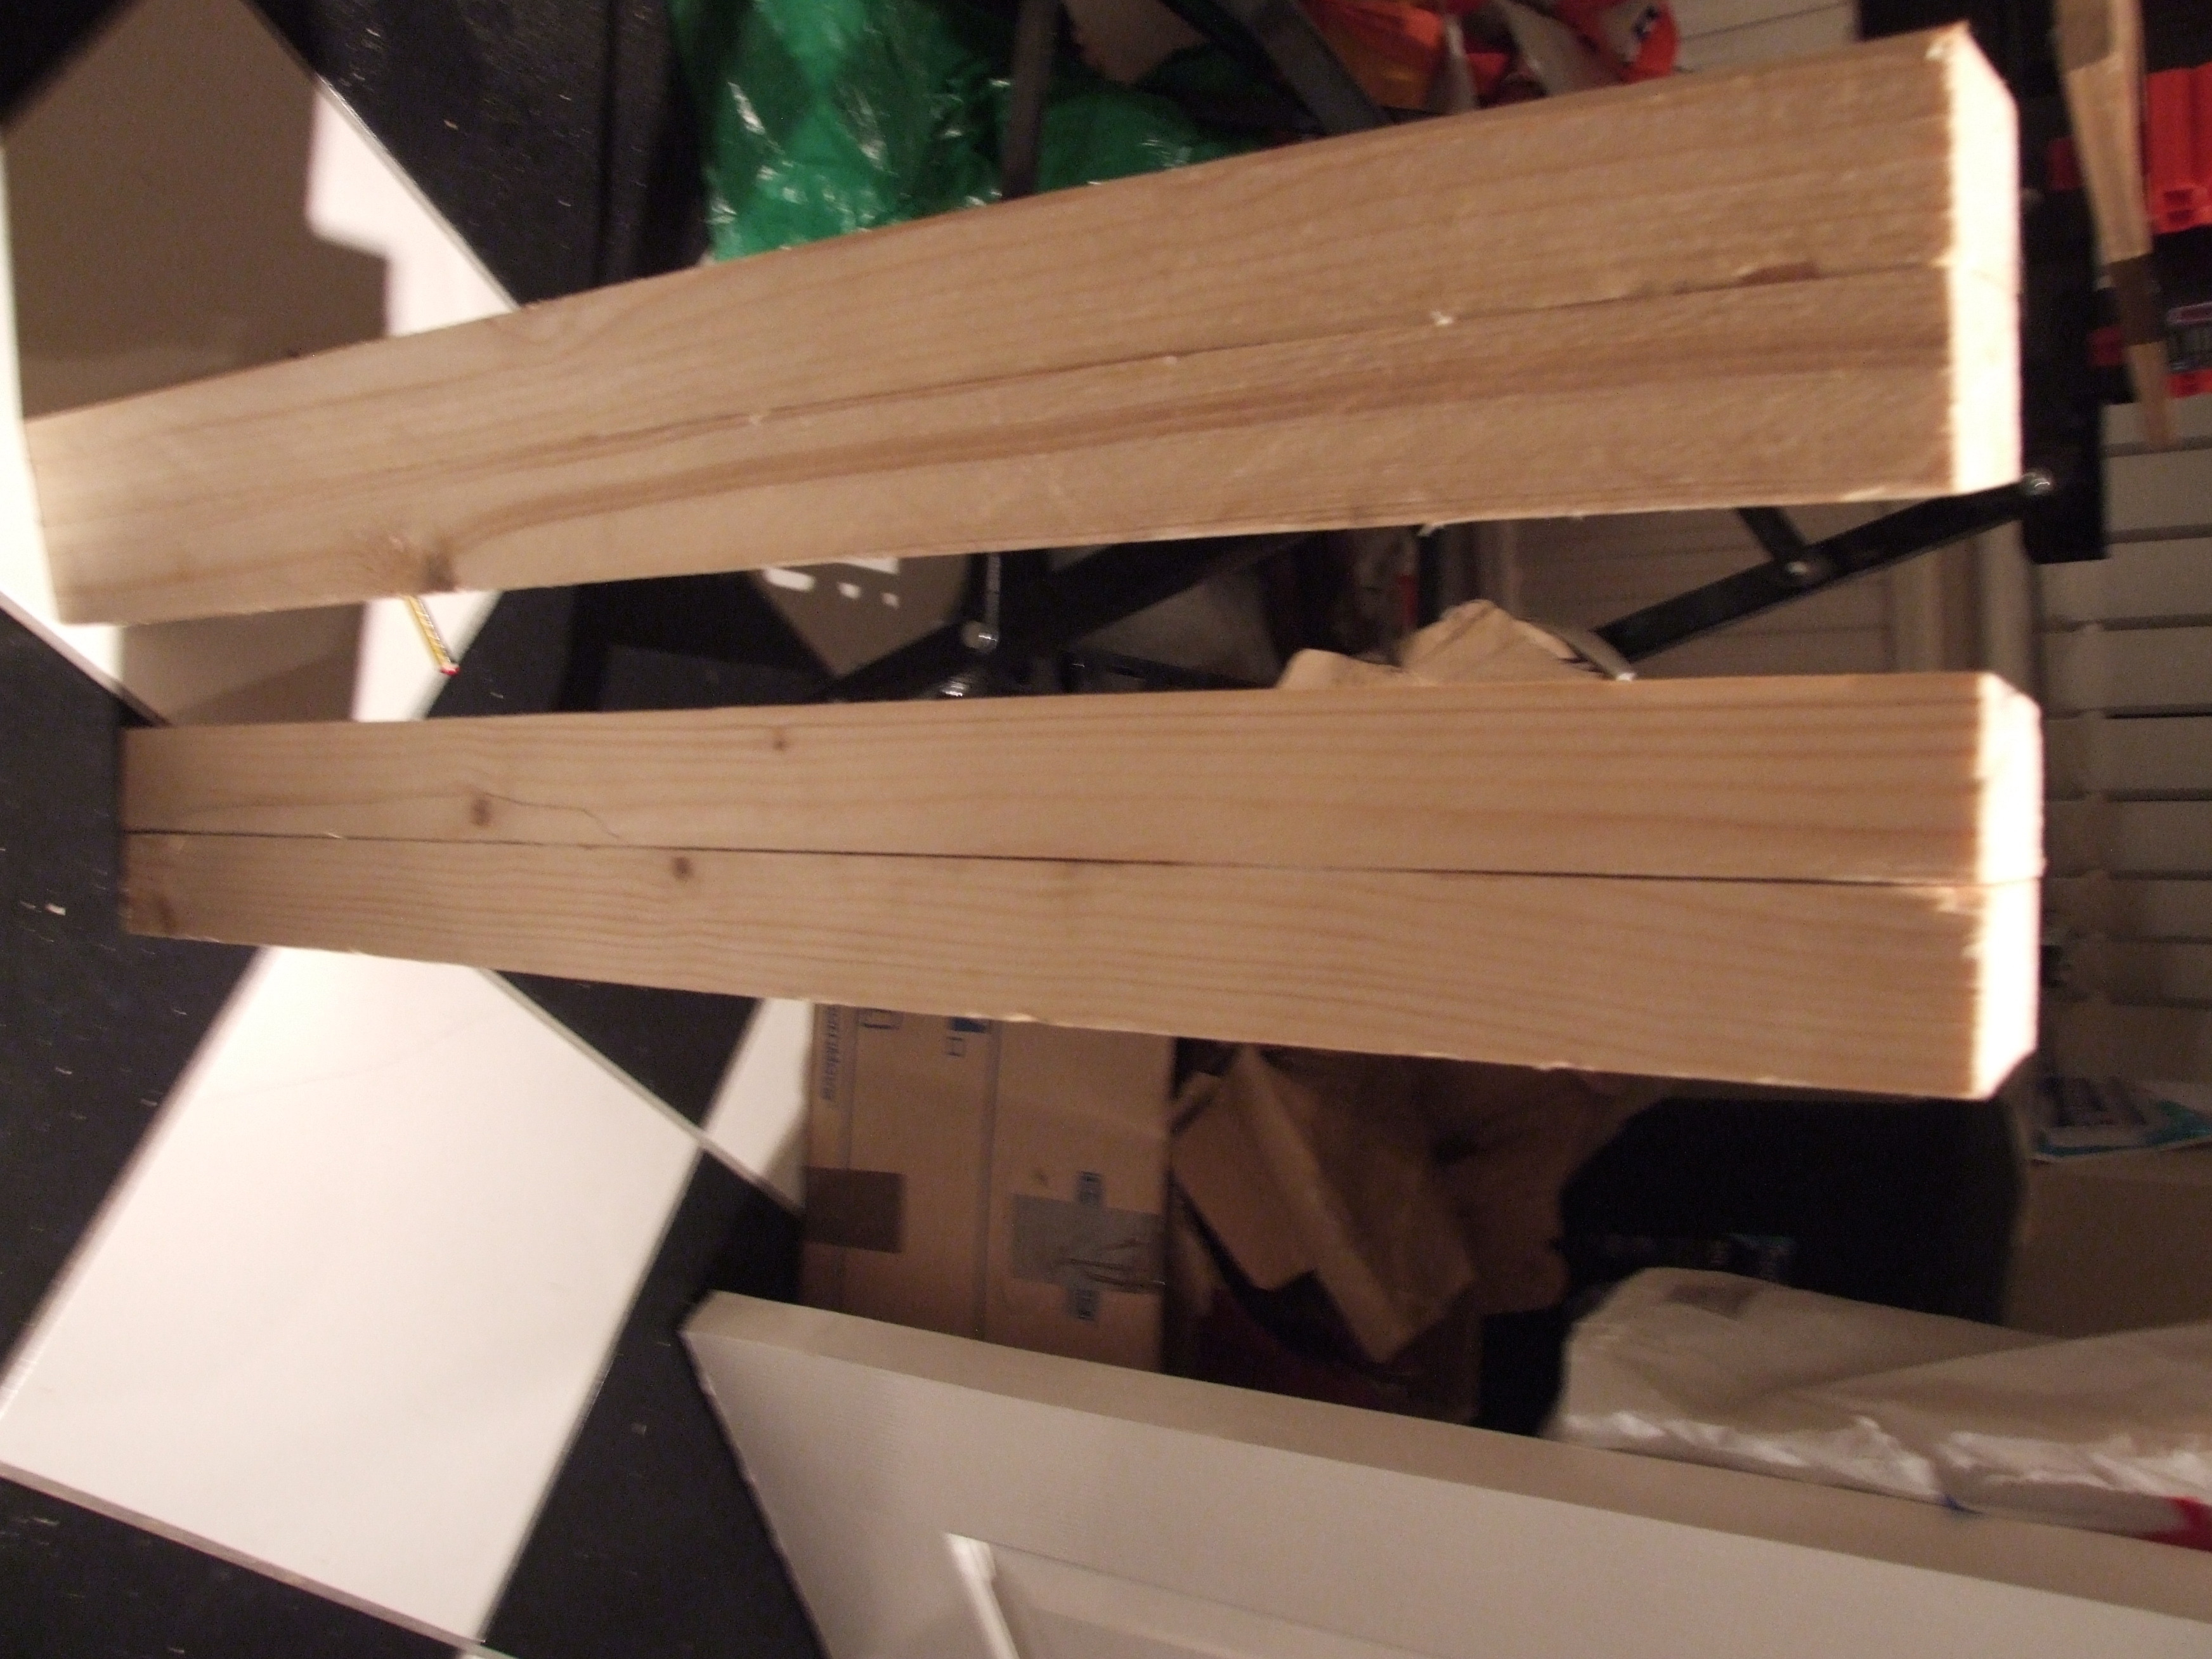
First, we need some timber. I took the trolley along to B&Q, simply because it is just around the corner and I knew of nowhere else, and bought what I could find: a lot of 2x4s, some 1x8 planks, and some CSL to make up a pair of sawhorses.
I had a few days before the PhD began, so finishing was always a bit unlikely. But first off we need some sawhorses. I made this design up late at night:

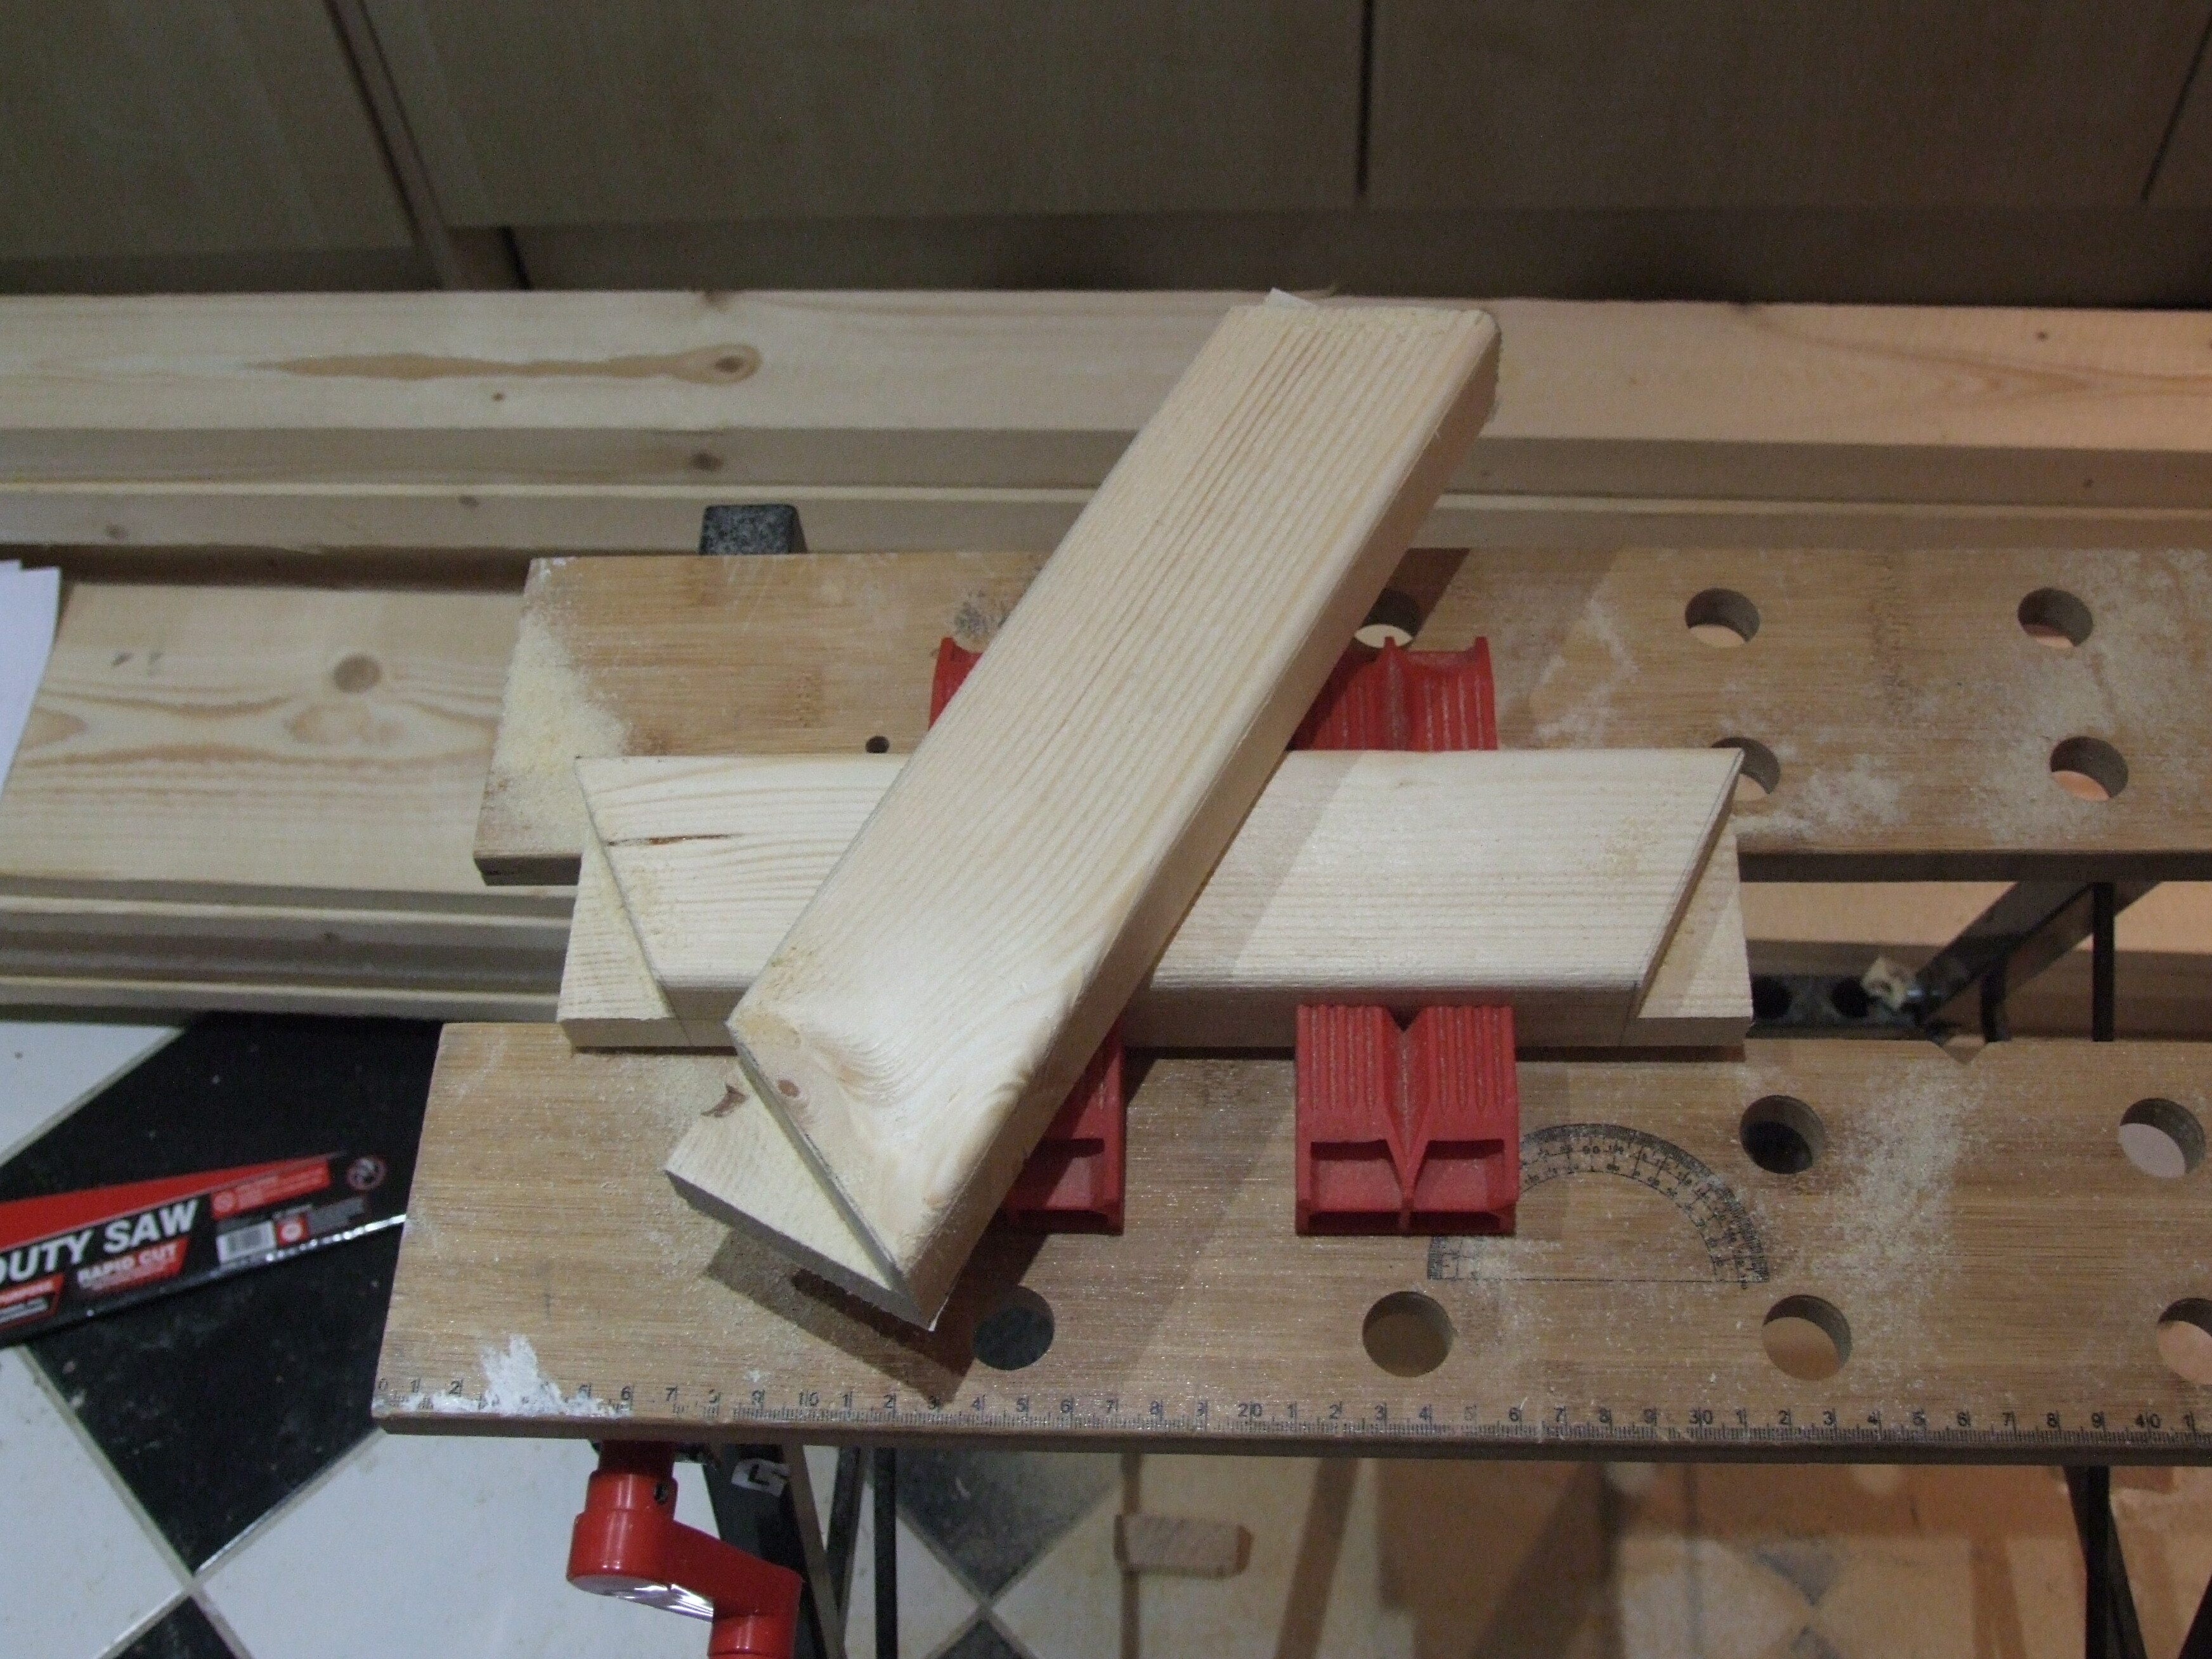
It’s a bad idea, as the legs are far too far apart, but it does work.
Then to nail down the planks temporarily and cut the legs:
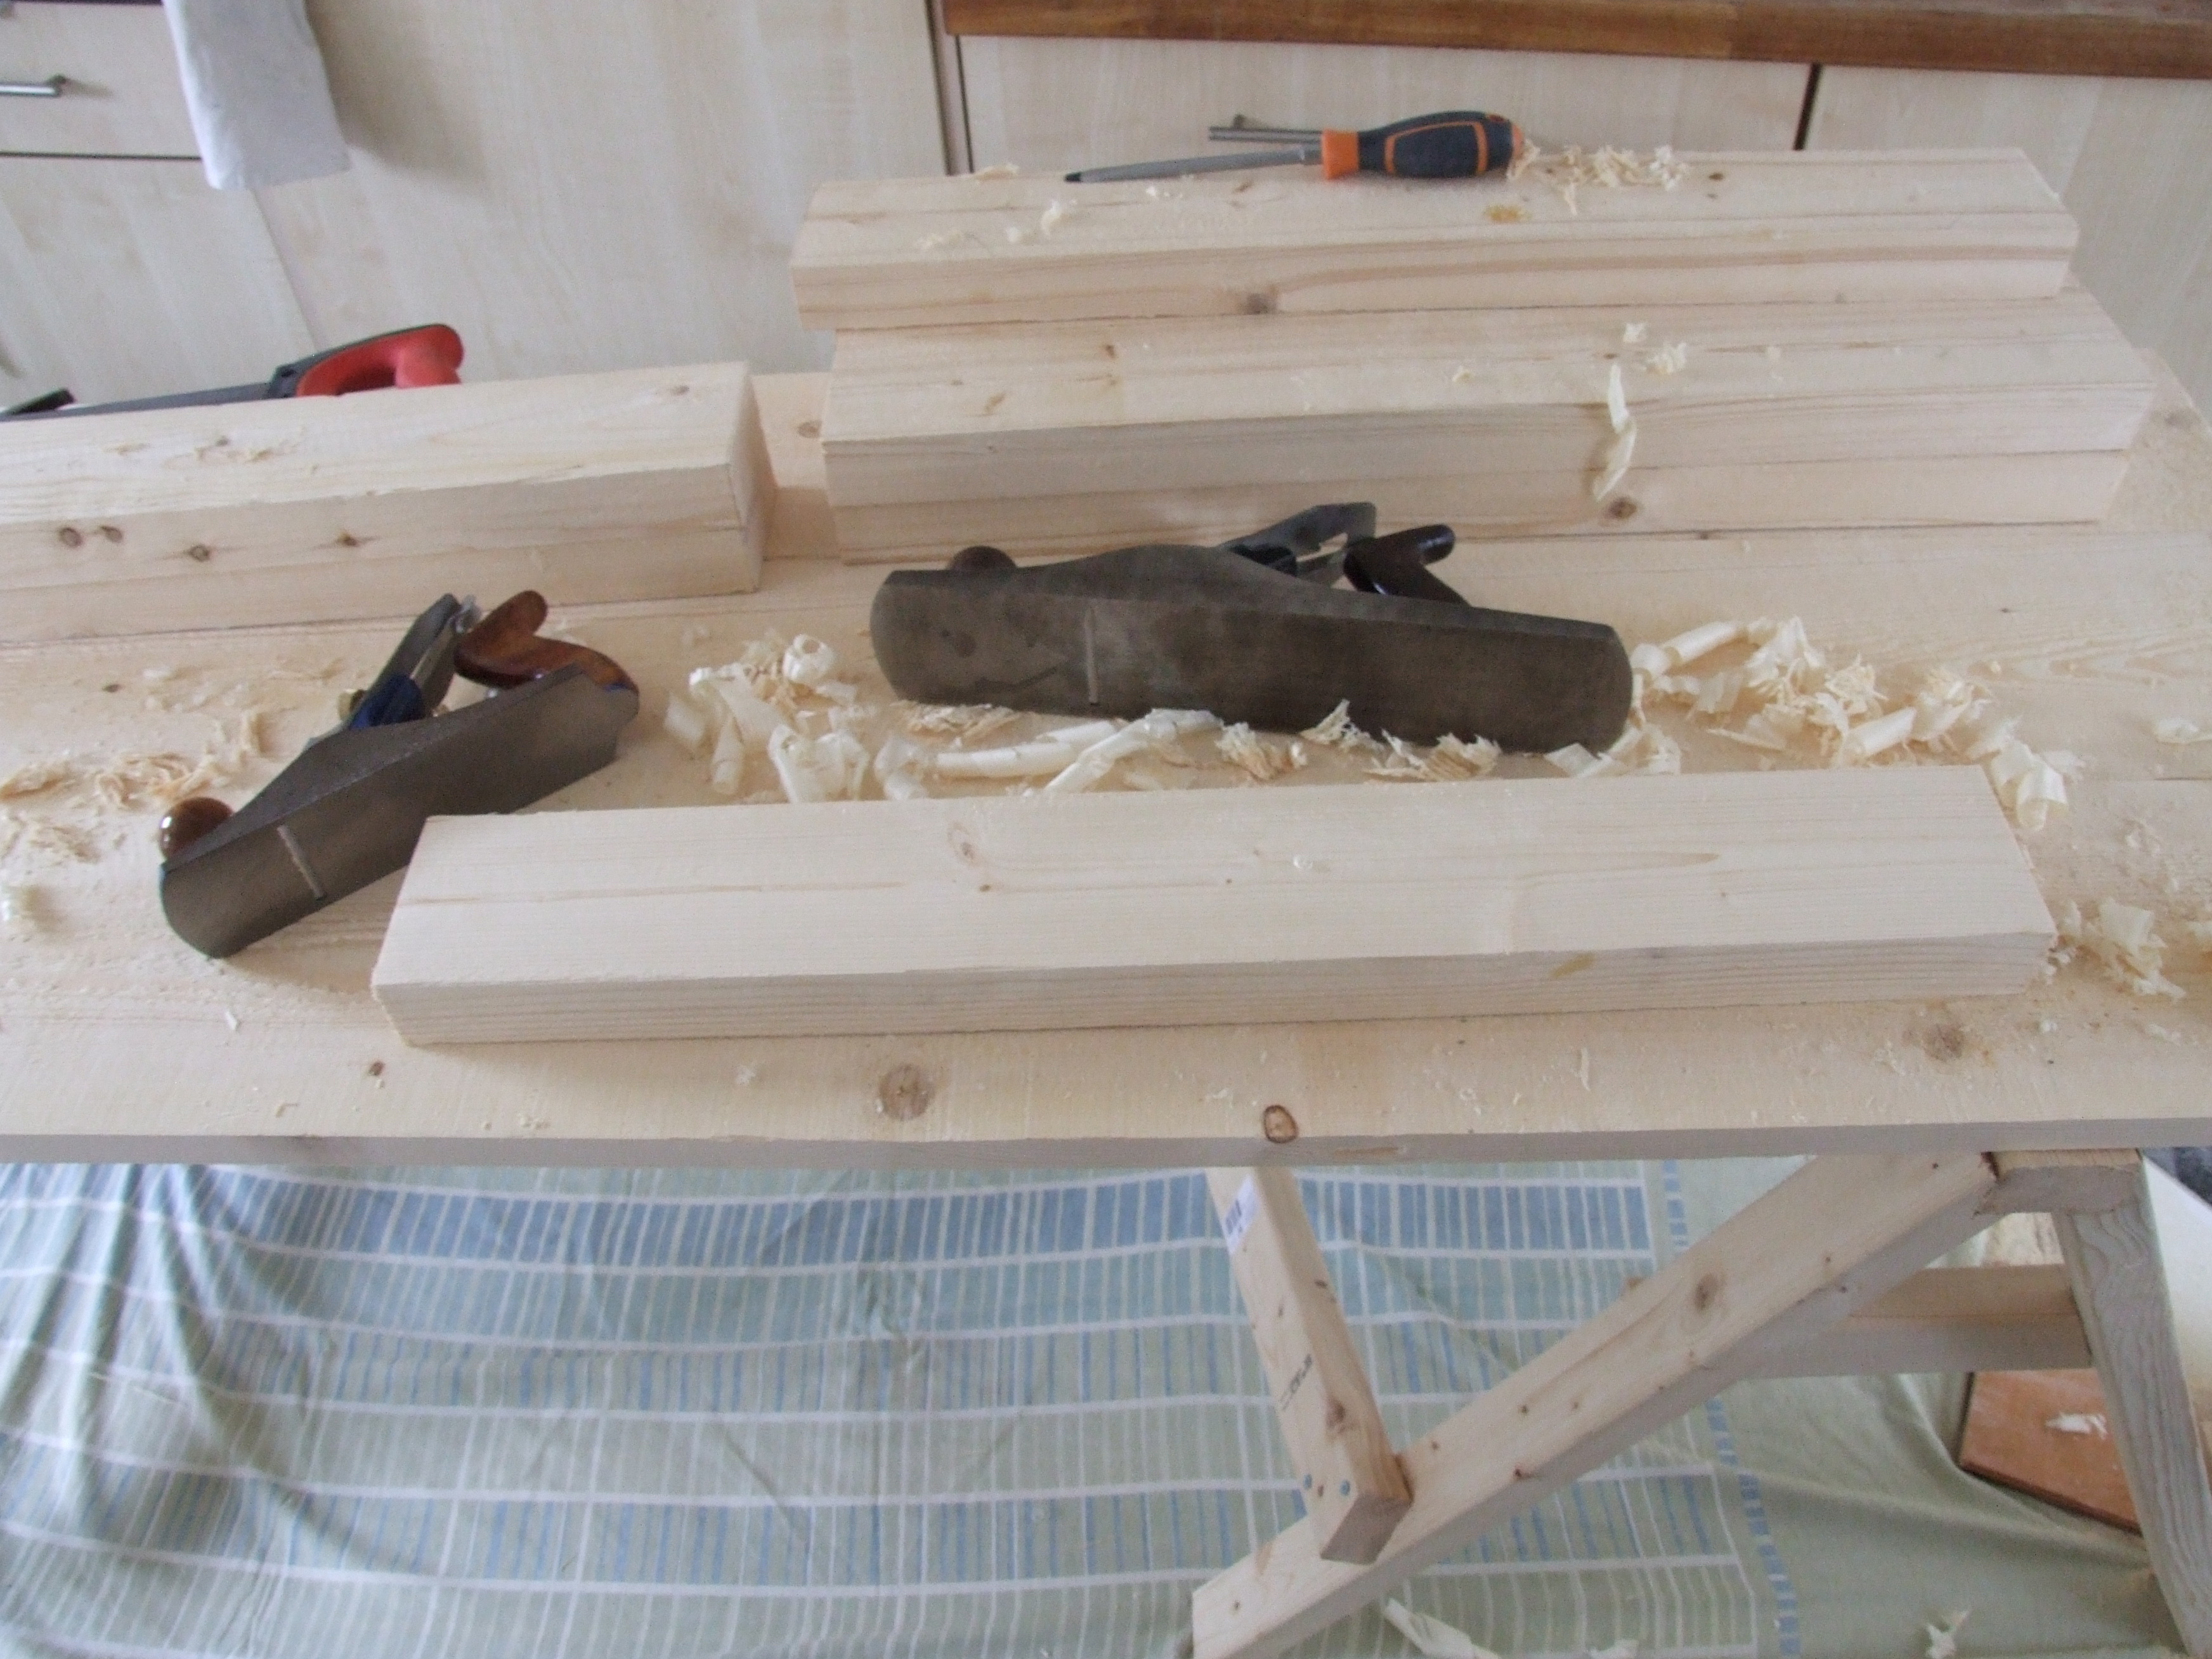
and plane them flat and square (we’ll dimension them later when glued up):
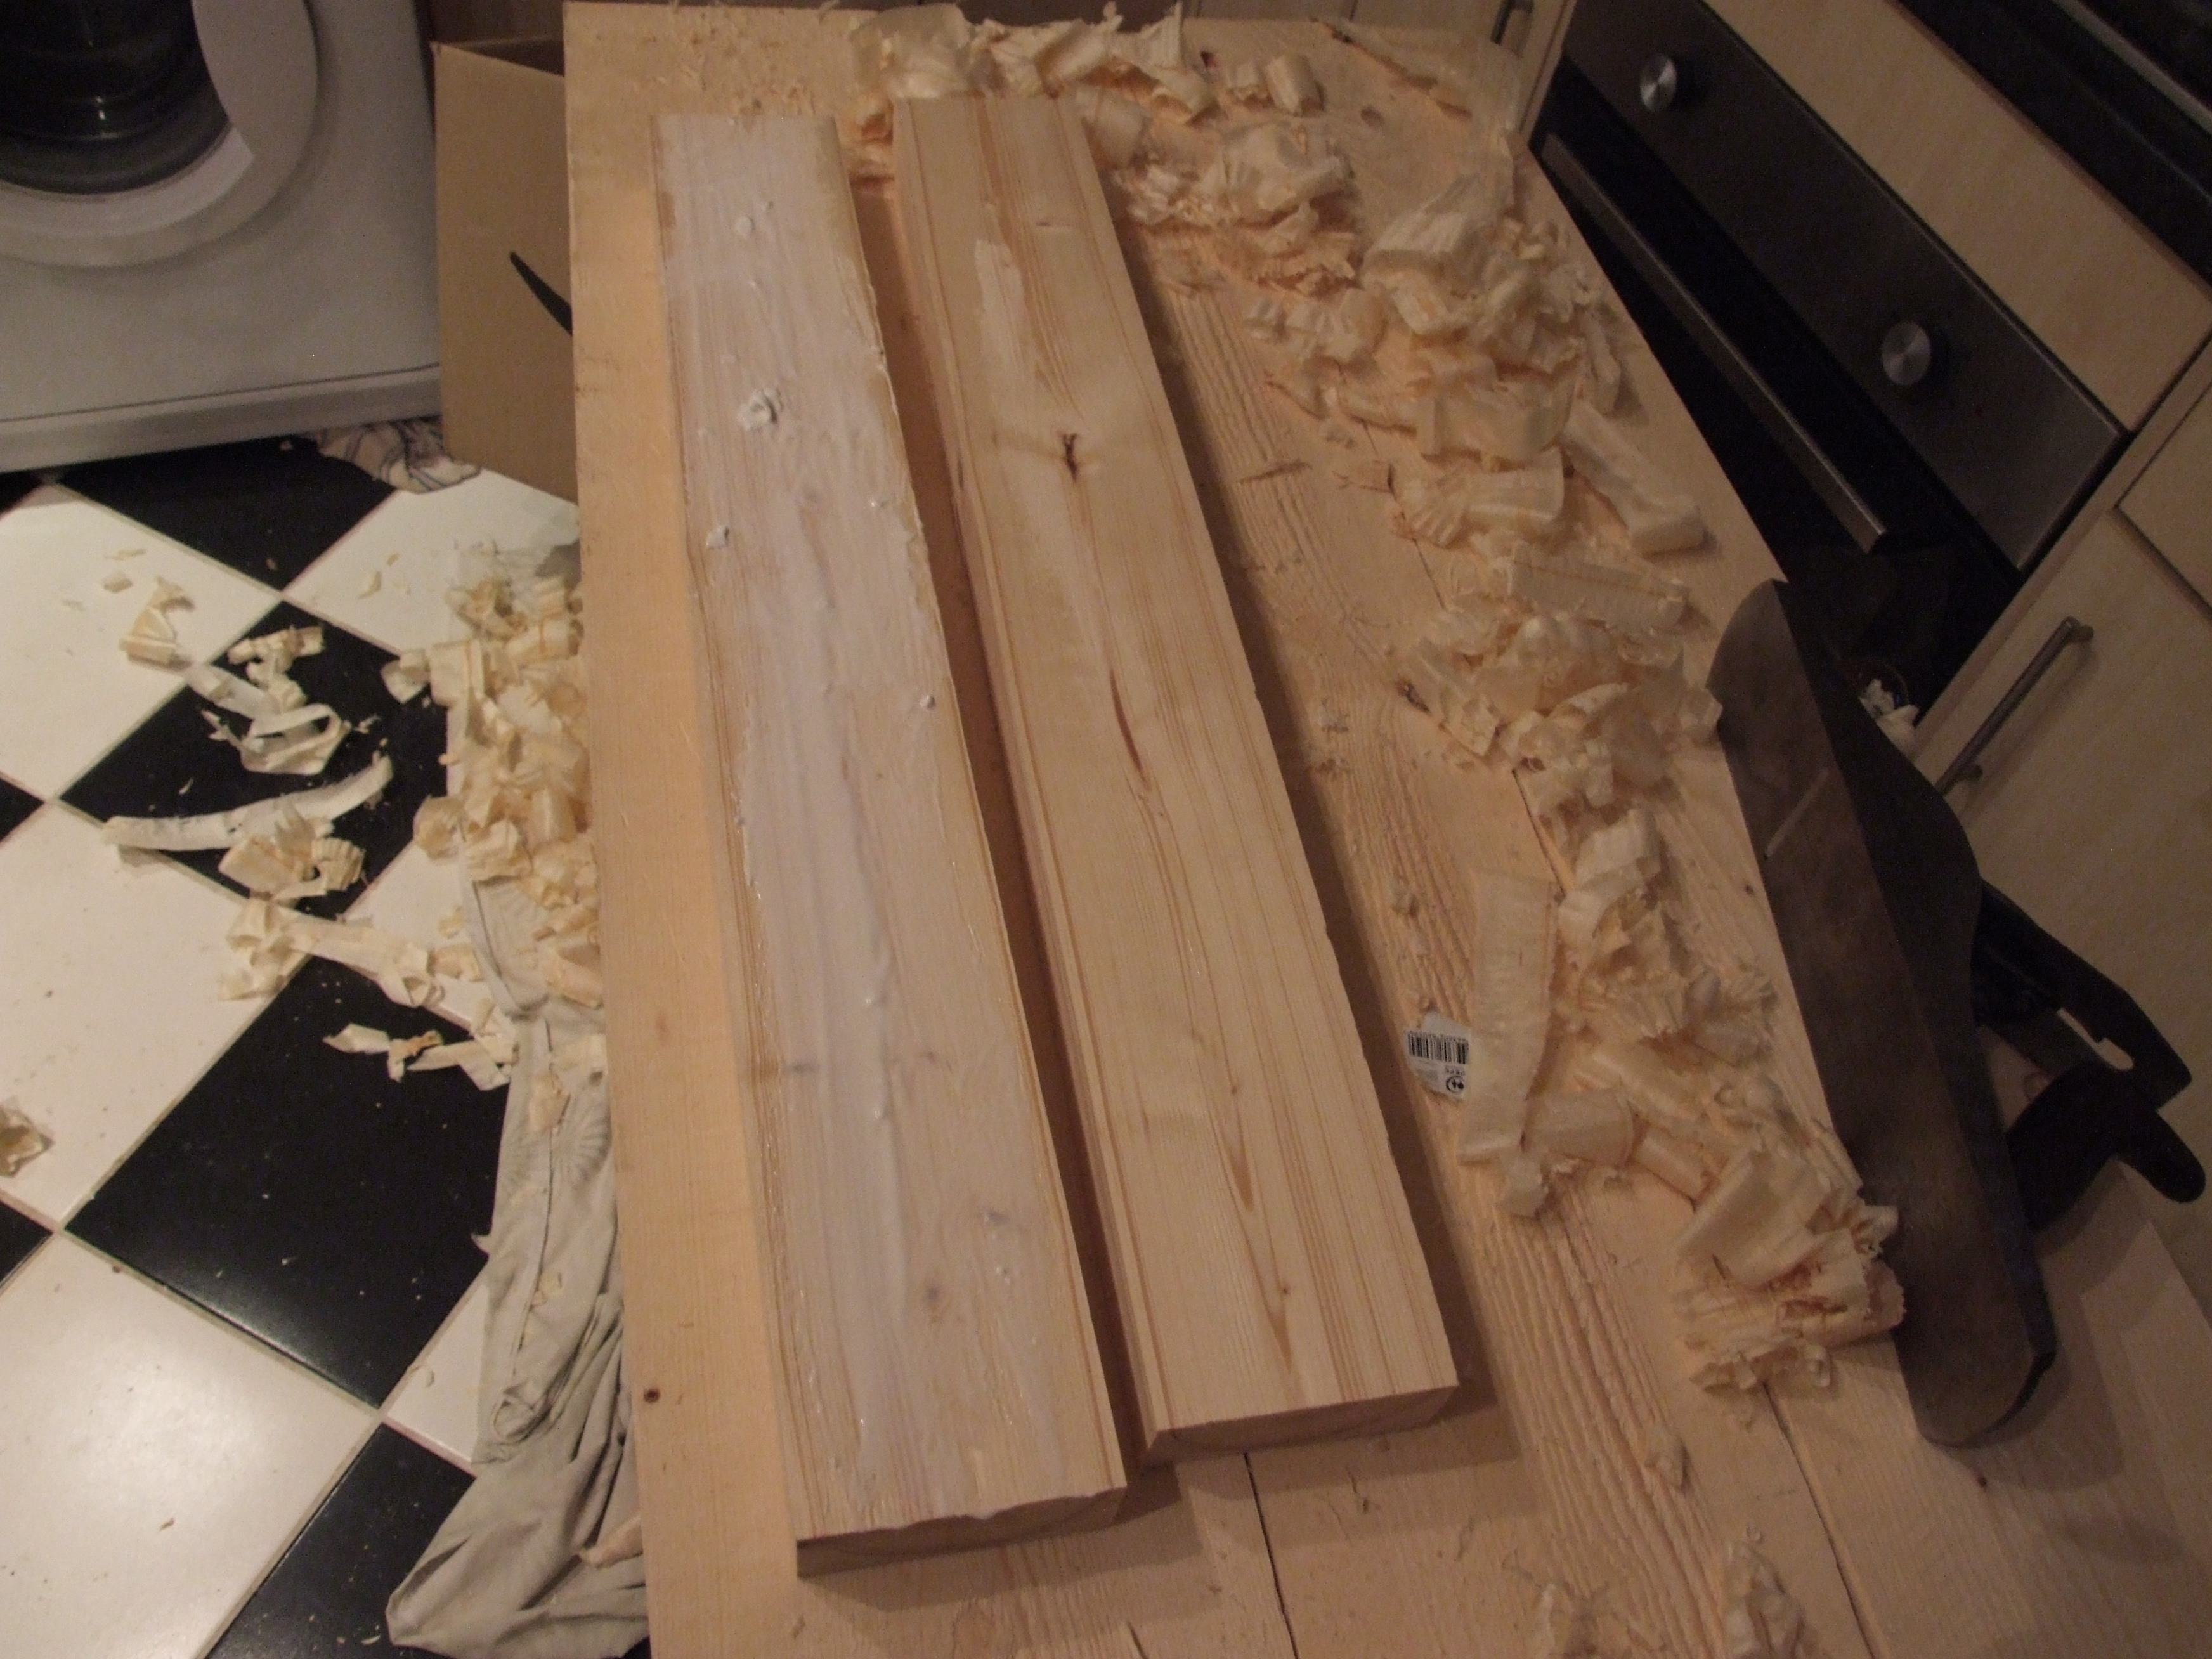
Here is my first attempt, which took about an hour:
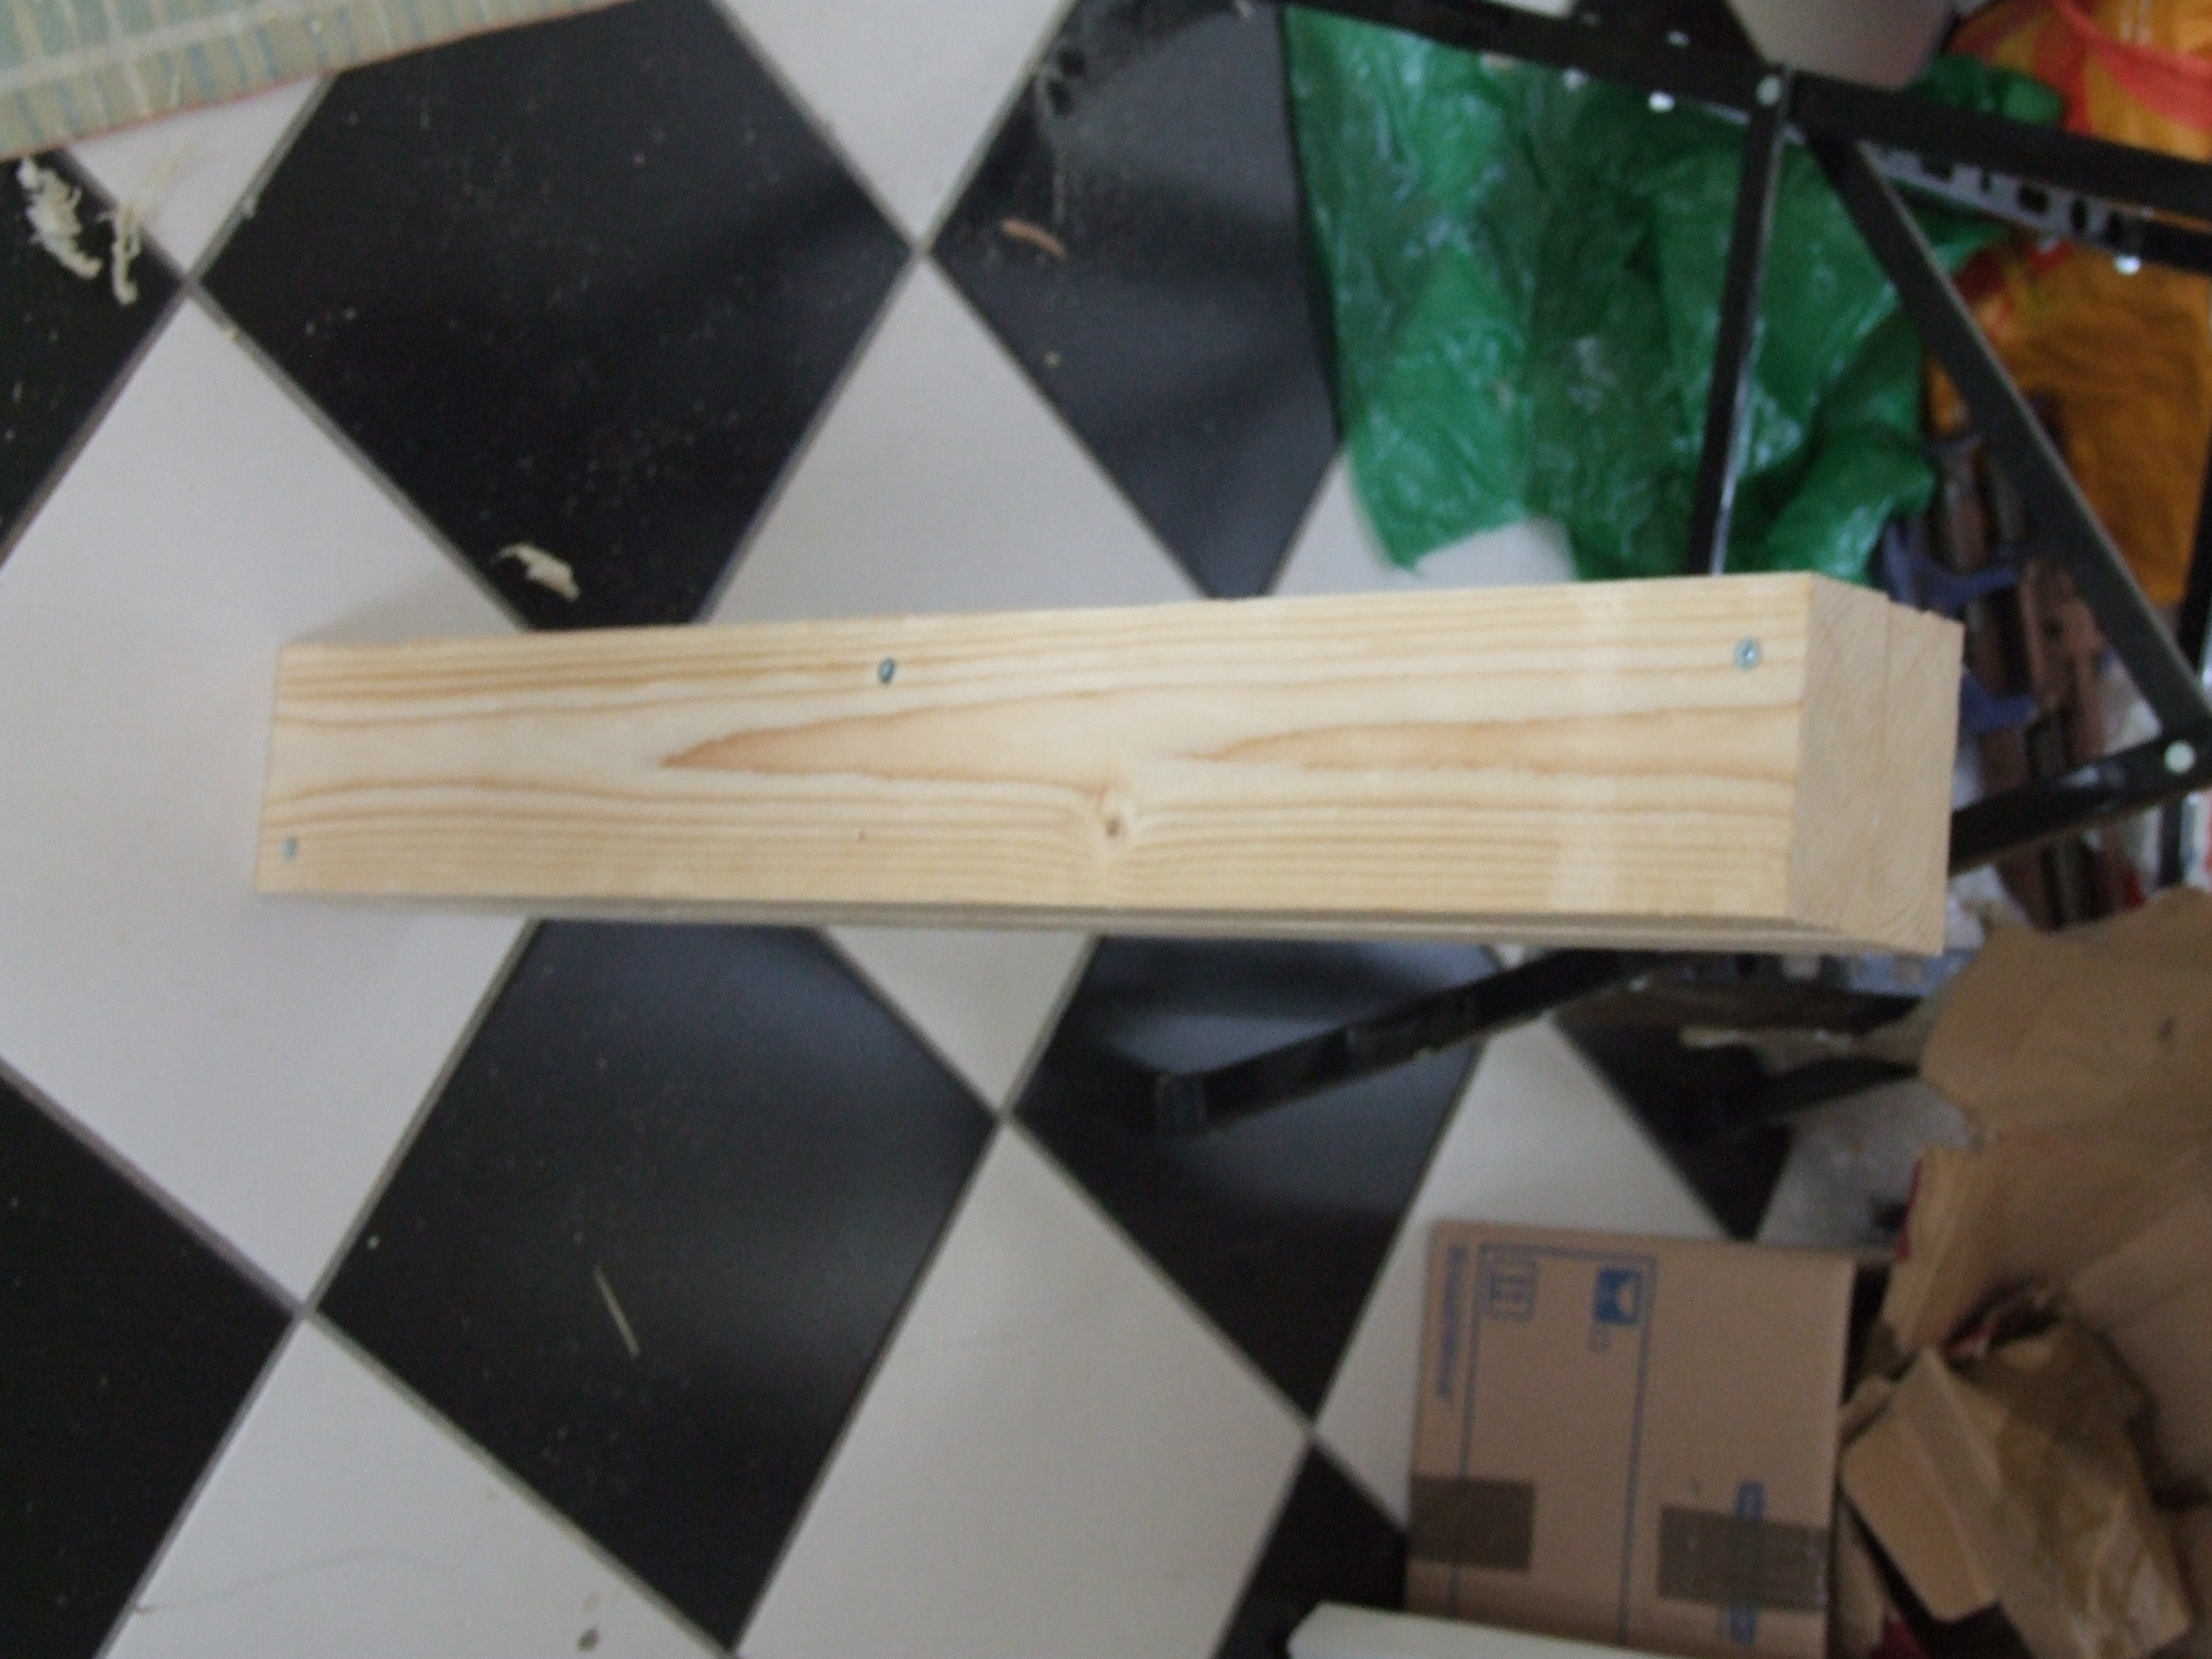
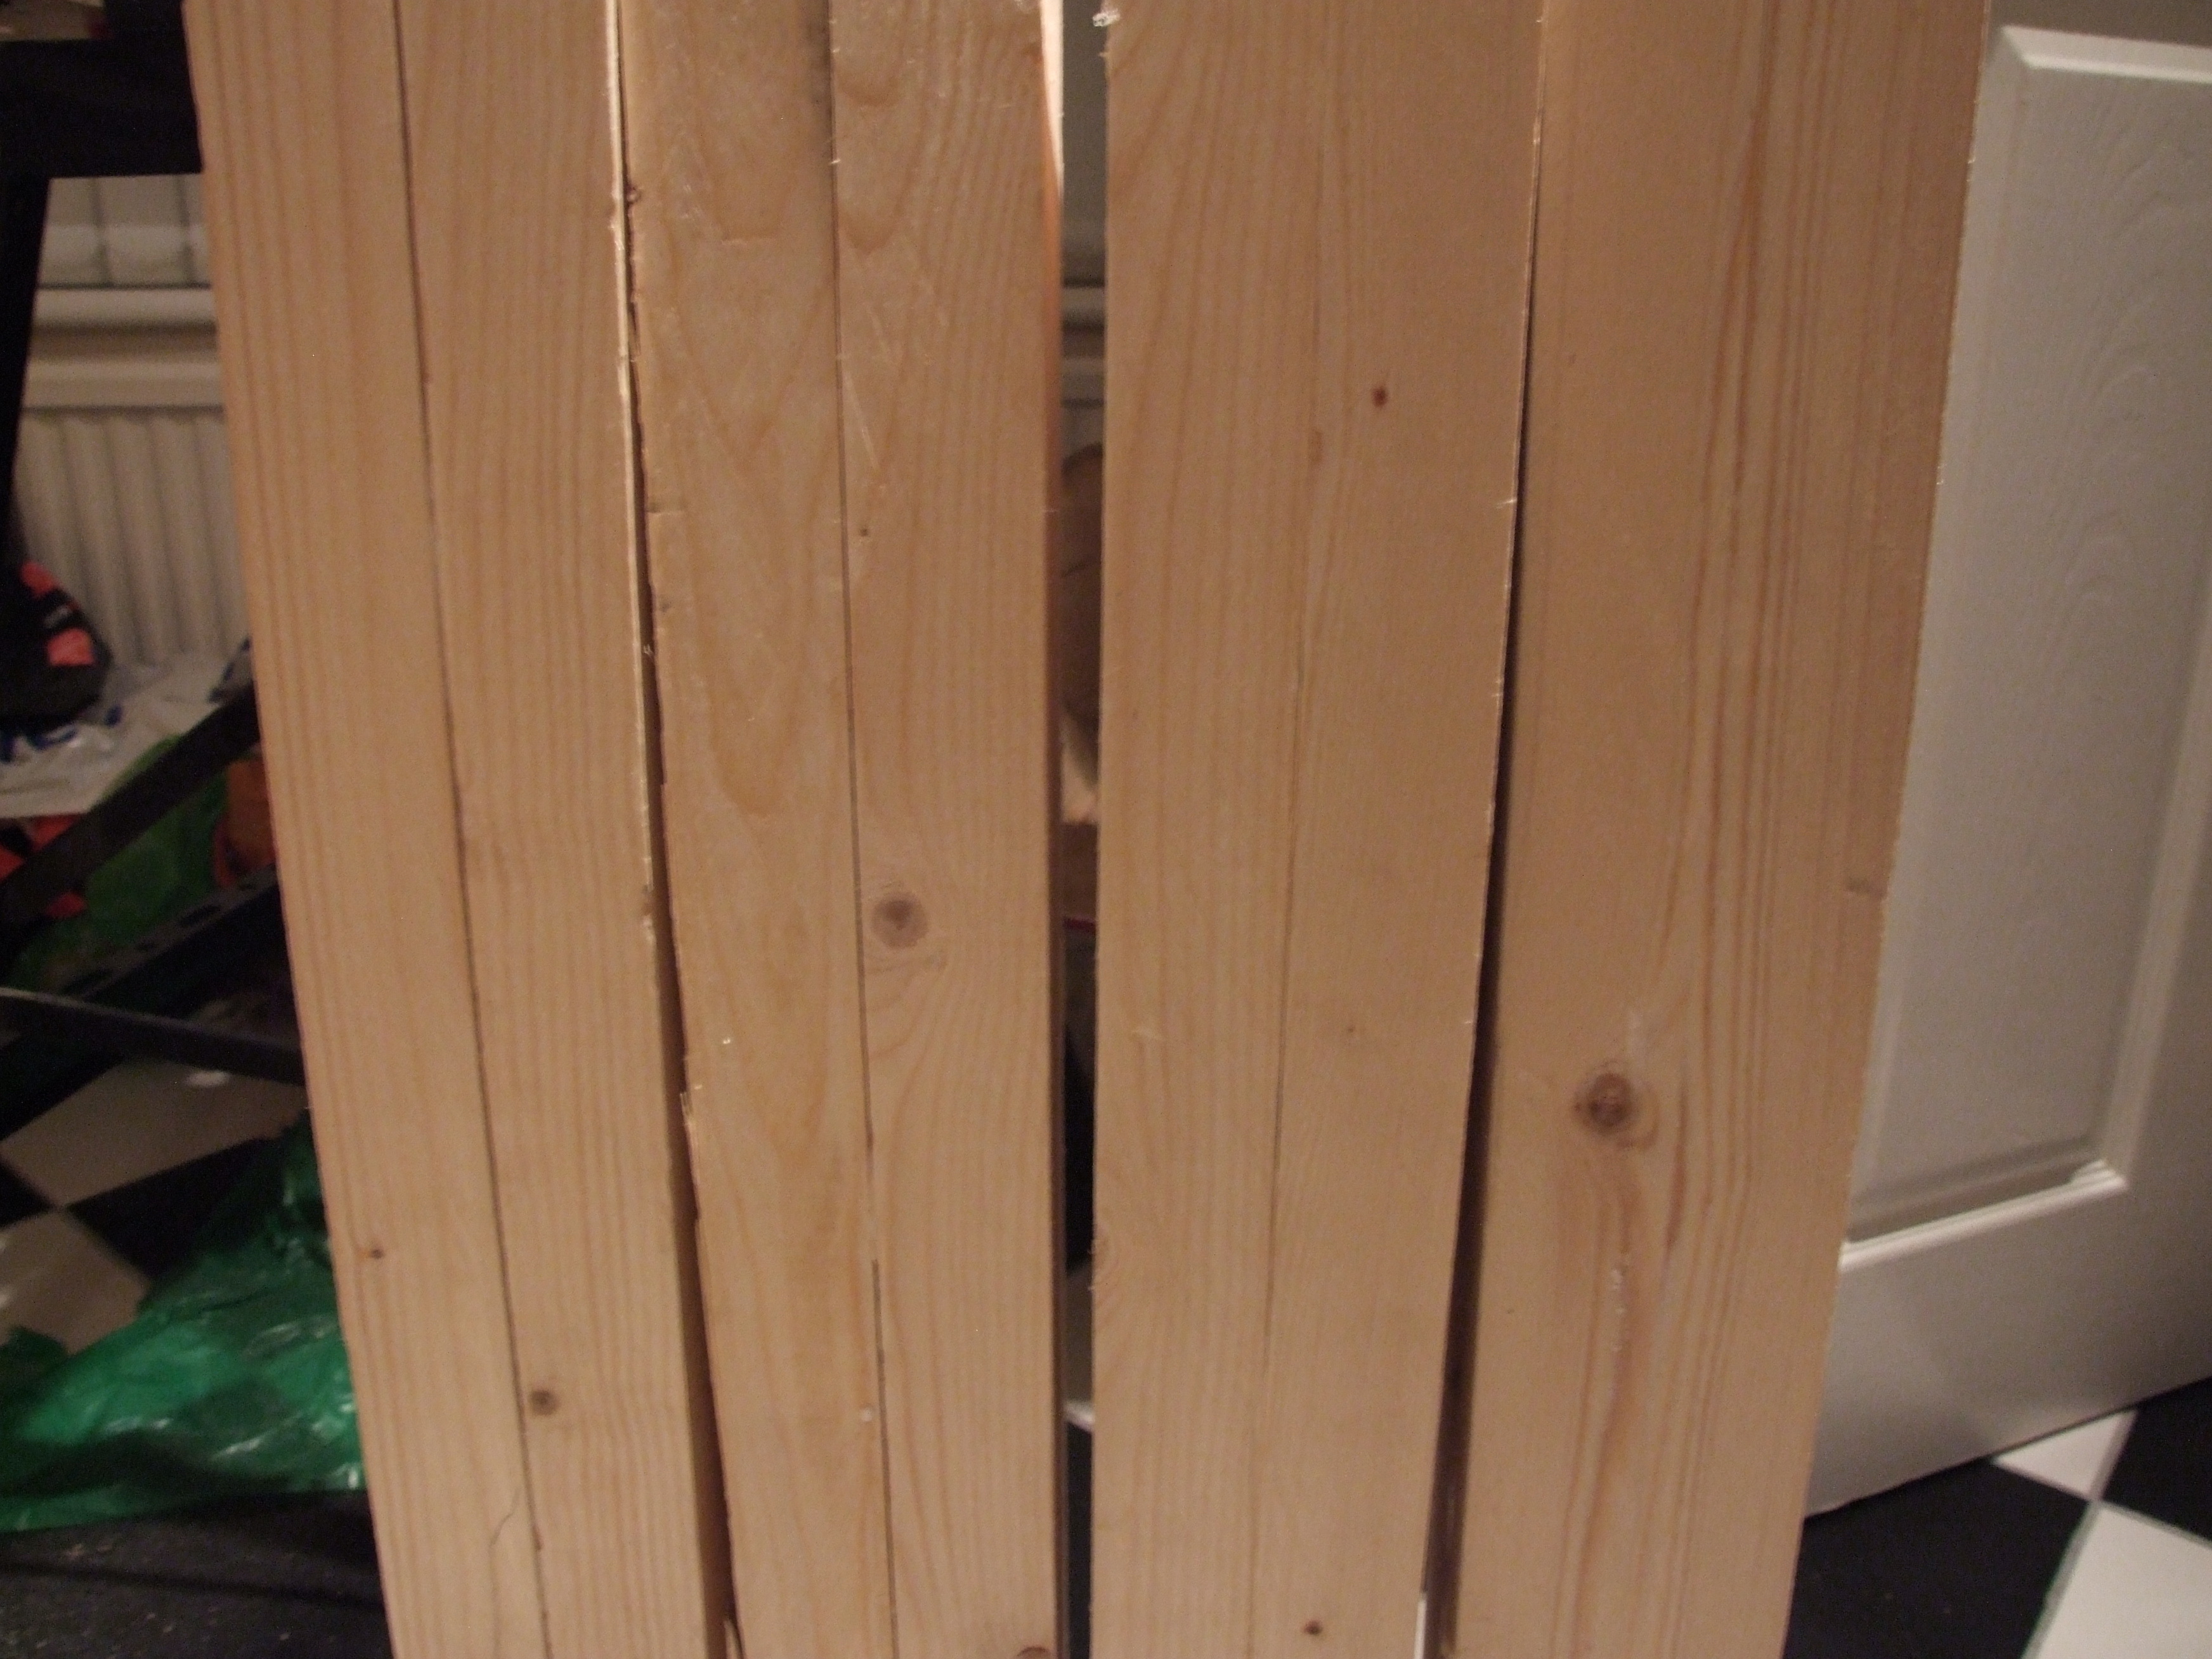
It needed the screws to pull it in, and even then there were some cracks. It turns out from watching the vides there is just oh so much I didn’t do correctly: plane at a silly angle, not flush with the wood, and no idea how to take out the high spots, lightly cup the surface and then finish off flush. Really, buy the videos and watch them—they’re excellent. But anyhow, on my third attempt, and after slightly cupping the glued faces to achieve perfection, there was barely any visible line at all:

and side by side the difference is obvious:
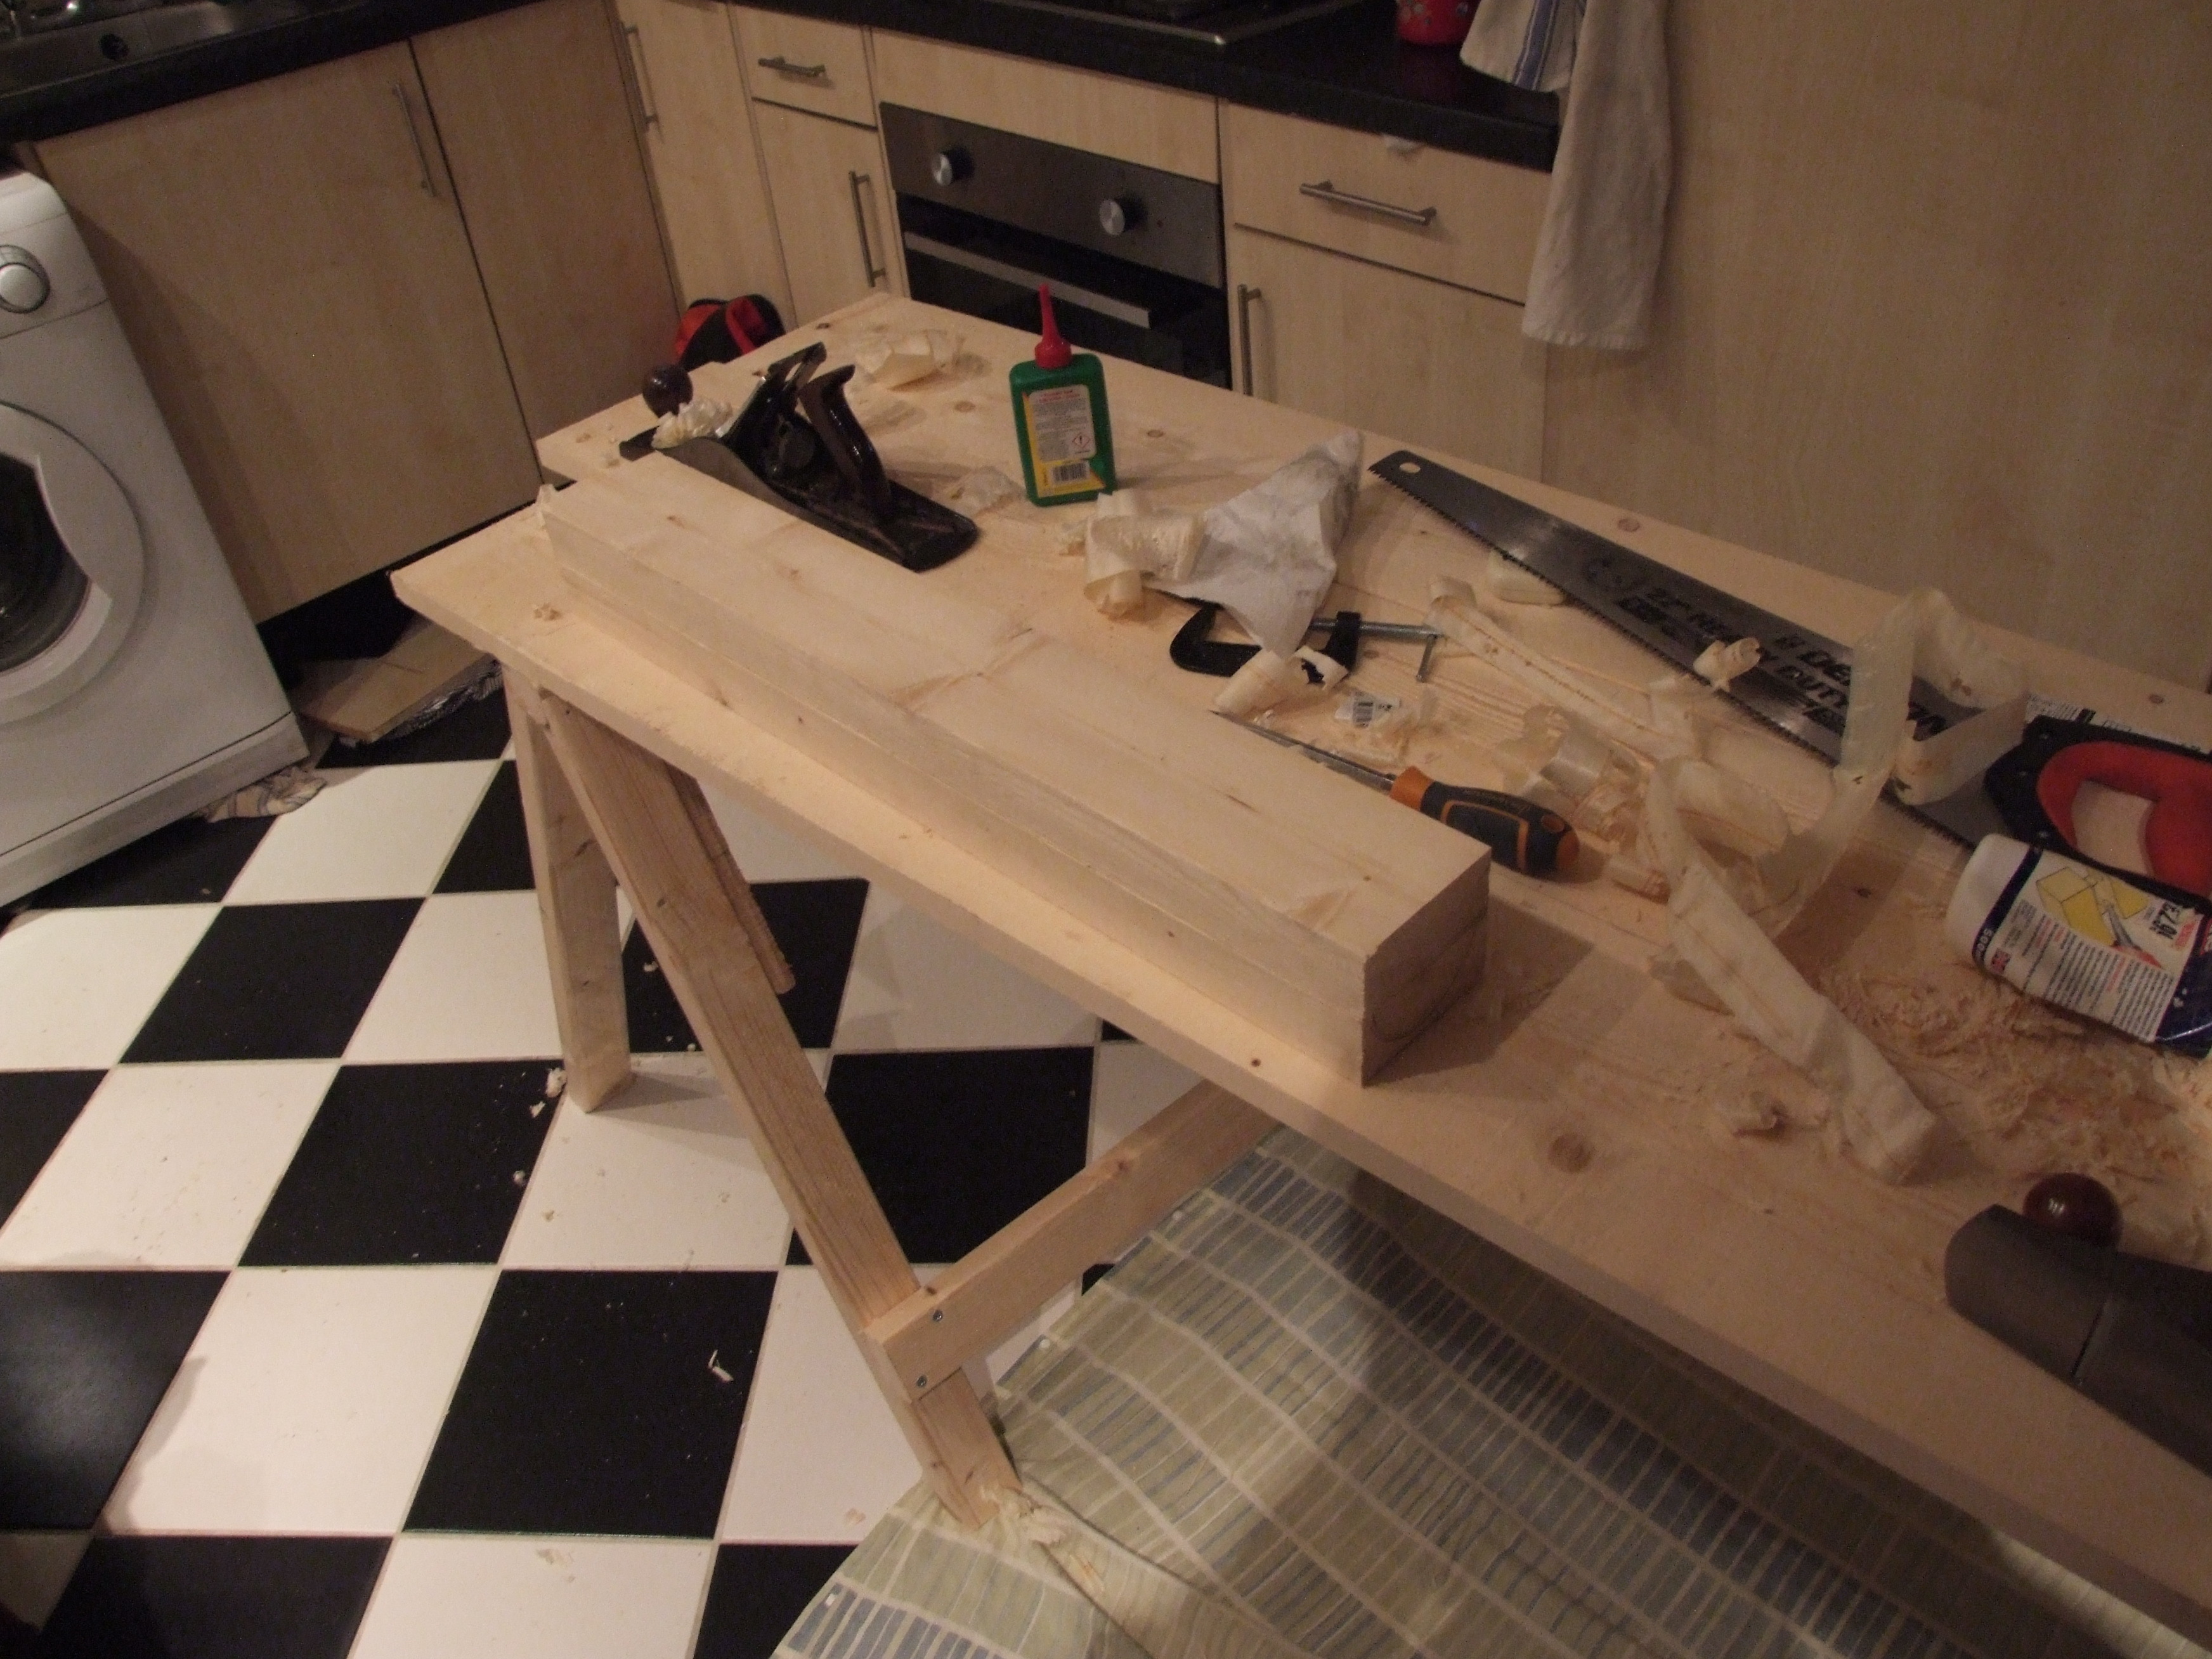
So now they could all be glued up:
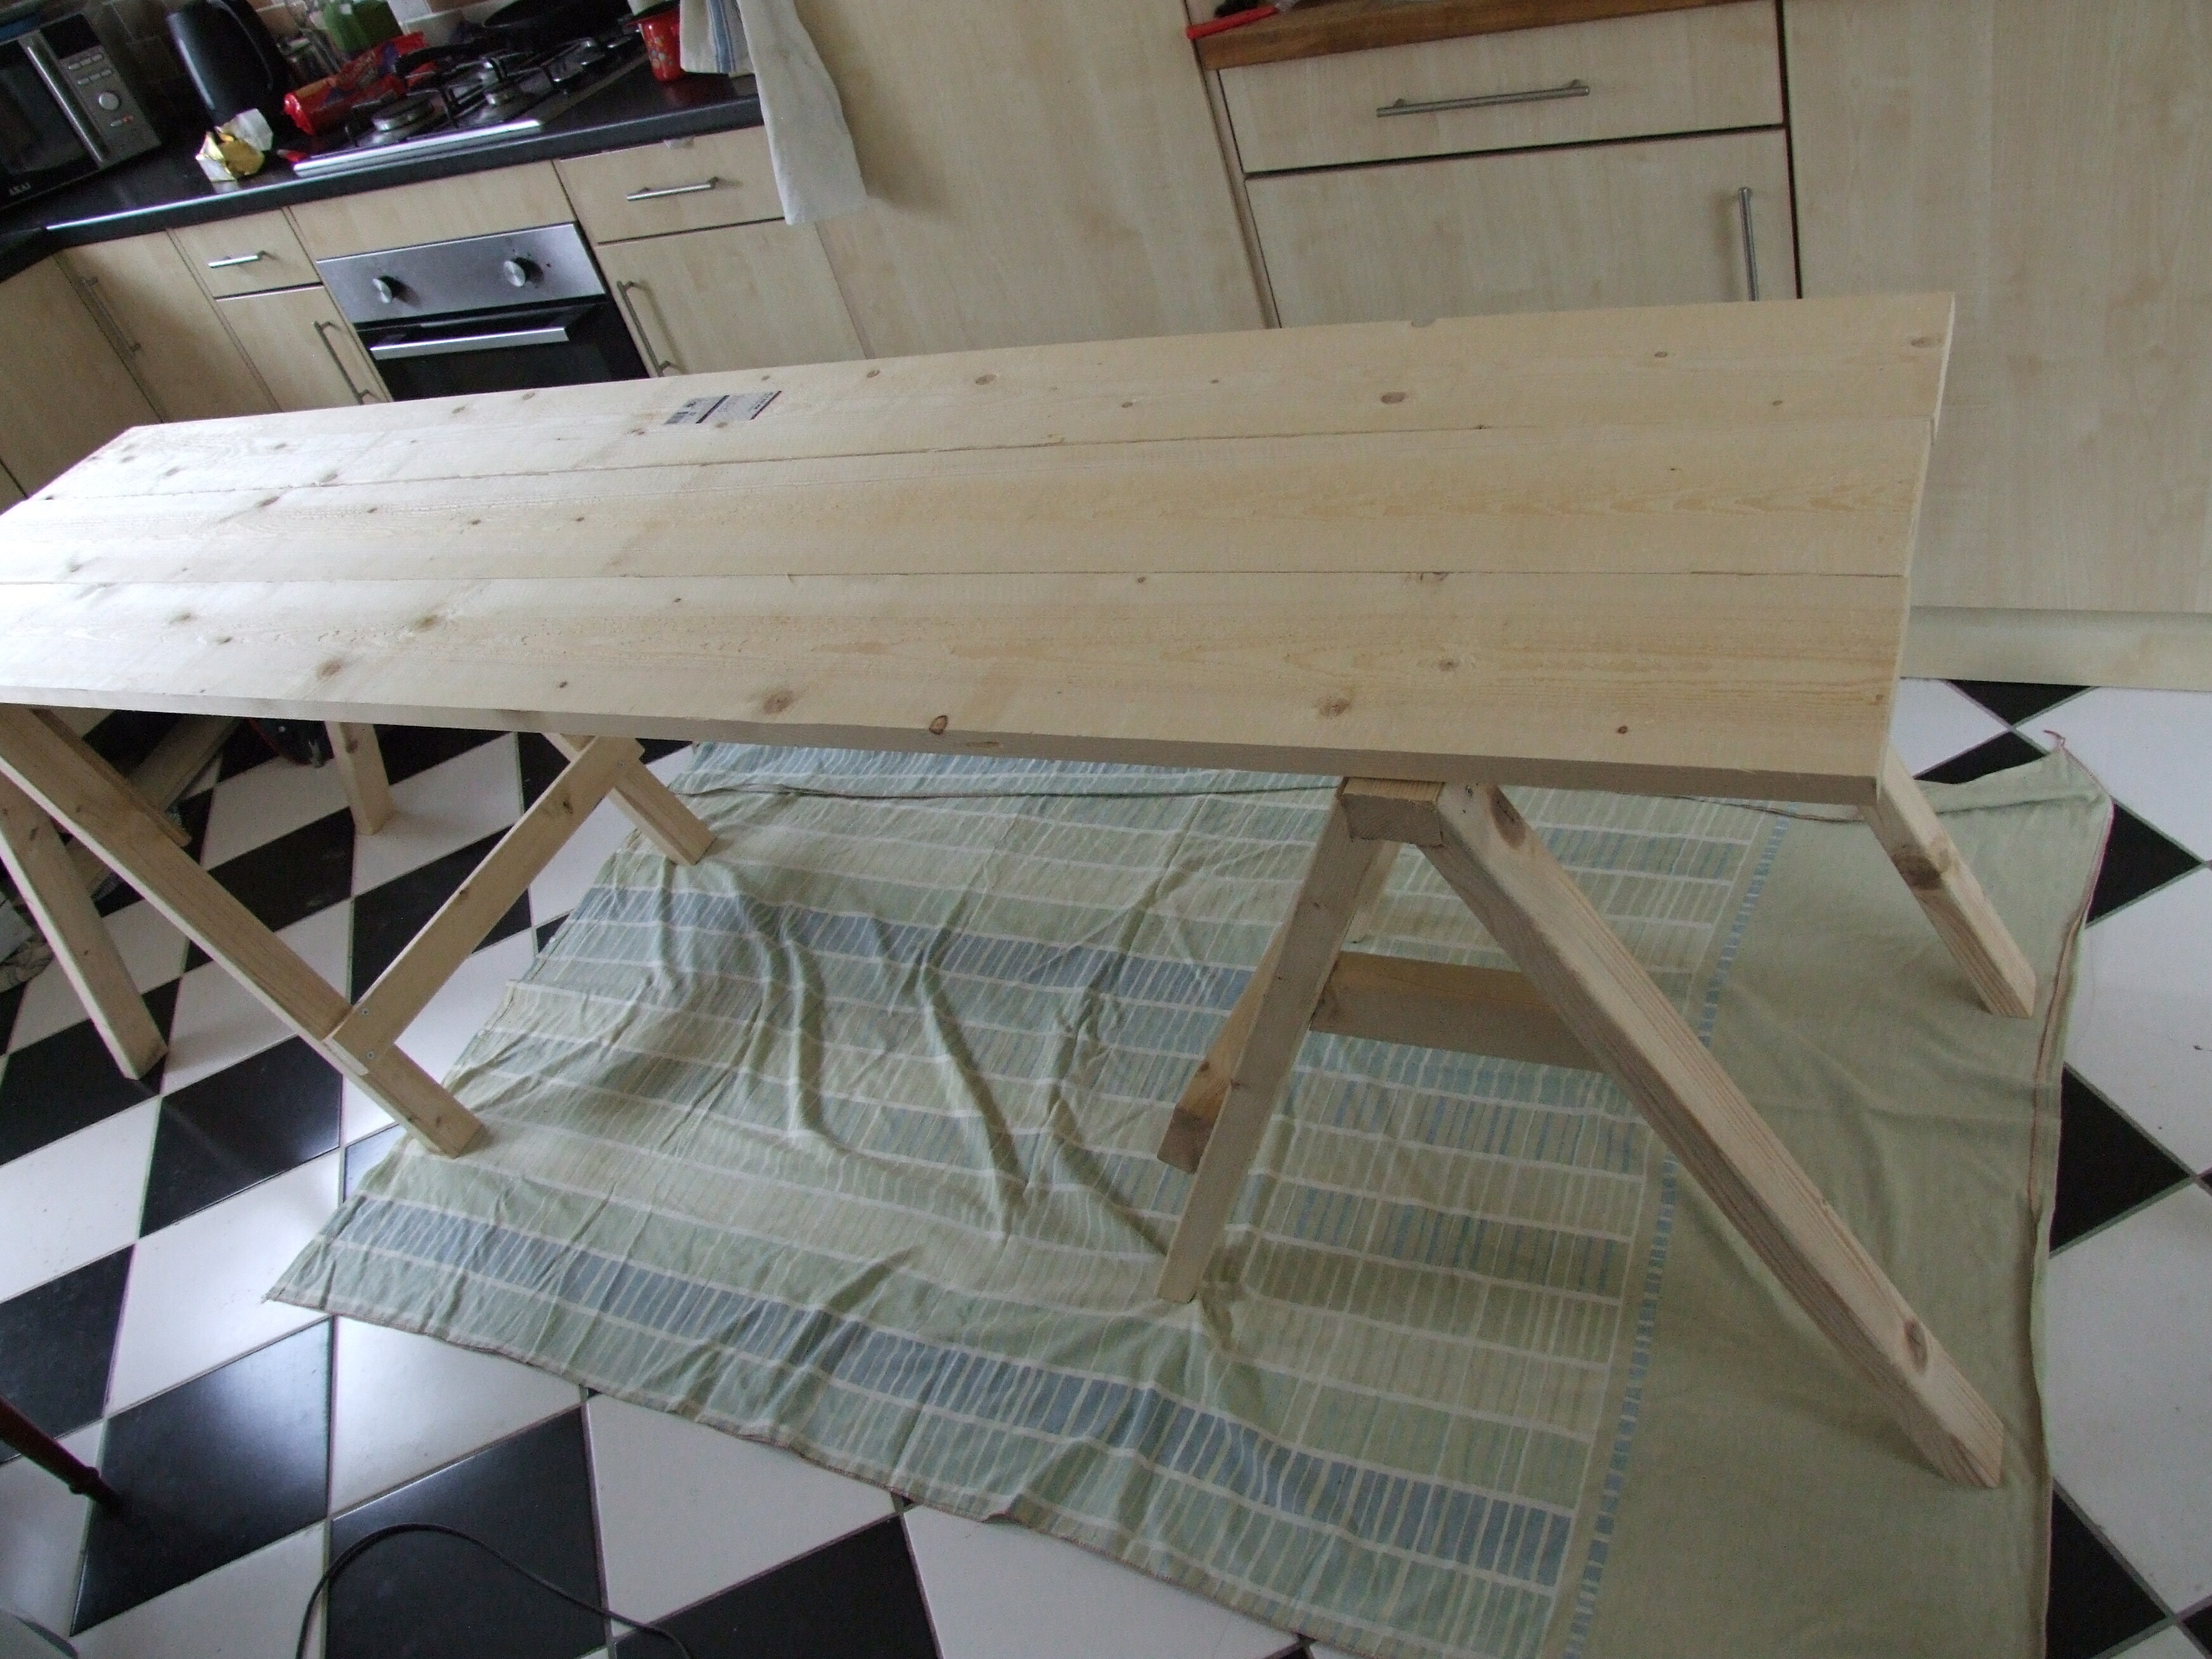
By this point I was very unwell with something or other, and the PhD was starting in a few days. The workbench sat unloved on the trestles in the shed for the best part of a year, until it was turned into an excellent bench under the motivational training of government functionaries; of which more in part 2