This project began when the noise of the ethernet switch opposite my college room became unbearable. I picked the room for the view, which was sublime: the valley falls away so steeply you can see right down, over the trees, to the river, and climbs again the far side in a steeply wooded bank over which the pigeons perform what I can only describe as buzzing runs on the squirells. In the distance, the rolling hills, at night the moon and by day the sun—morning and evening, opposite corners of the window. Sometimes the outside world would come a little closer:

Which could have messy consequences:

But in general it stayed where it was. The noise, on the other hand, invaded: it became so constant that after a few hours I had stuffed a towel under the door in a vain attempt to block it. So I tried a distraction: I already had the computer chime the quarters, so I tried making it play a tick on loop. Ticking is mildly annoying, but it masked the whine perfectly. On the other hand, having your computer double as a chiming clock is not exactly straightforward when, say, you play music or a skype call comes in. And using it as an alarm clock (I had no phone) is not exactly energy-efficient. Nor is hibernating really safe: resume errors do happen. So I wondered about a dedicated clock, which would:
- Update its time automatically
- Chime hours and quarters
- Play an alarm playlist at random, and handle snoozing and rescheduling
- Tick
- Resume safely from power outages
This all needs some kind of computer, a soundcard, a speaker, and amplifier and a display. I don’t see myself living without an internet connection, so network time-updating is fine. I also don’t see myself implementing audio on an MPU, or sacrificing the one arm MBed I have to this kind of thing. Nor did I want to spend £30 on a raspberry pie.
Hardware
In the cupboard at home were a bunch of wireless routers I’d put
OpenWRT on. Google revealed that they had GPIOs which, theoretically,
I could toggle from userspace just by writing to the relevant
psudofile under /sys, giving an easy way to drive a display. Even
better, someone had traced the location of most of the GPIOs. Over
the Christmas holidays I confirmed I could toggle them and started
dreaming of the front panel. It needed to show seconds, so I could
set a watch by it. I had an old green vacuum flourescent display from
a bose radio, complete with front glass, destined for a radio clock
which never got beyond the reciever. Experiments with the display
showed that it wanted about 2.5v accross the filament, and anything
above 10v on the segments to turn them on. In the cupboard were a
pair of red 7-seg led displays which would go nicely for the seconds.
Over the next two terms the hardware and software took shape in my head in odd moments: I wanted to drive every segment directly so I could display text (badly); multiplexing was easier than a serial solution, and a latched multiplexer was even better as I’d no idea how reliable the os would be at bit-twiddling. A bunch of octal latches were ordered, and I put the thing out of my mind till the summer.
Breadboard
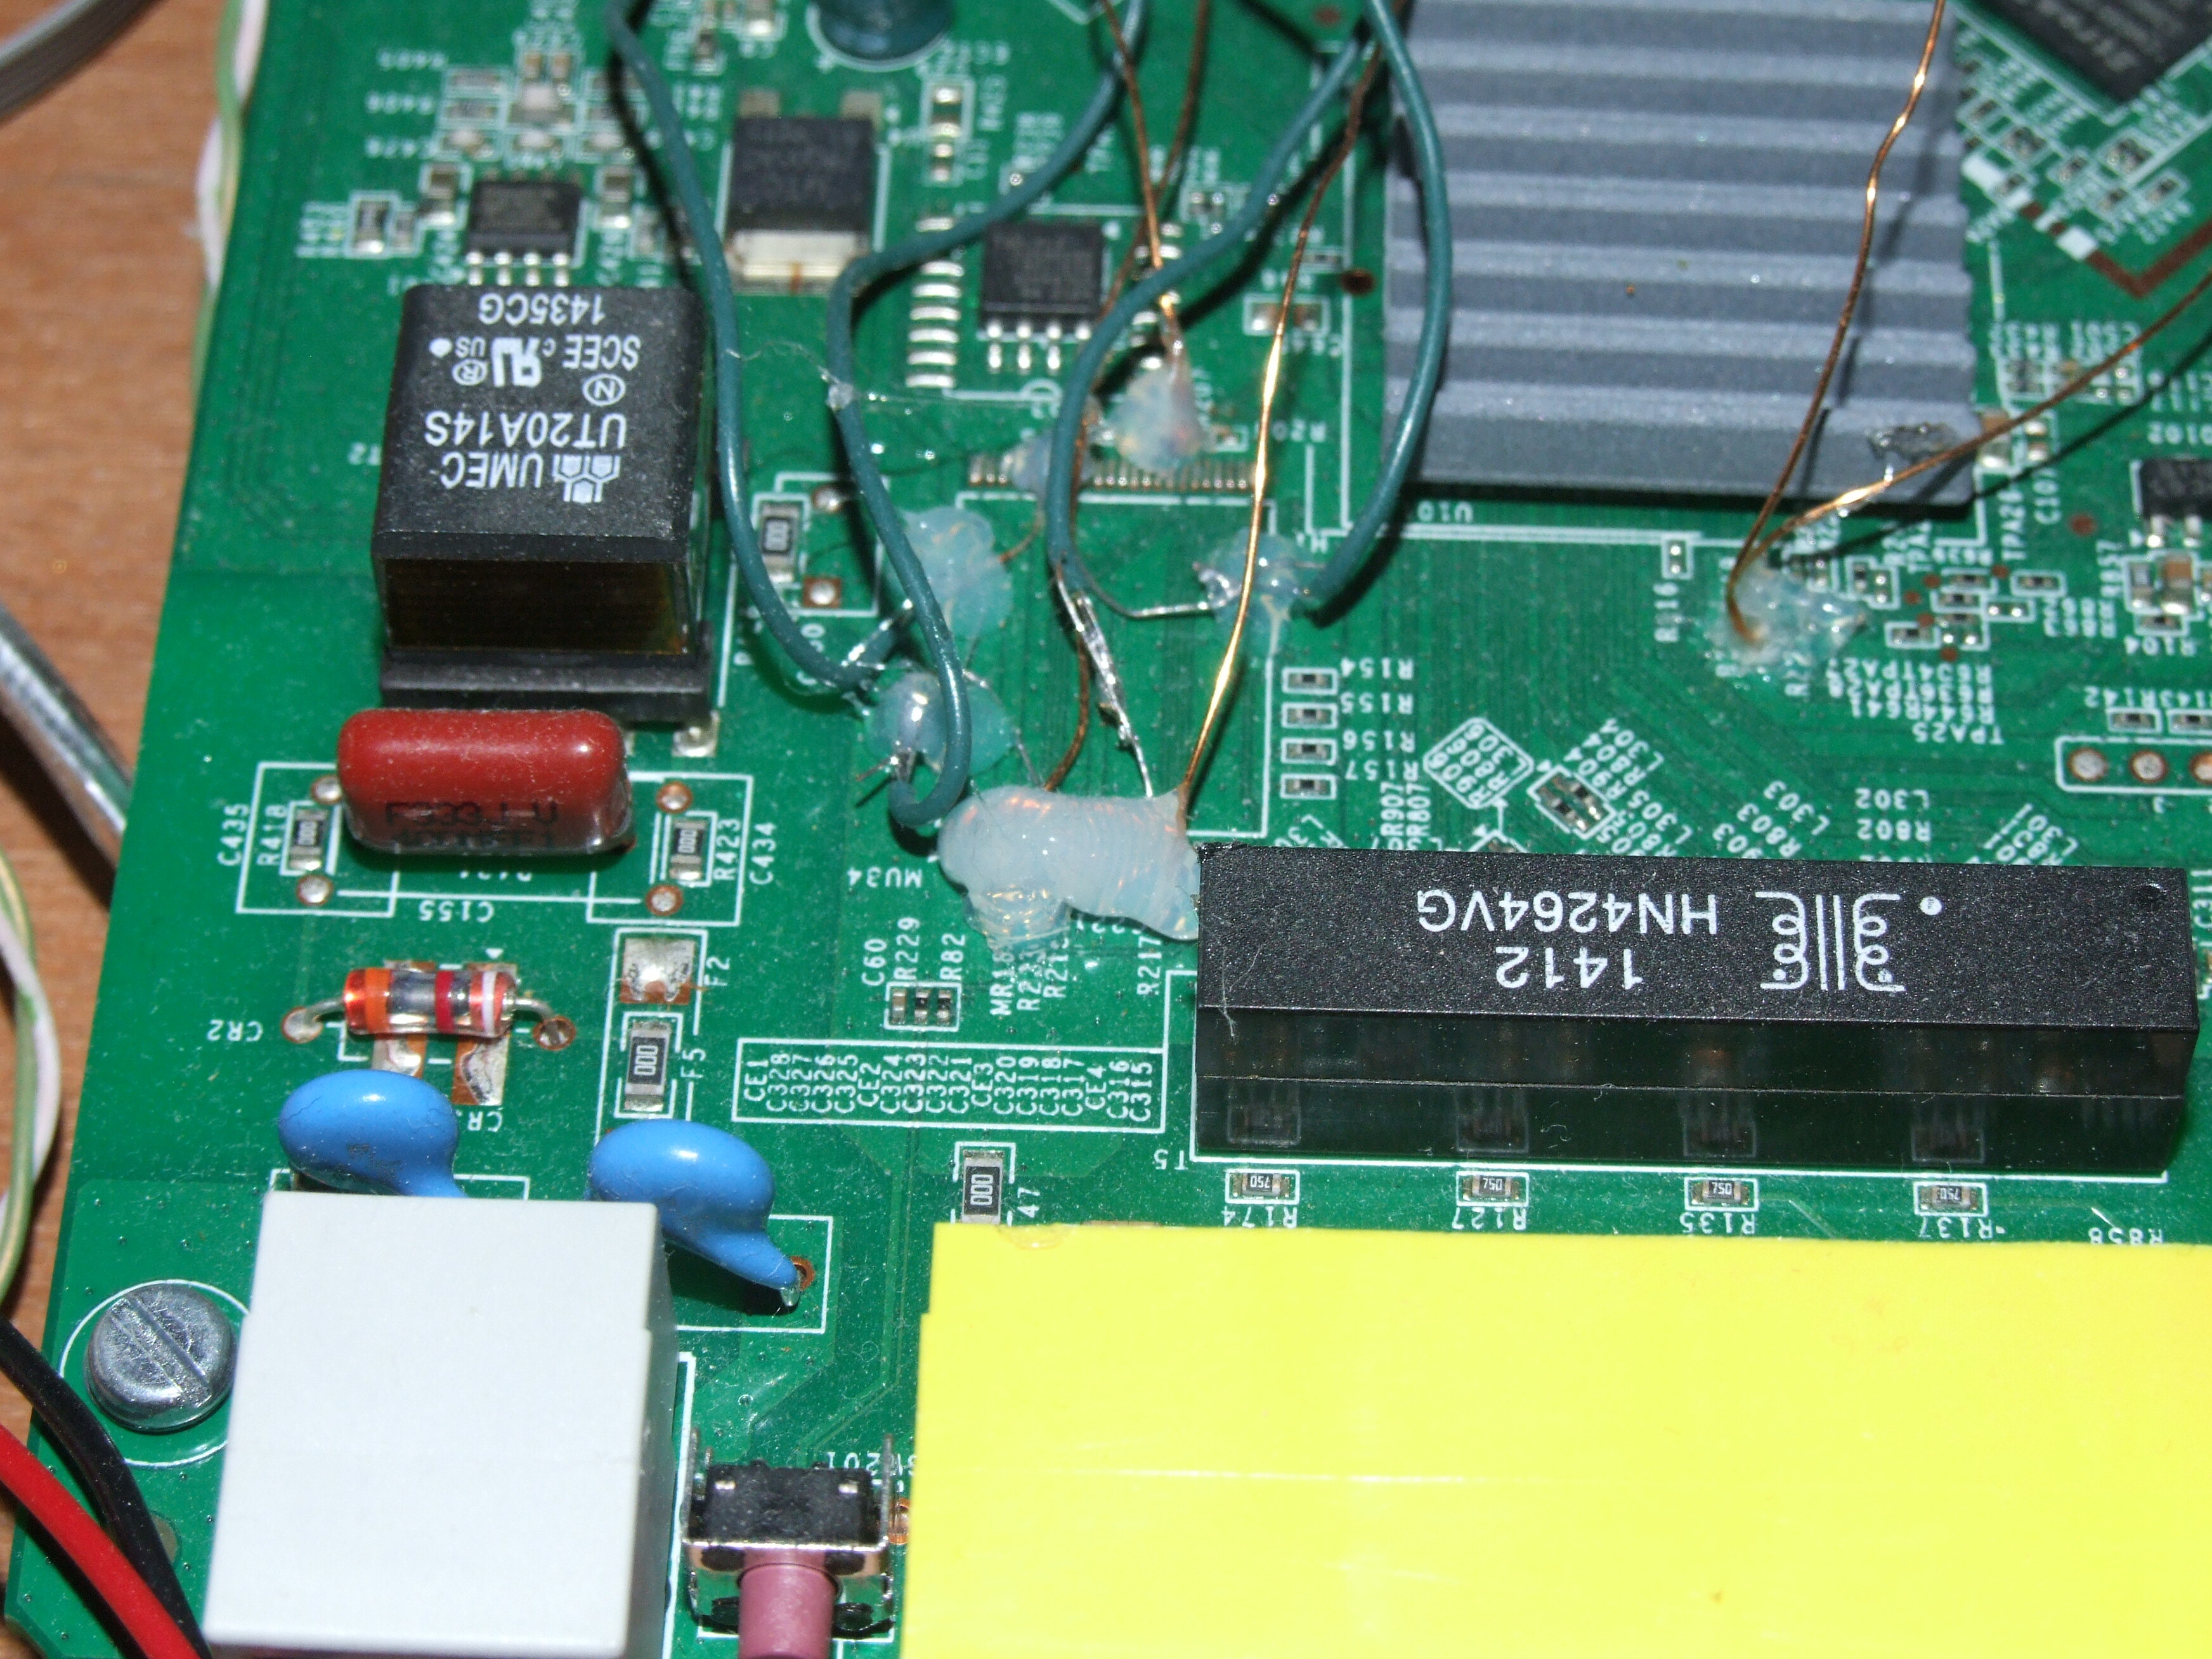
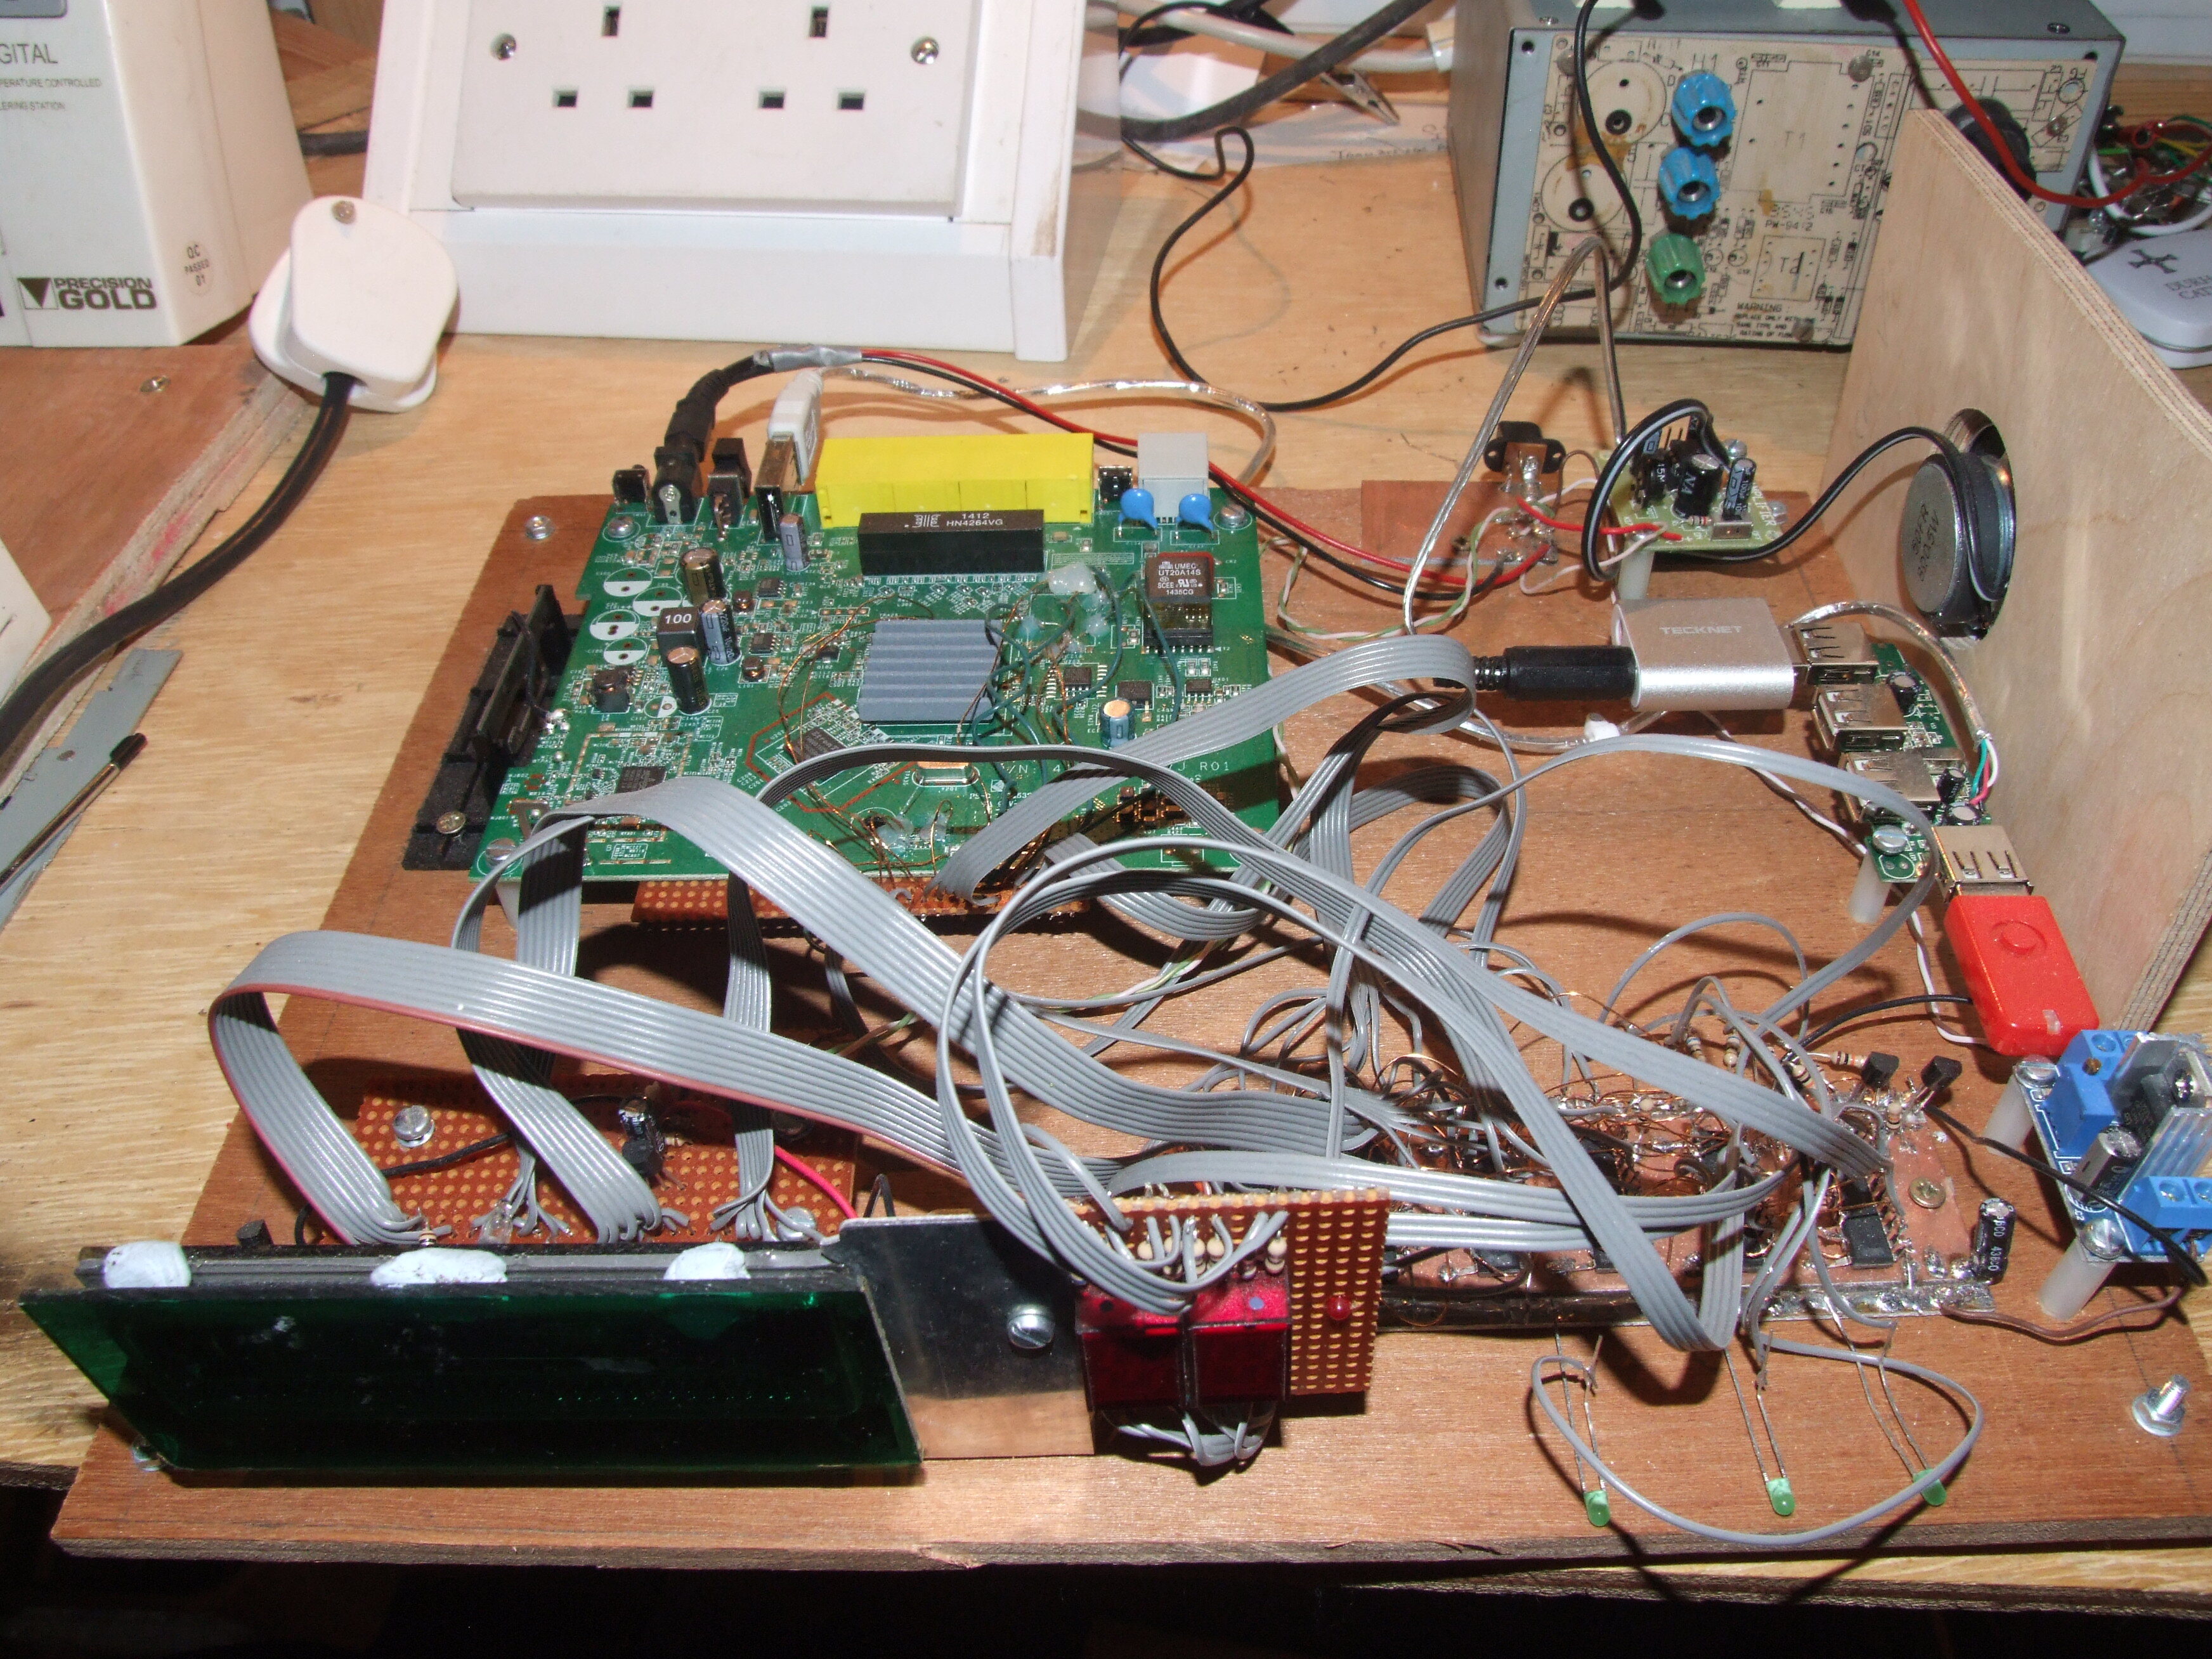
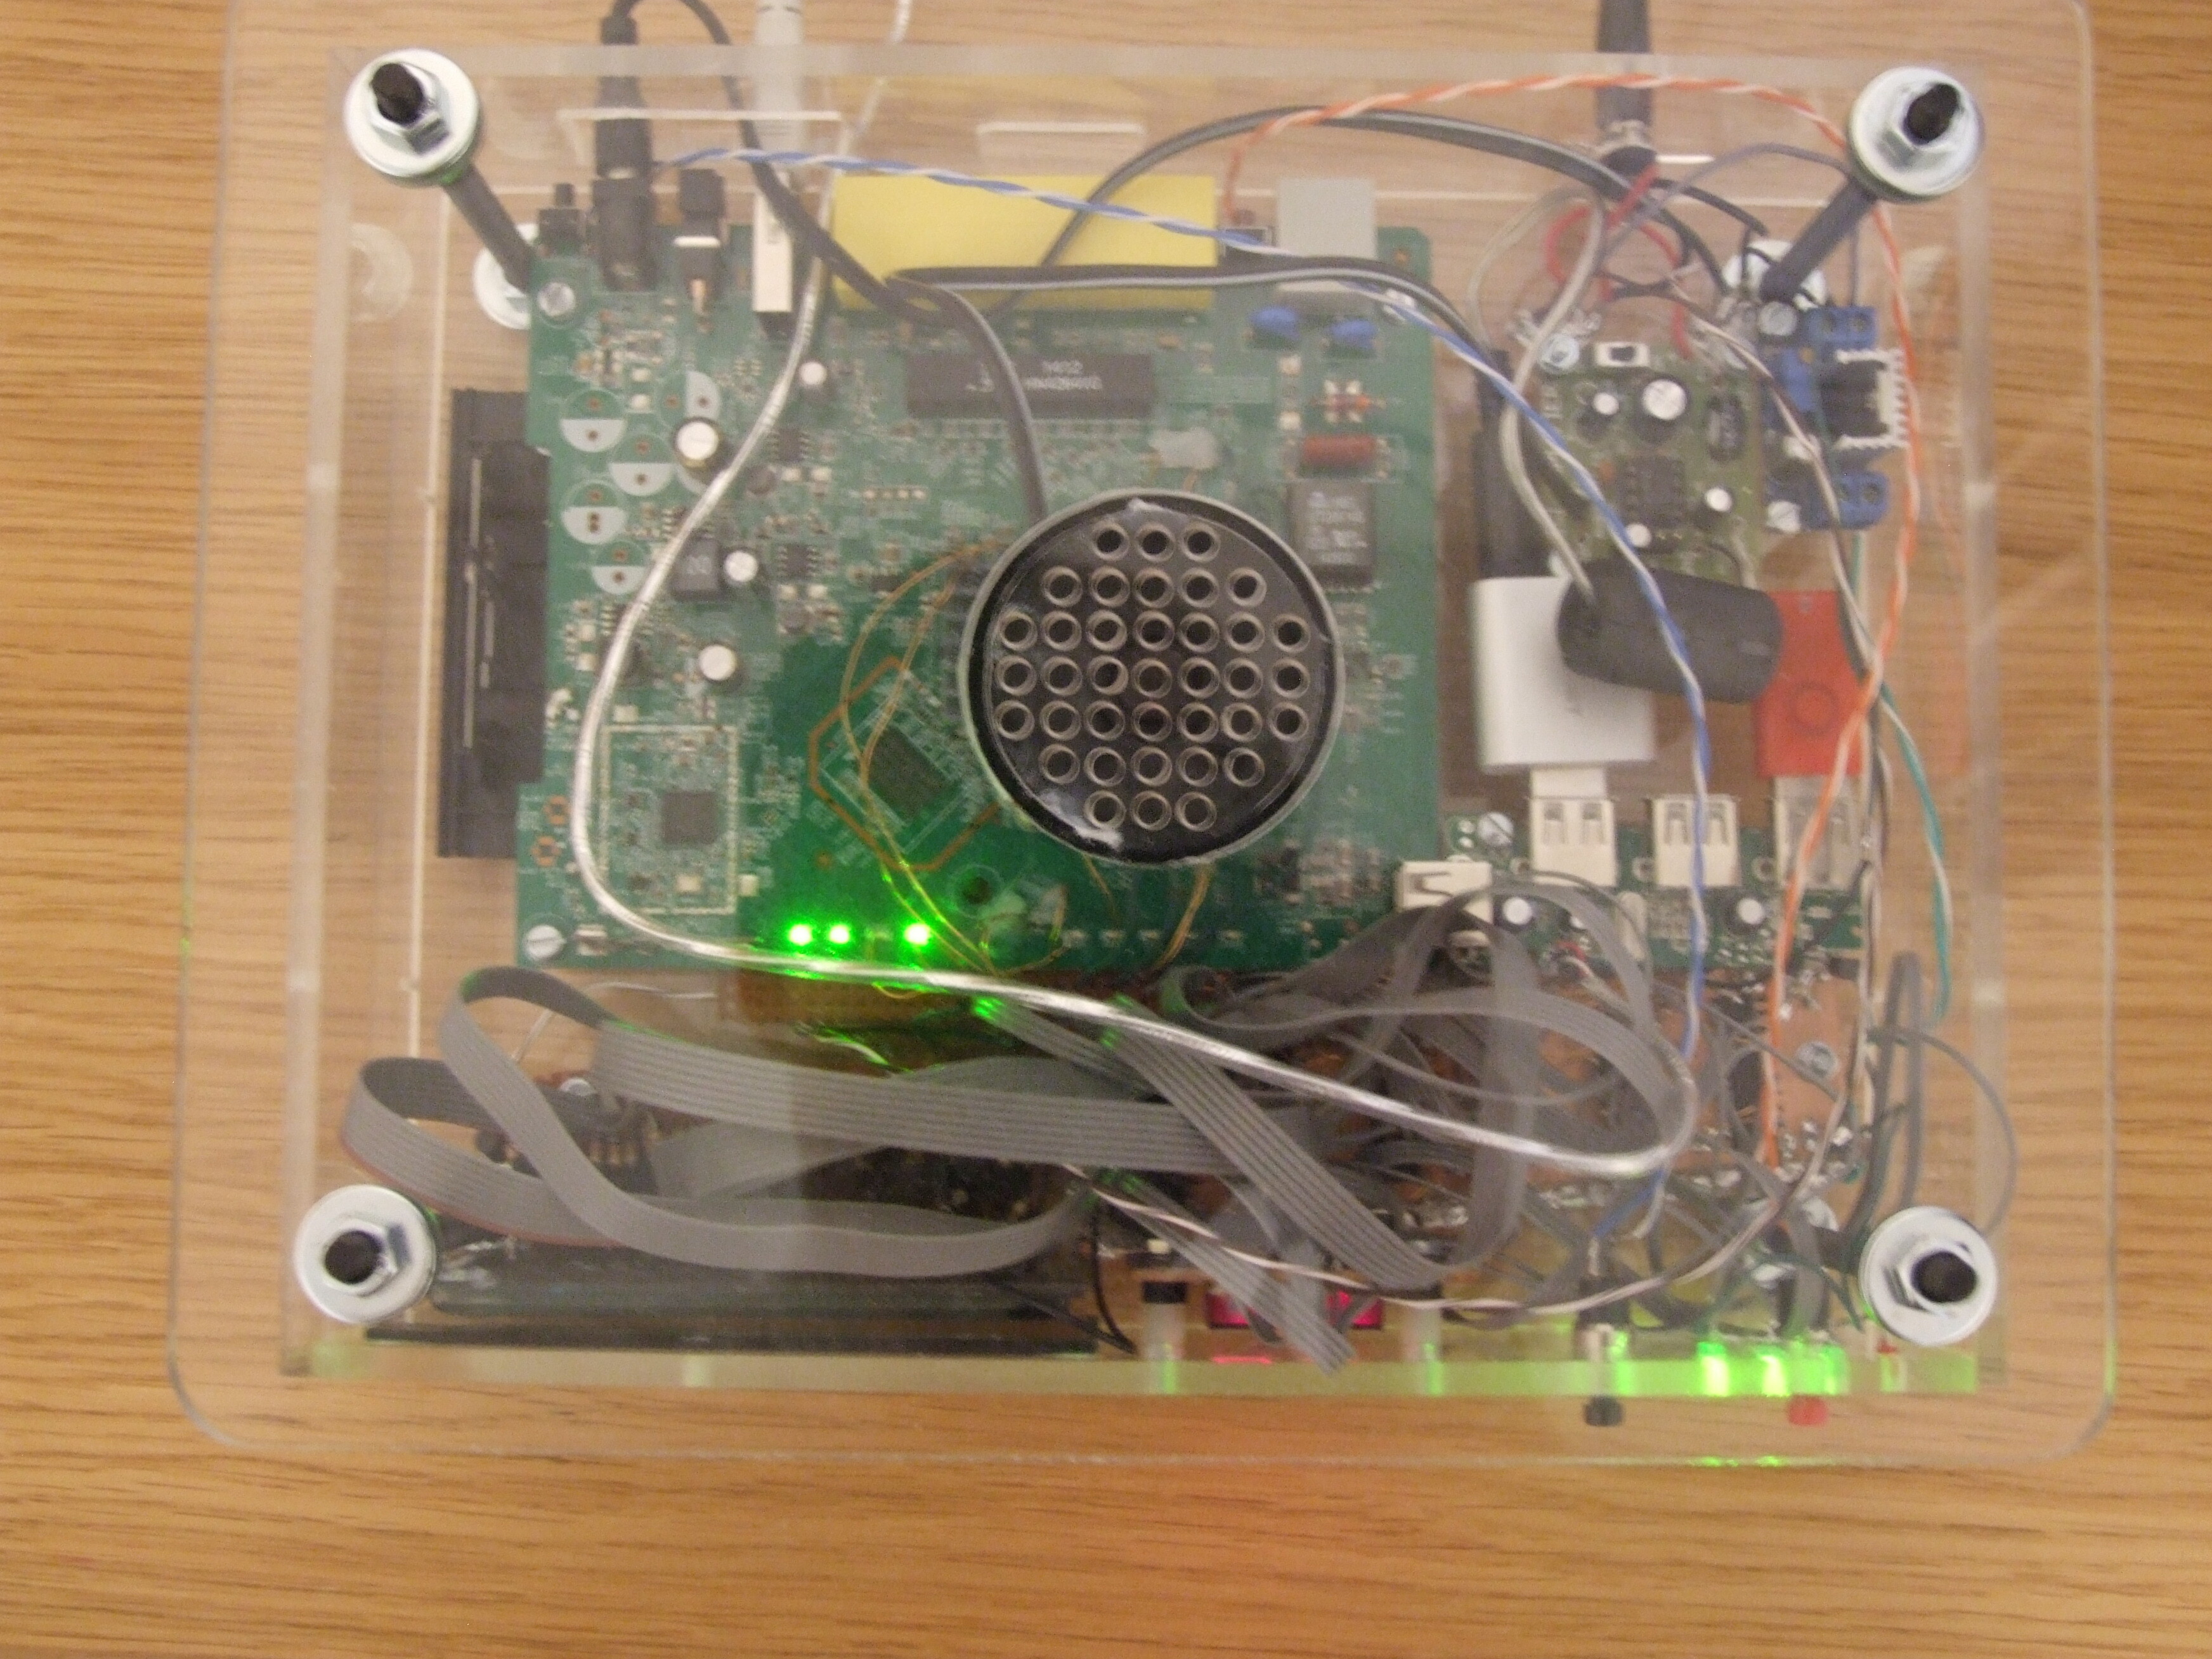
Exams came and went and summer rolled on. I got home and took one of the wireless routers out of its box and mounted it on an offcut of ply. Then I started trying to find enough GPIOs: eight for the seven segments plus dots plus six for the digits (though we could have decoded this latter, but it seemed overkill); for buttons I wired directly to the two buttons on the board after disabling their handlers. Some were quite easy, on unfitted 0805 pads. Others were harder, on SOIC pins or in odd places. I blew a few and had to sacrifice some of the LEDs to gpios, but in the end I had them all wired to a header, with the wires glued in place:
Then the display board. The VFD needed switching transistors for each segment to handly the 12v, and a dropper from the 3.3v (a series diode in the end). I rather foolishly squeezed this all onto the only bit of large stripboard I had:
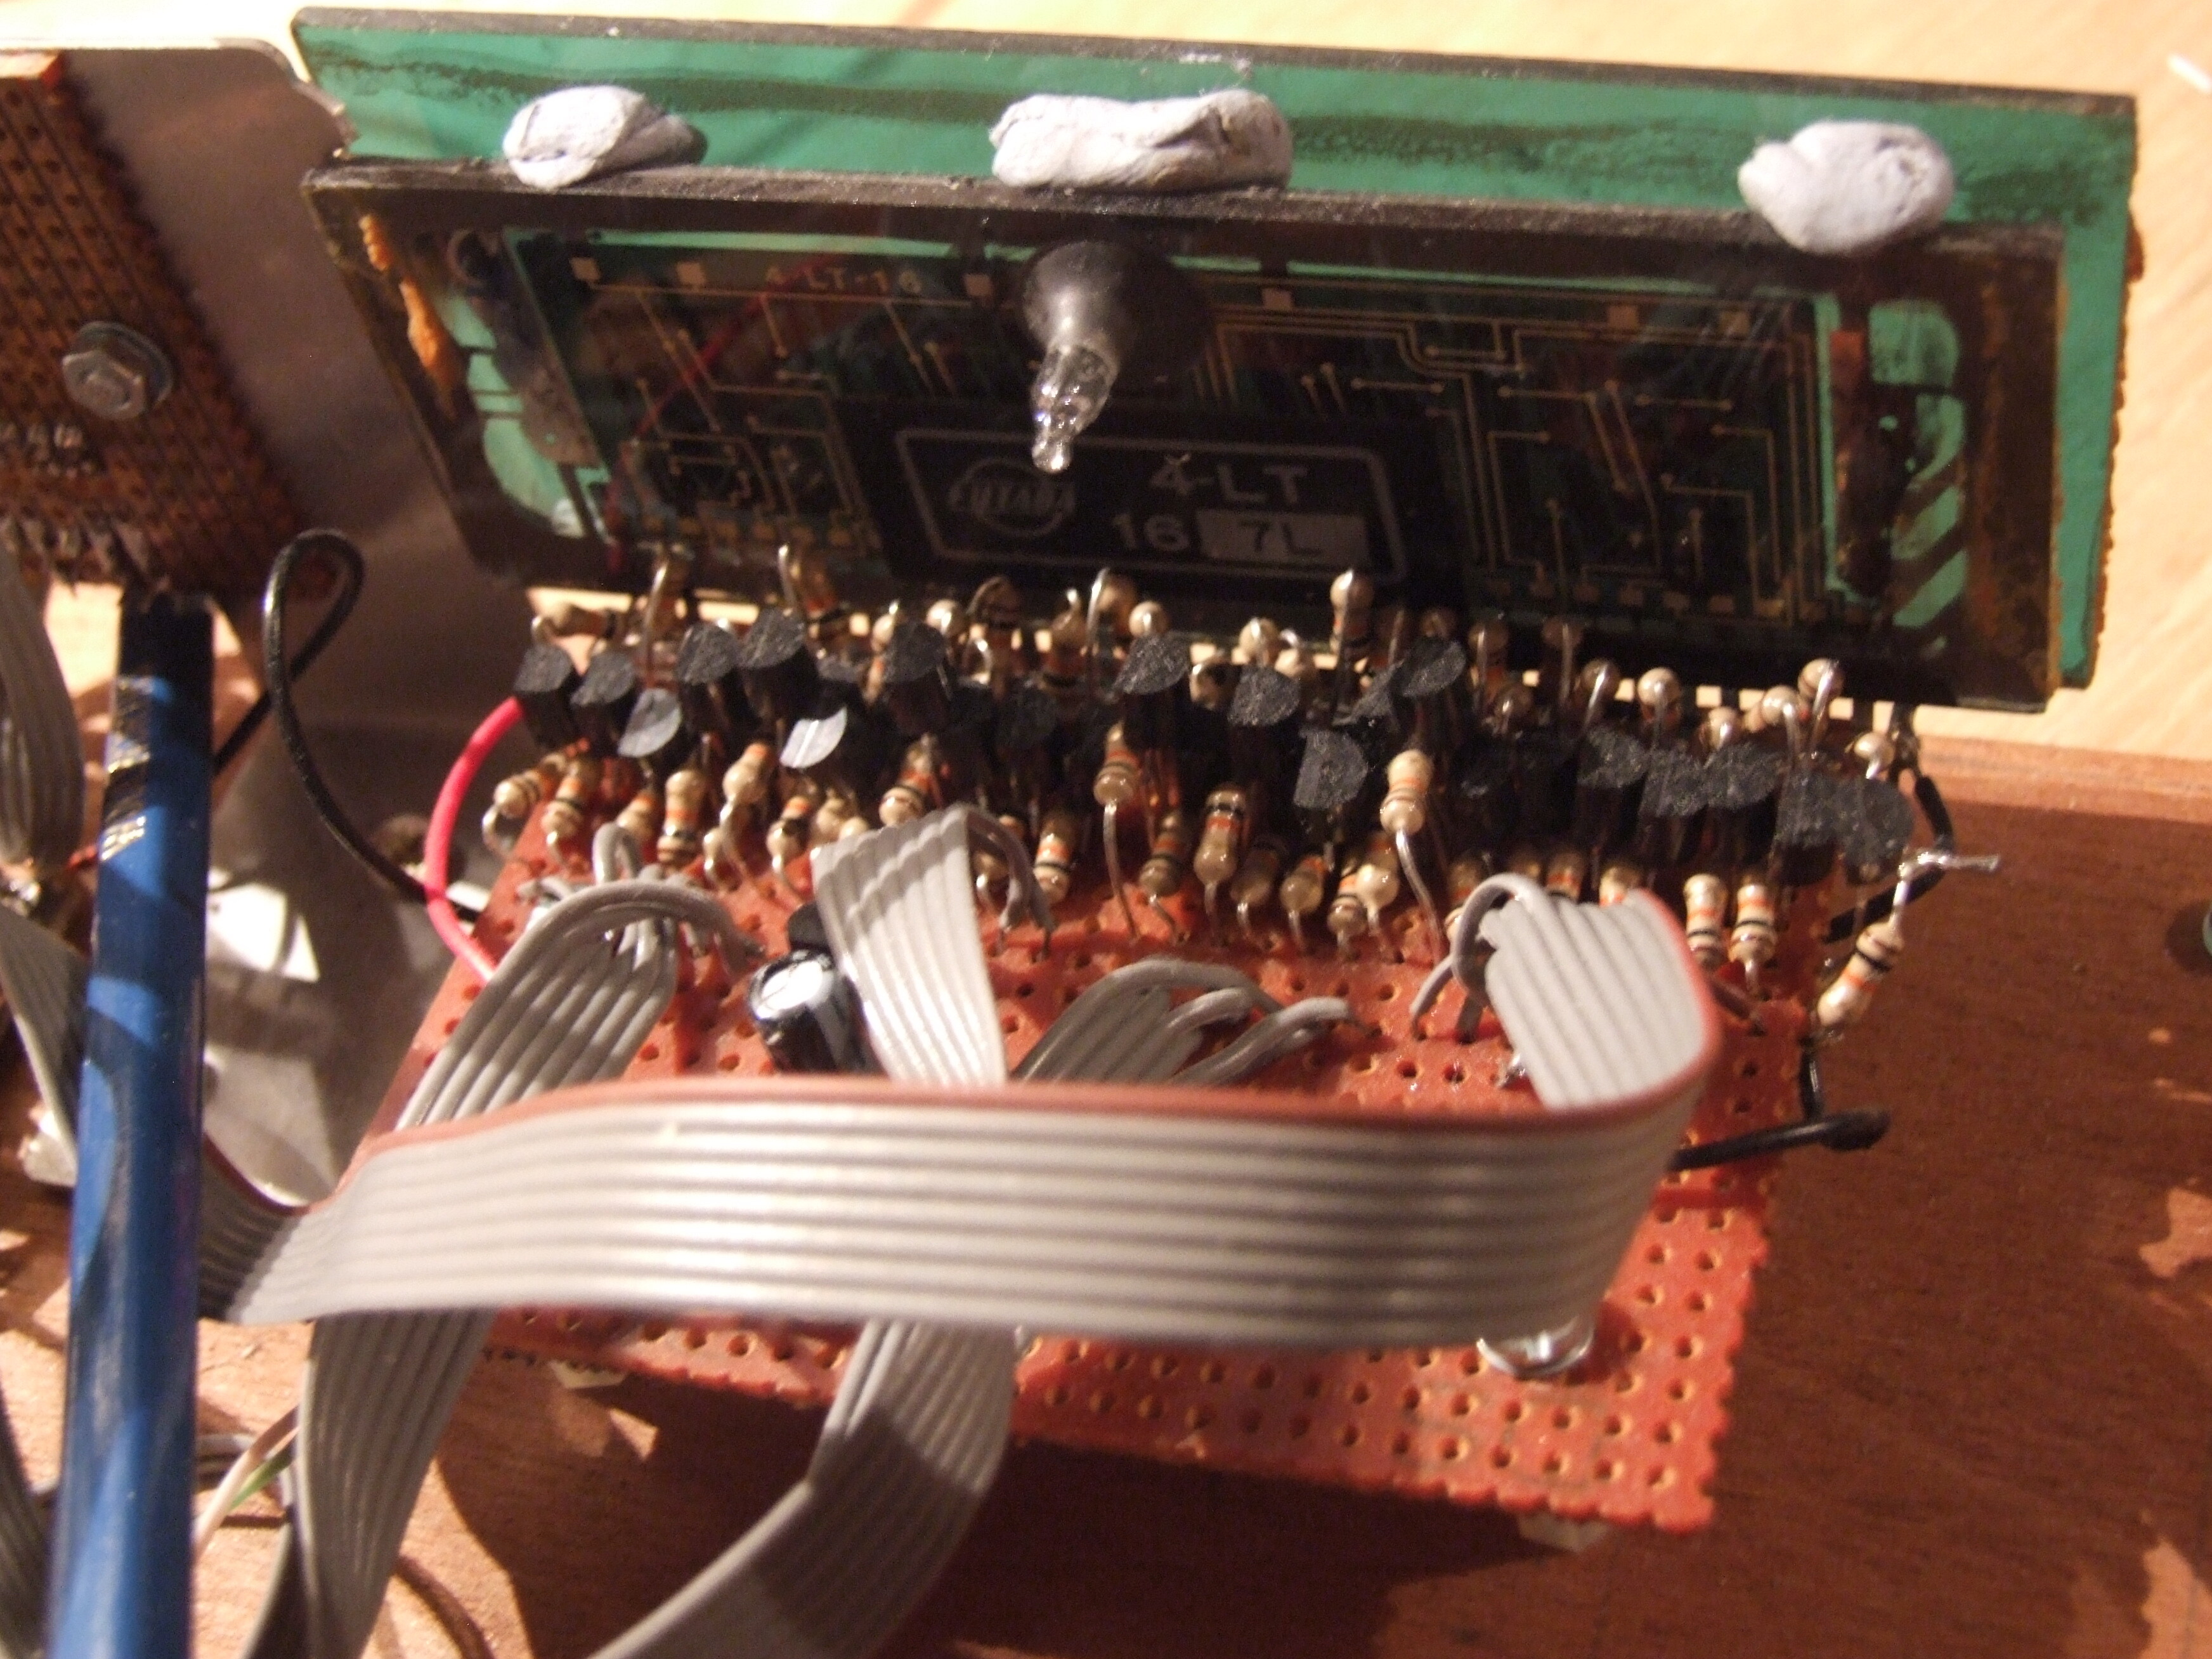
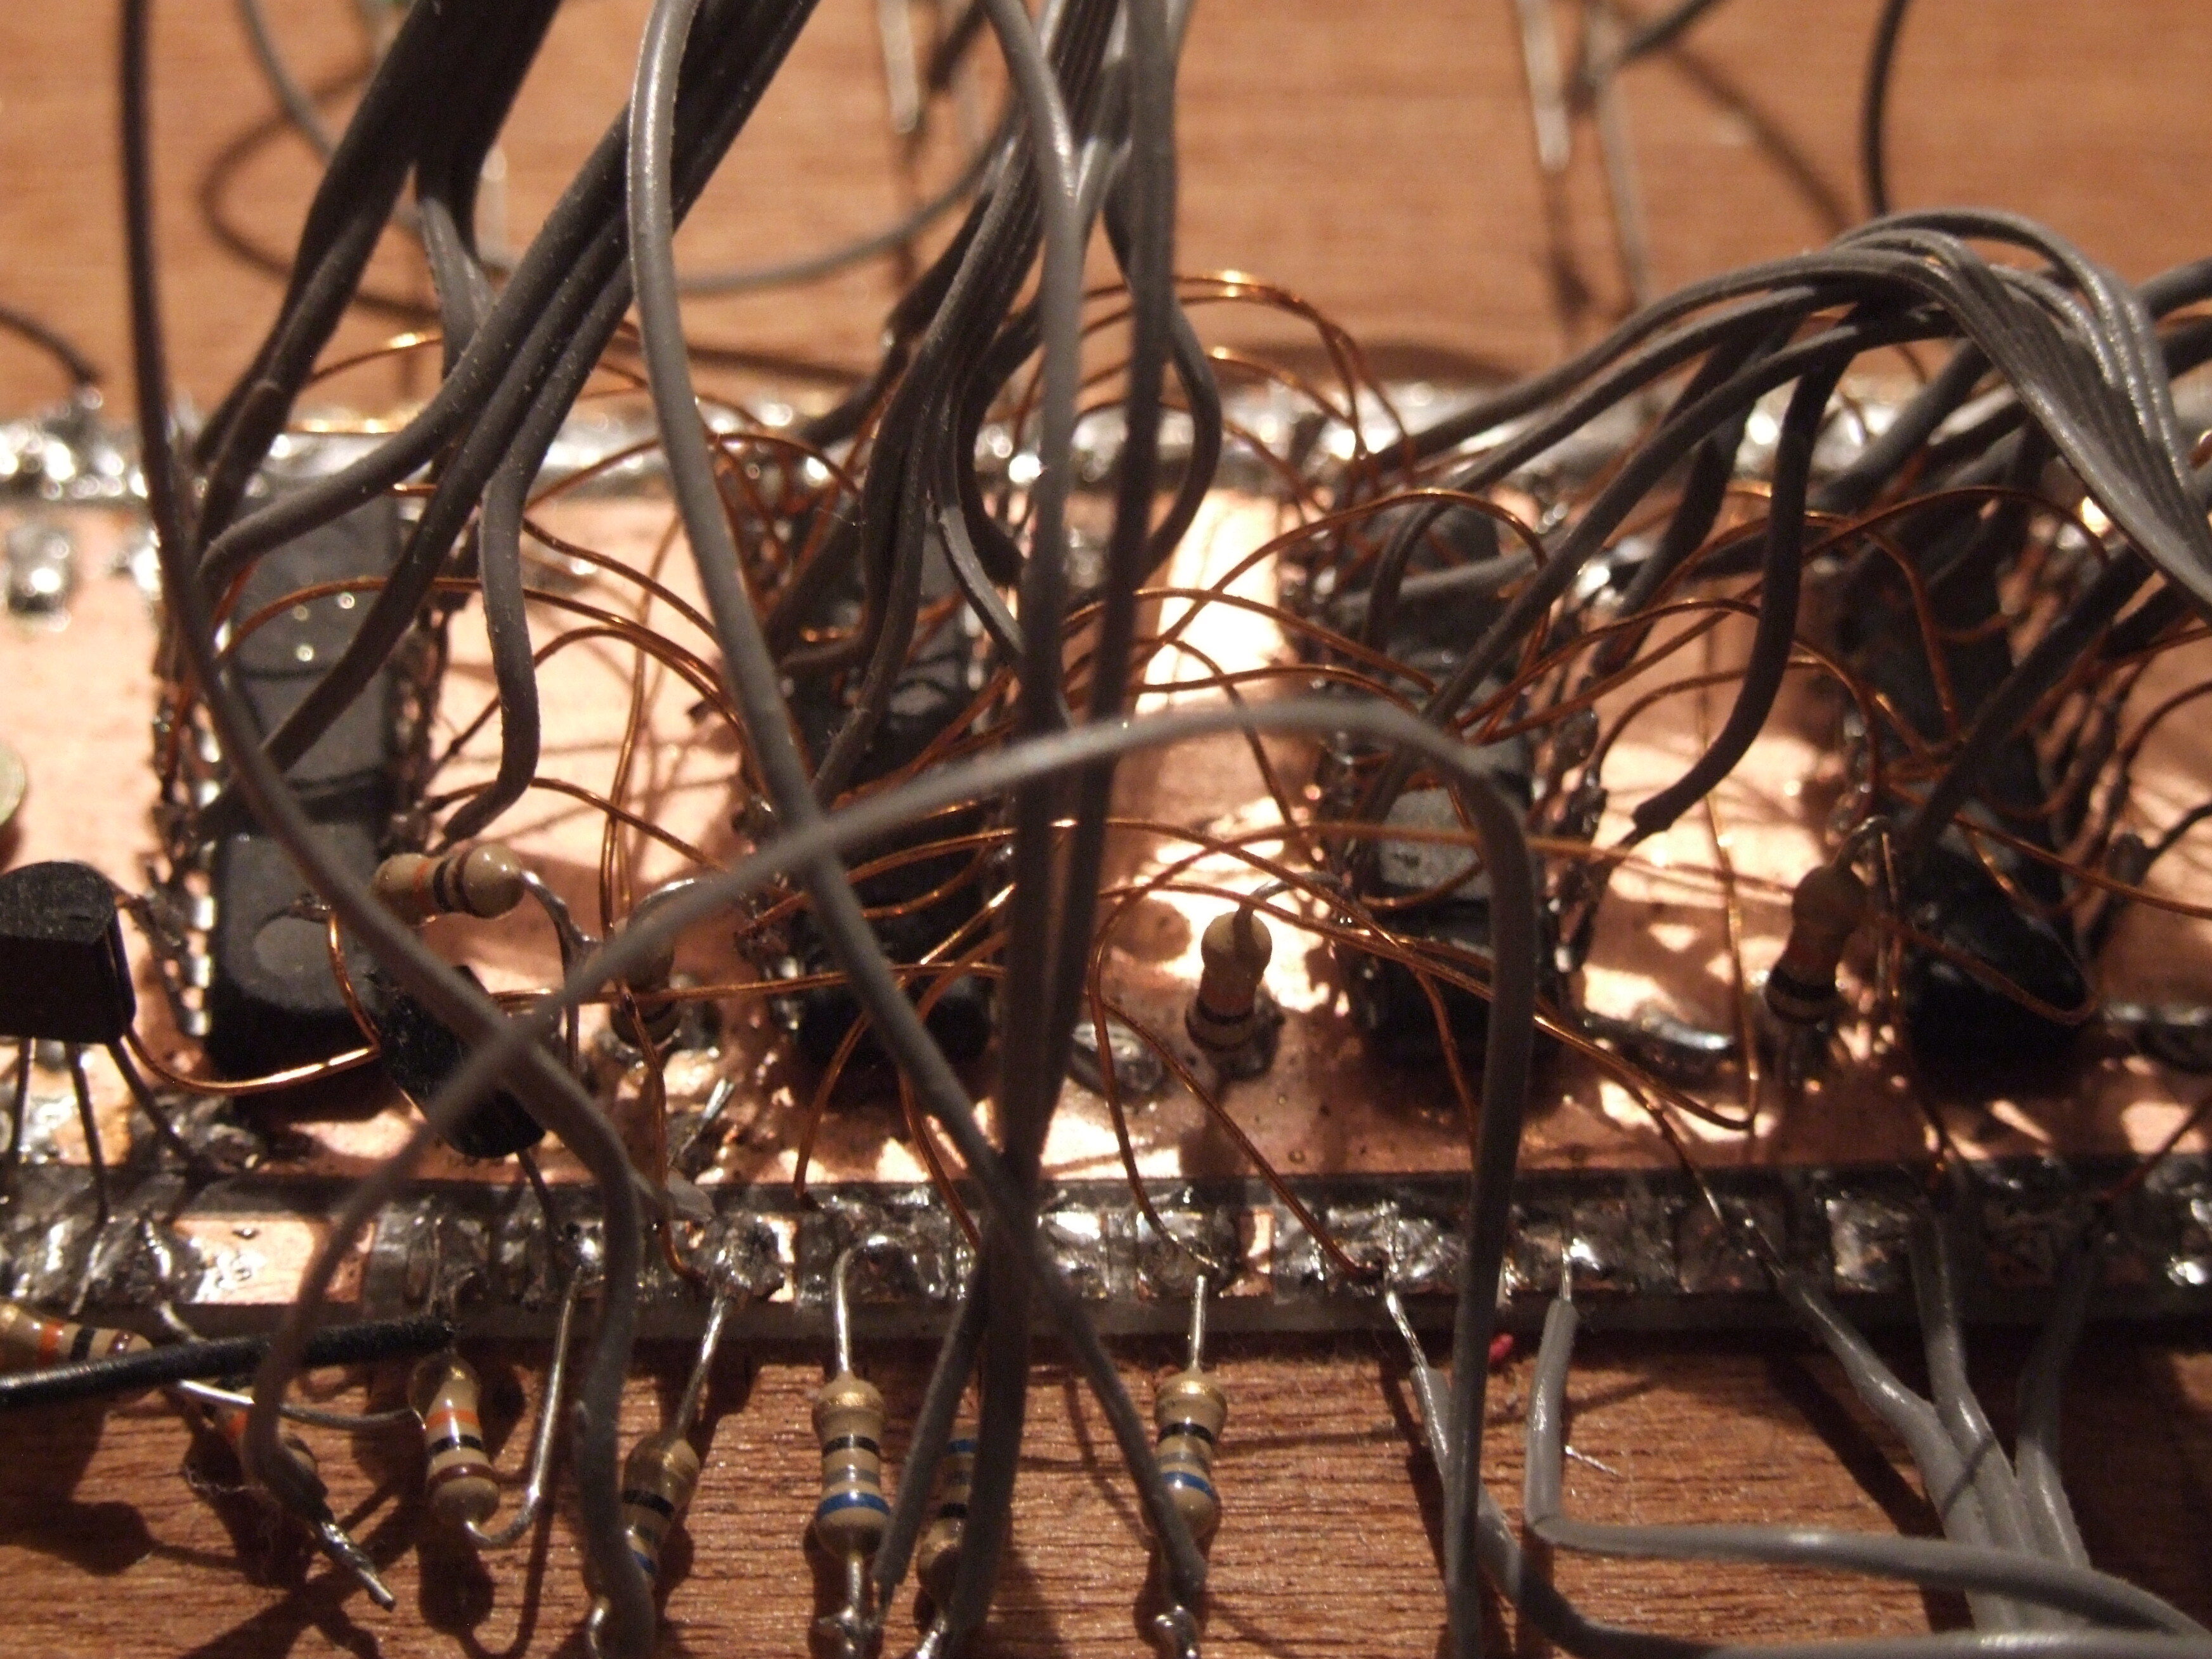
…without even planning screw holes. This board has played up over the last three years: there’s a near-short somewhere which can turn one segment on, but every time I go looking for it it disappears. We’re several months clear at time of writing.1 The multiplexers were mounted uglybug, and the resulting wiring is dependable and very ugly indeed:
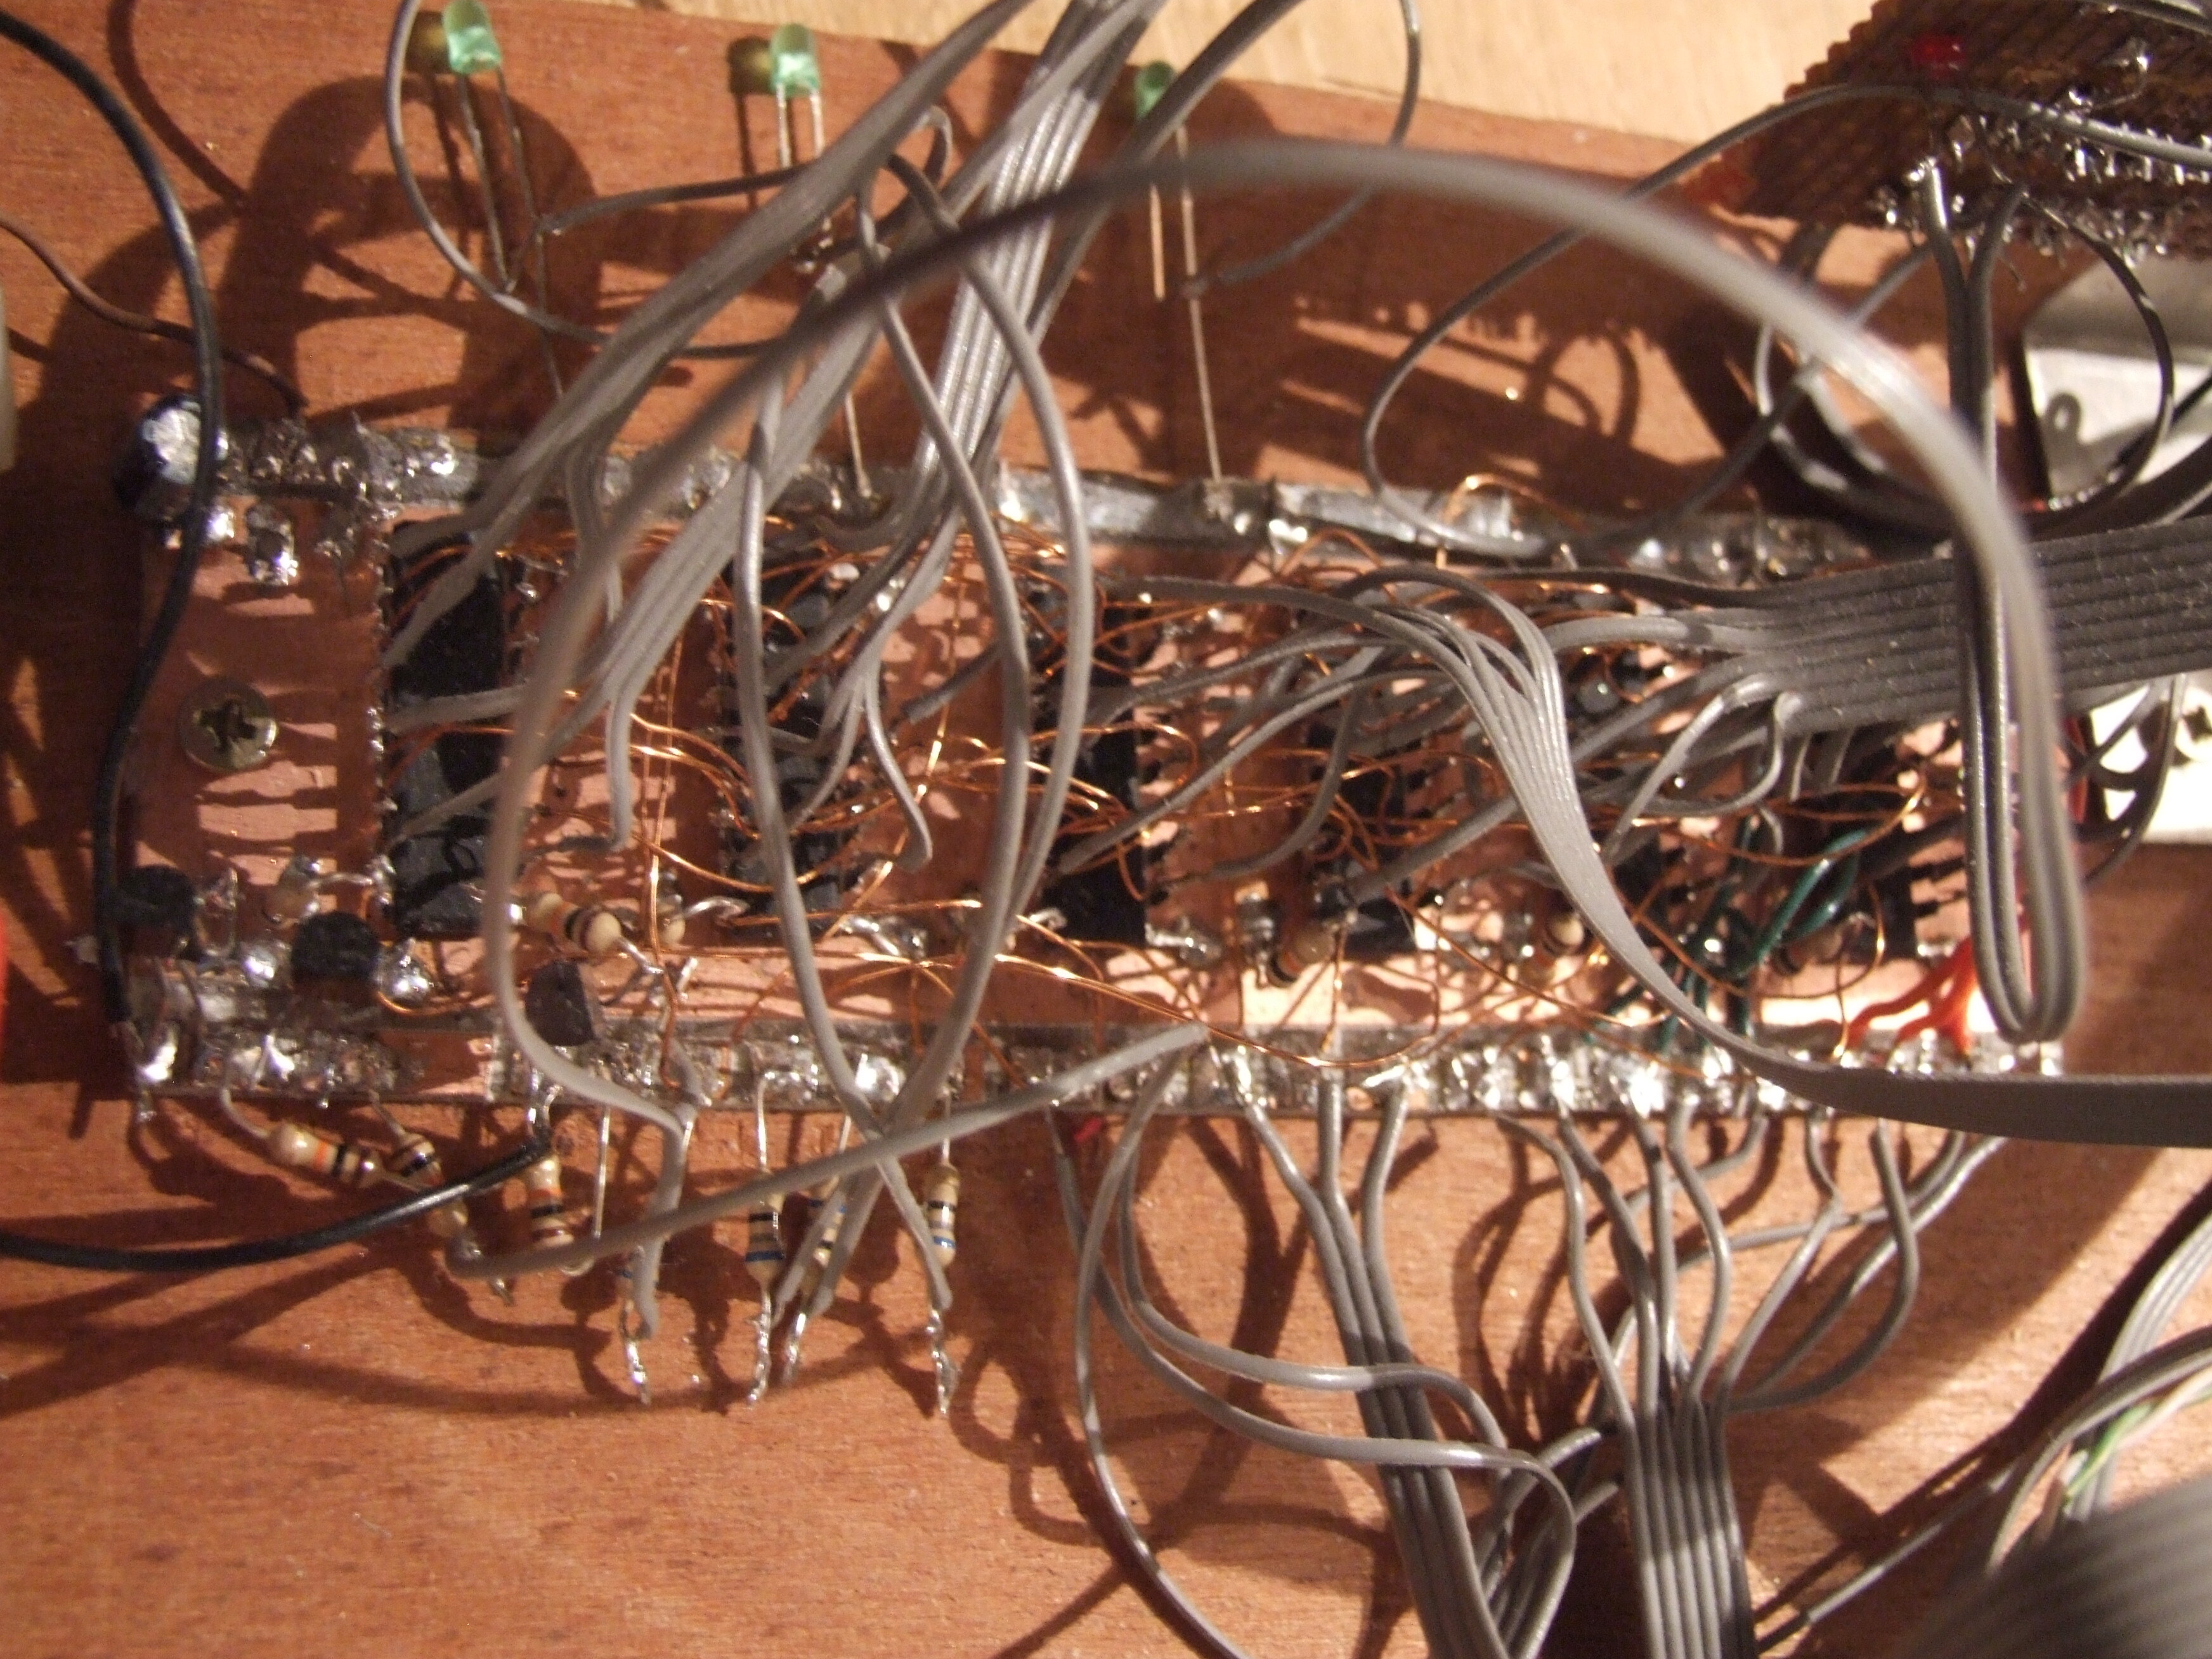
Attaching the ribbon cables, which unlike the magnet wire are quite vulnerable, was interesting:
I wired the dots together, which gives five other outputs. Four of these control LEDs and one is unconnected. The overall schematic is fairly straightforward:
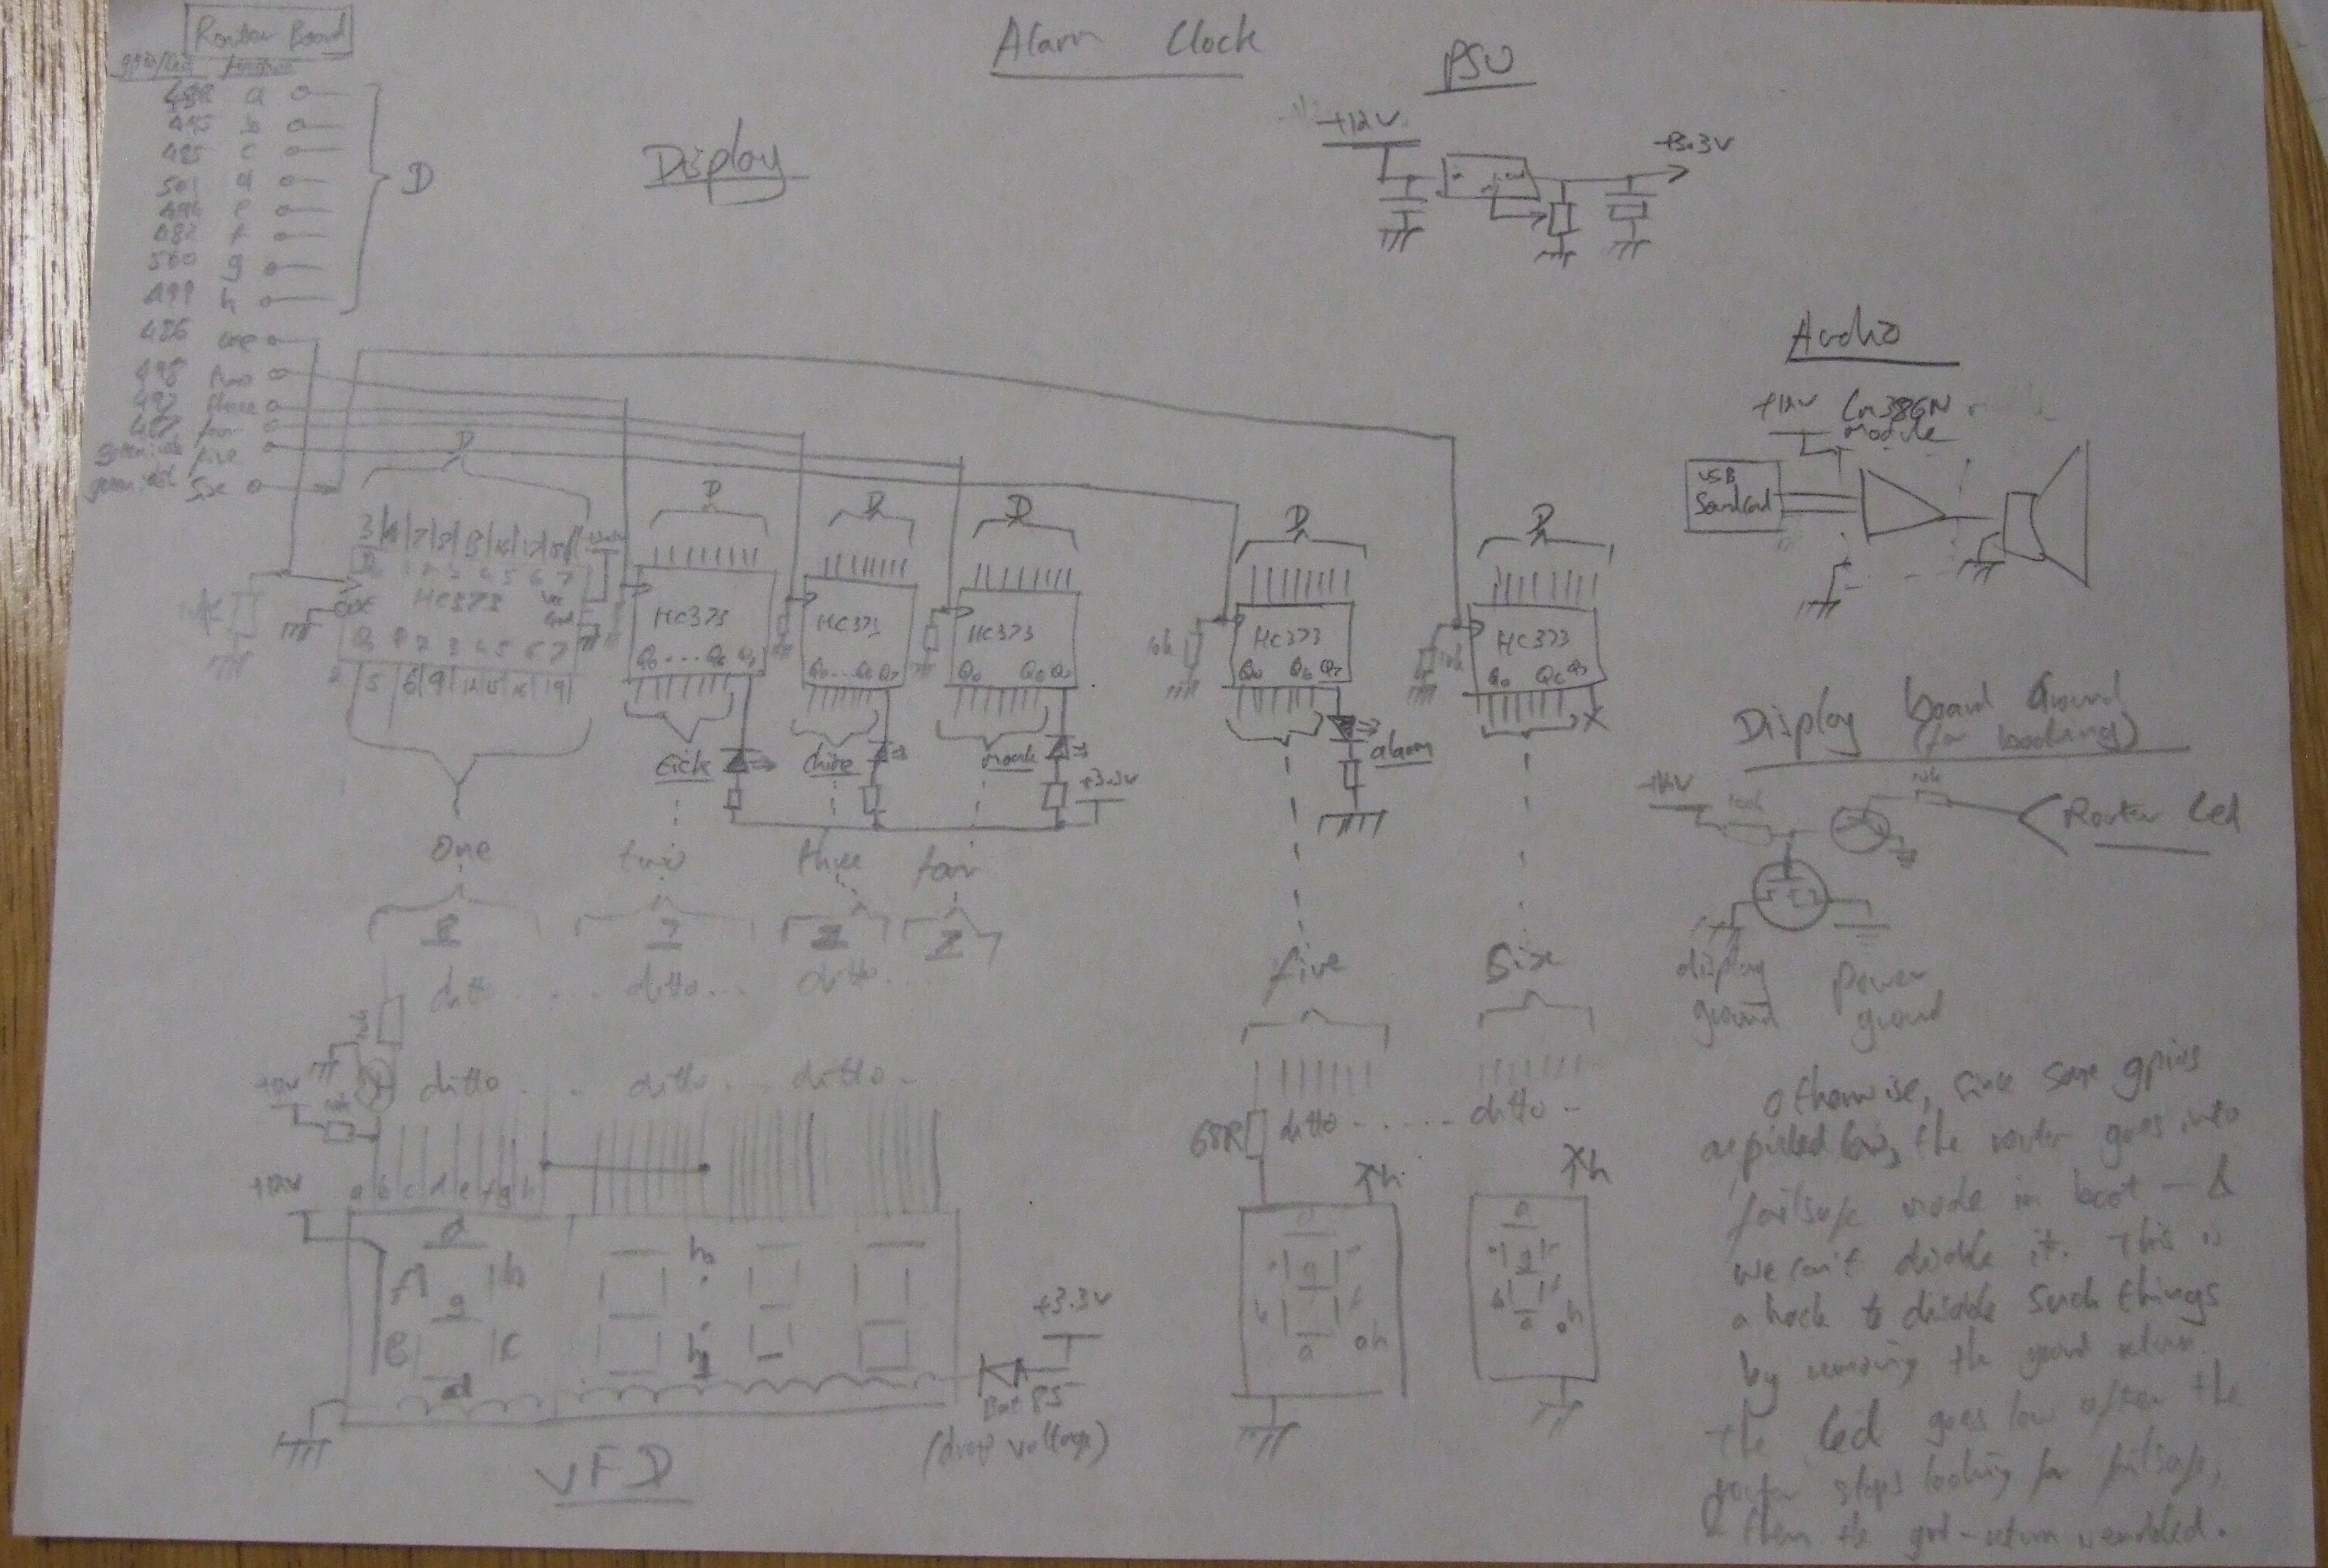
And the rest of the hardware is unimpressive. Indeed, the LM386 amplifier module I had from some ‘soldering kit’ was so underwhelming it ended up fitted with a clc psu filter in a shielded metal box, and even then it picks up annoying noise. I really should replace it.2
Then it was just a matter of software, which I won’t go through here: the code was developed when I was too tired to do anything else and is very ugly and very very inefficient; it is also all in python to avoid cross-compiling. But it can be found on gitlab for amusement. The display writing loop takes, I think, about .4s to write all the digits, (mainly because writing the gpios via pseudofiles is quite slow), and then toggles the latch to update the display. The various modes, including a monastery bell which chimes vespers and compline, are implemented with a set of daft ideas, like defining a dictionary of functions for each button under different circumstances and implementing modes by re-writing the dictionary. But it works, with snoozing, adjustable alarms (alarms are set over ssh), modes selected by short or long presses on buttons and a fair deal of bugfixing over a year. Music is handled via mpd, since it was the only decent audio decoding package available. The clock was my only alarm clock for three years until it was (eventually) moved downstairs and supplanted by a phone, at least until I build another chiming clock for the living room.
Case
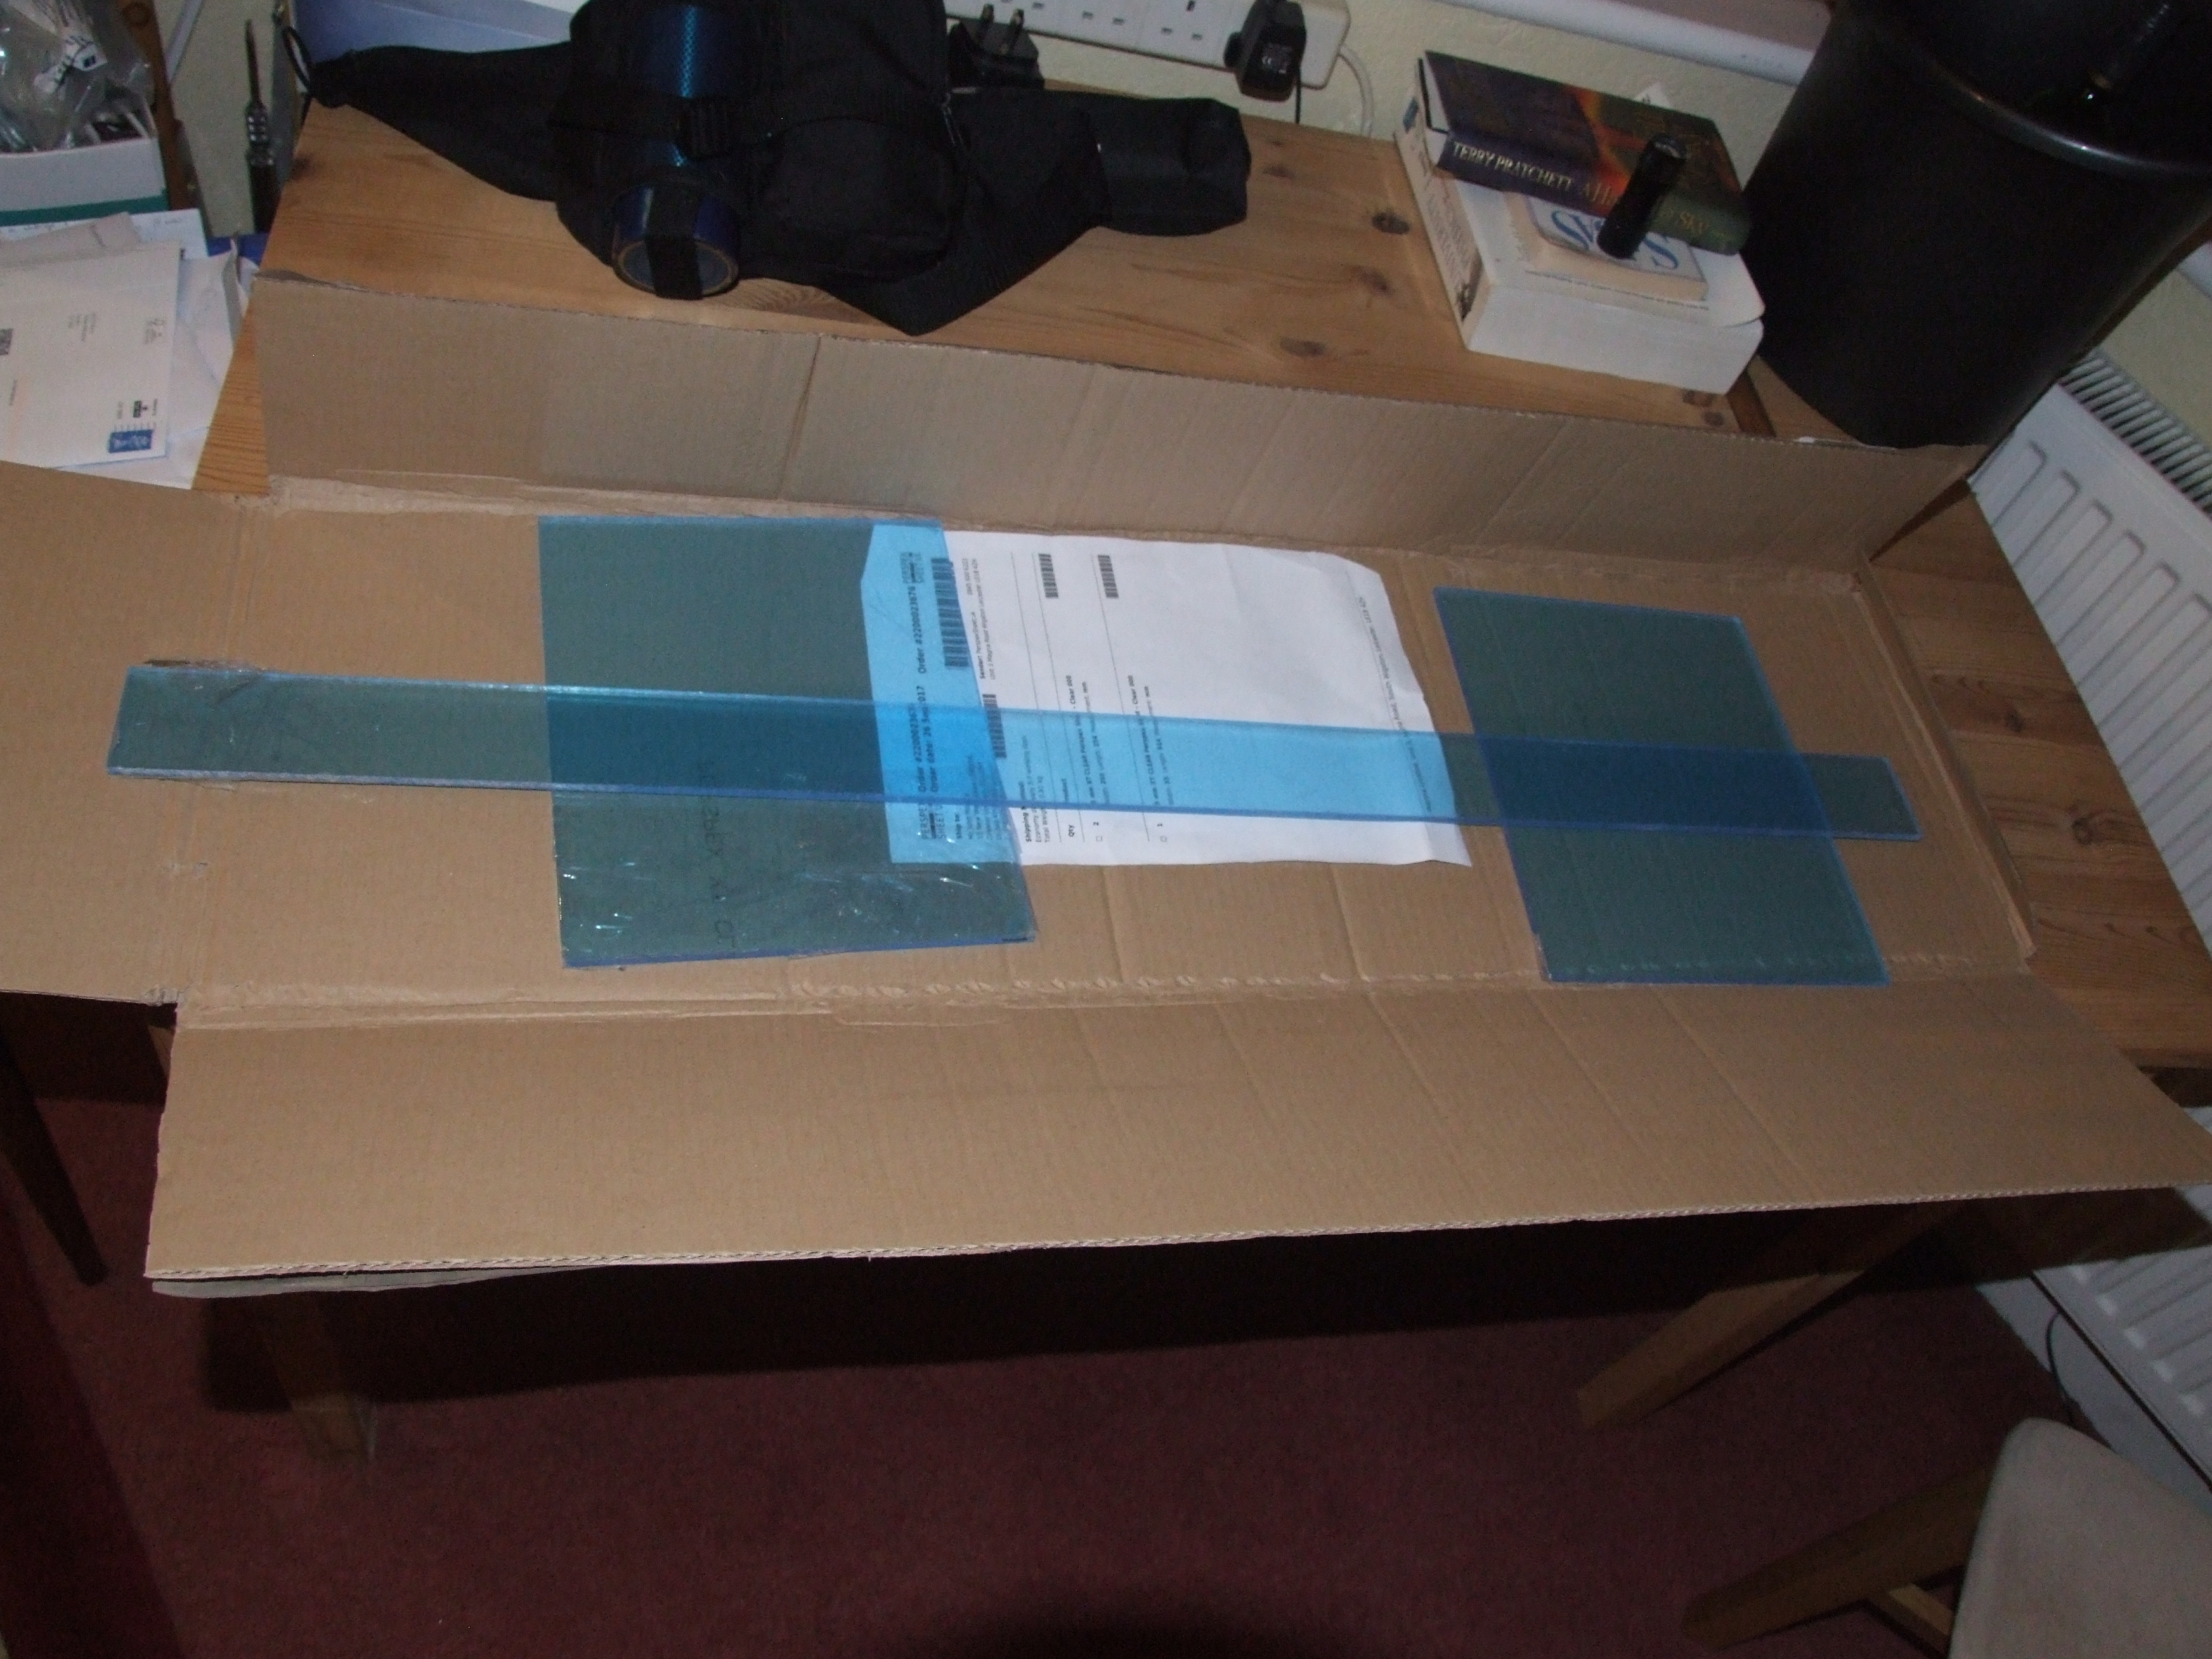
The case had to show off the clock: it was no good building something full of wires and fury (and signifying very little) if nobody could see it. That meant perspex: beyond that, the simpler the better. One can order perspex pre-cut on line, and it’s quite reasonable. After measuring the board I fixed a minimum size and ordered it: the case was several times more expensive than the clock, whose router cost £5 on ebay, soundcard £6, and the rest was junkbox parts.
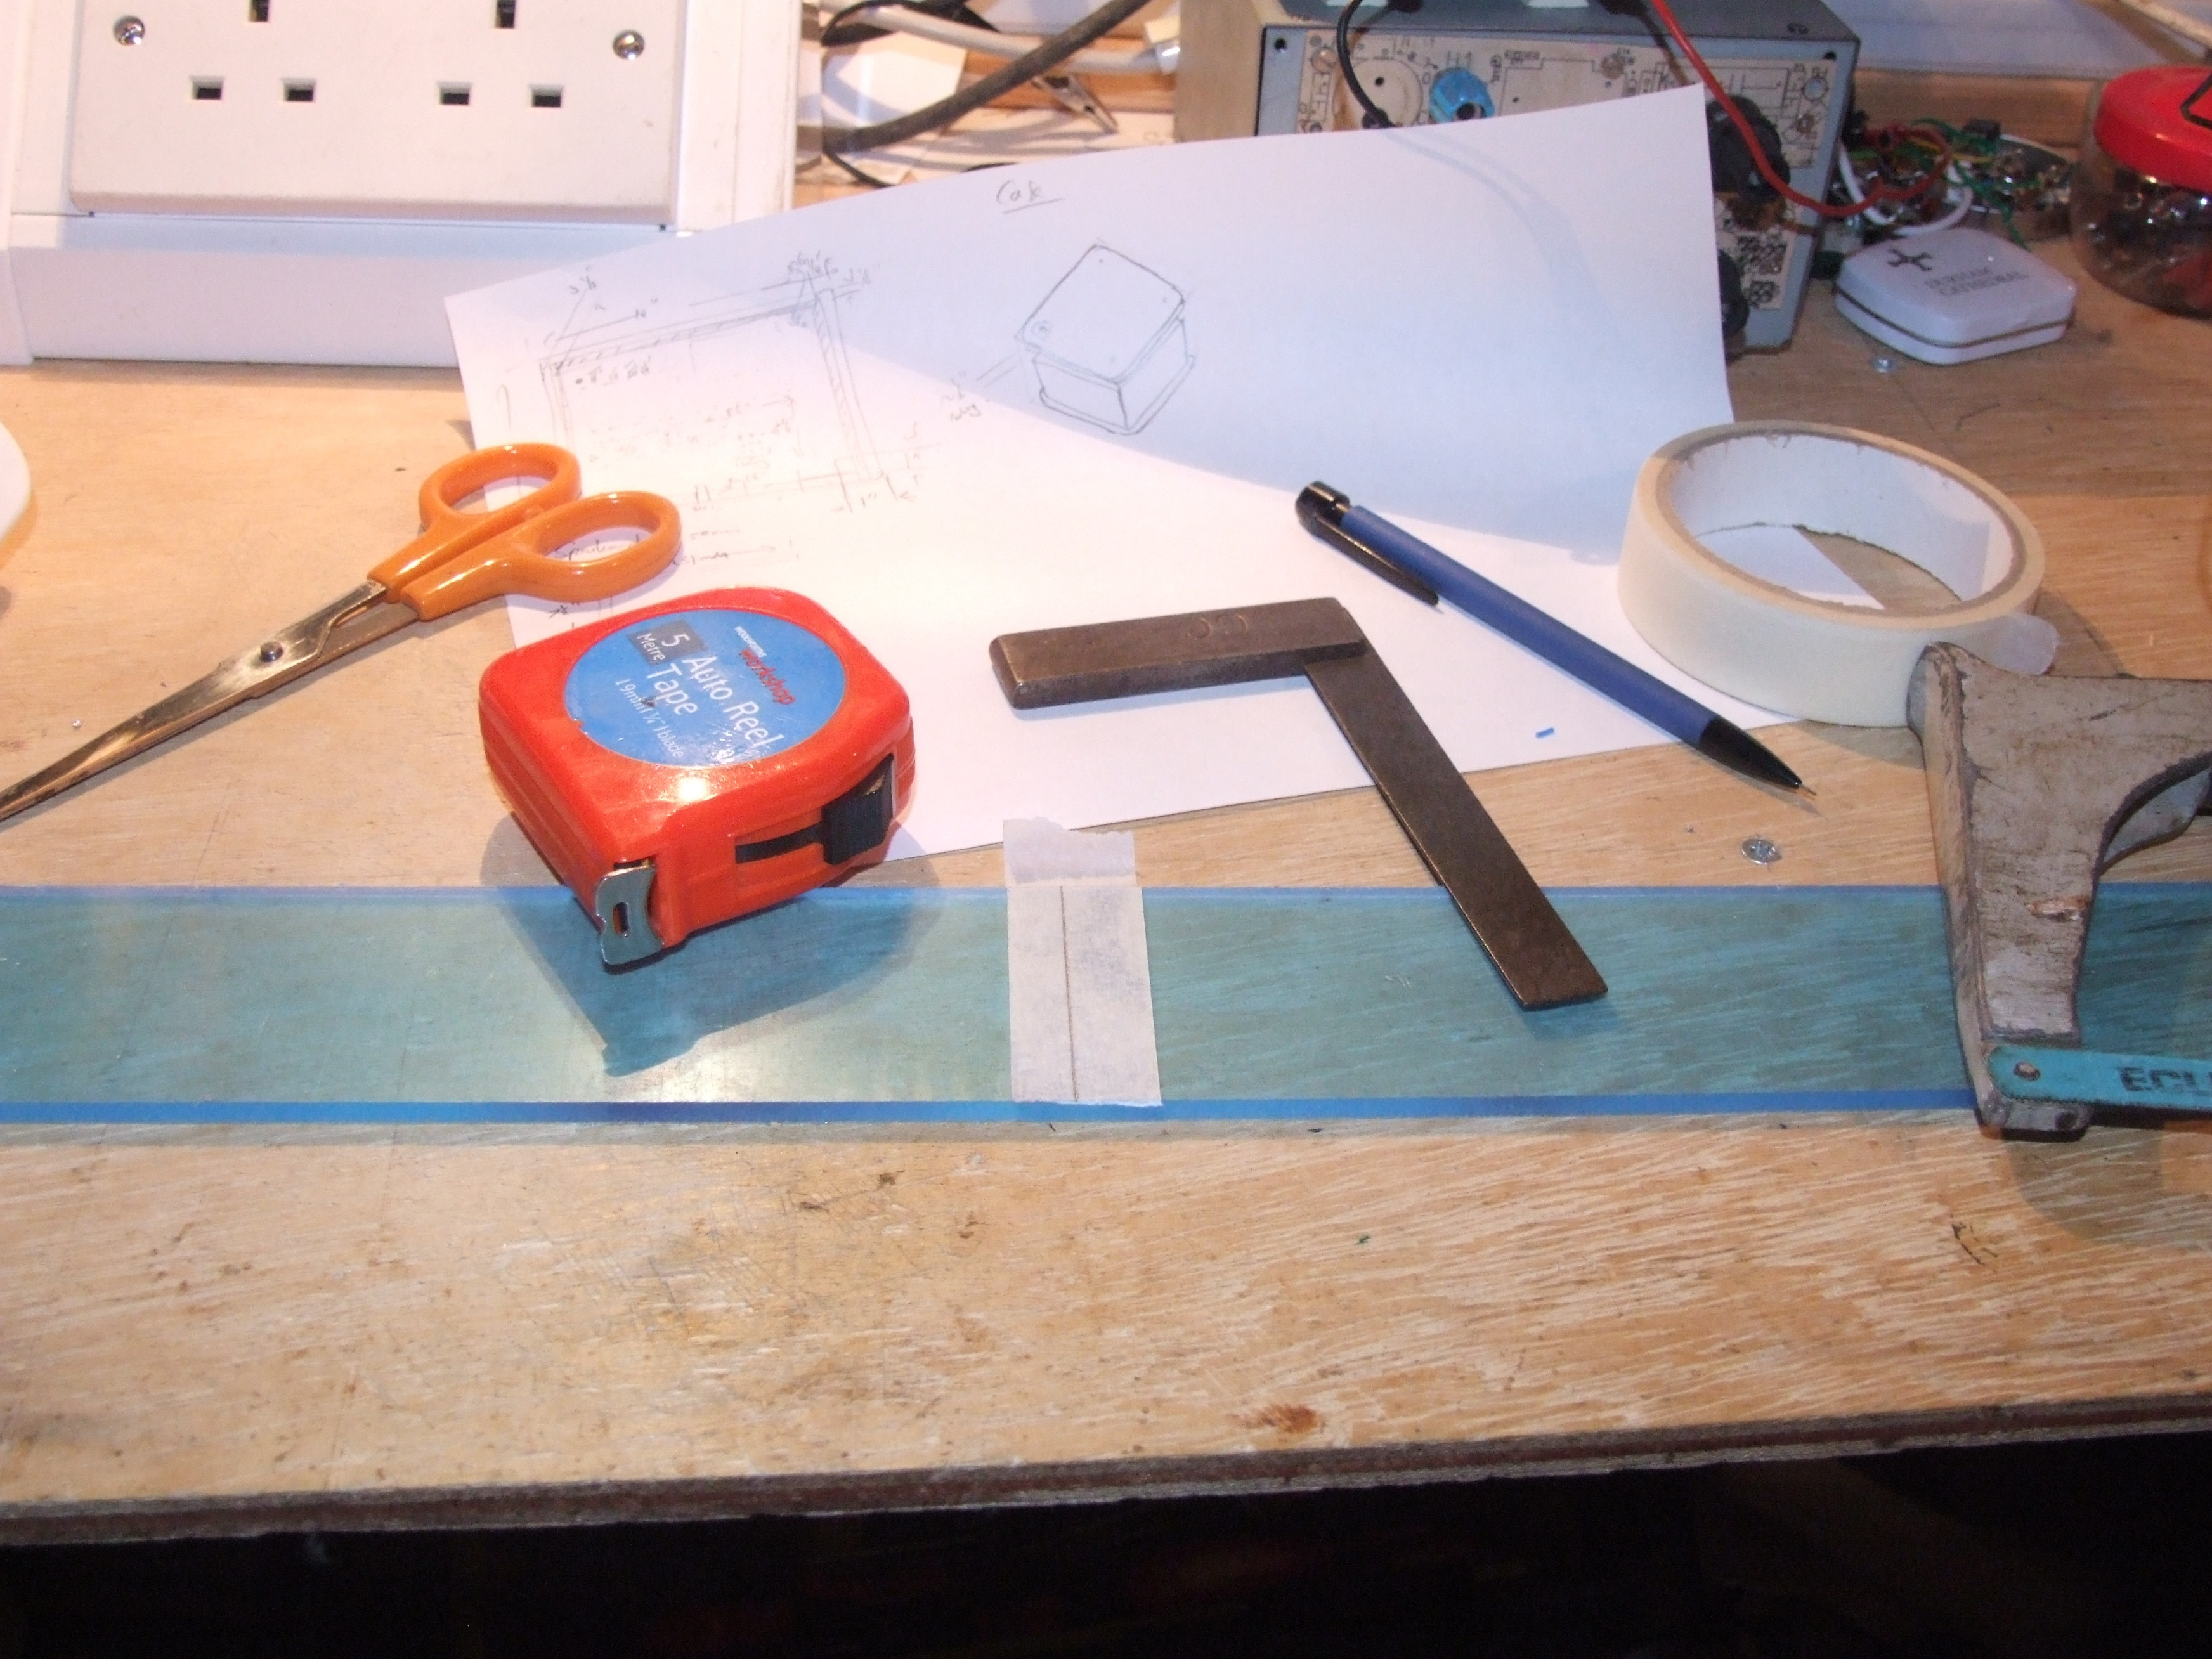
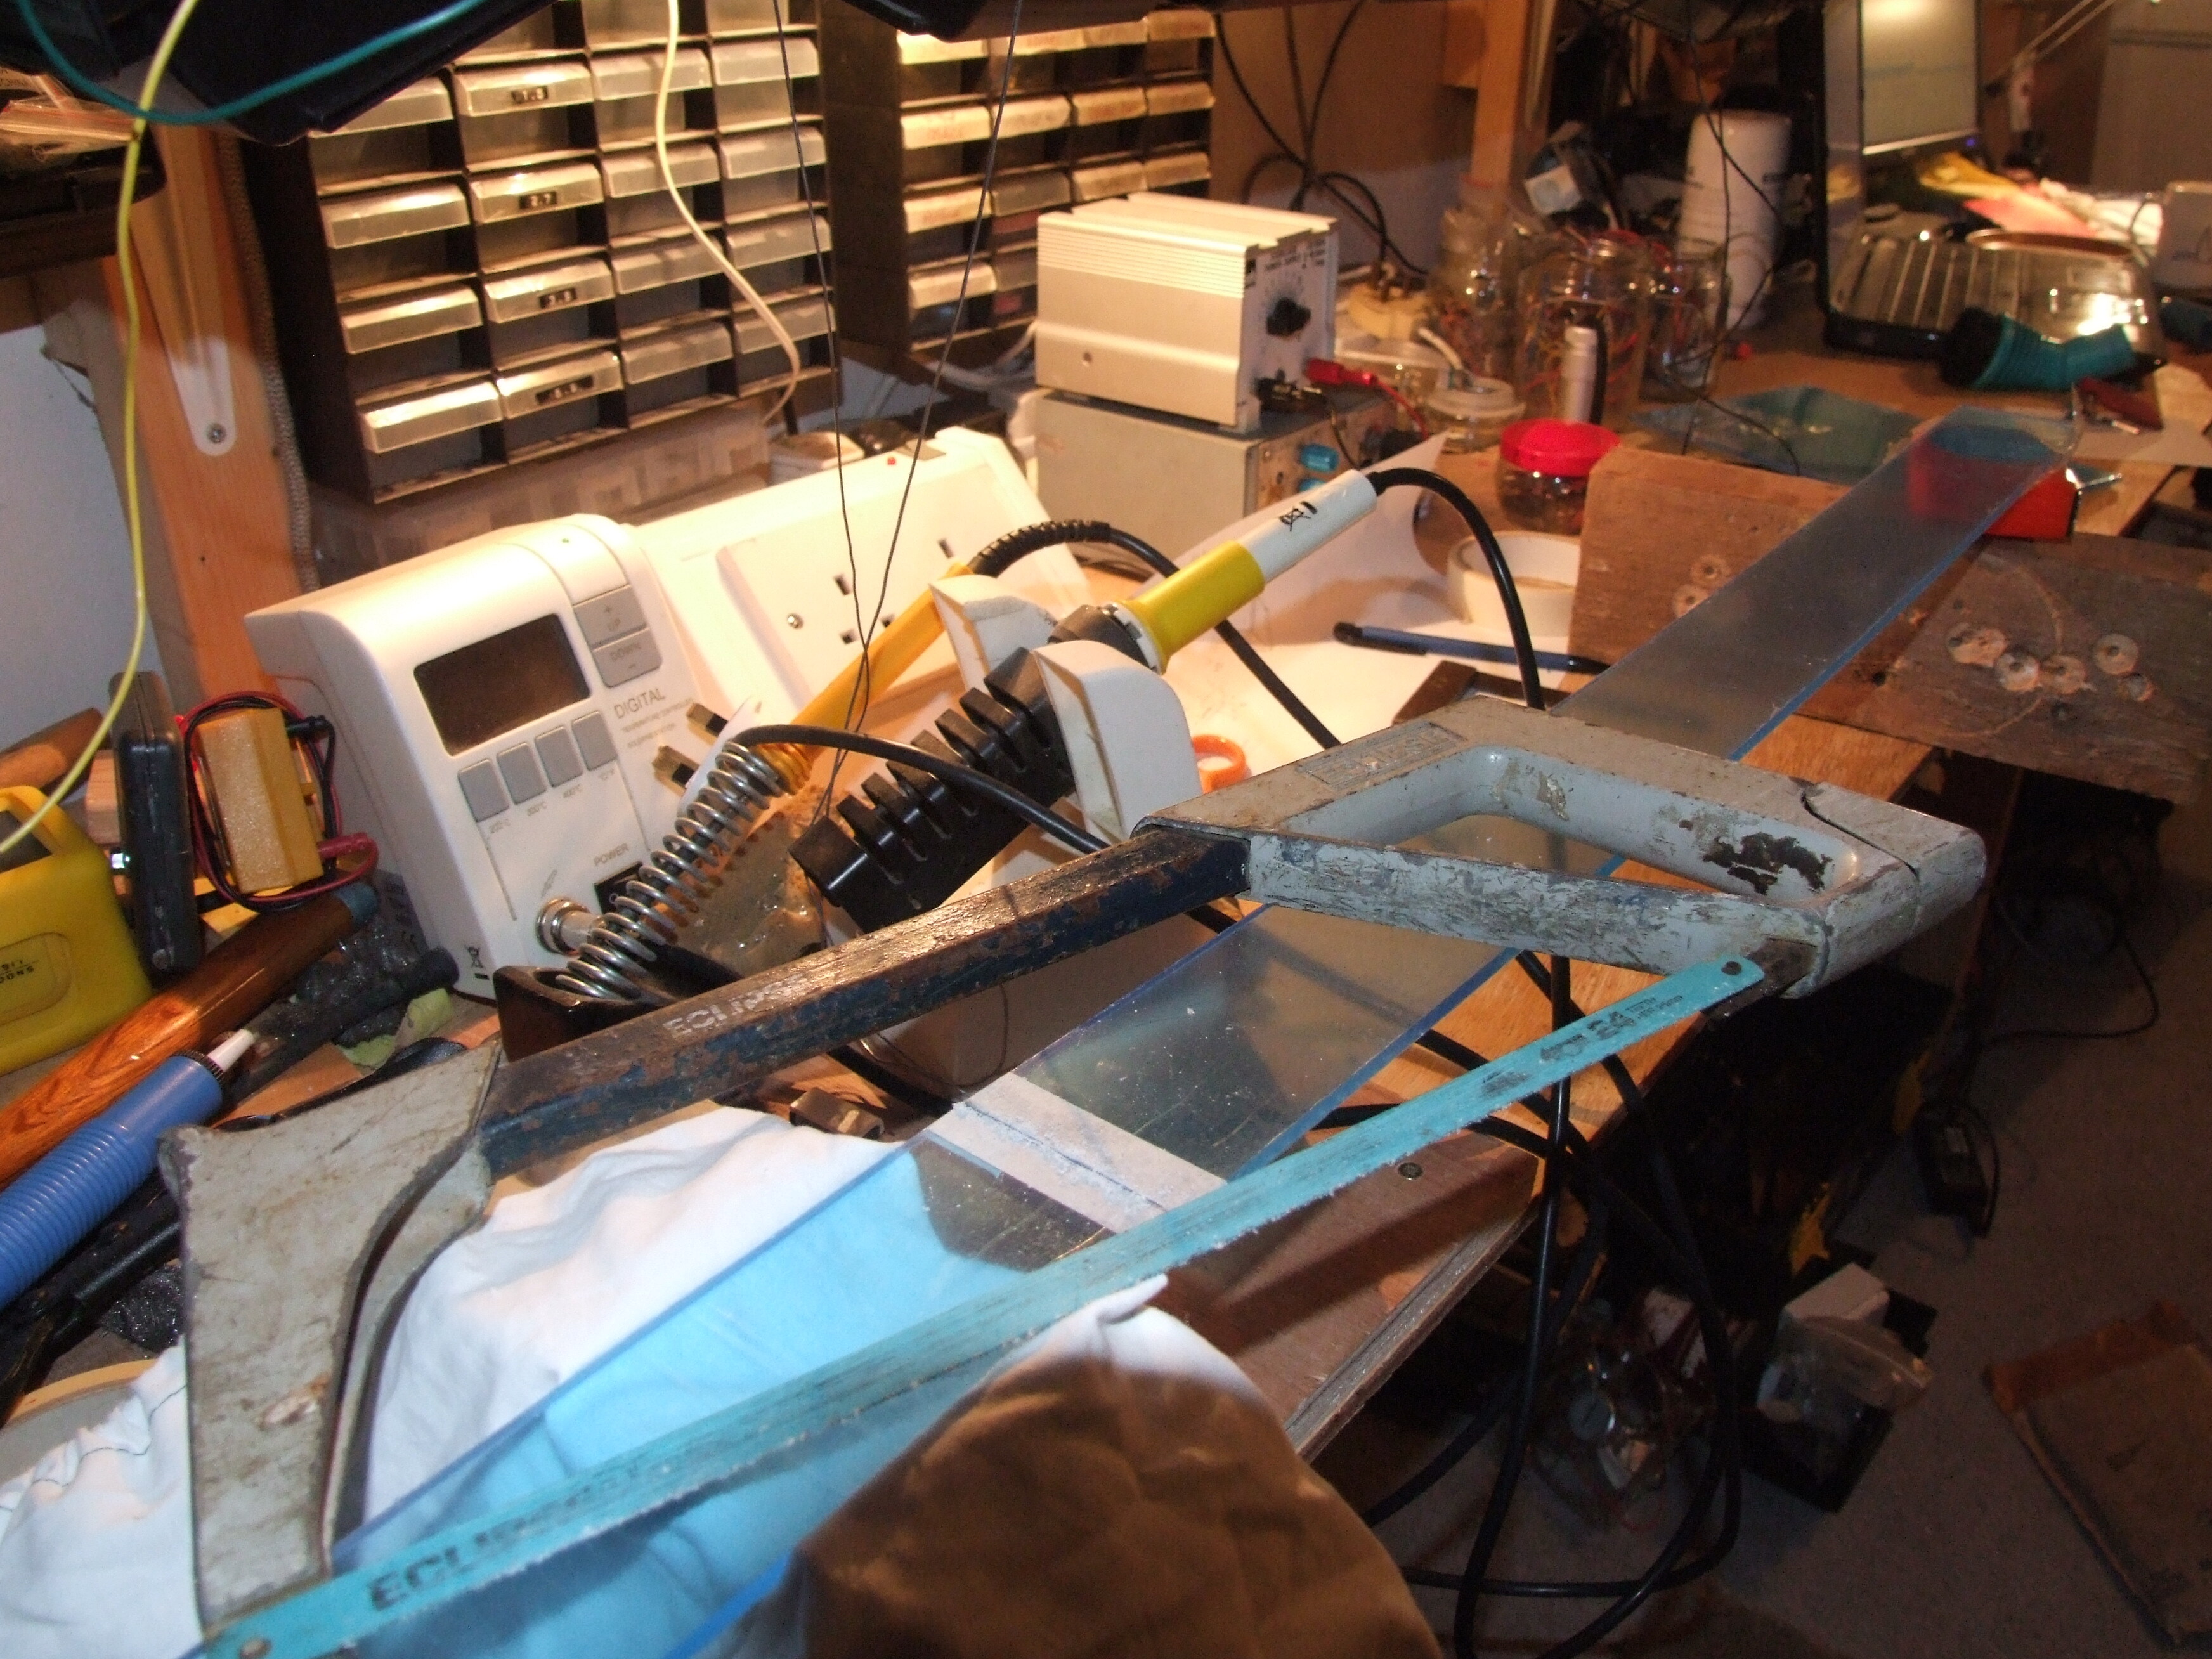
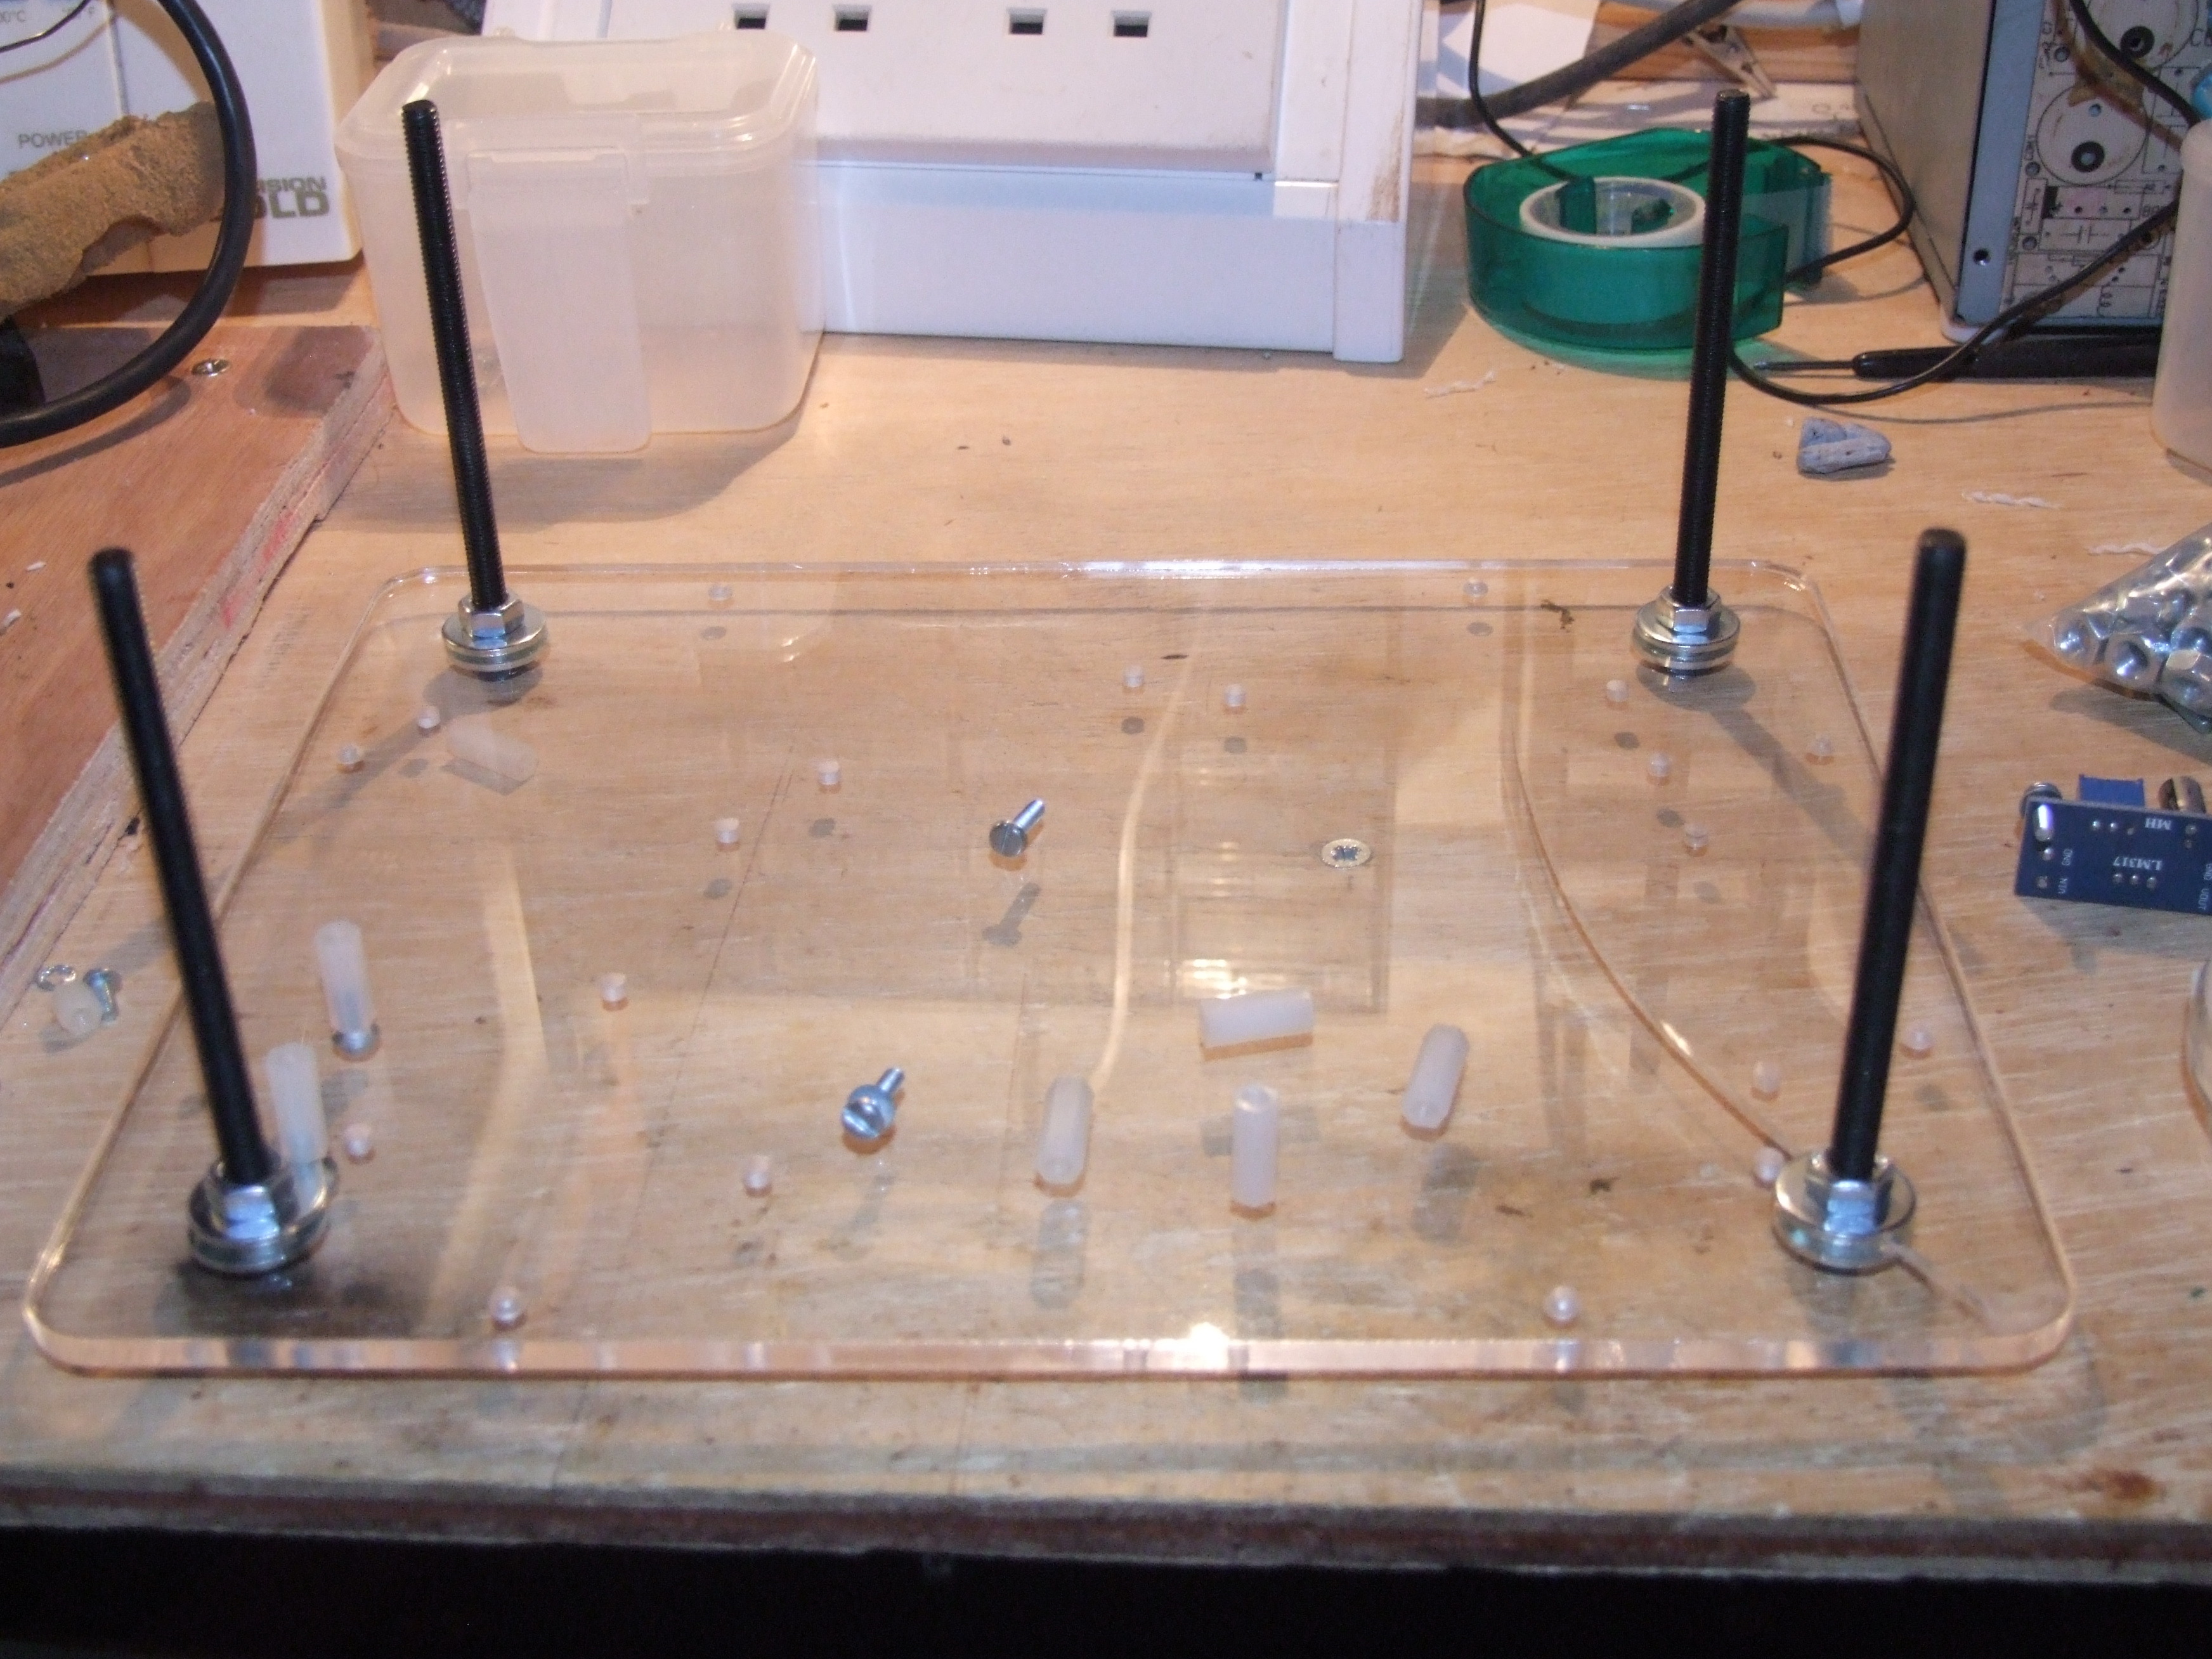
Then to mark out and cut the case:
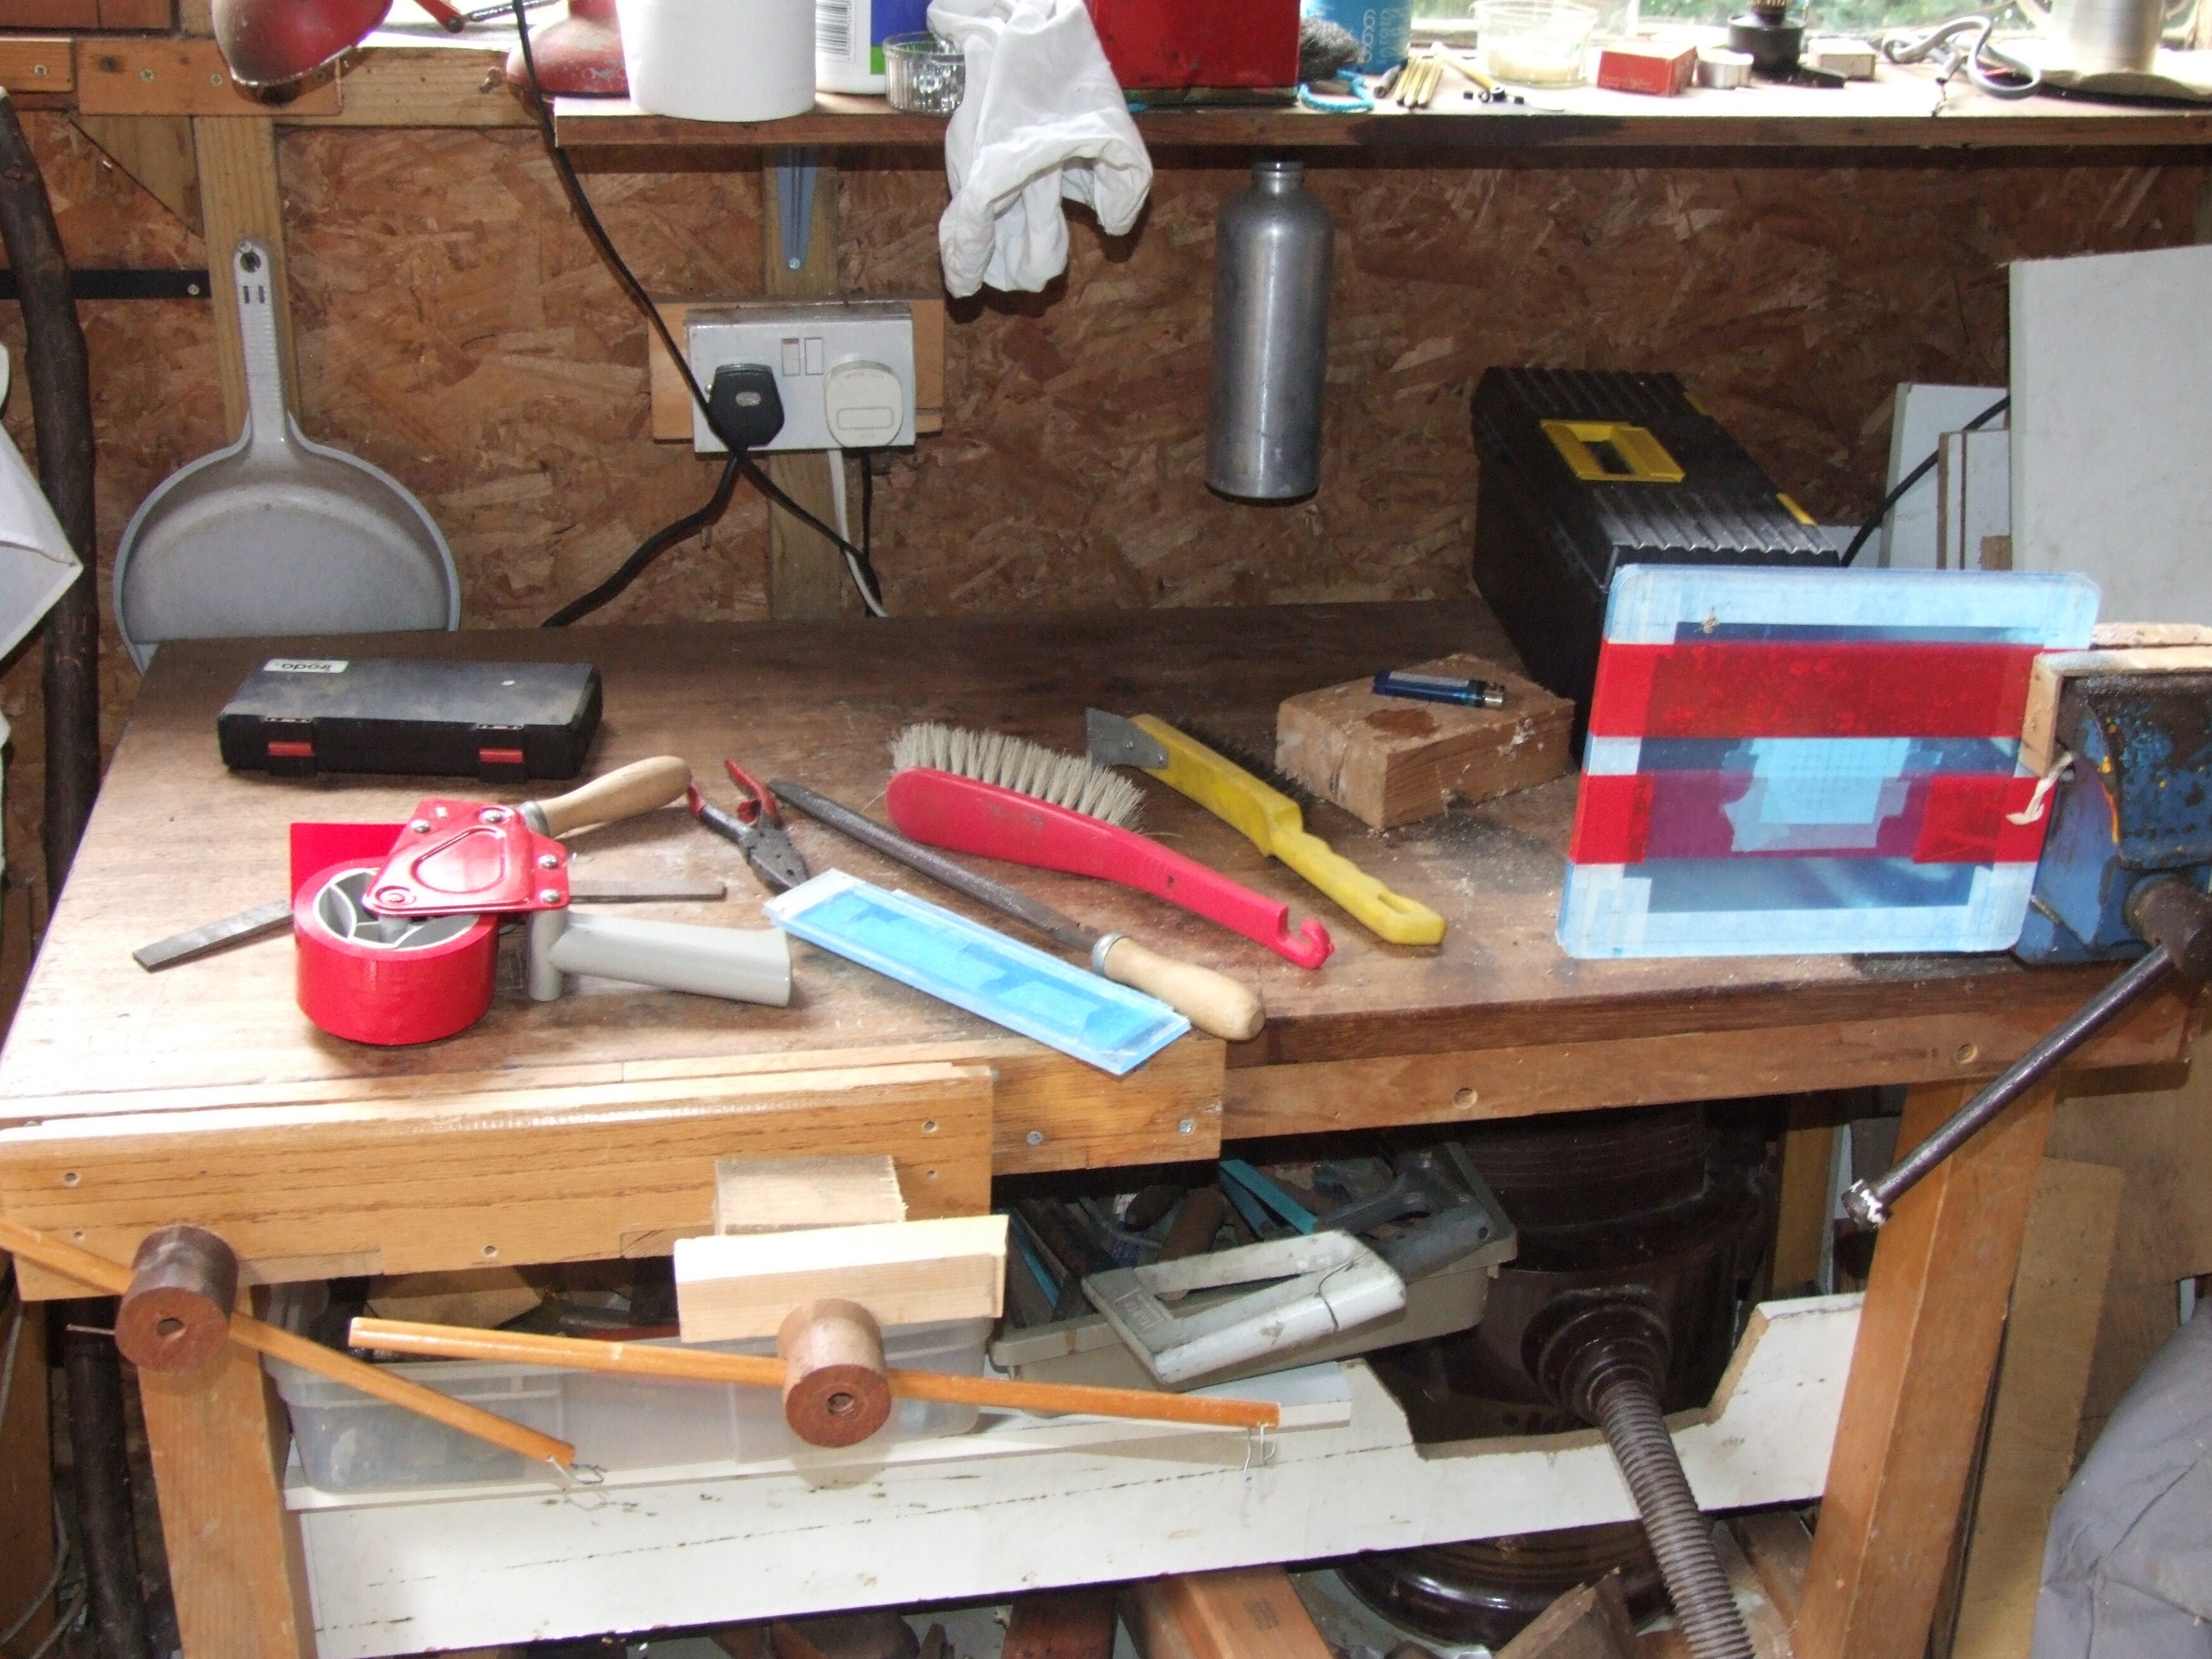
and draw-file and shape the edges:
Drill—carefully. I wasn’t careful enough and one of the 6mm holes split when trying to drill both top and bottom together. But the split was small and I was planning on using penny washers anyhow:
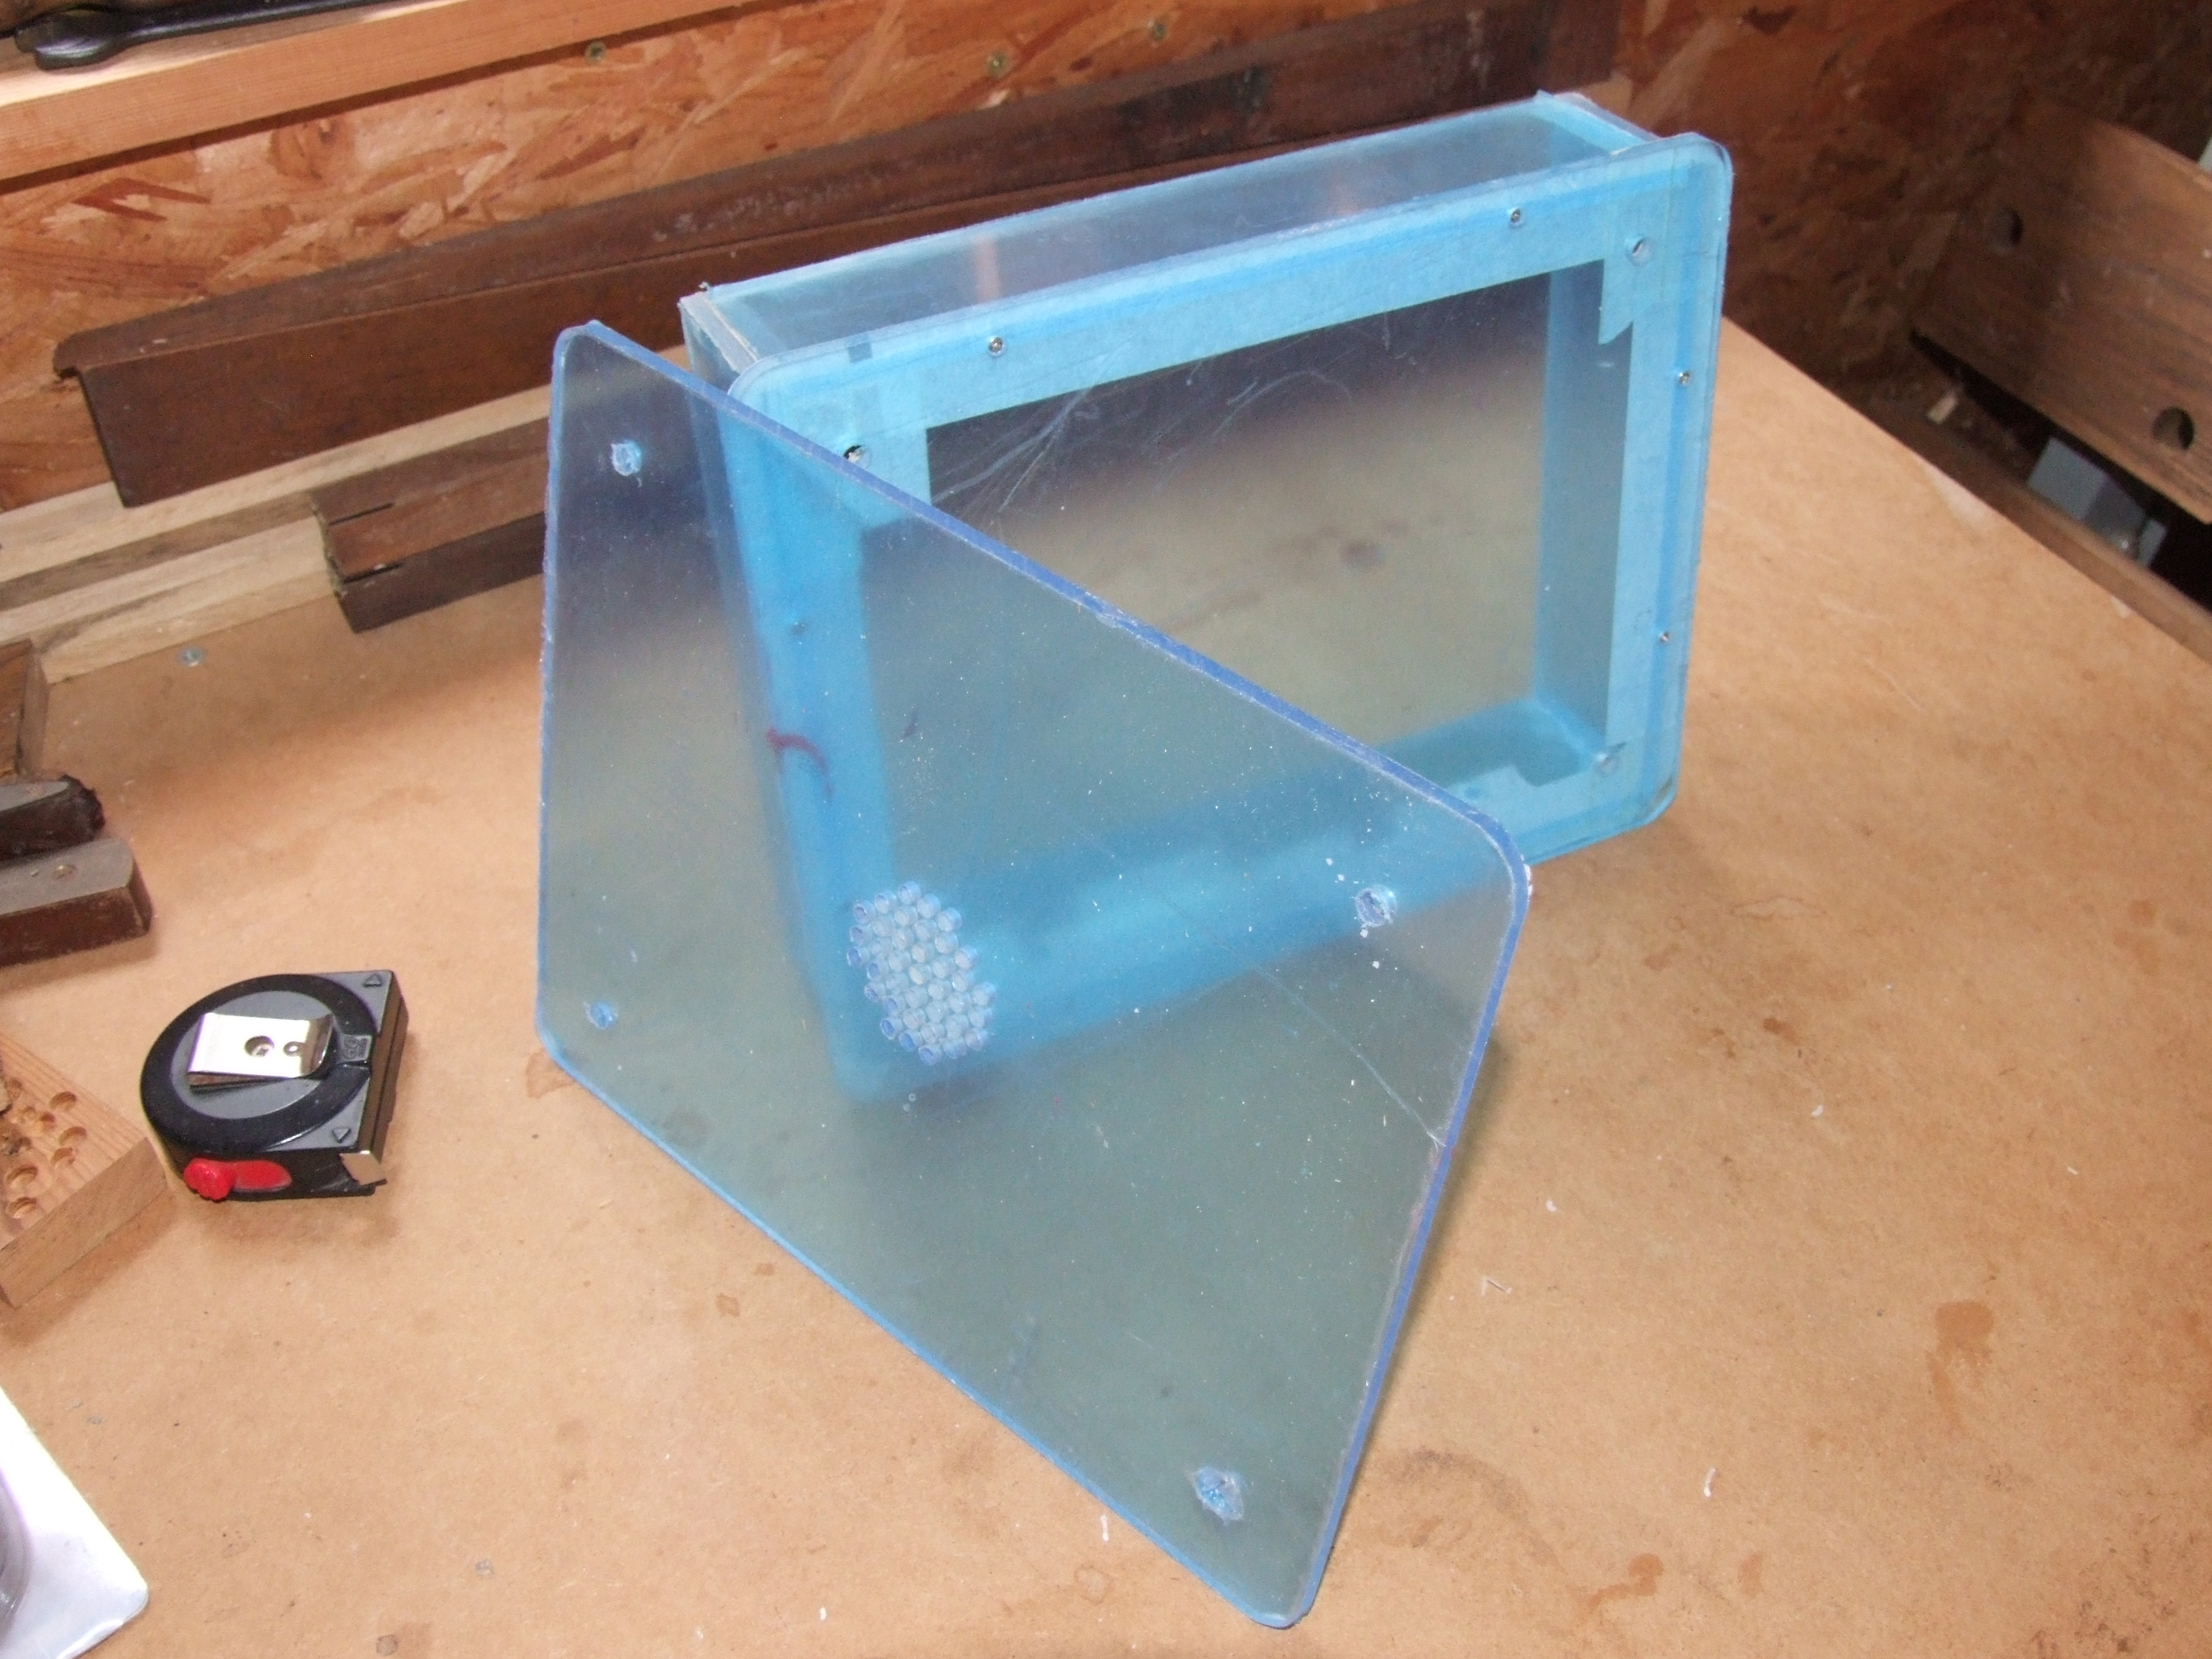
And then flame-polishing, which is much better than the brasso-and-elbow-grease method they taught at school:
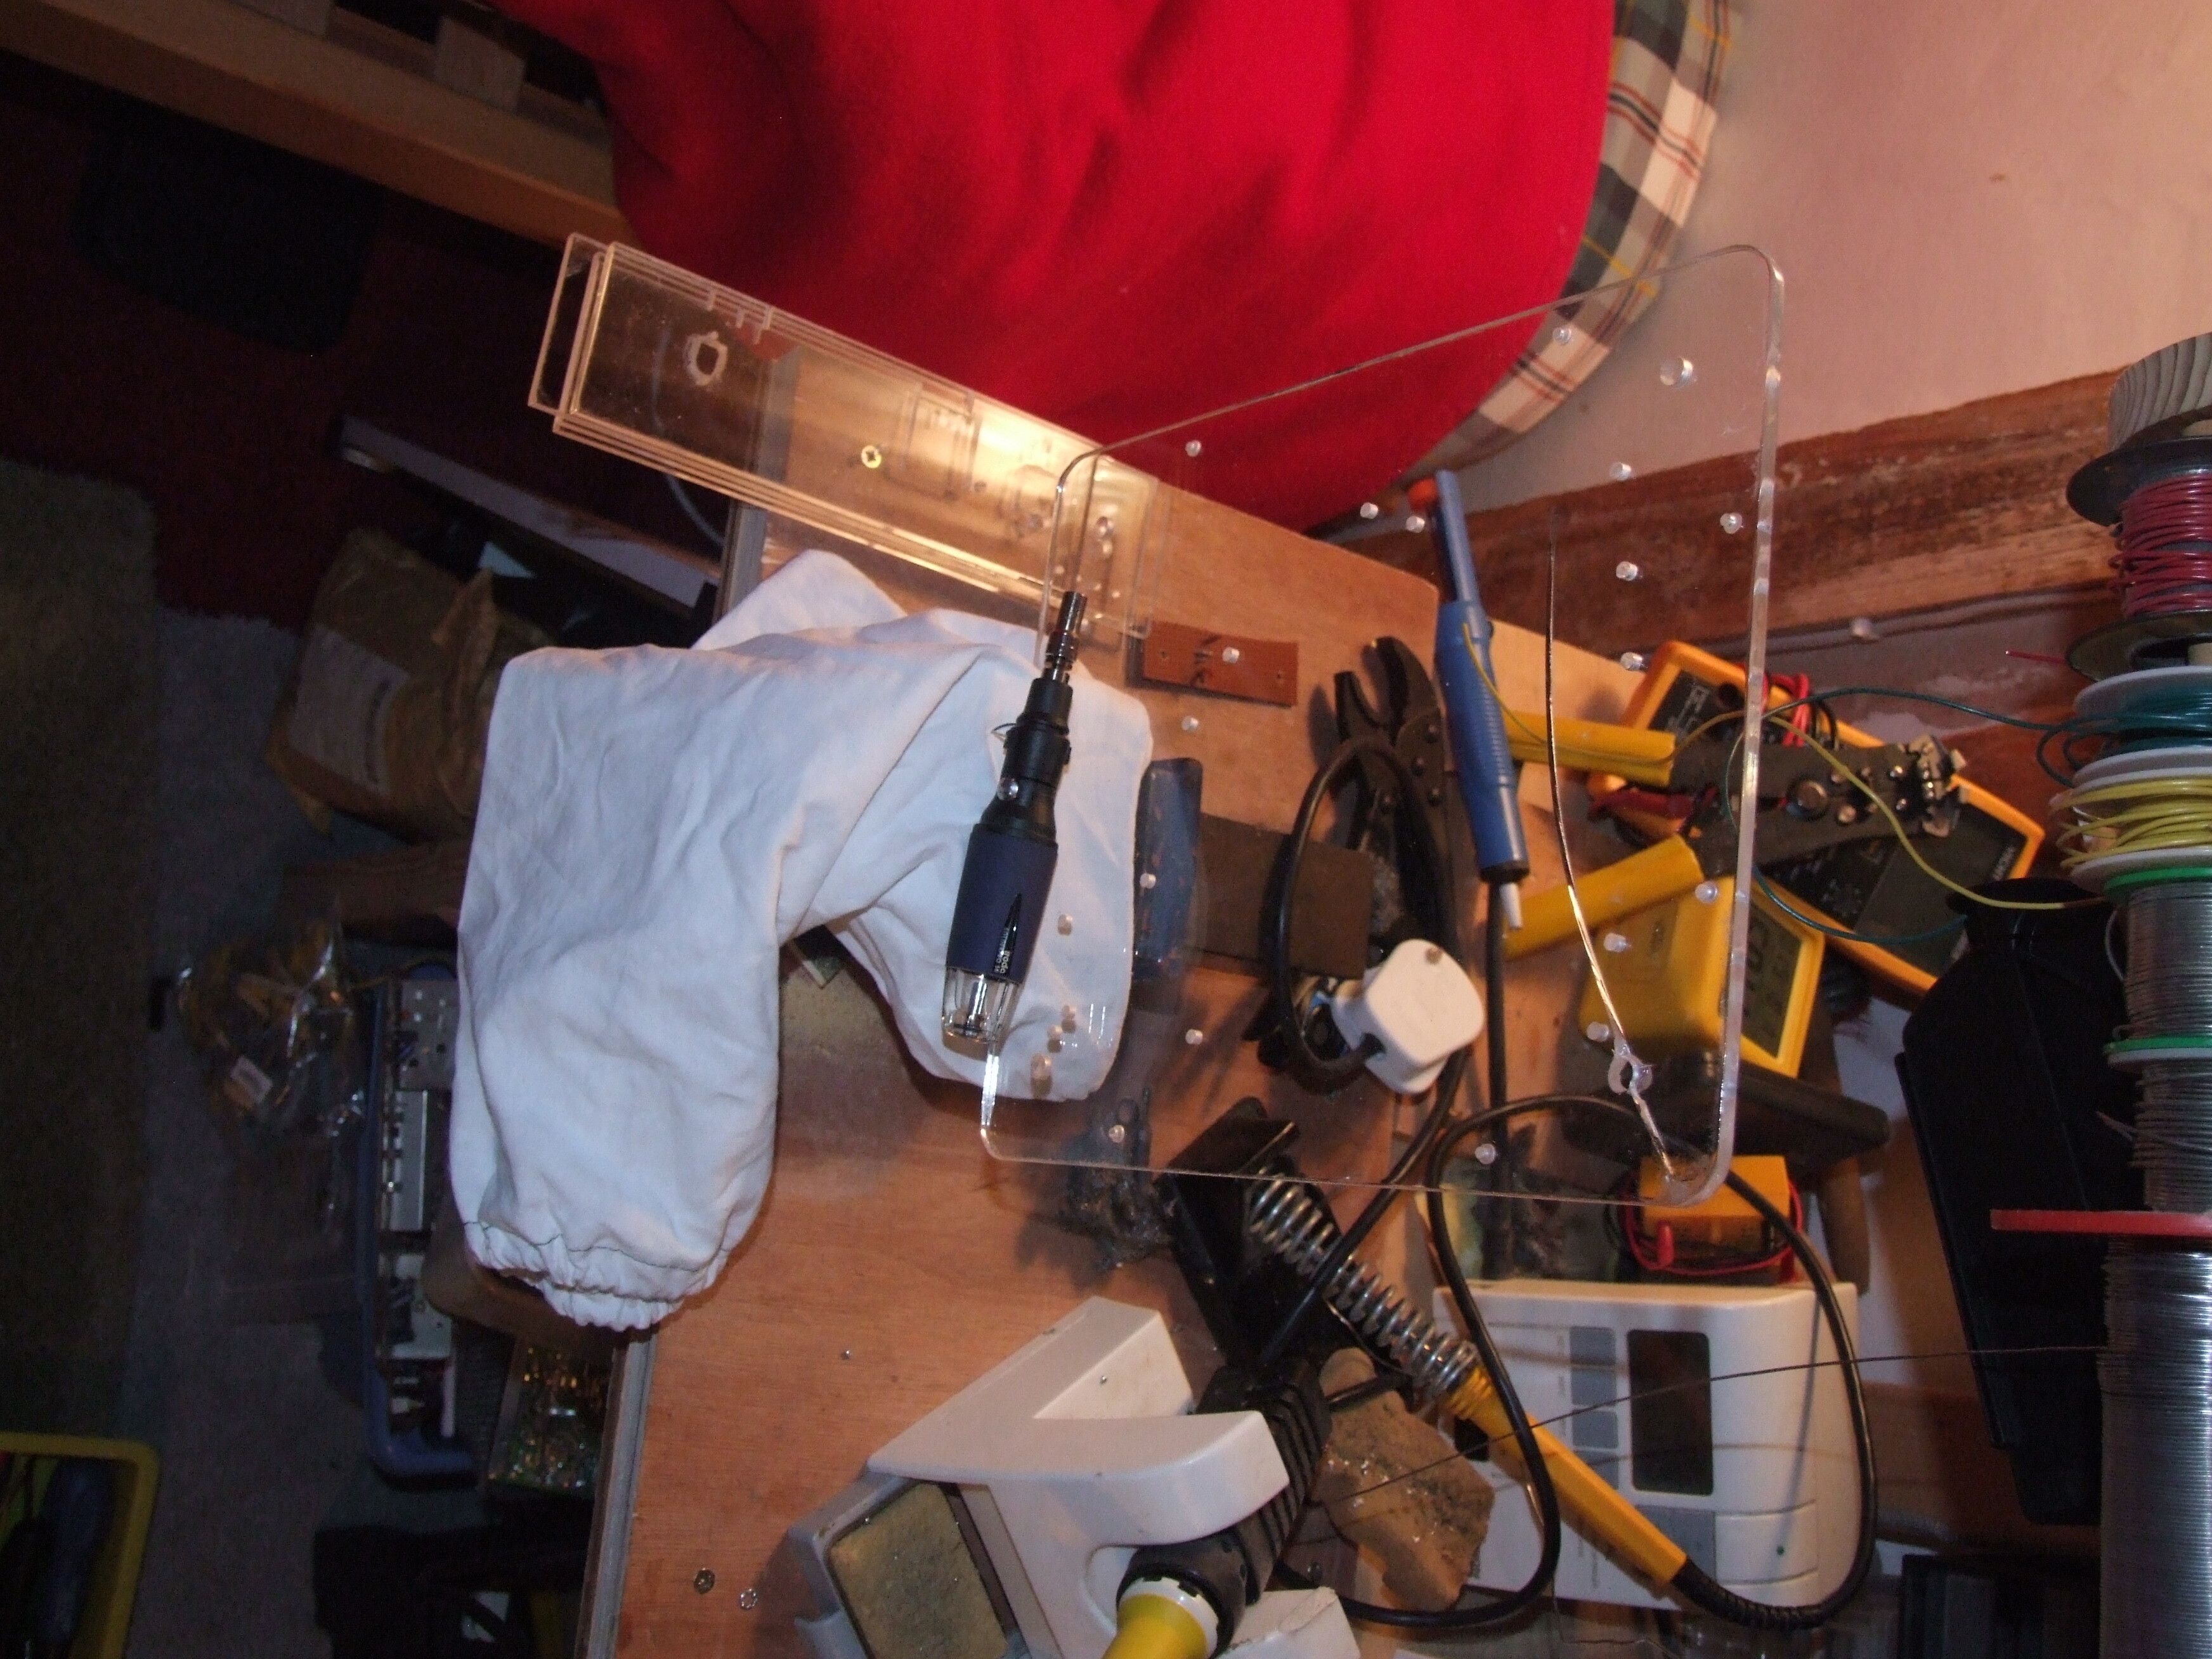
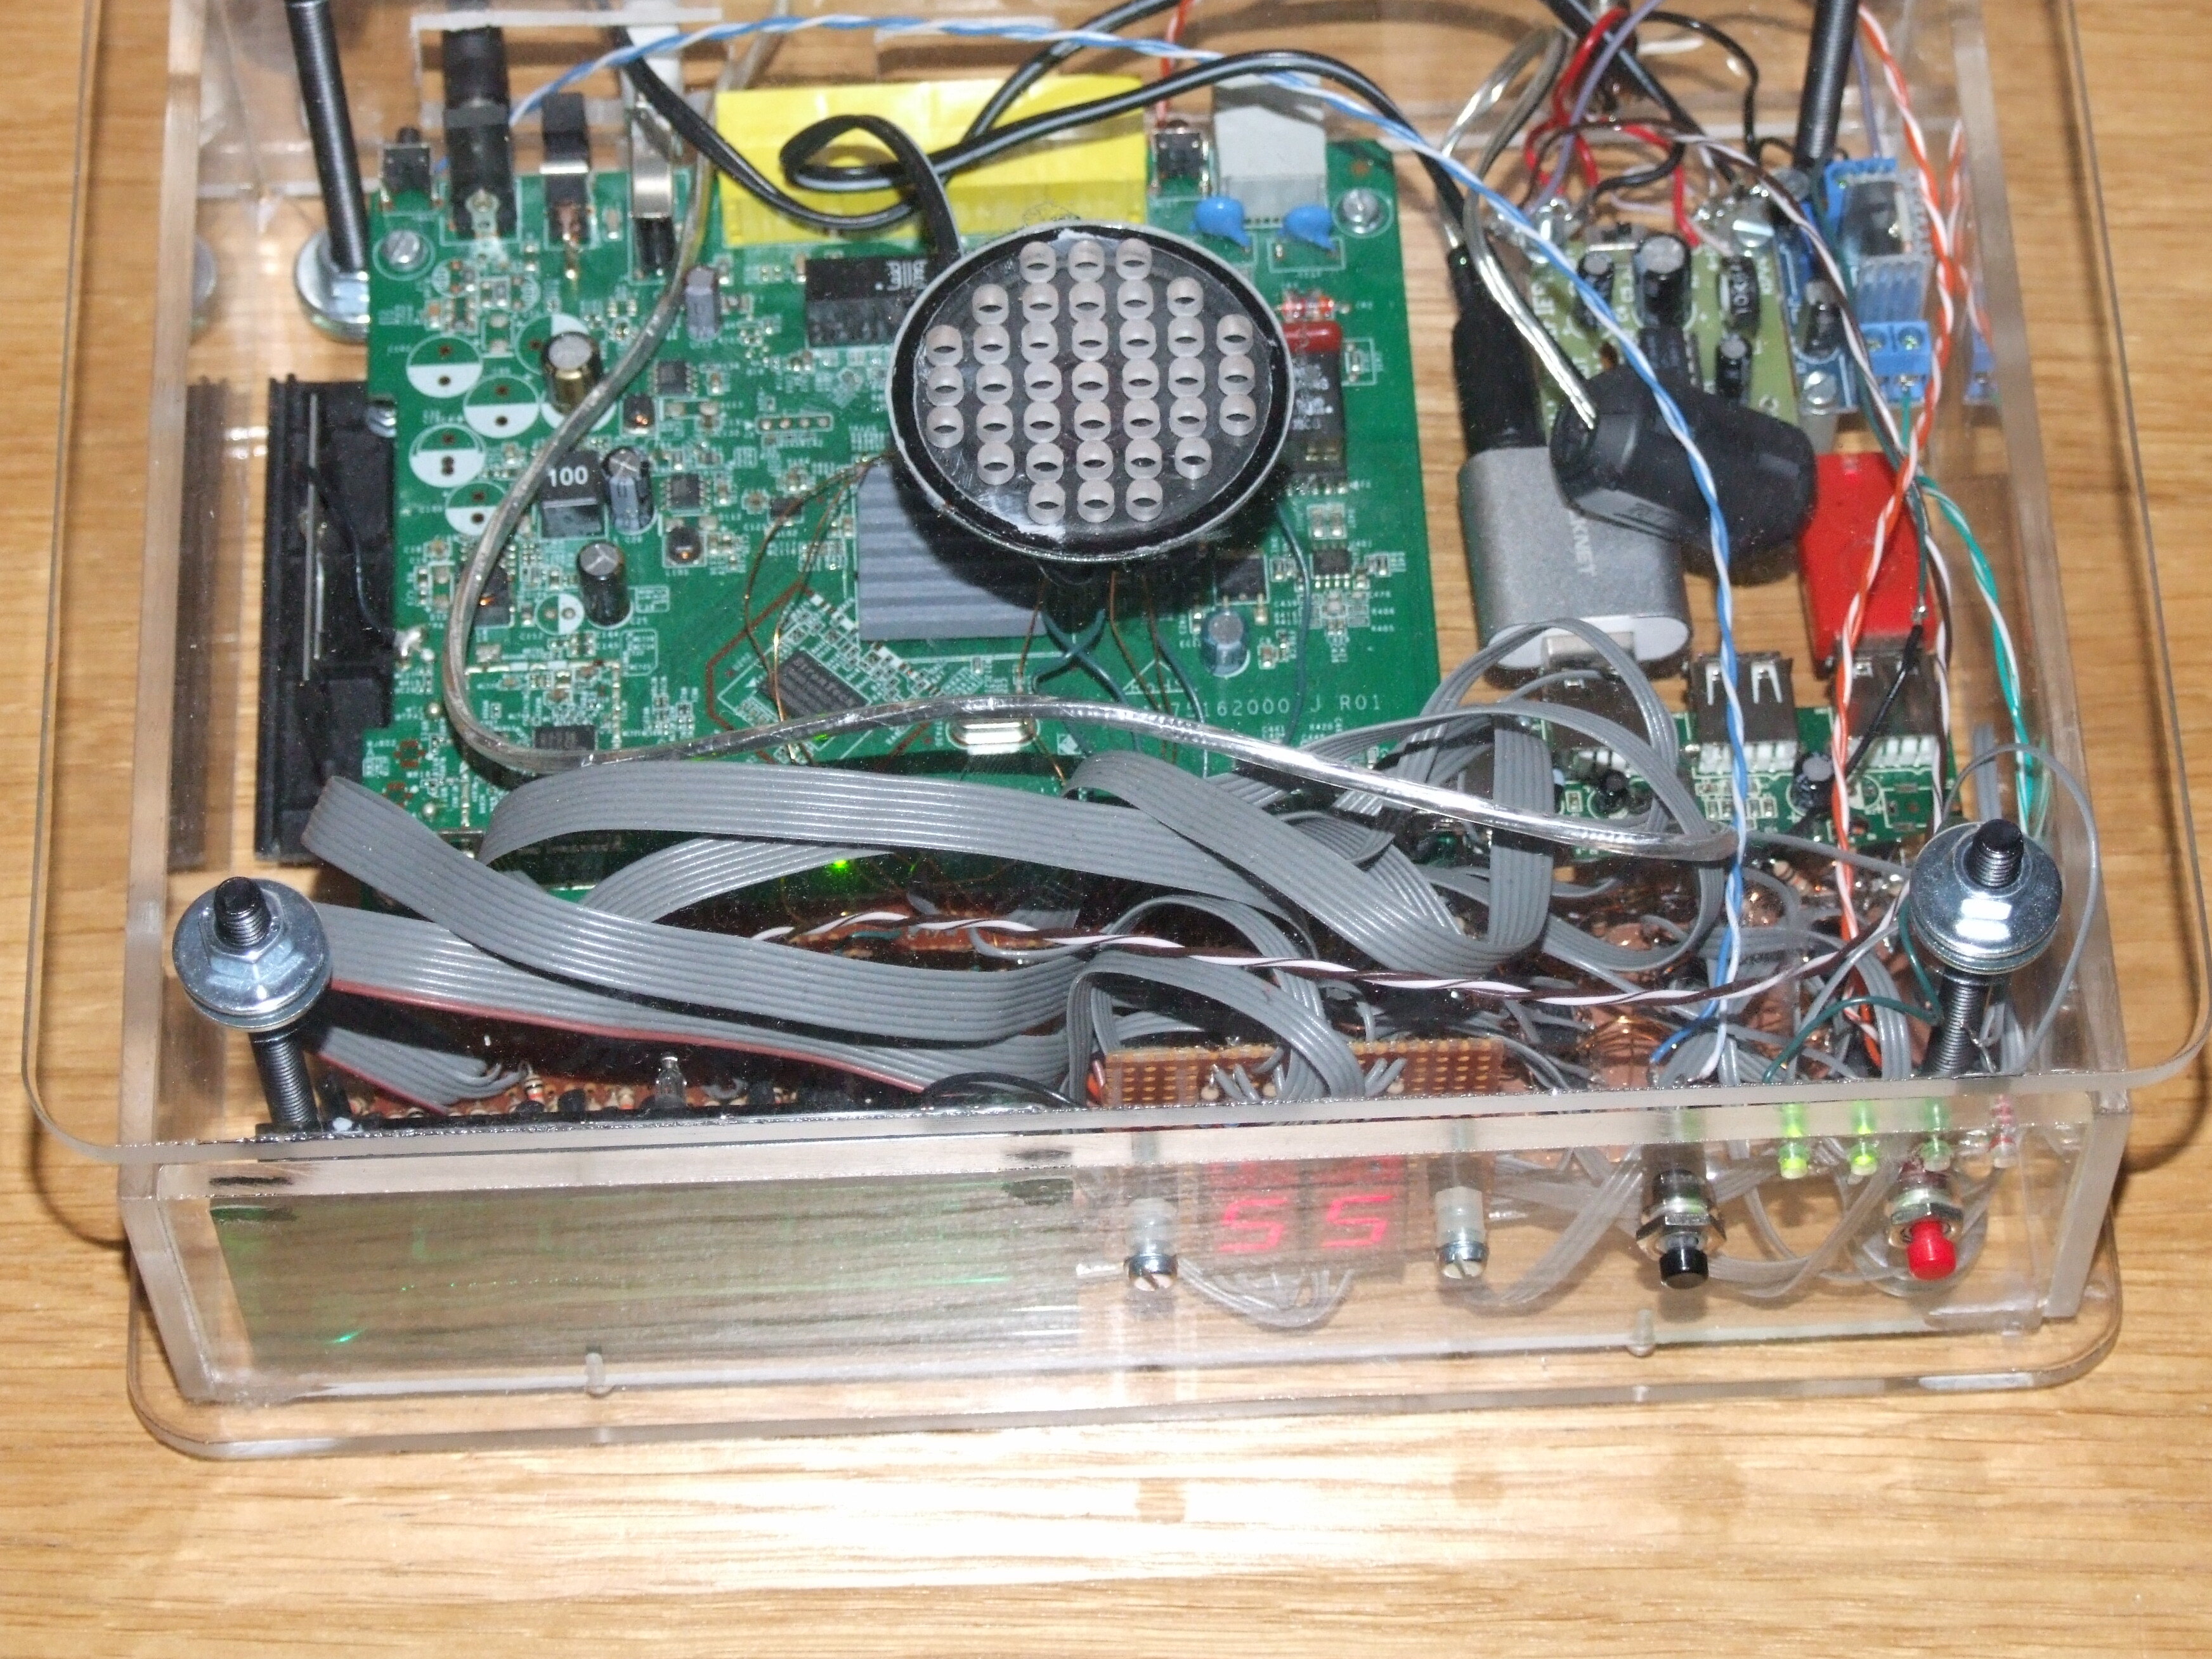
And we are ready to assemble:
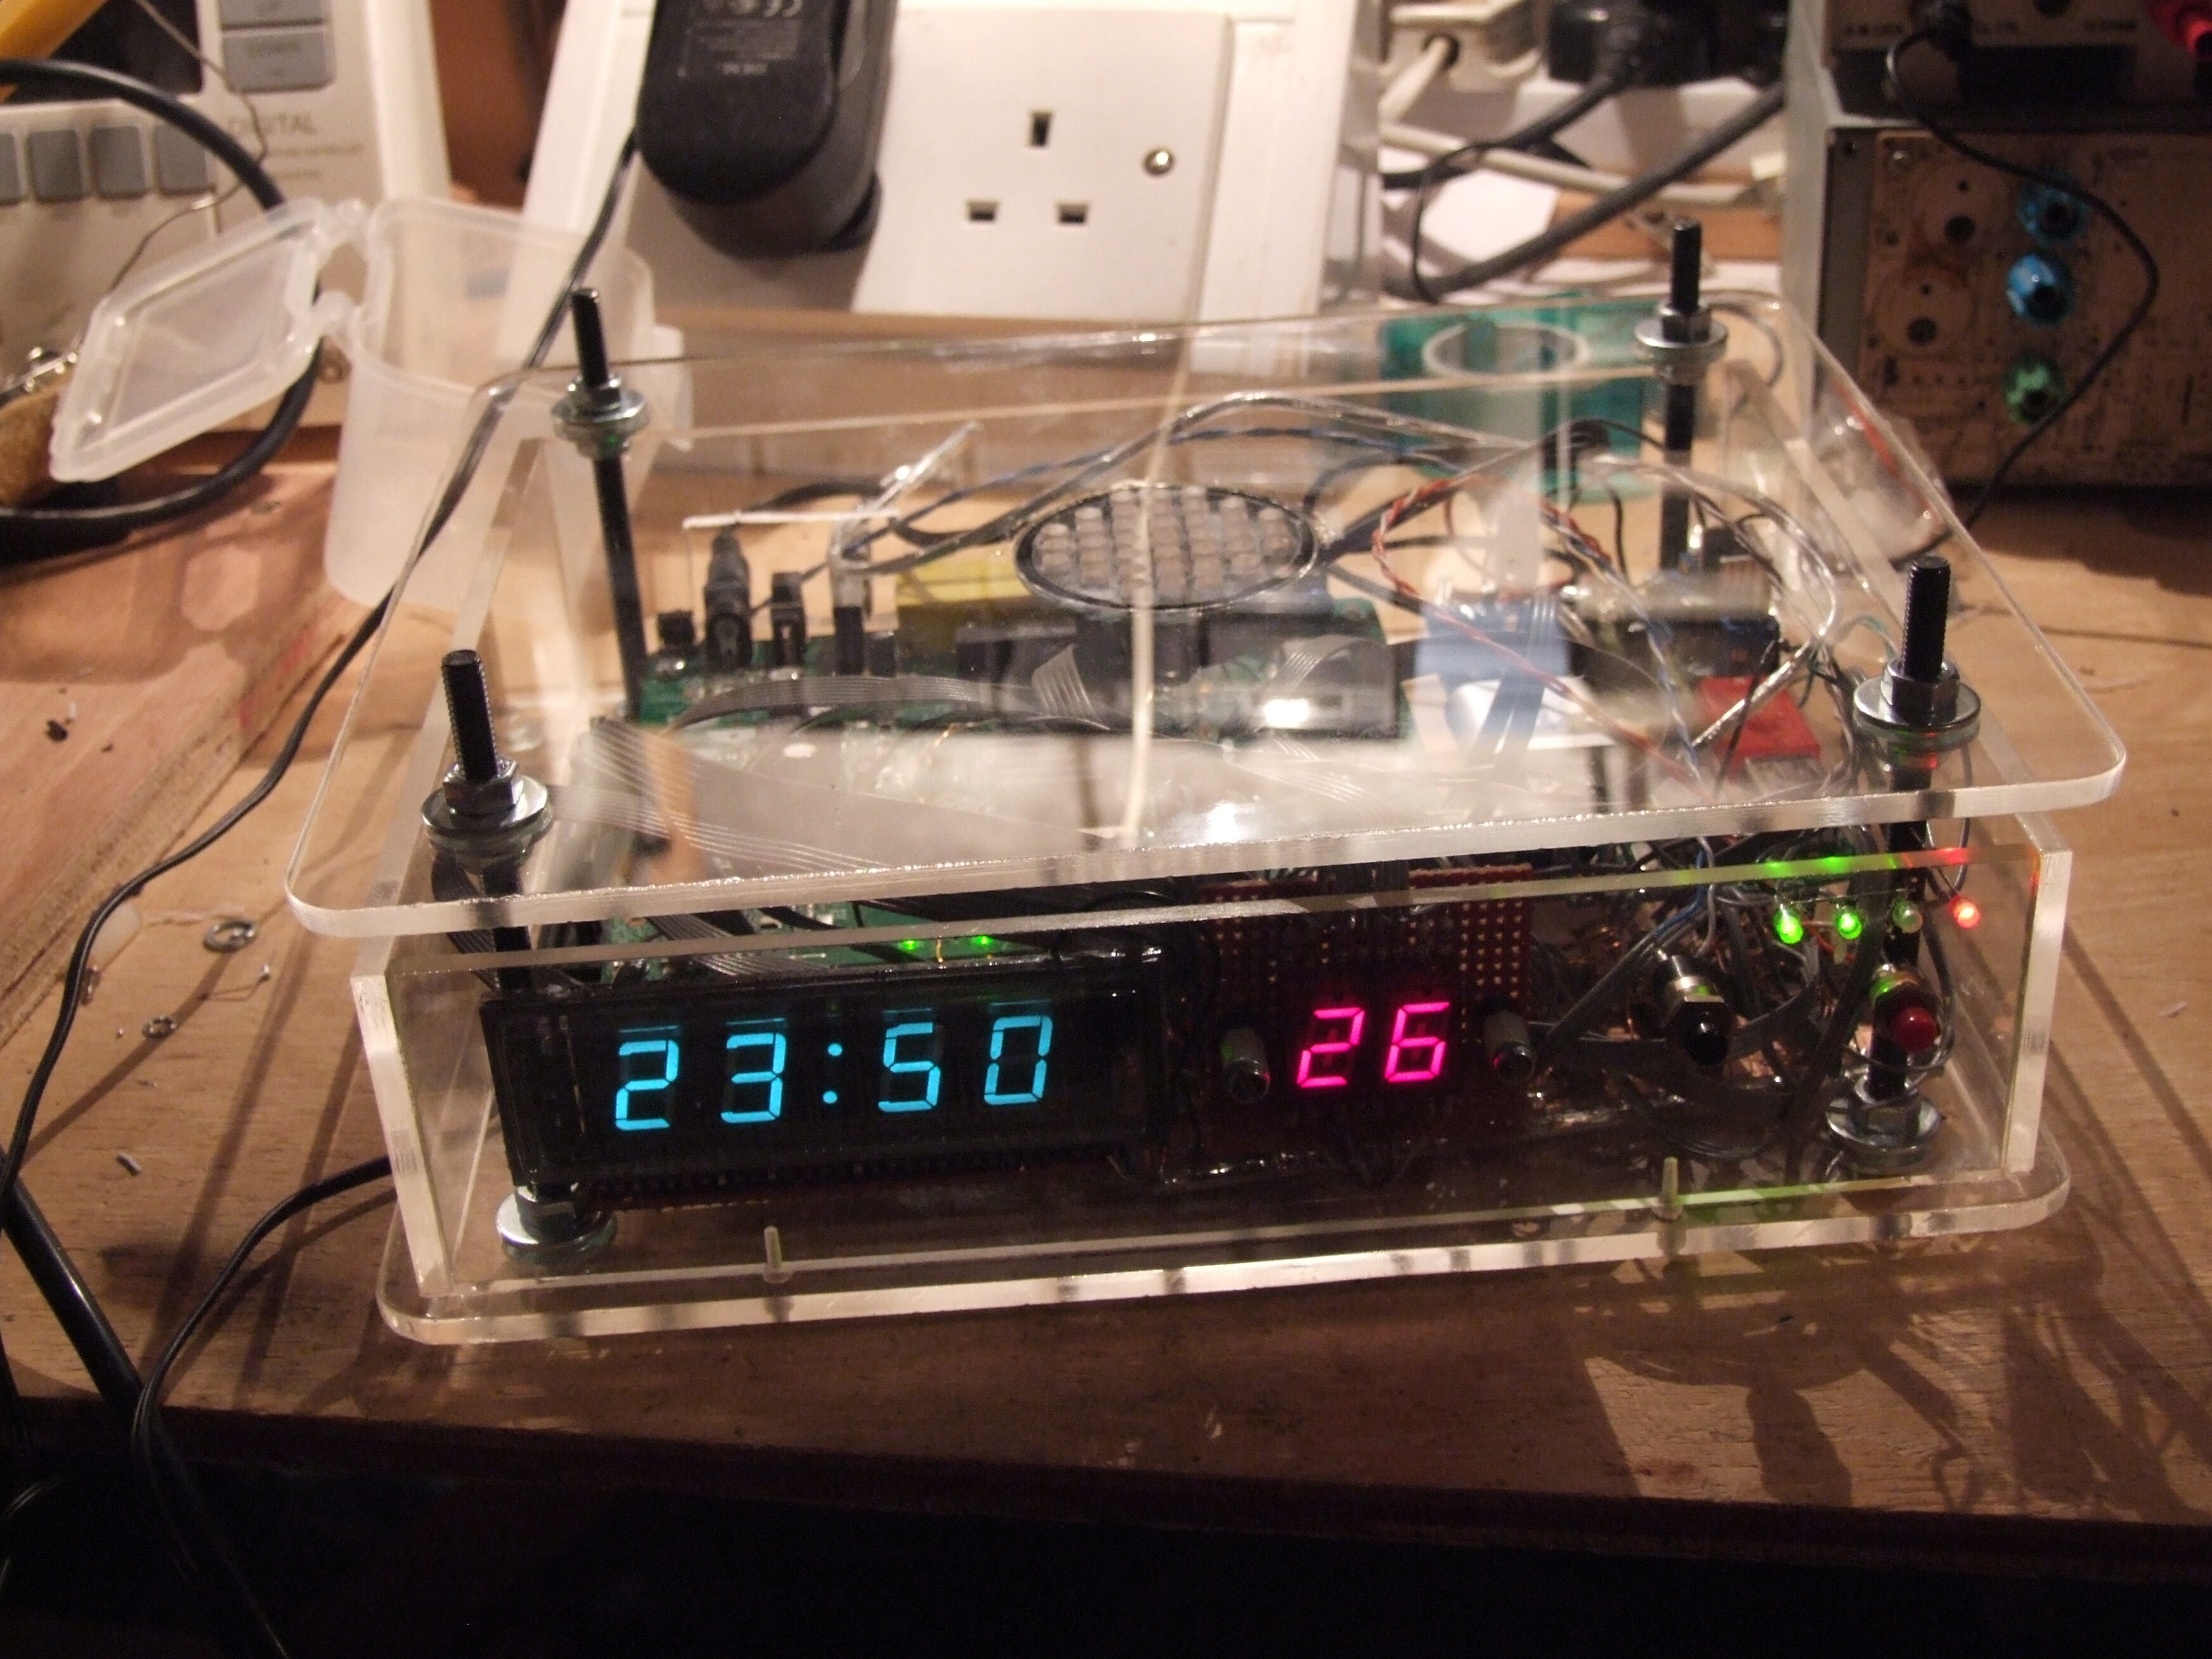
Under these conditions it got rather hot, despite the ventilation holes under the cpu, so I raised the top all the way. I also had to cut a hole in the back for the usb cable to poke in and out after forgetting to allow for the cable—it was that or solder it direct to the board. But overal it’s not bad, and the colours of the panel are quite pleasing:
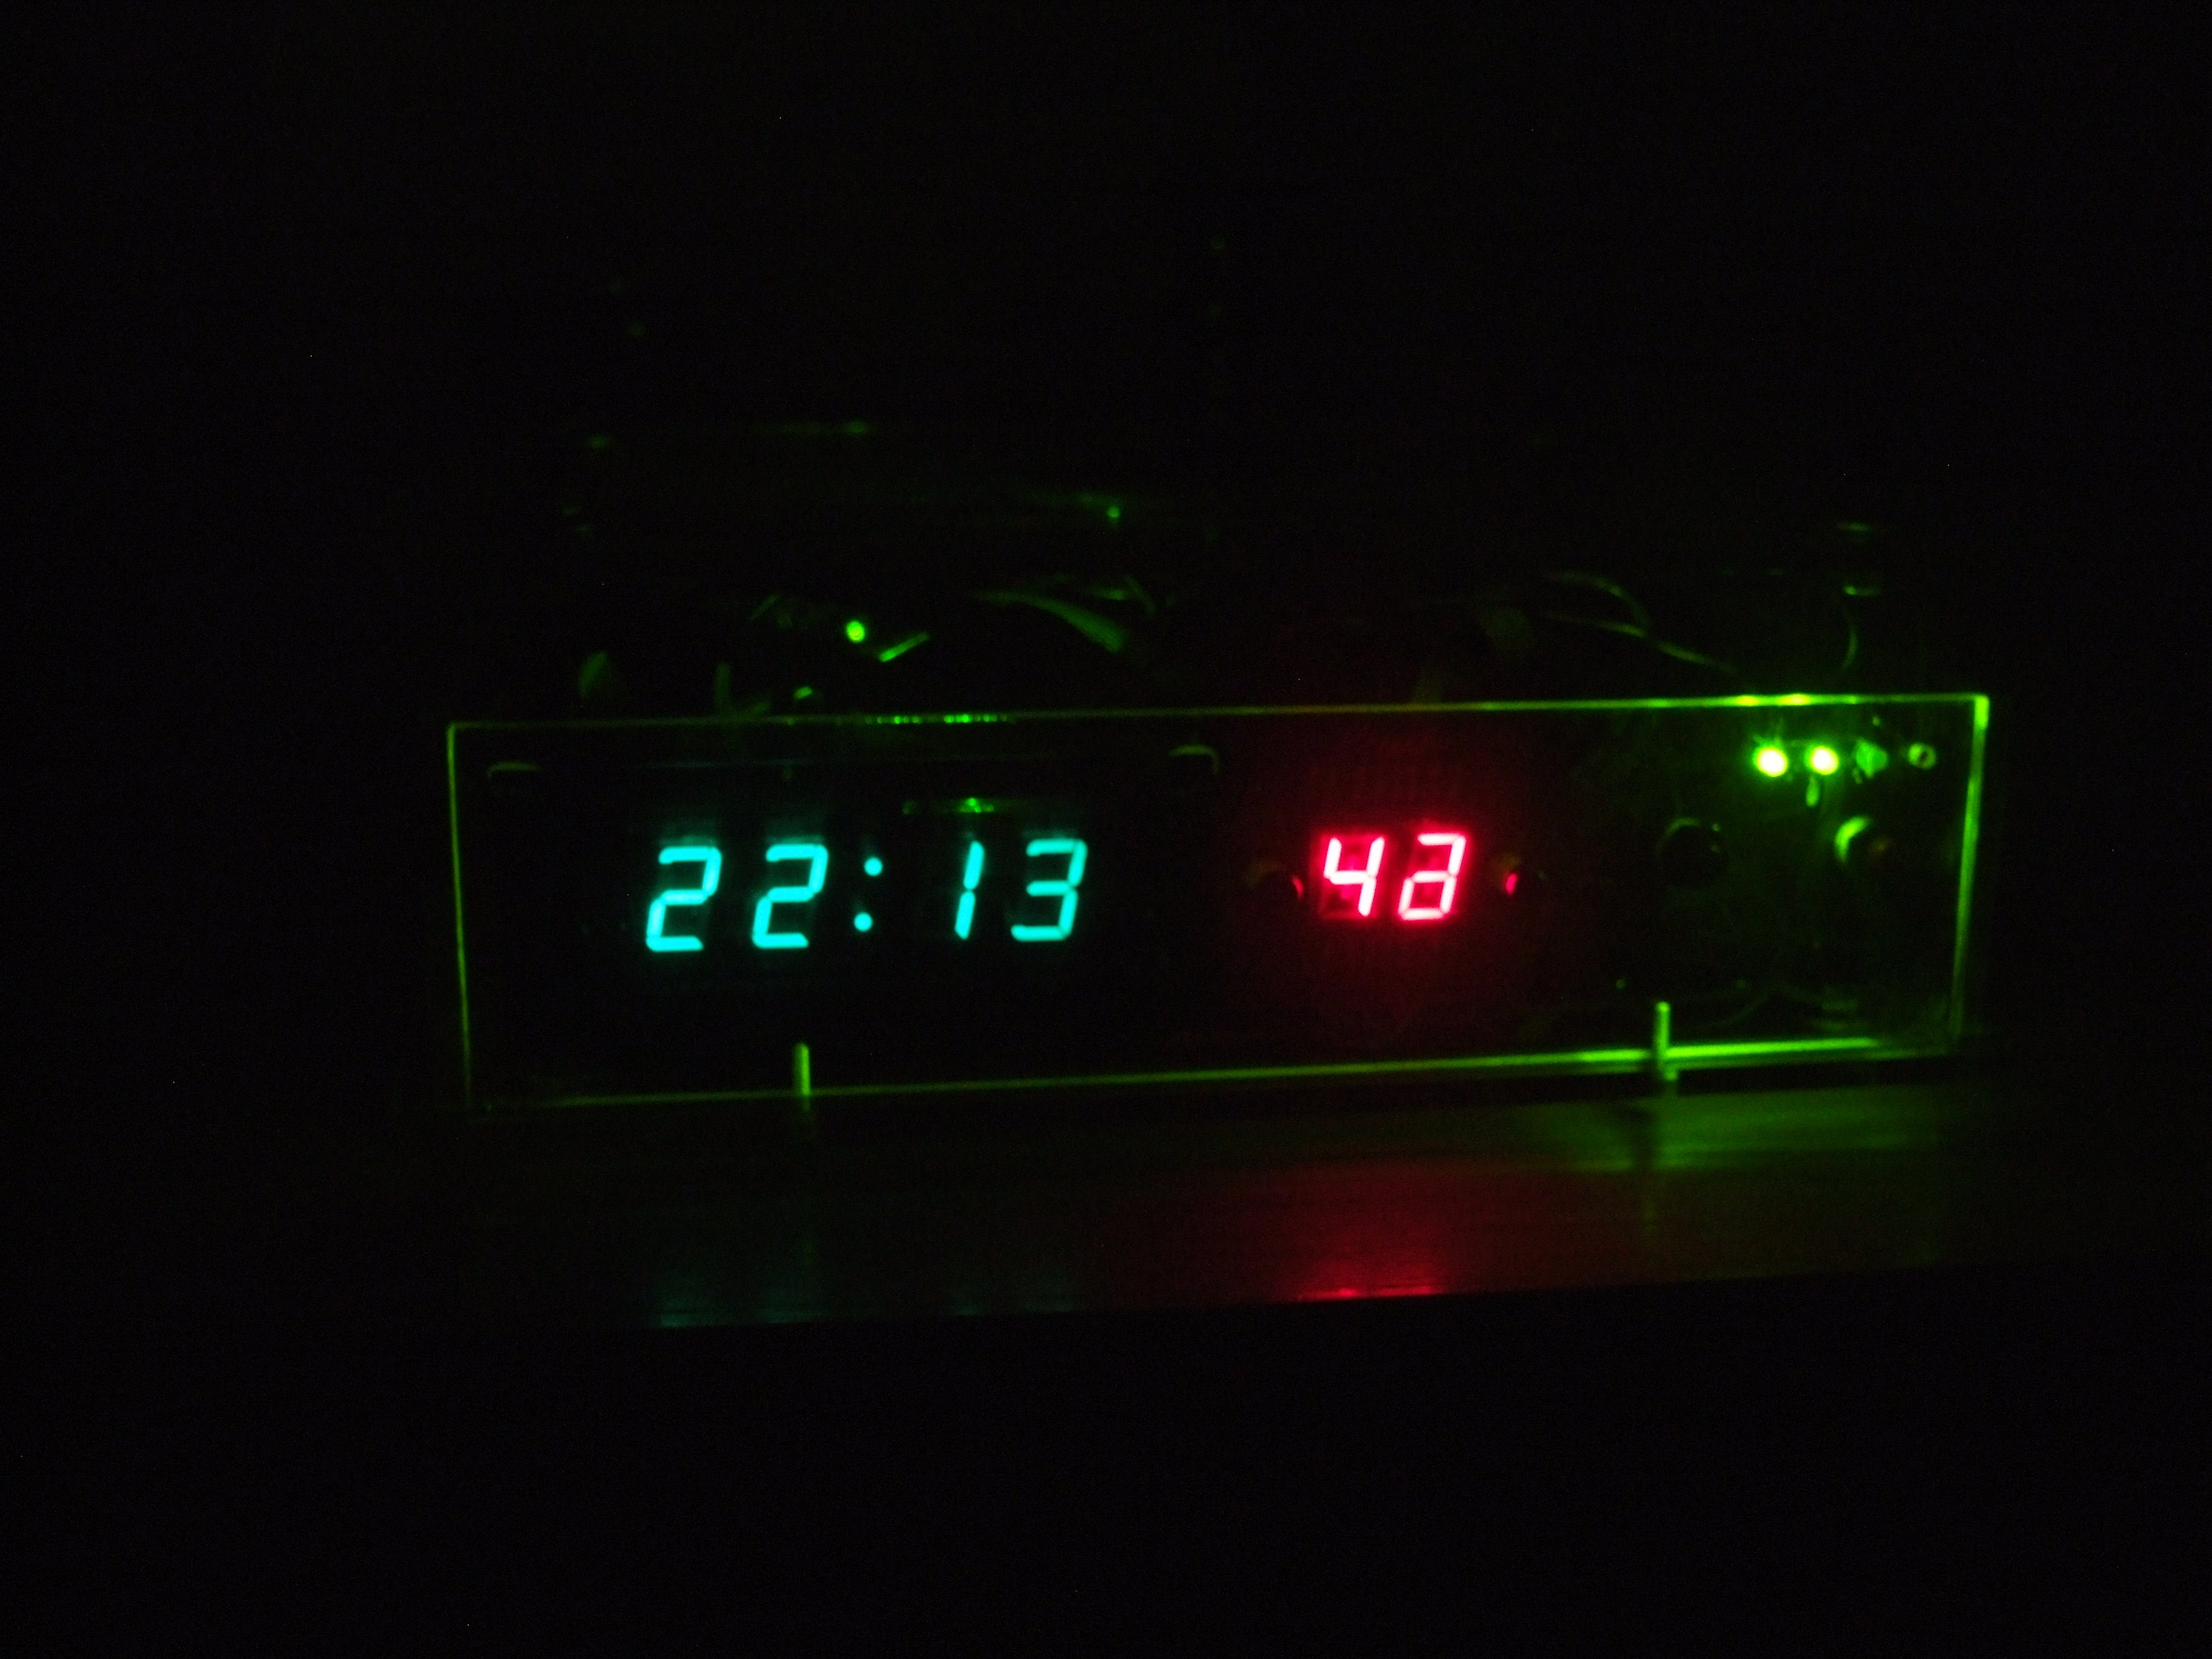
Once set up to connect to the network it takes a few minutes after powering up to synchronise time. A script monitors the wifi connection and toggles it or reboots the clock if it goes down for too long, as it can drift quite fast without correctiong. It was a talking-piece the two years I lived in college, most people apparently wondering if it was a bomb. It certainly looks a good deal more impressive, with all the wiring, than it actually is, but I don’t mind that.