Moving is not much fun. Moving pianos is even less fun: you have all the difficulty of moving a 300kg object coupled with the worry that you’ll twist it out of shape, drop it, strain it, or just shake it too much.
Moving, however, just round the corner—700yds, according to Google—is at least easier than moving halfway round the world. But moving a piano 700yds is not apparently any easier than moving it 300 miles: you can’t wheel it, not on those little coasters, or even on a furniture dolly. And the seven hundred yards in question included one gravel drive, a hundred yards of dodgy pavement, three LVAs and two sharp corners—and then a lot of road, not to mention steps at the far end. On the other hand, I couldn’t find a van for less than £300. Split with my housemate that’s £150: surely that money could be spent on something I could keep at the end of the day?
Thus I started thinking about a dolly with wheels big enough to take the curbs, and able to ride smoothly over cracked paving. That meant pneumatic tires and at least 8" wheels. Then there’s steering: a furniture dolly is short and fitted with swivel wheels, but the fun is balancing the object. Balancing a piano for 700yds sounds like a good way to drop it. So I thought about two dollys, two-wheeled, bolted to each end of the piano frame. For wheels I imagined children’s bike wheels, mounted in a CSL (that 2.5"x1.75" rounded-edge pine one finds everywhere at slightly more than £1/m), with the frame underslung to keep everything low.
Except, as I lay awake building it in my head I saw every bump straining the frame of the piano, leaving it permanently sagging. And then the local bike repair shop were dubious about the wheels taking the weight, though they promised to look all the same. And would the CSL frame really be strong enough?
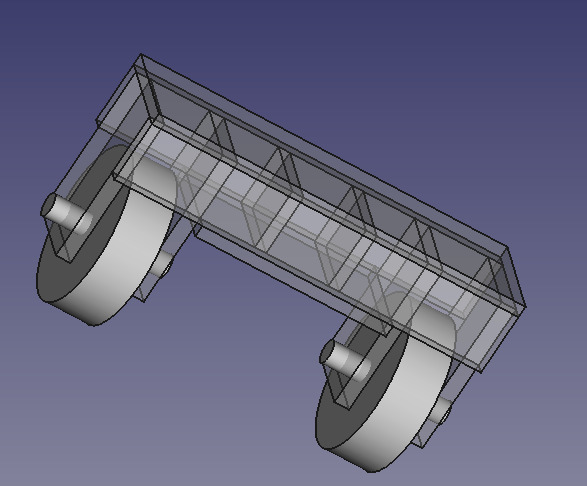
I had a lot of old shelving: mainly blockboard, some 18mm ply, all pulled from the skip outside Hild Bede (if anyone’s in Durham, keep an eye on that skip. What about making the frame out of that? I started looking up those lattice constructions you find in Ikea furniture and discovered the theory of torsion boxes. Now this was how to make the beam! But what about the wheels? Amazon, to my surprise, listed a good number of ‘sack trolley’ 10" wheels with integrated bearings. Thus it was time to build a model:
This is freecad, a wonderful program if you don’t mind specifying absolute position manually. But handy for those of us who are uncertain about tolerances and don’t like the idea of trying to move the axles afterwards.
Invention
Except this was rather high off the ground. How was the piano to get up there? I visualised lifting each end one by one, adding another block of CSL under each end untill the dollies could be slid underneath. So I tried it, and it worked—sort of. The piano was very wobbly. And it turned out that the wooden frame was only loadbearing at two attachment points to the iron inner frame, one at each end, and that it had long since sagged in the middle. The uprights to the keyboard are not loadbearing at all. With a dolly on each end the piano was going to be quite unstable, bolted to a wooden frame not designed to take the torsion it would apply as it leaned. Hmm.
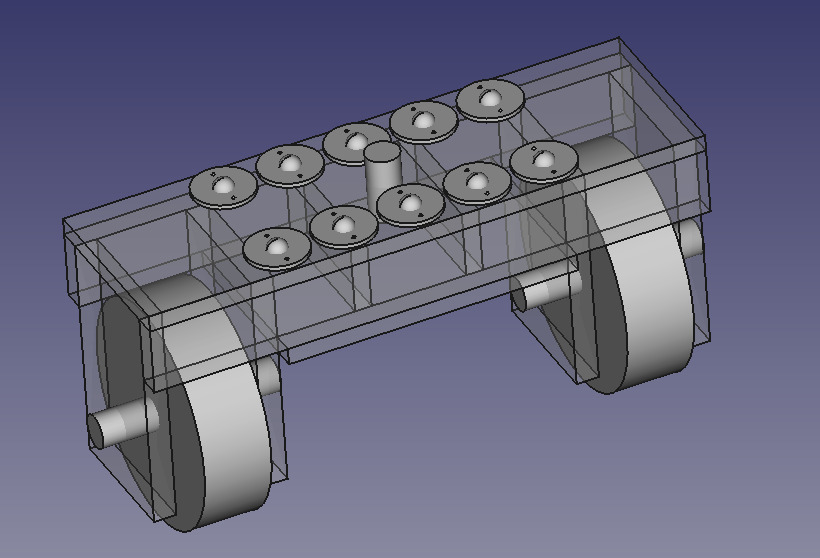
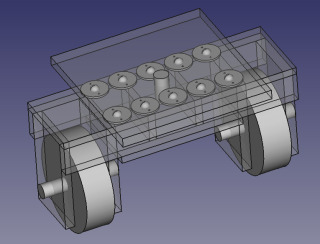
In the meantime I solved the steering problem. Just bolting through worried me: 150kg—assuming the piano was totally flat—was going to generate an enormous amount of friction. I imagined various plate bearings, generally mylar lubricated with washing up liquid, and wondered about putting rollers or marbles in grooves. Then I discovered flange-mounted ball bearings for assembly lines. The toughest I could find cheaply was only rated at 66.14lb (sic!) or 30.006kg (if we’re going to be arbitrarily precise). 10x30kg = 300kg: more than enough for one end of the load. So I designed a second dolly, lower than the first to enable the bearings to ride on a plate from a mylar-faced mdf door. At this point I imagined the weight of the whole thing keeping the dolly together linearly, with steering at the rear applying no force:
Now we had some dollies, what about the table and chairs I also had to move? Bolting the table to the dollies was a bit extreme, but I had a 4’x4’ offcut of 18mm ply I could screw down and then strap the table on top. At this point I realised I had invented the trolly, which is like a dolly but holds itself together. Now, if only the piano could be put on a trolly and lashed down! Except that would require another dolly, of the standard furniture-moving kind, and a set of ramps.
Building
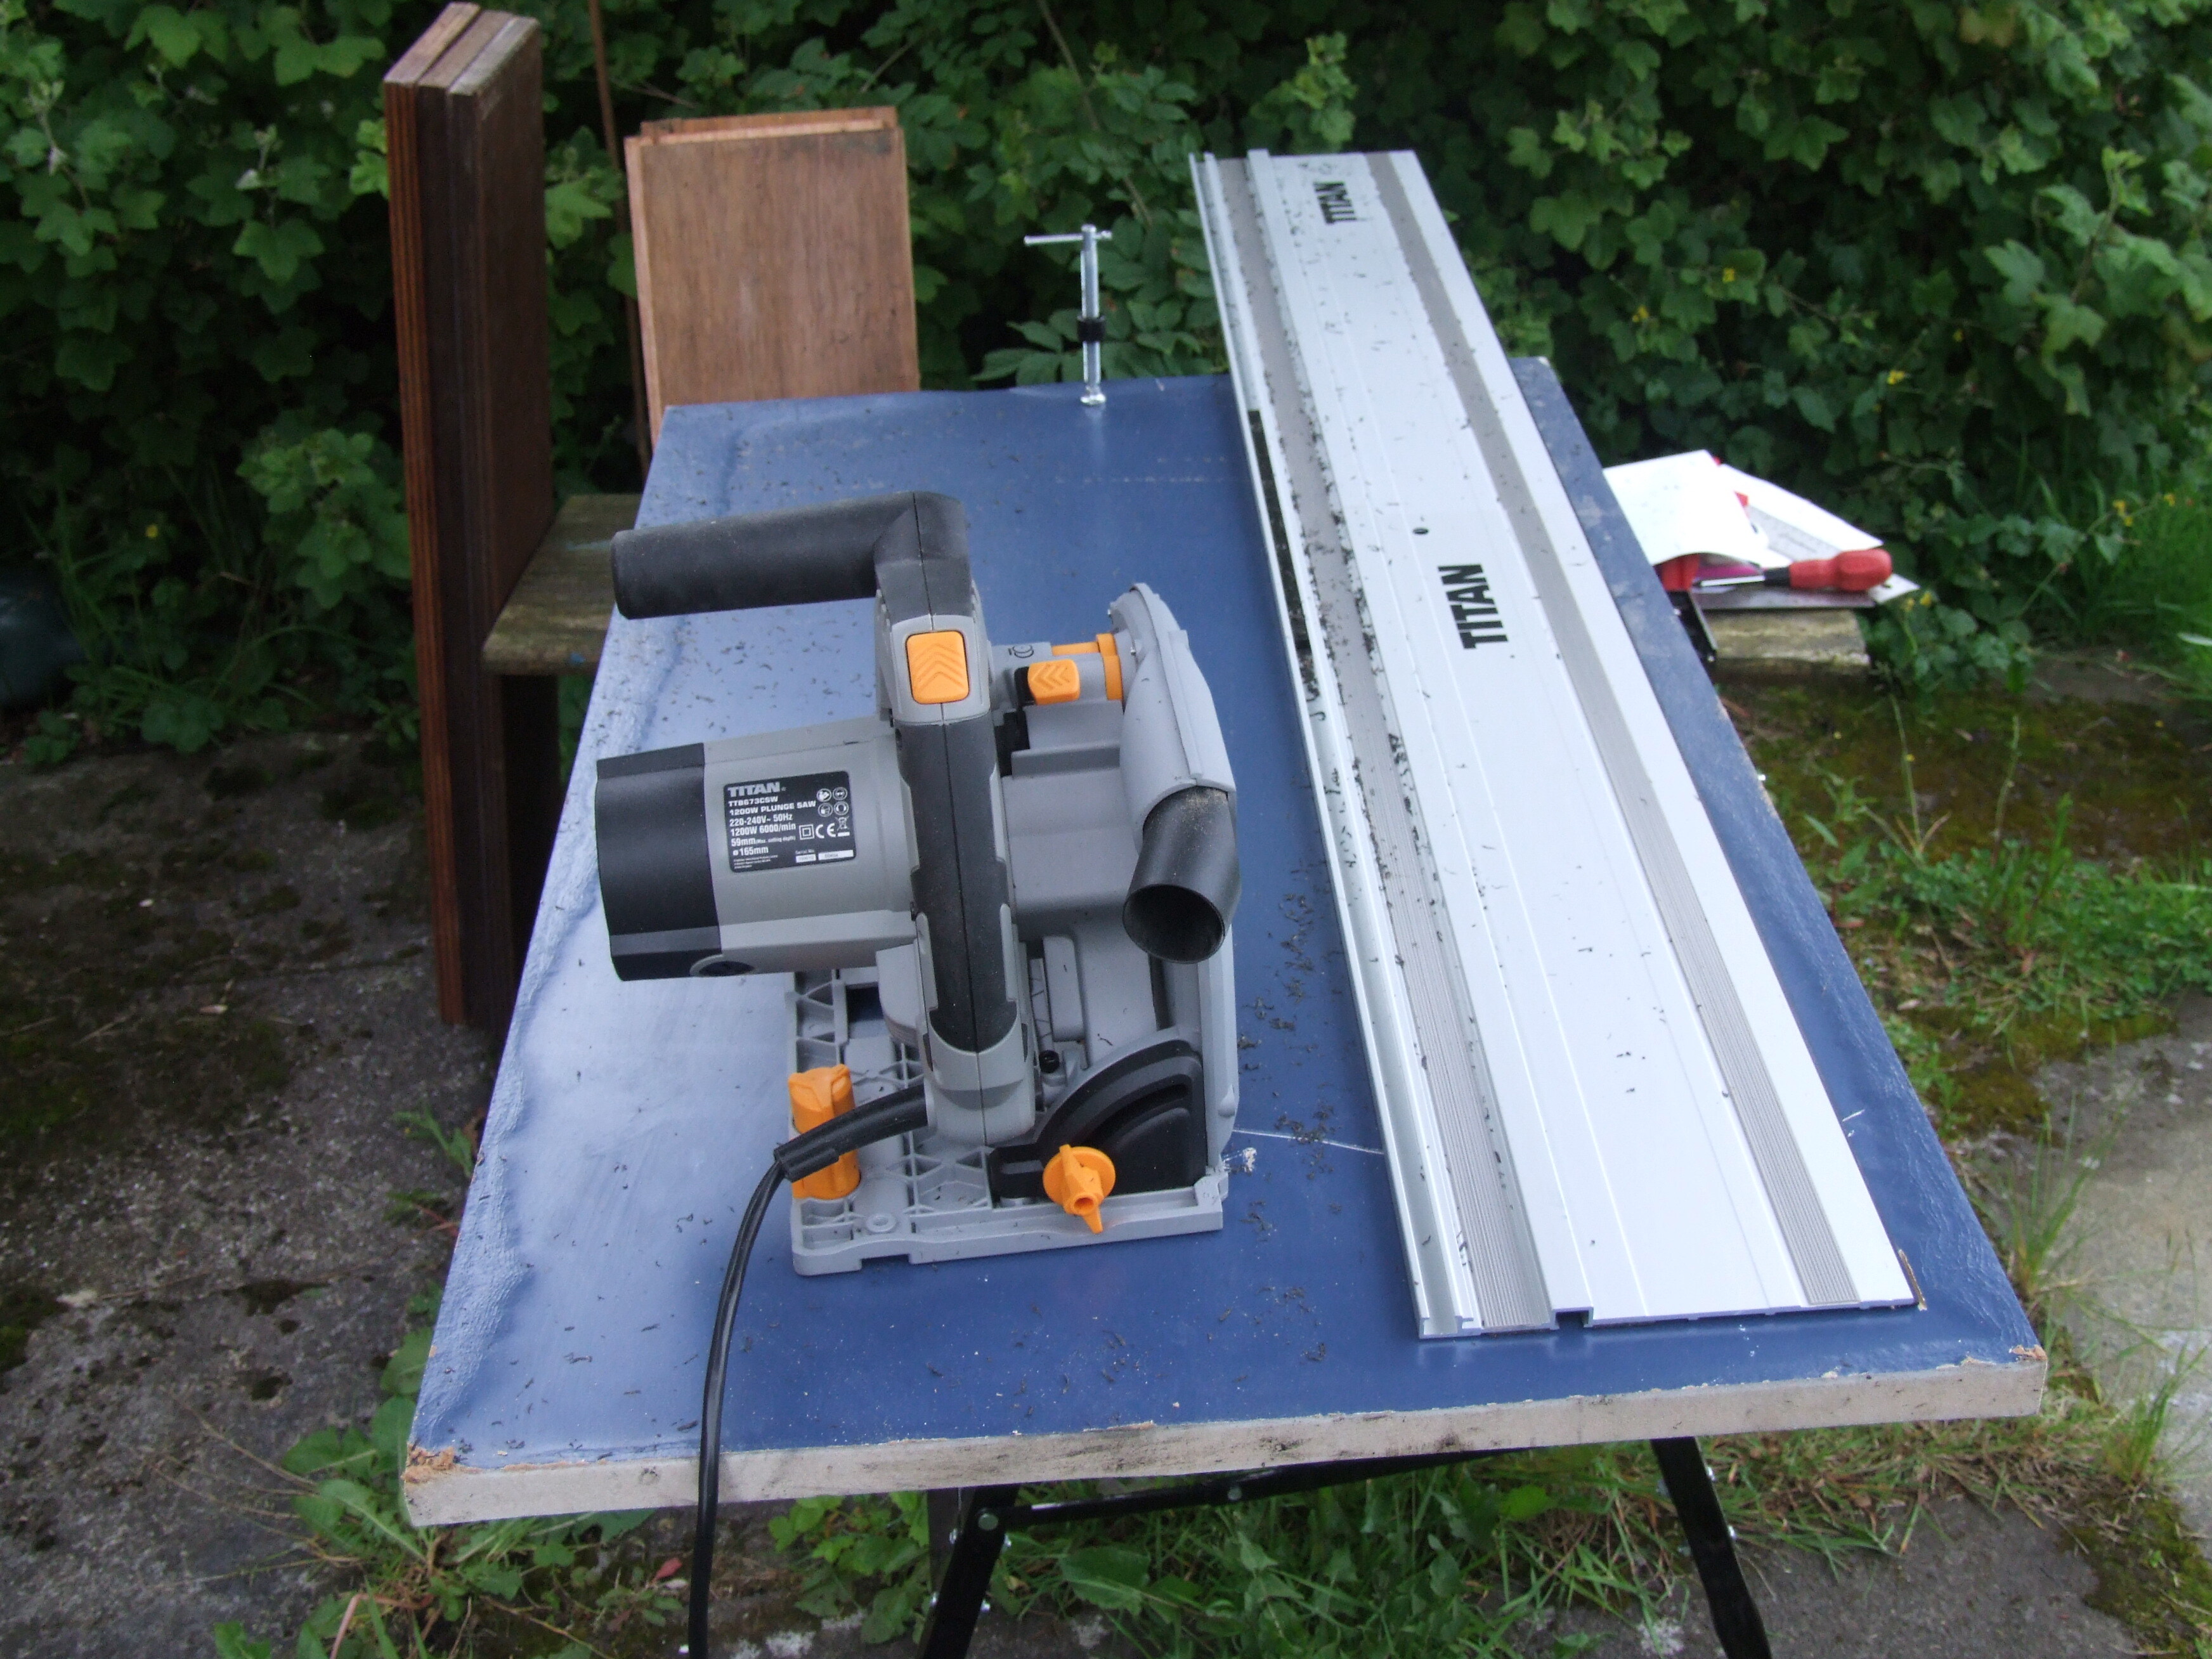
I spent £100 of the £150 on a tracksaw. The bearings were £10, the wheels £20, the m16 studding £4, the washers £5, the nuts £10, the holesaw and arbour another £20, and the screws about £10 in total. Even had I had to buy the timber the whole thing would have come in at around £50.
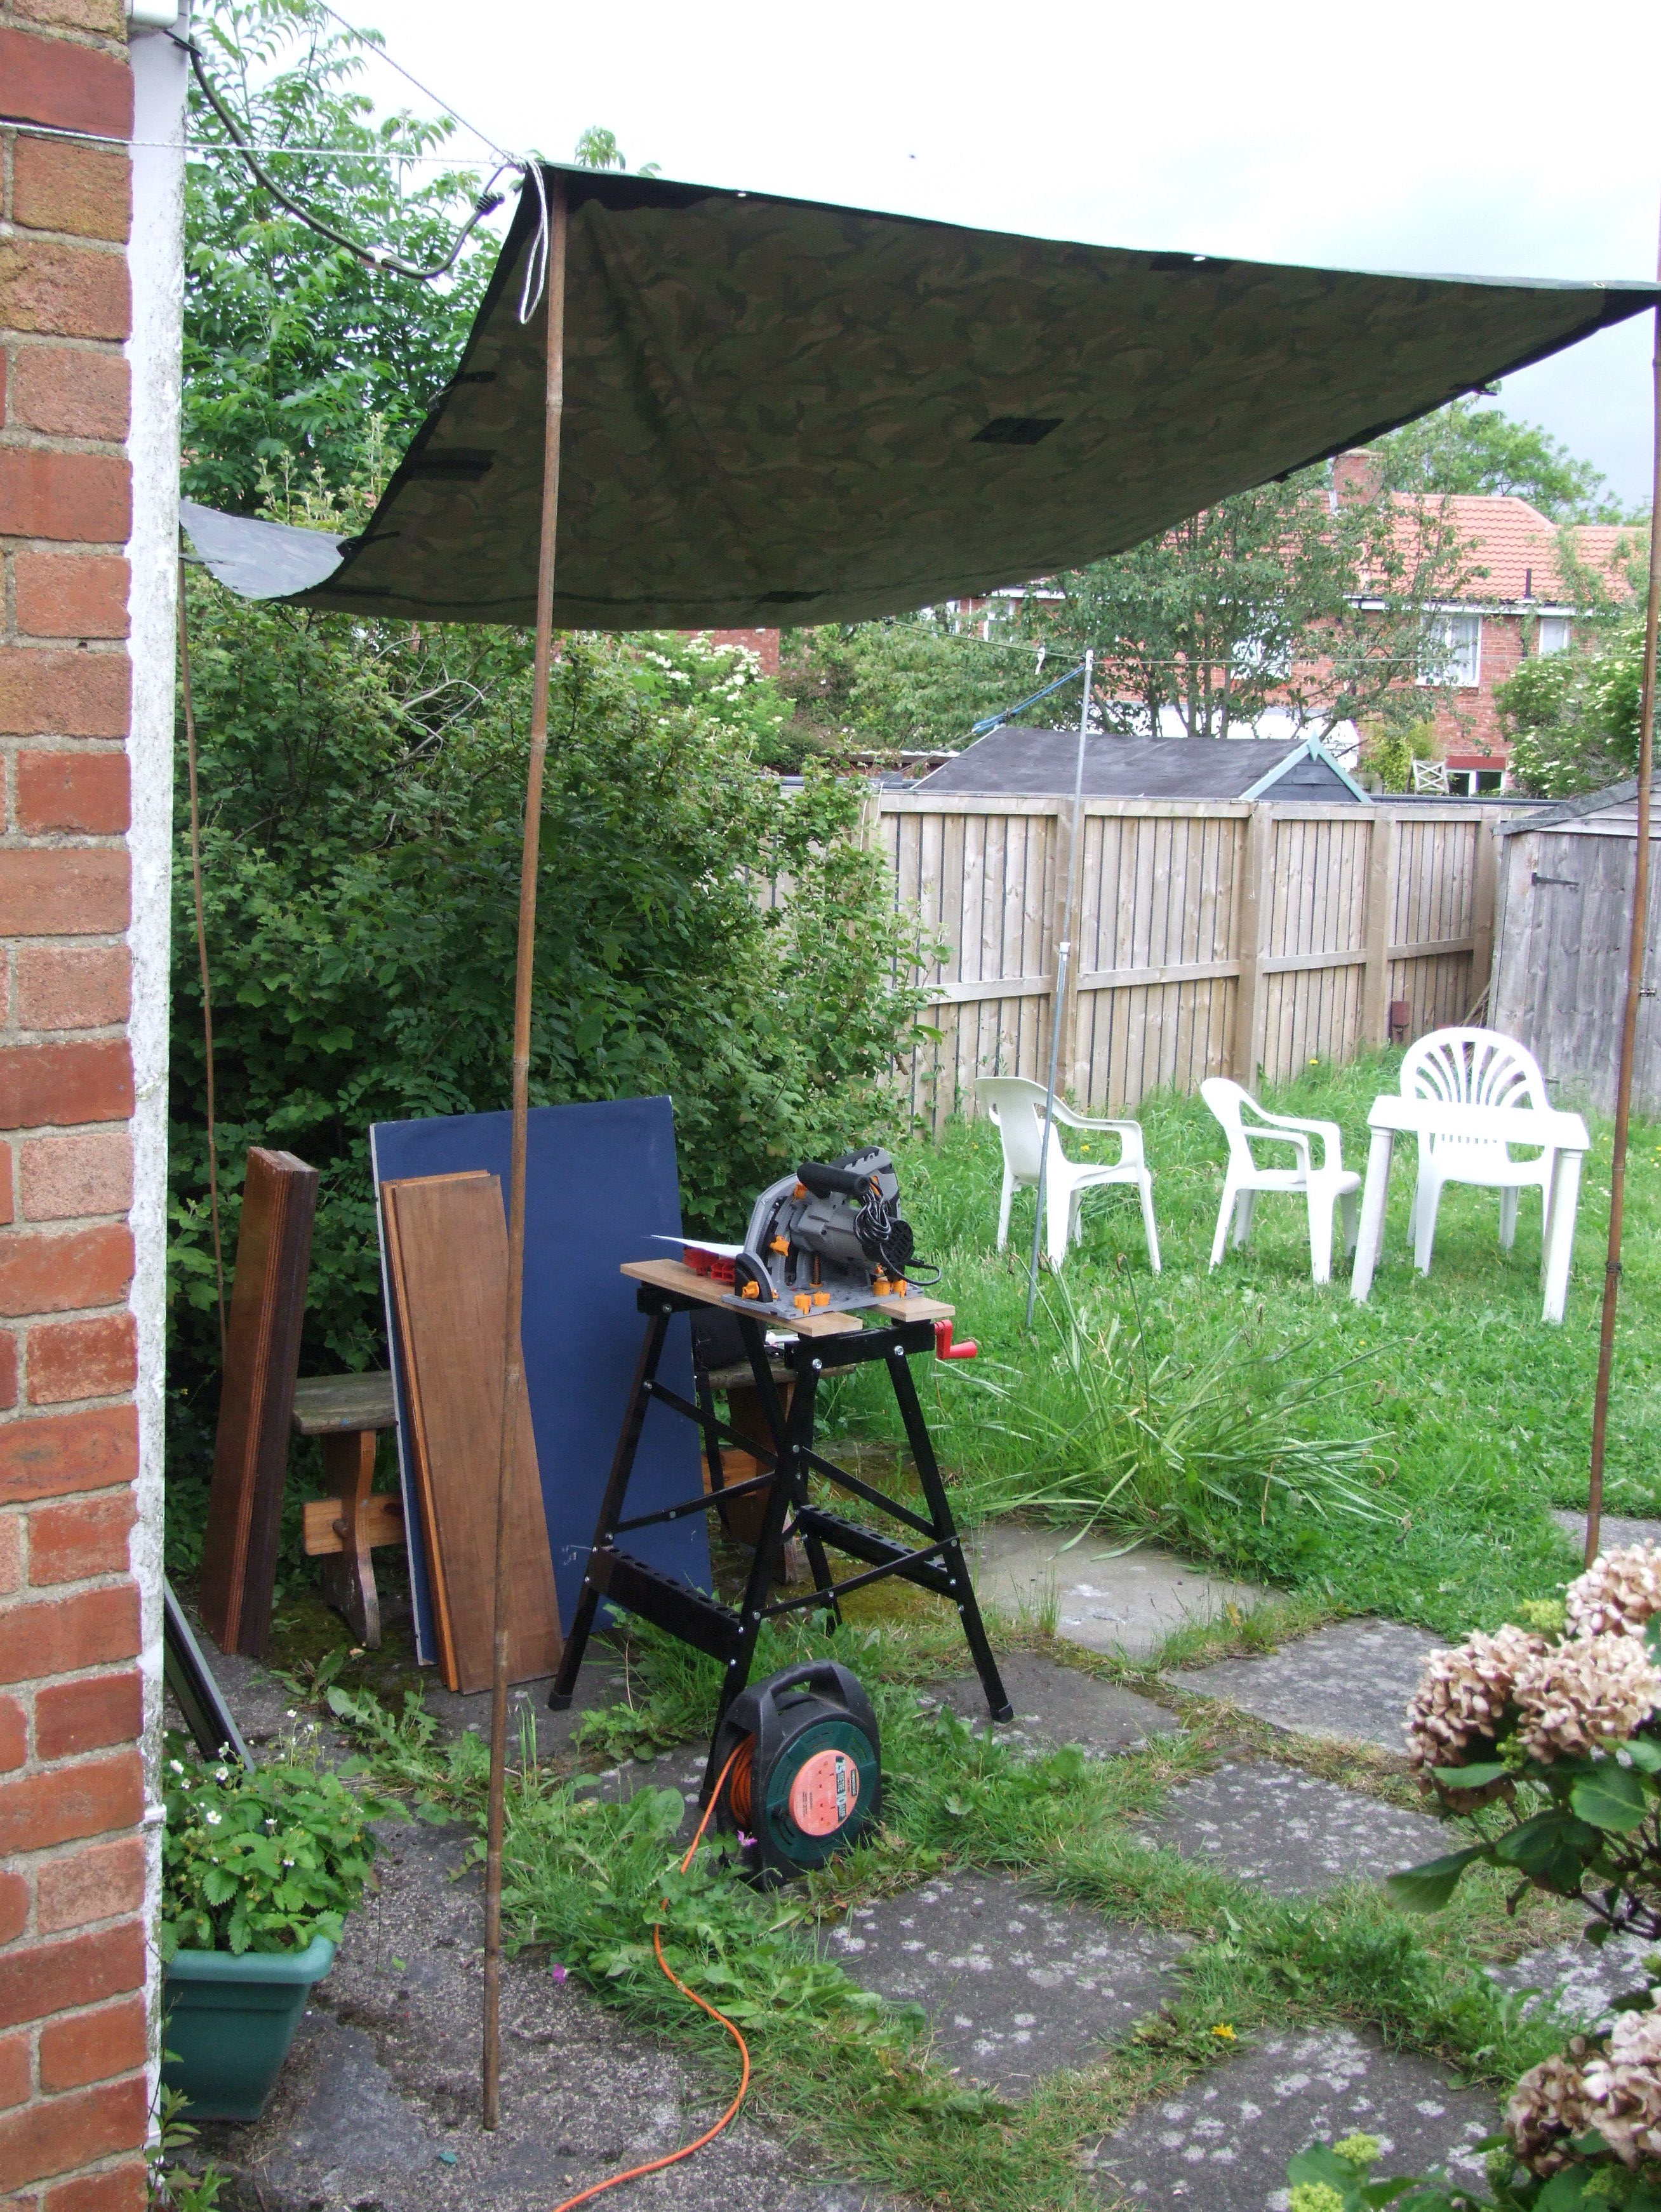
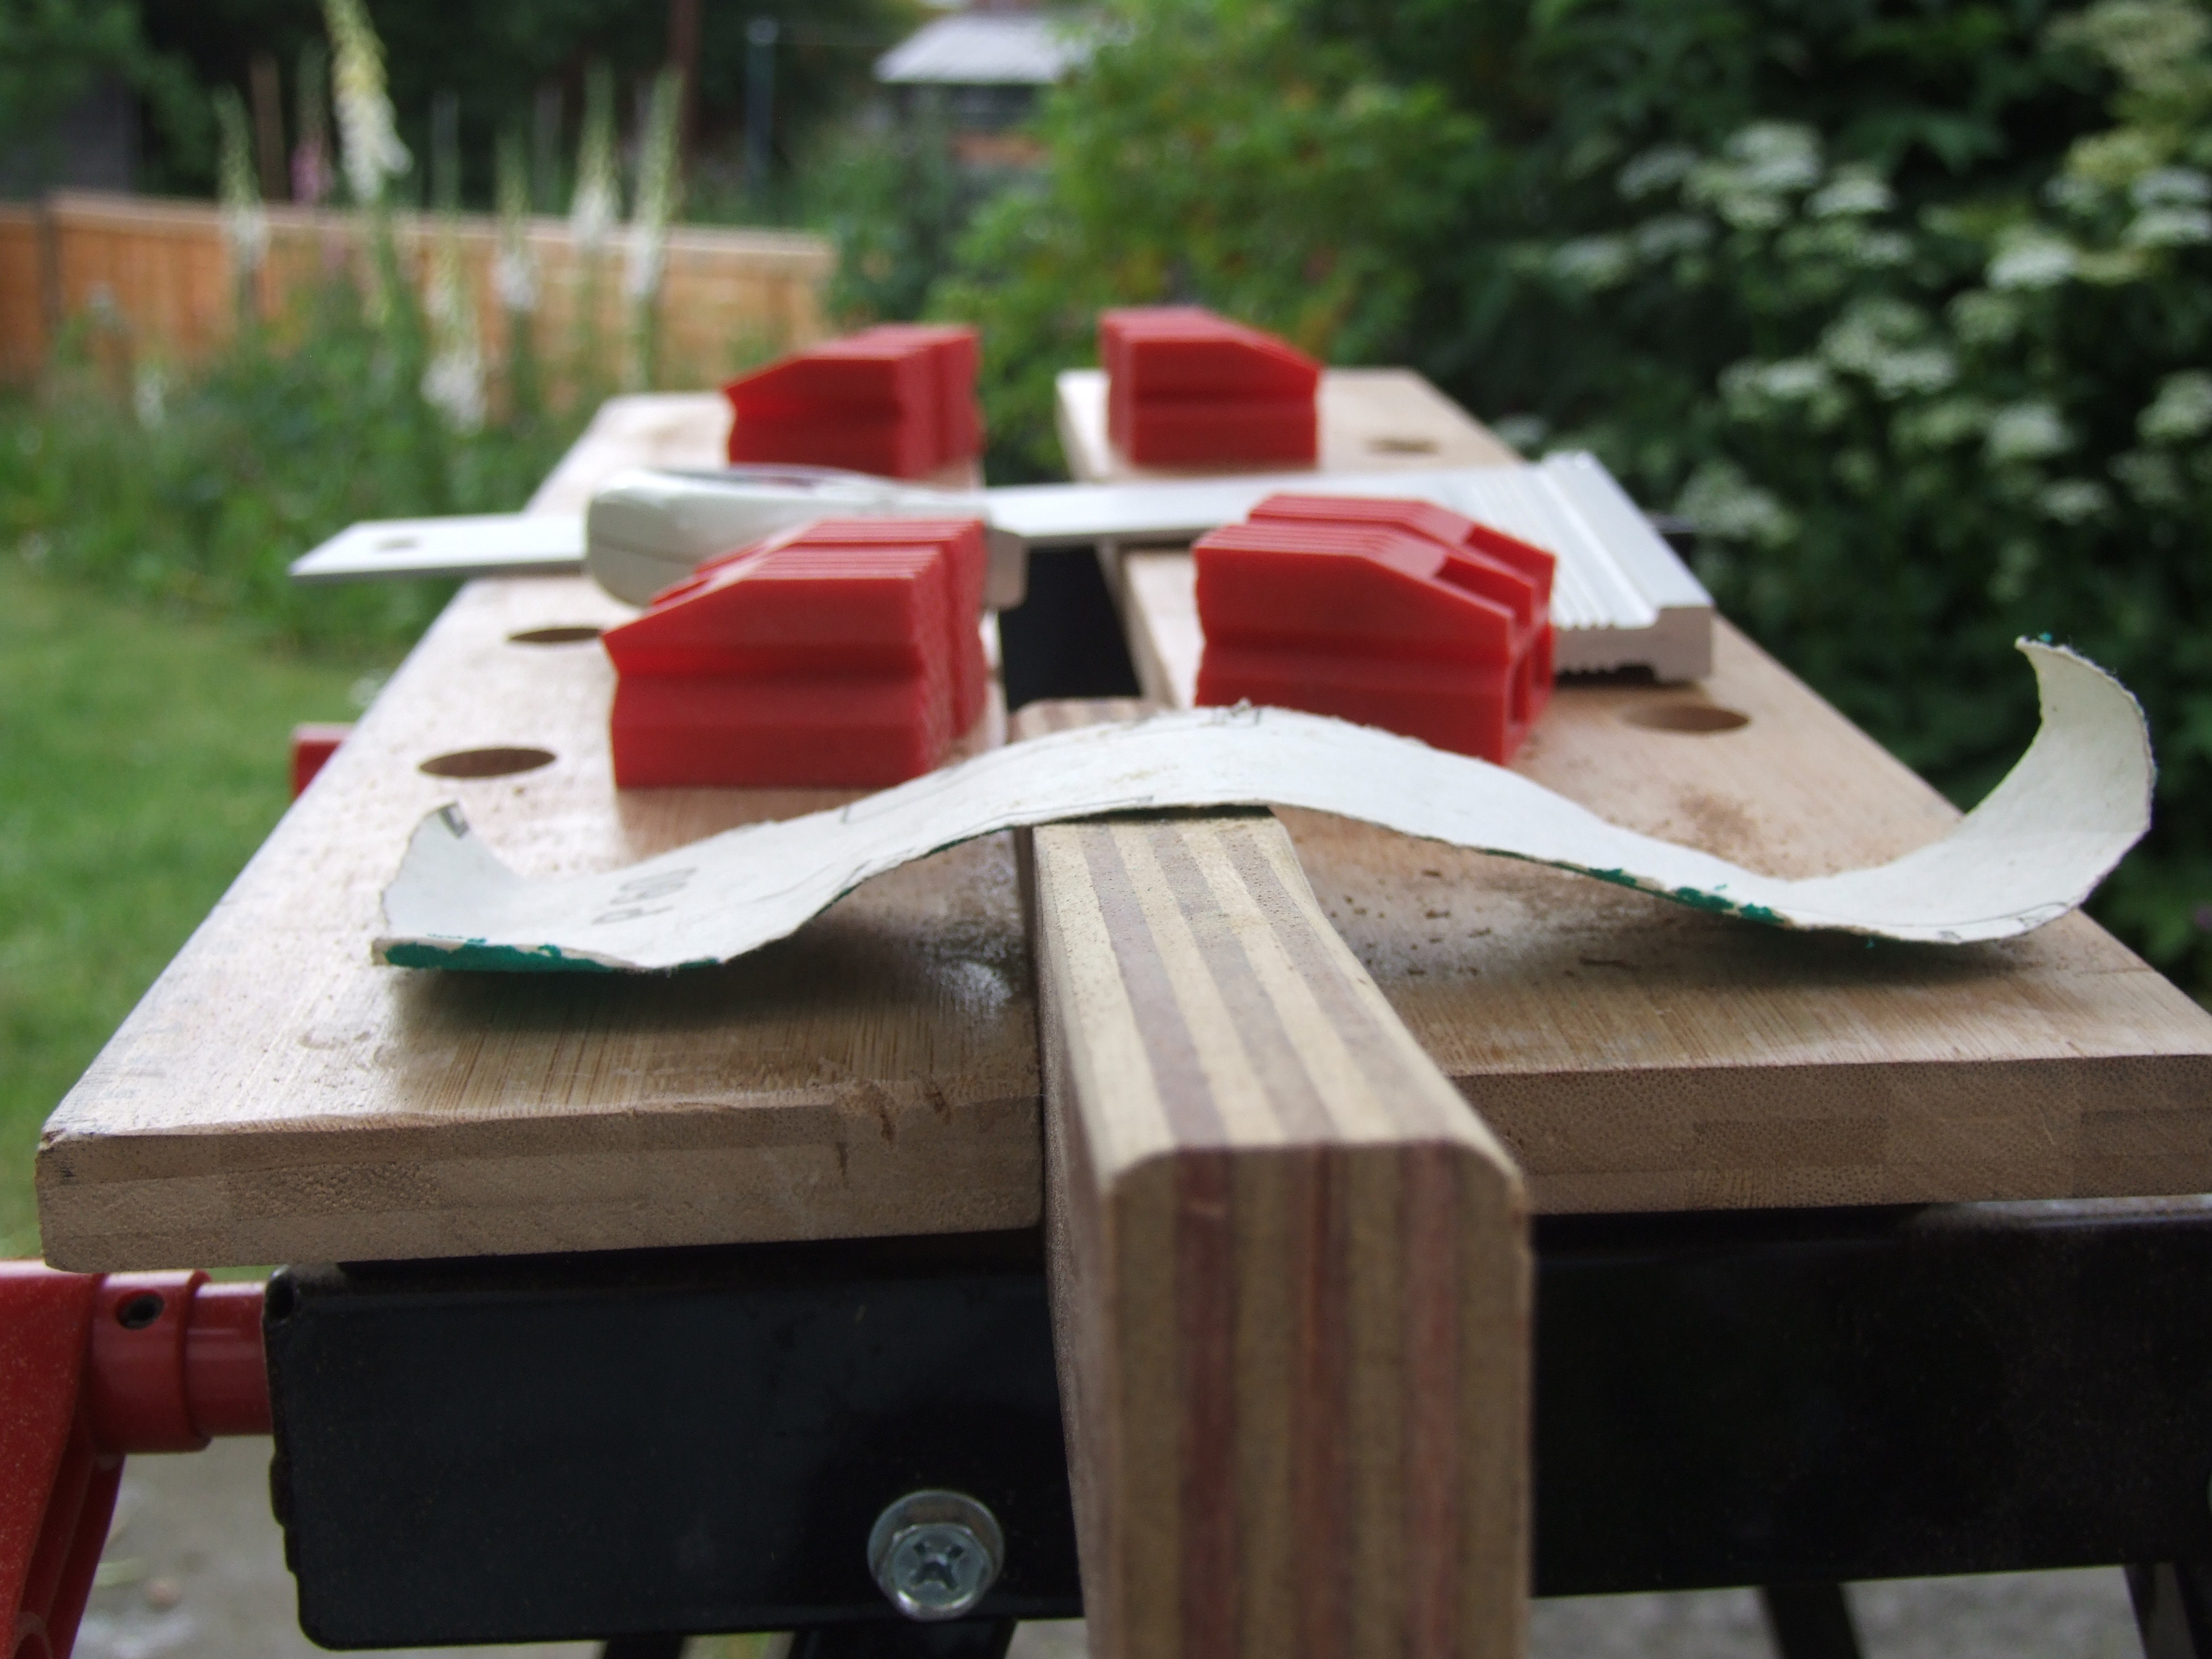
First thing, in this country, is to have somewhere to work if it rains:
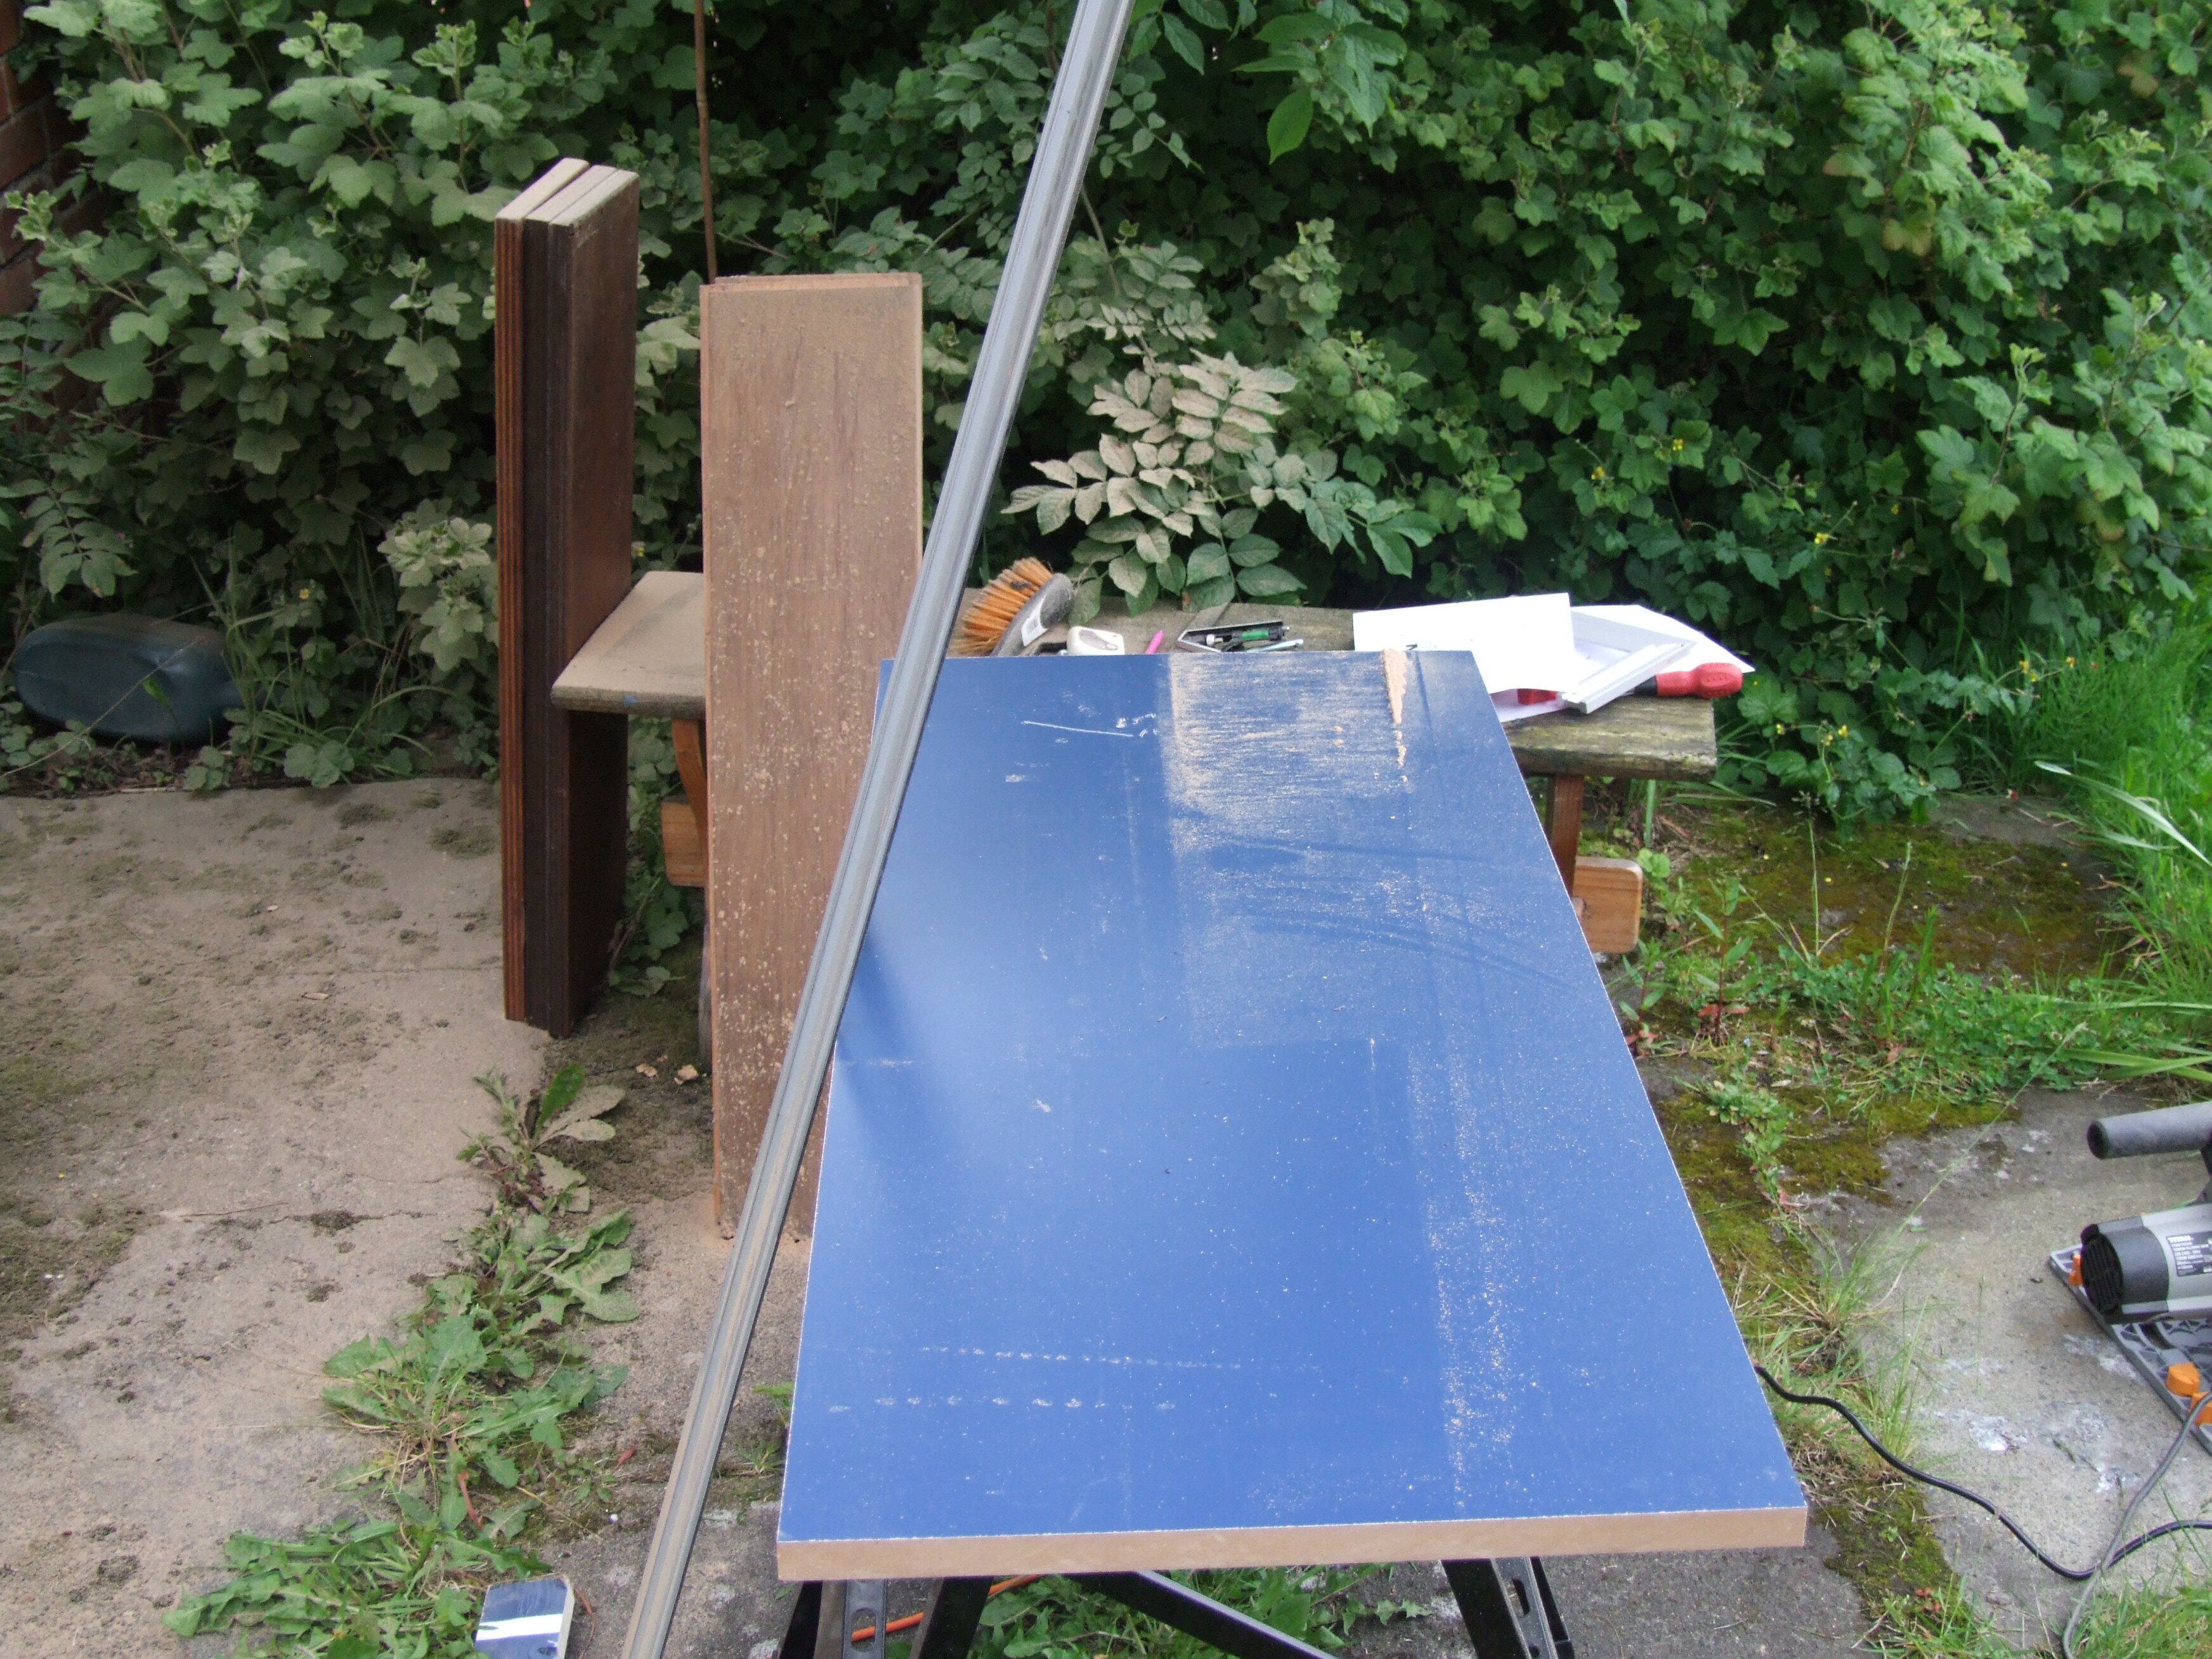
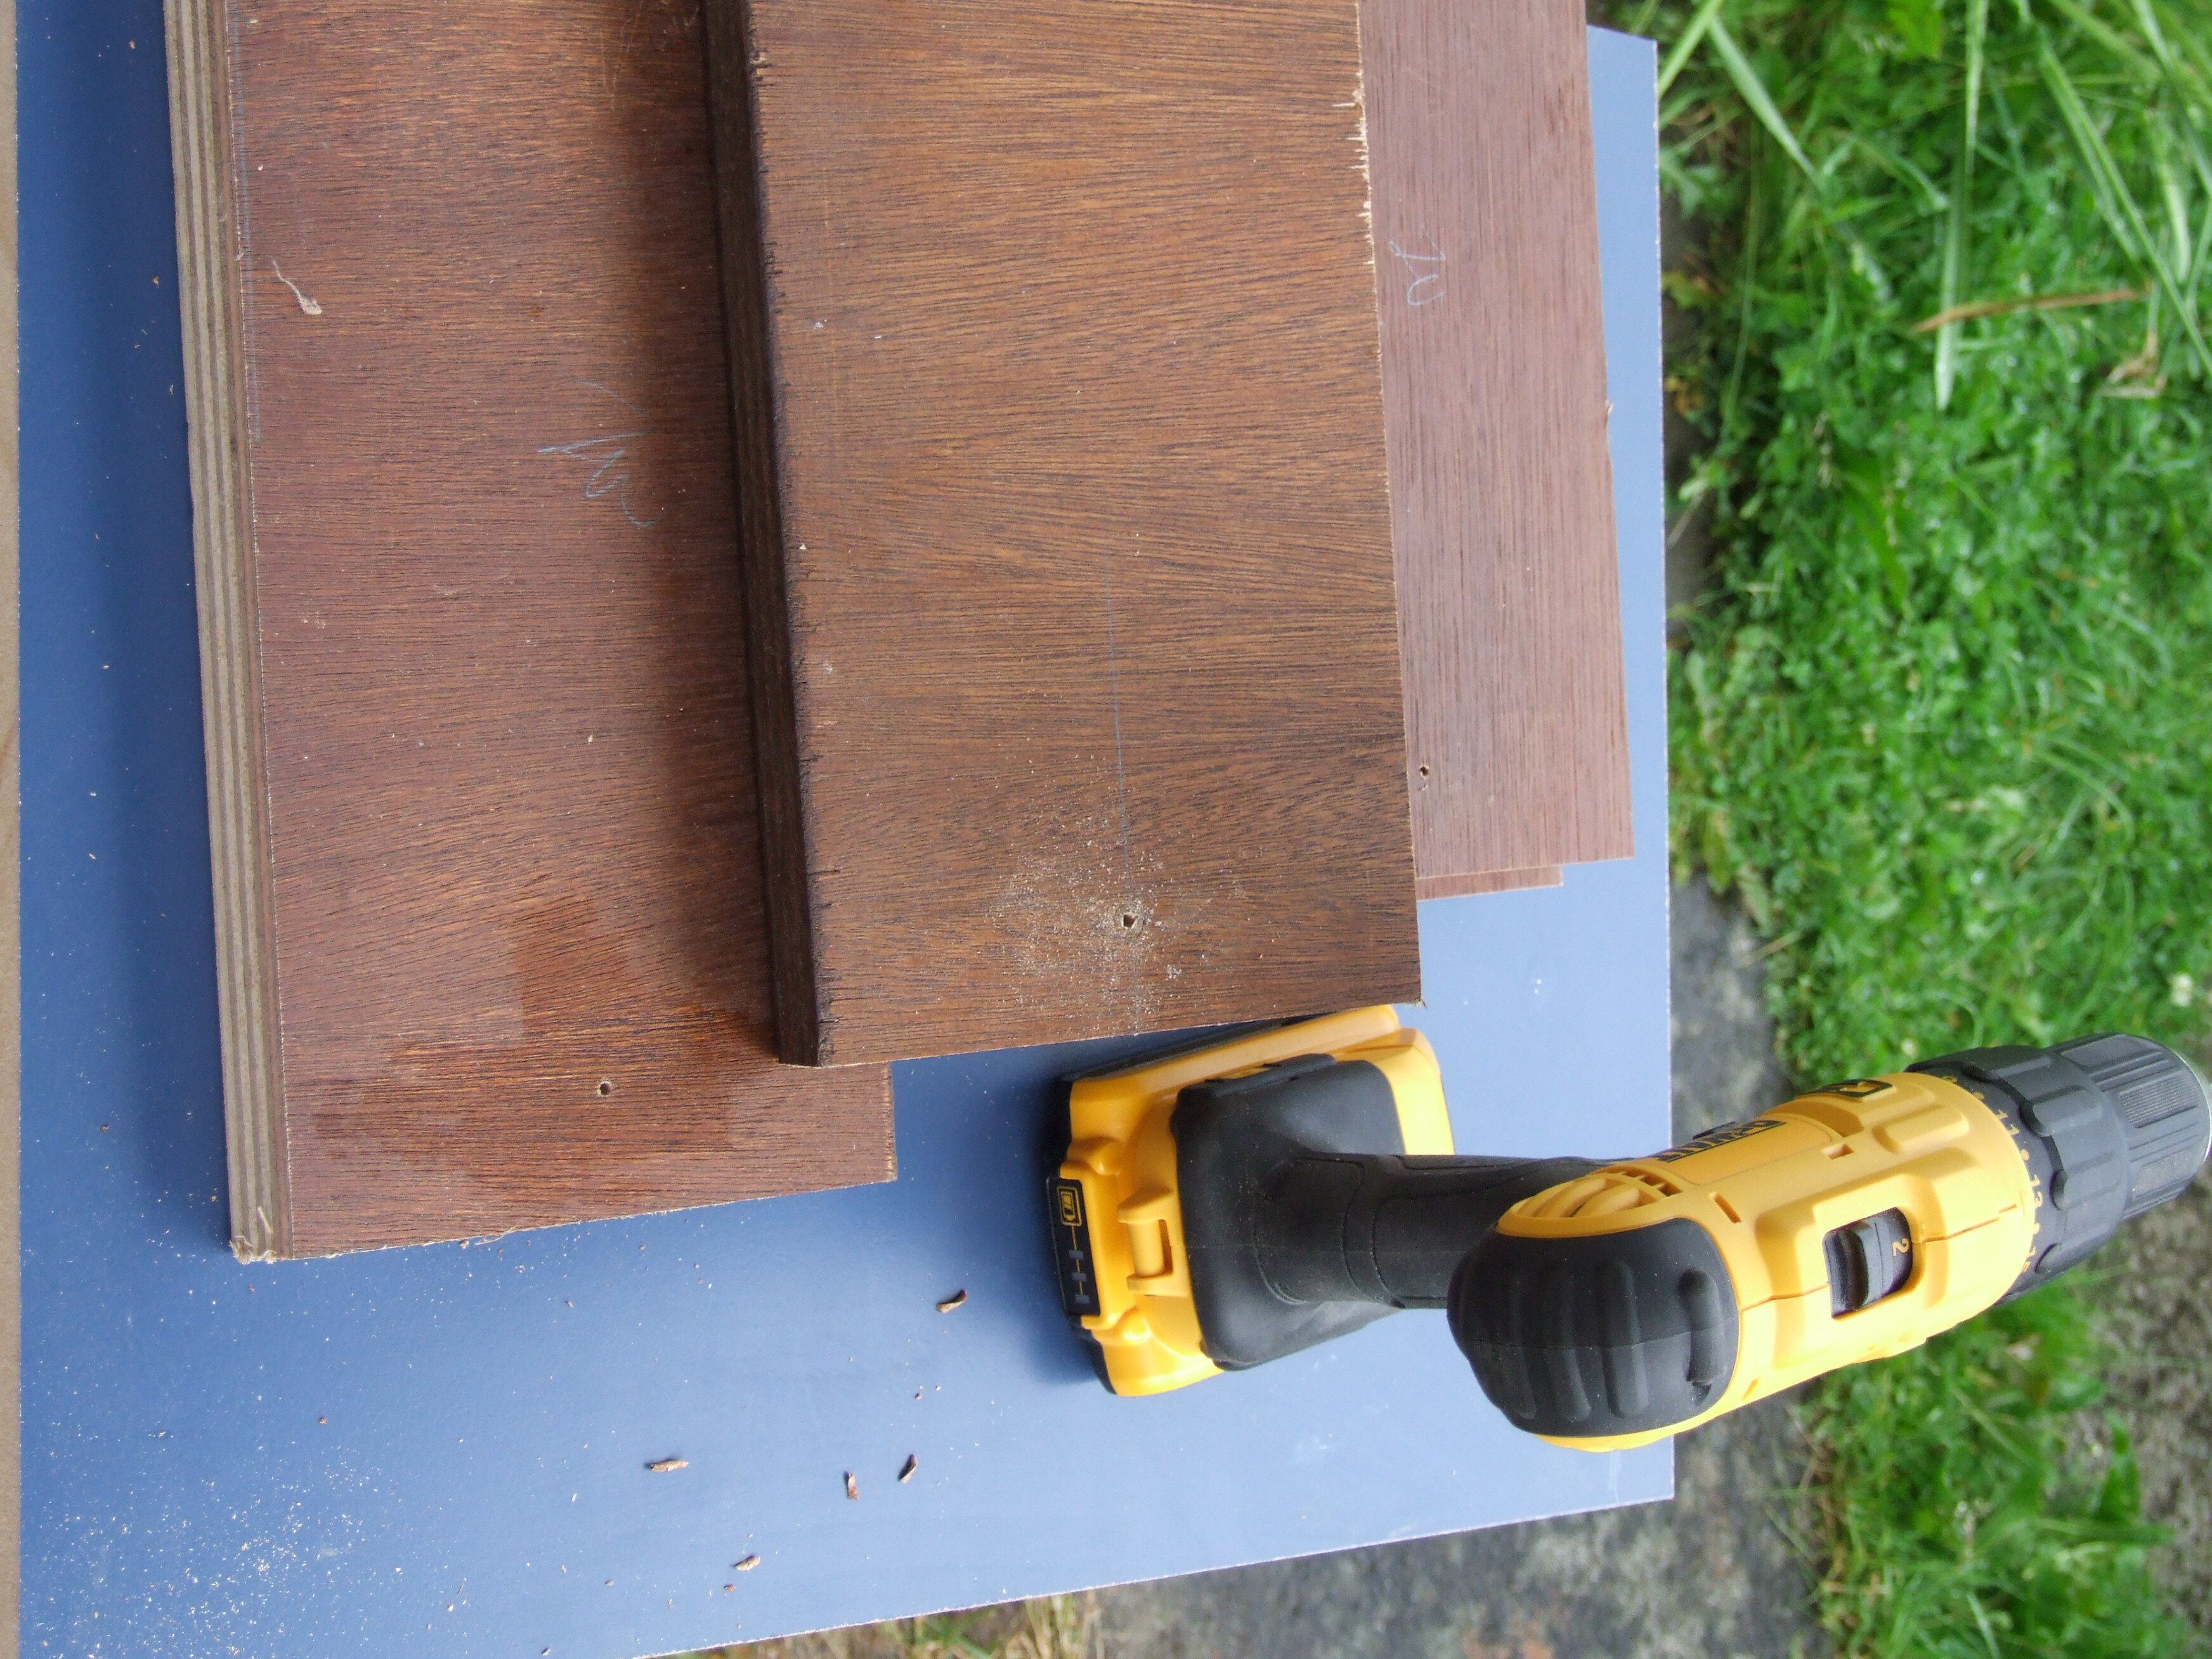
Then it was just a matter of getting used to the tracksaw:
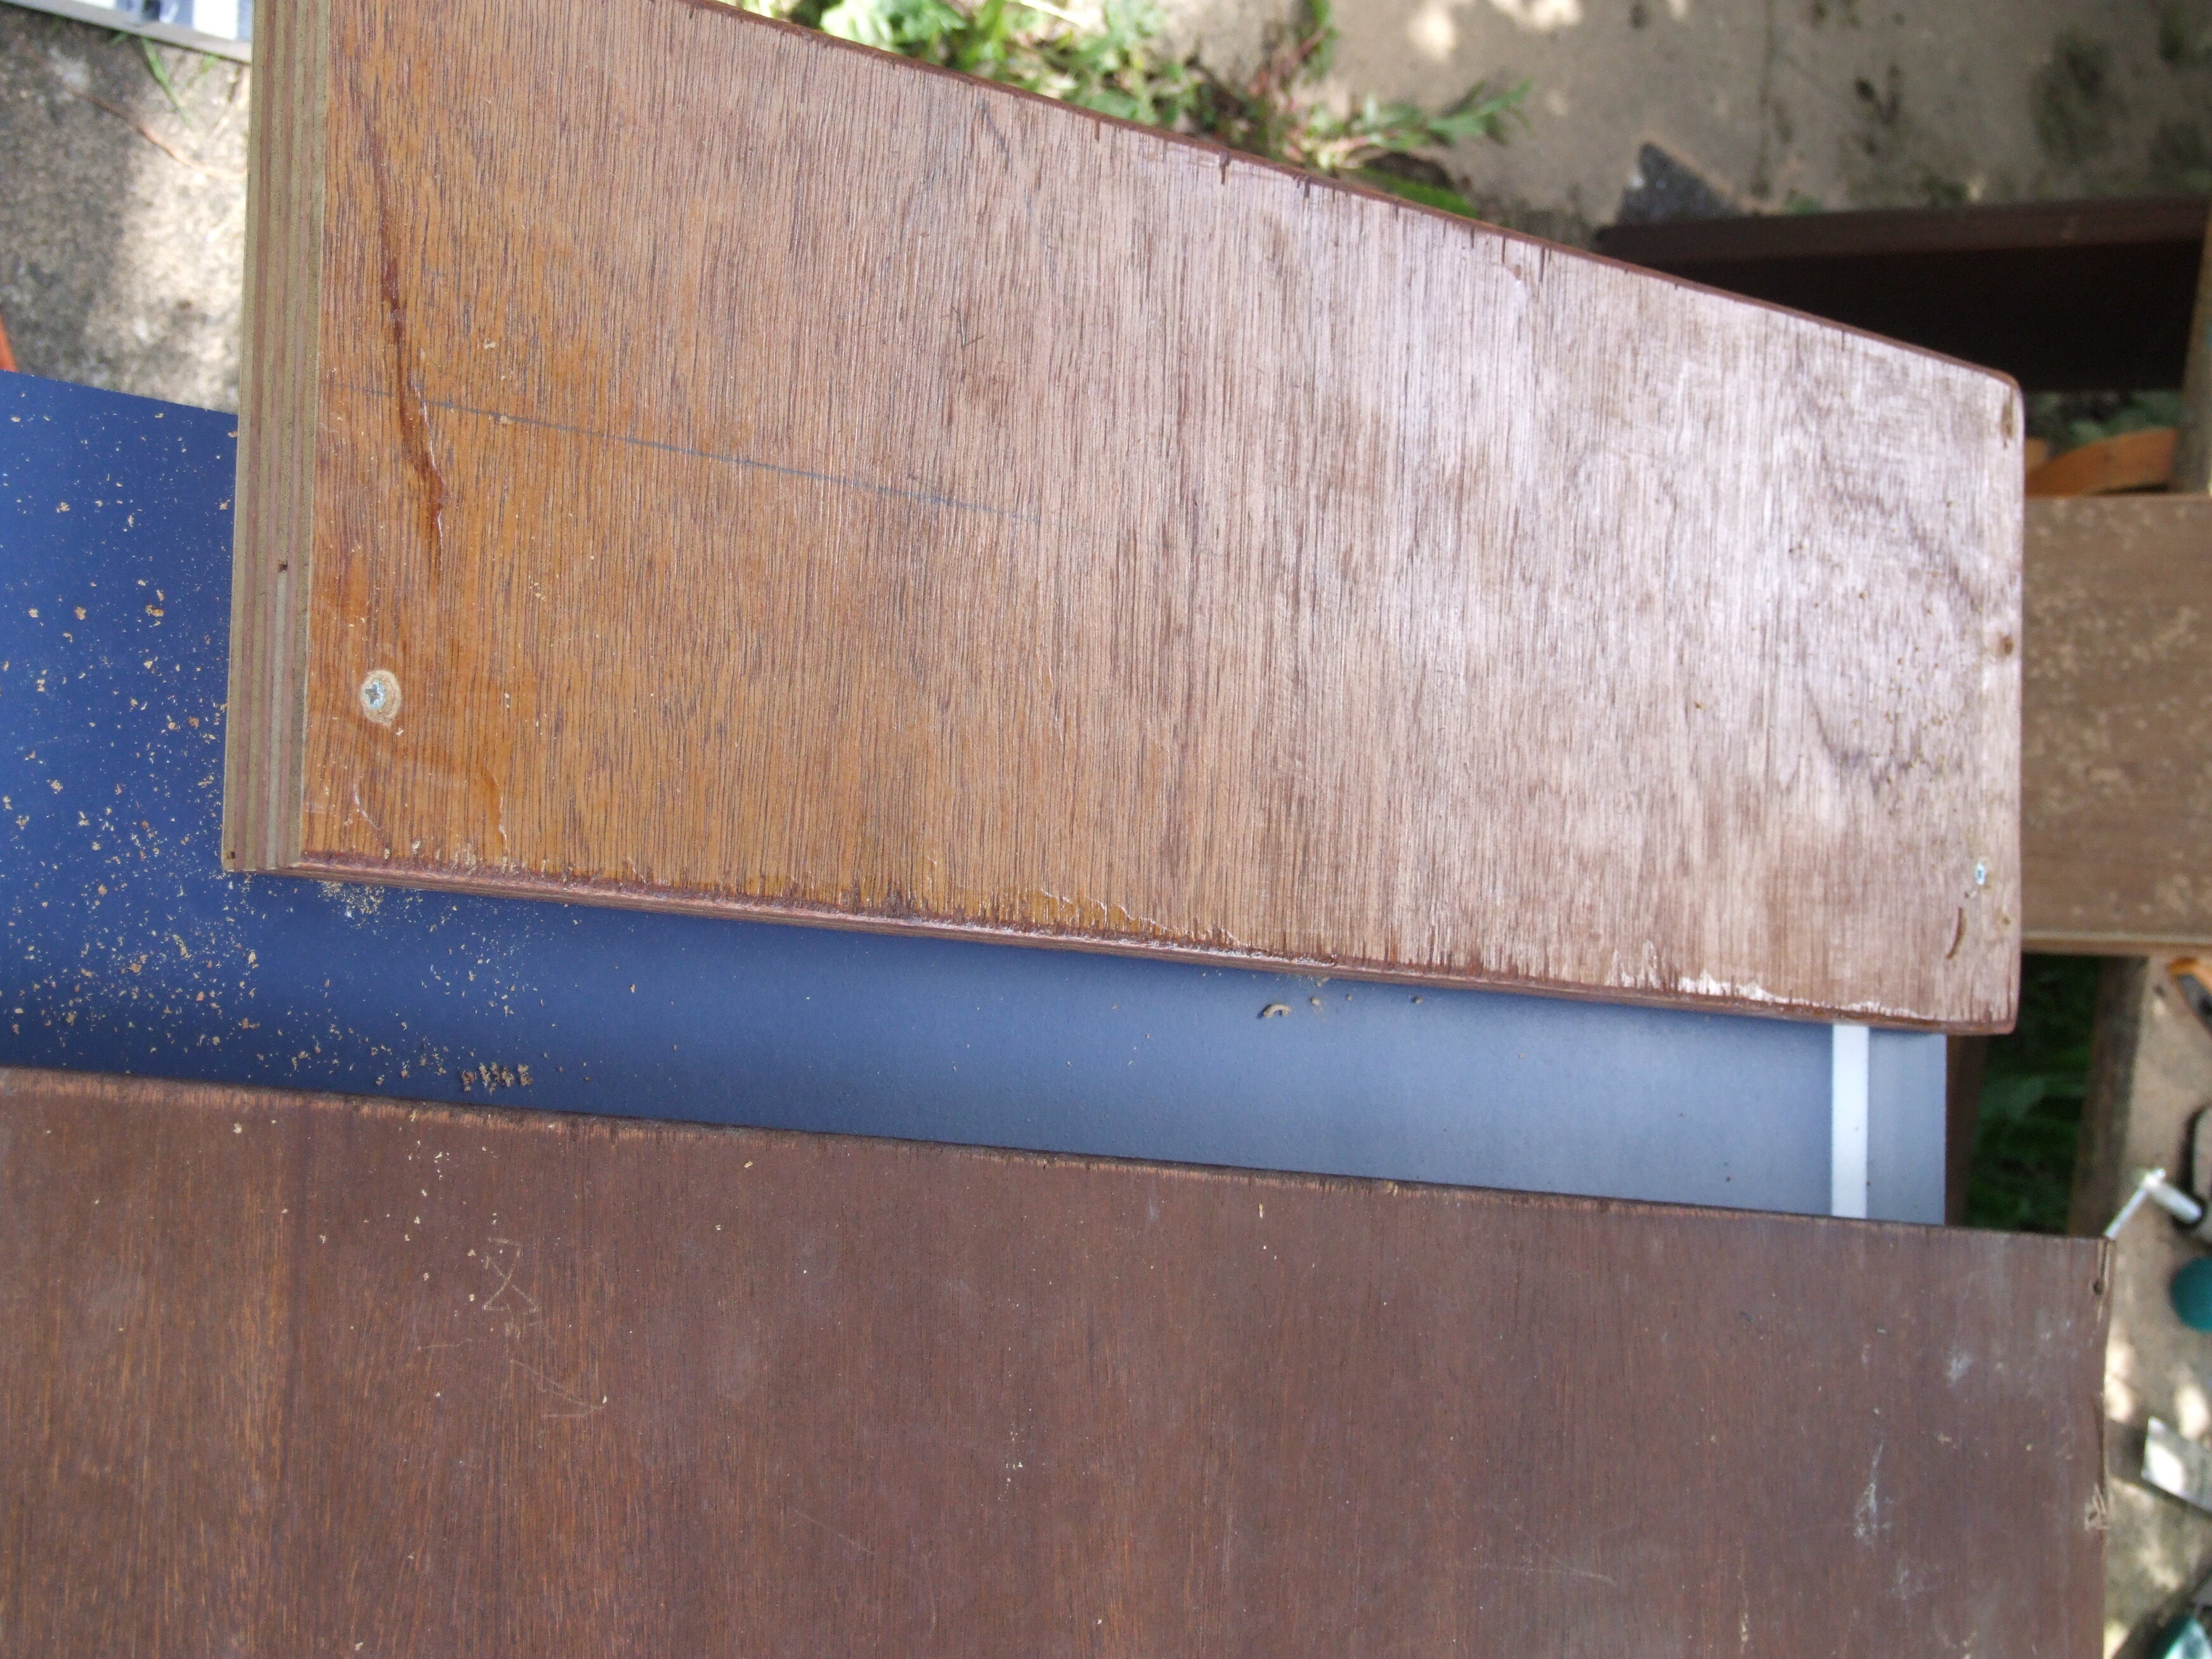
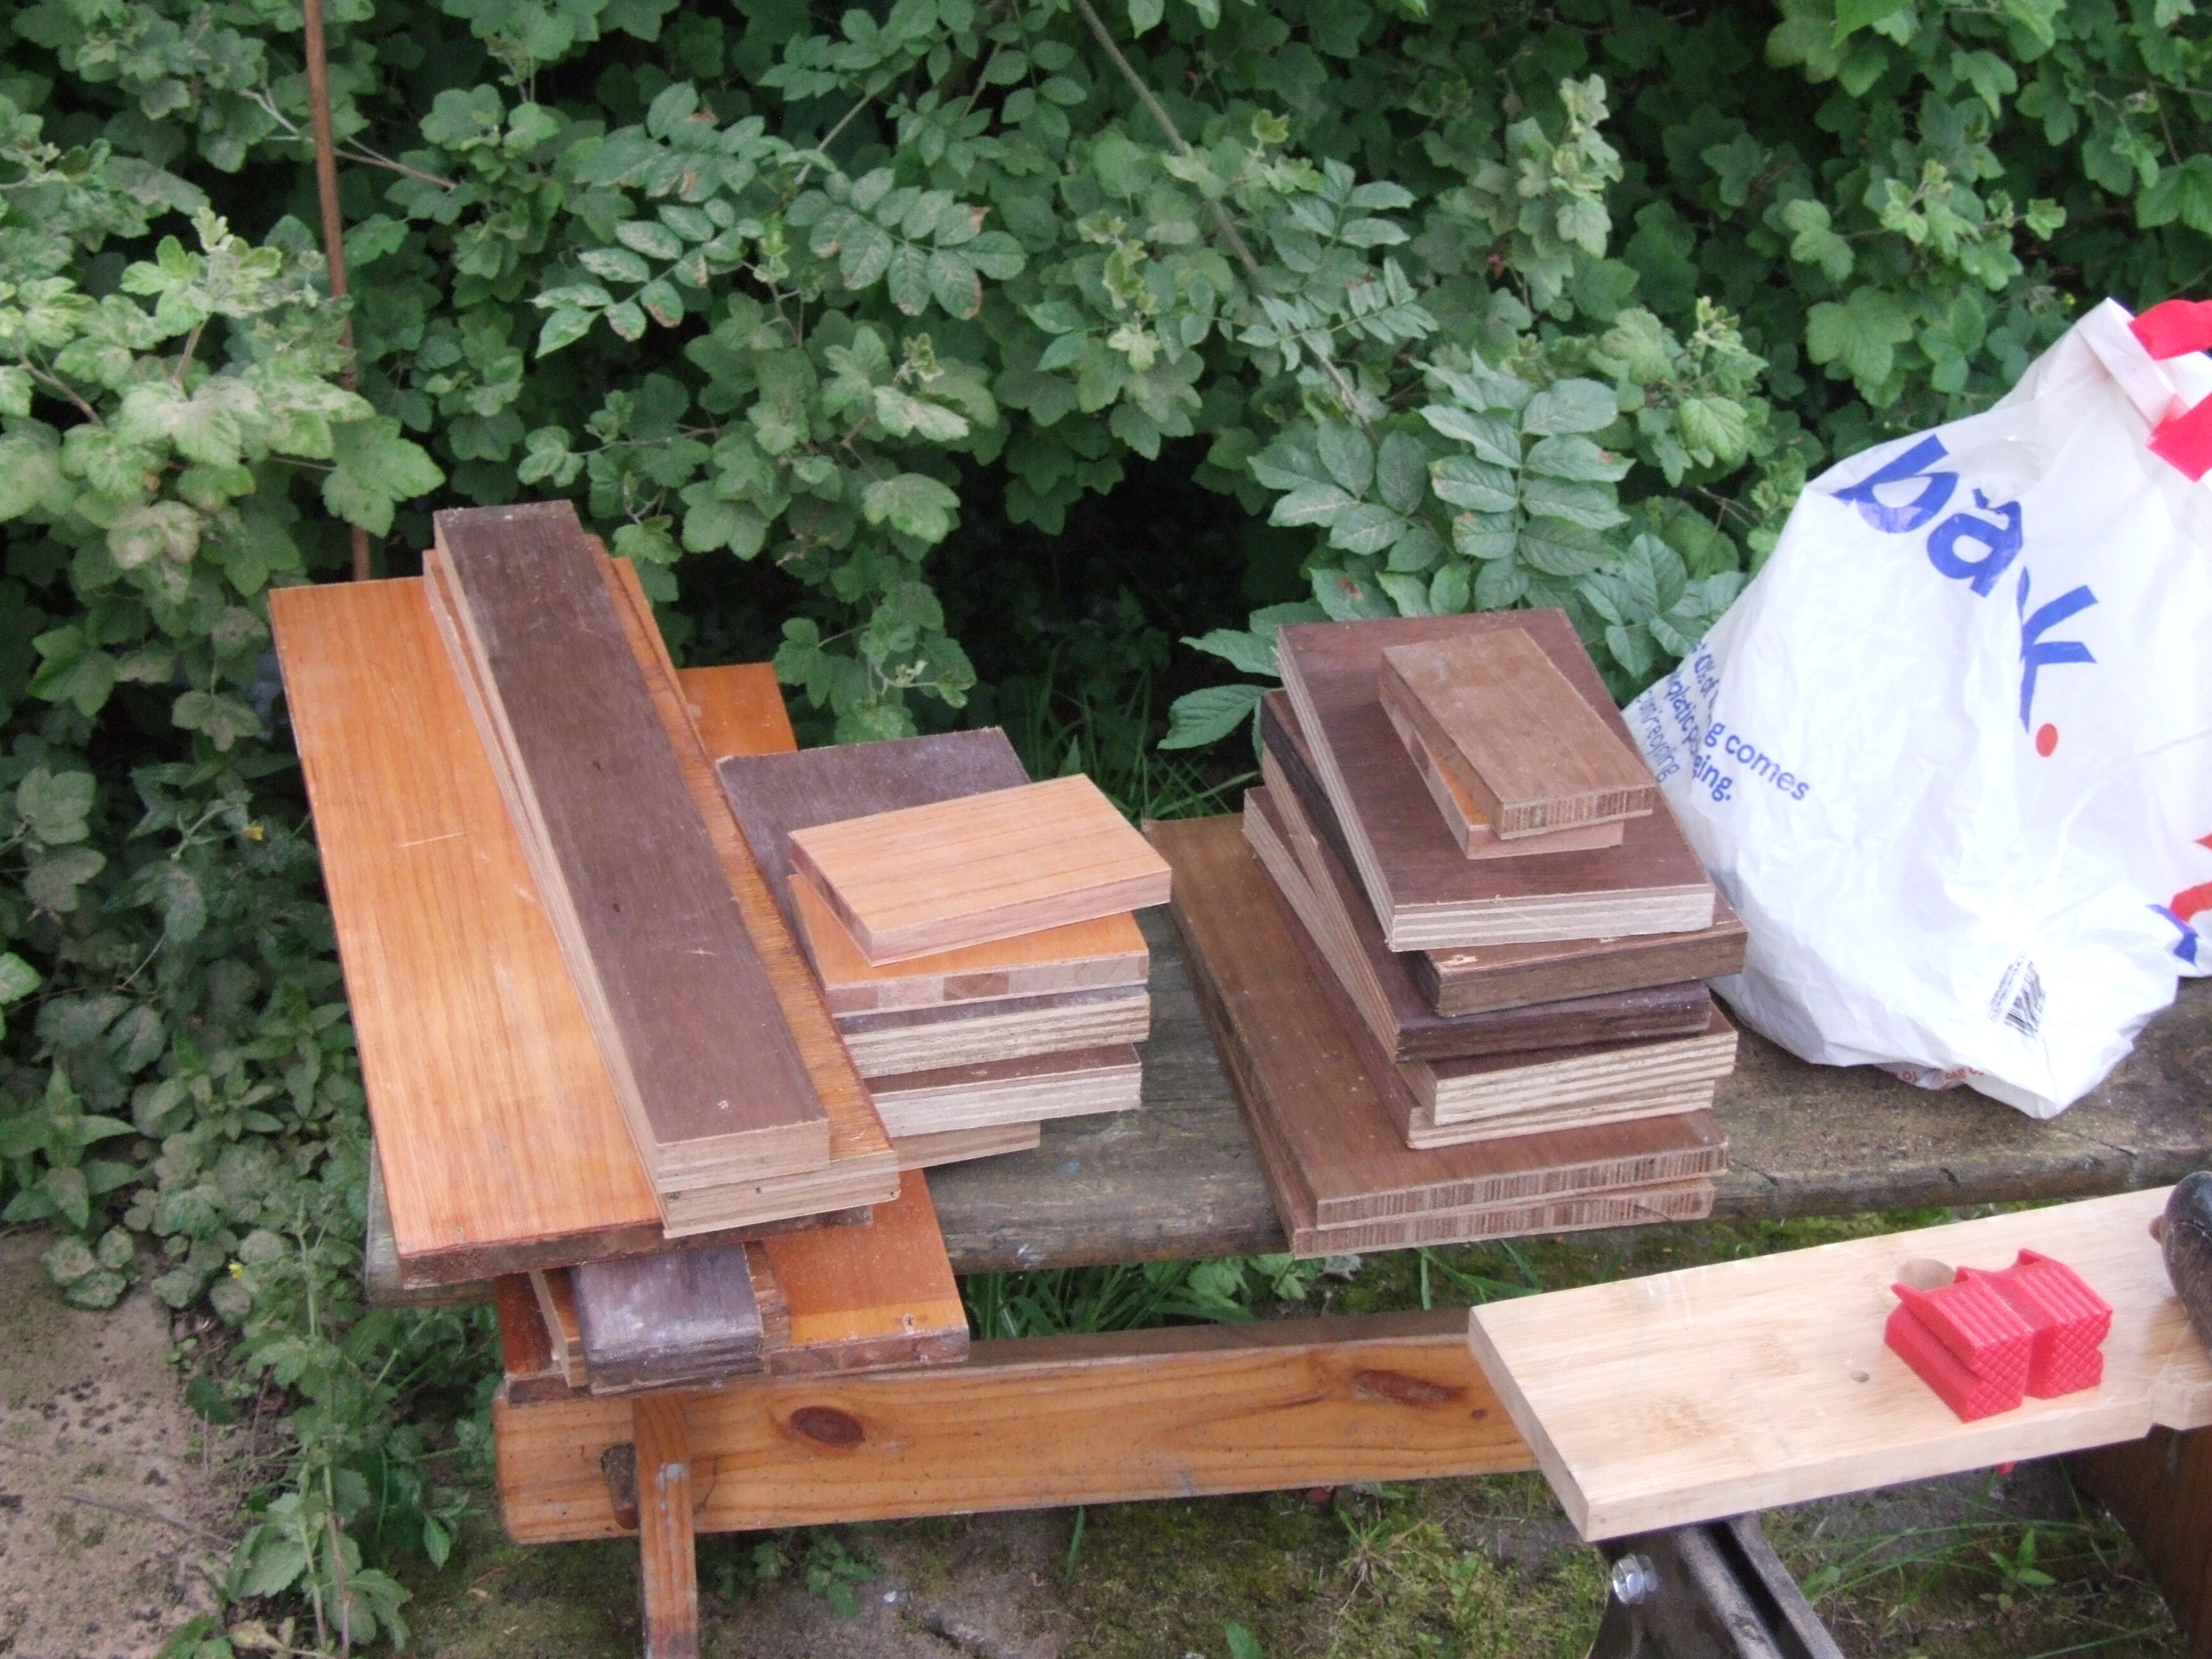
And then a lot of cutting. Despite no decent bench and minimal tools, these were all done in around an hour with a maximum error of a few millimiters in the spacers (the rest needed no adjustment):
Drill the axle holes with a 4mm pilot. I’m getting better at drilling square: the overall error was easily corrected with a round file.
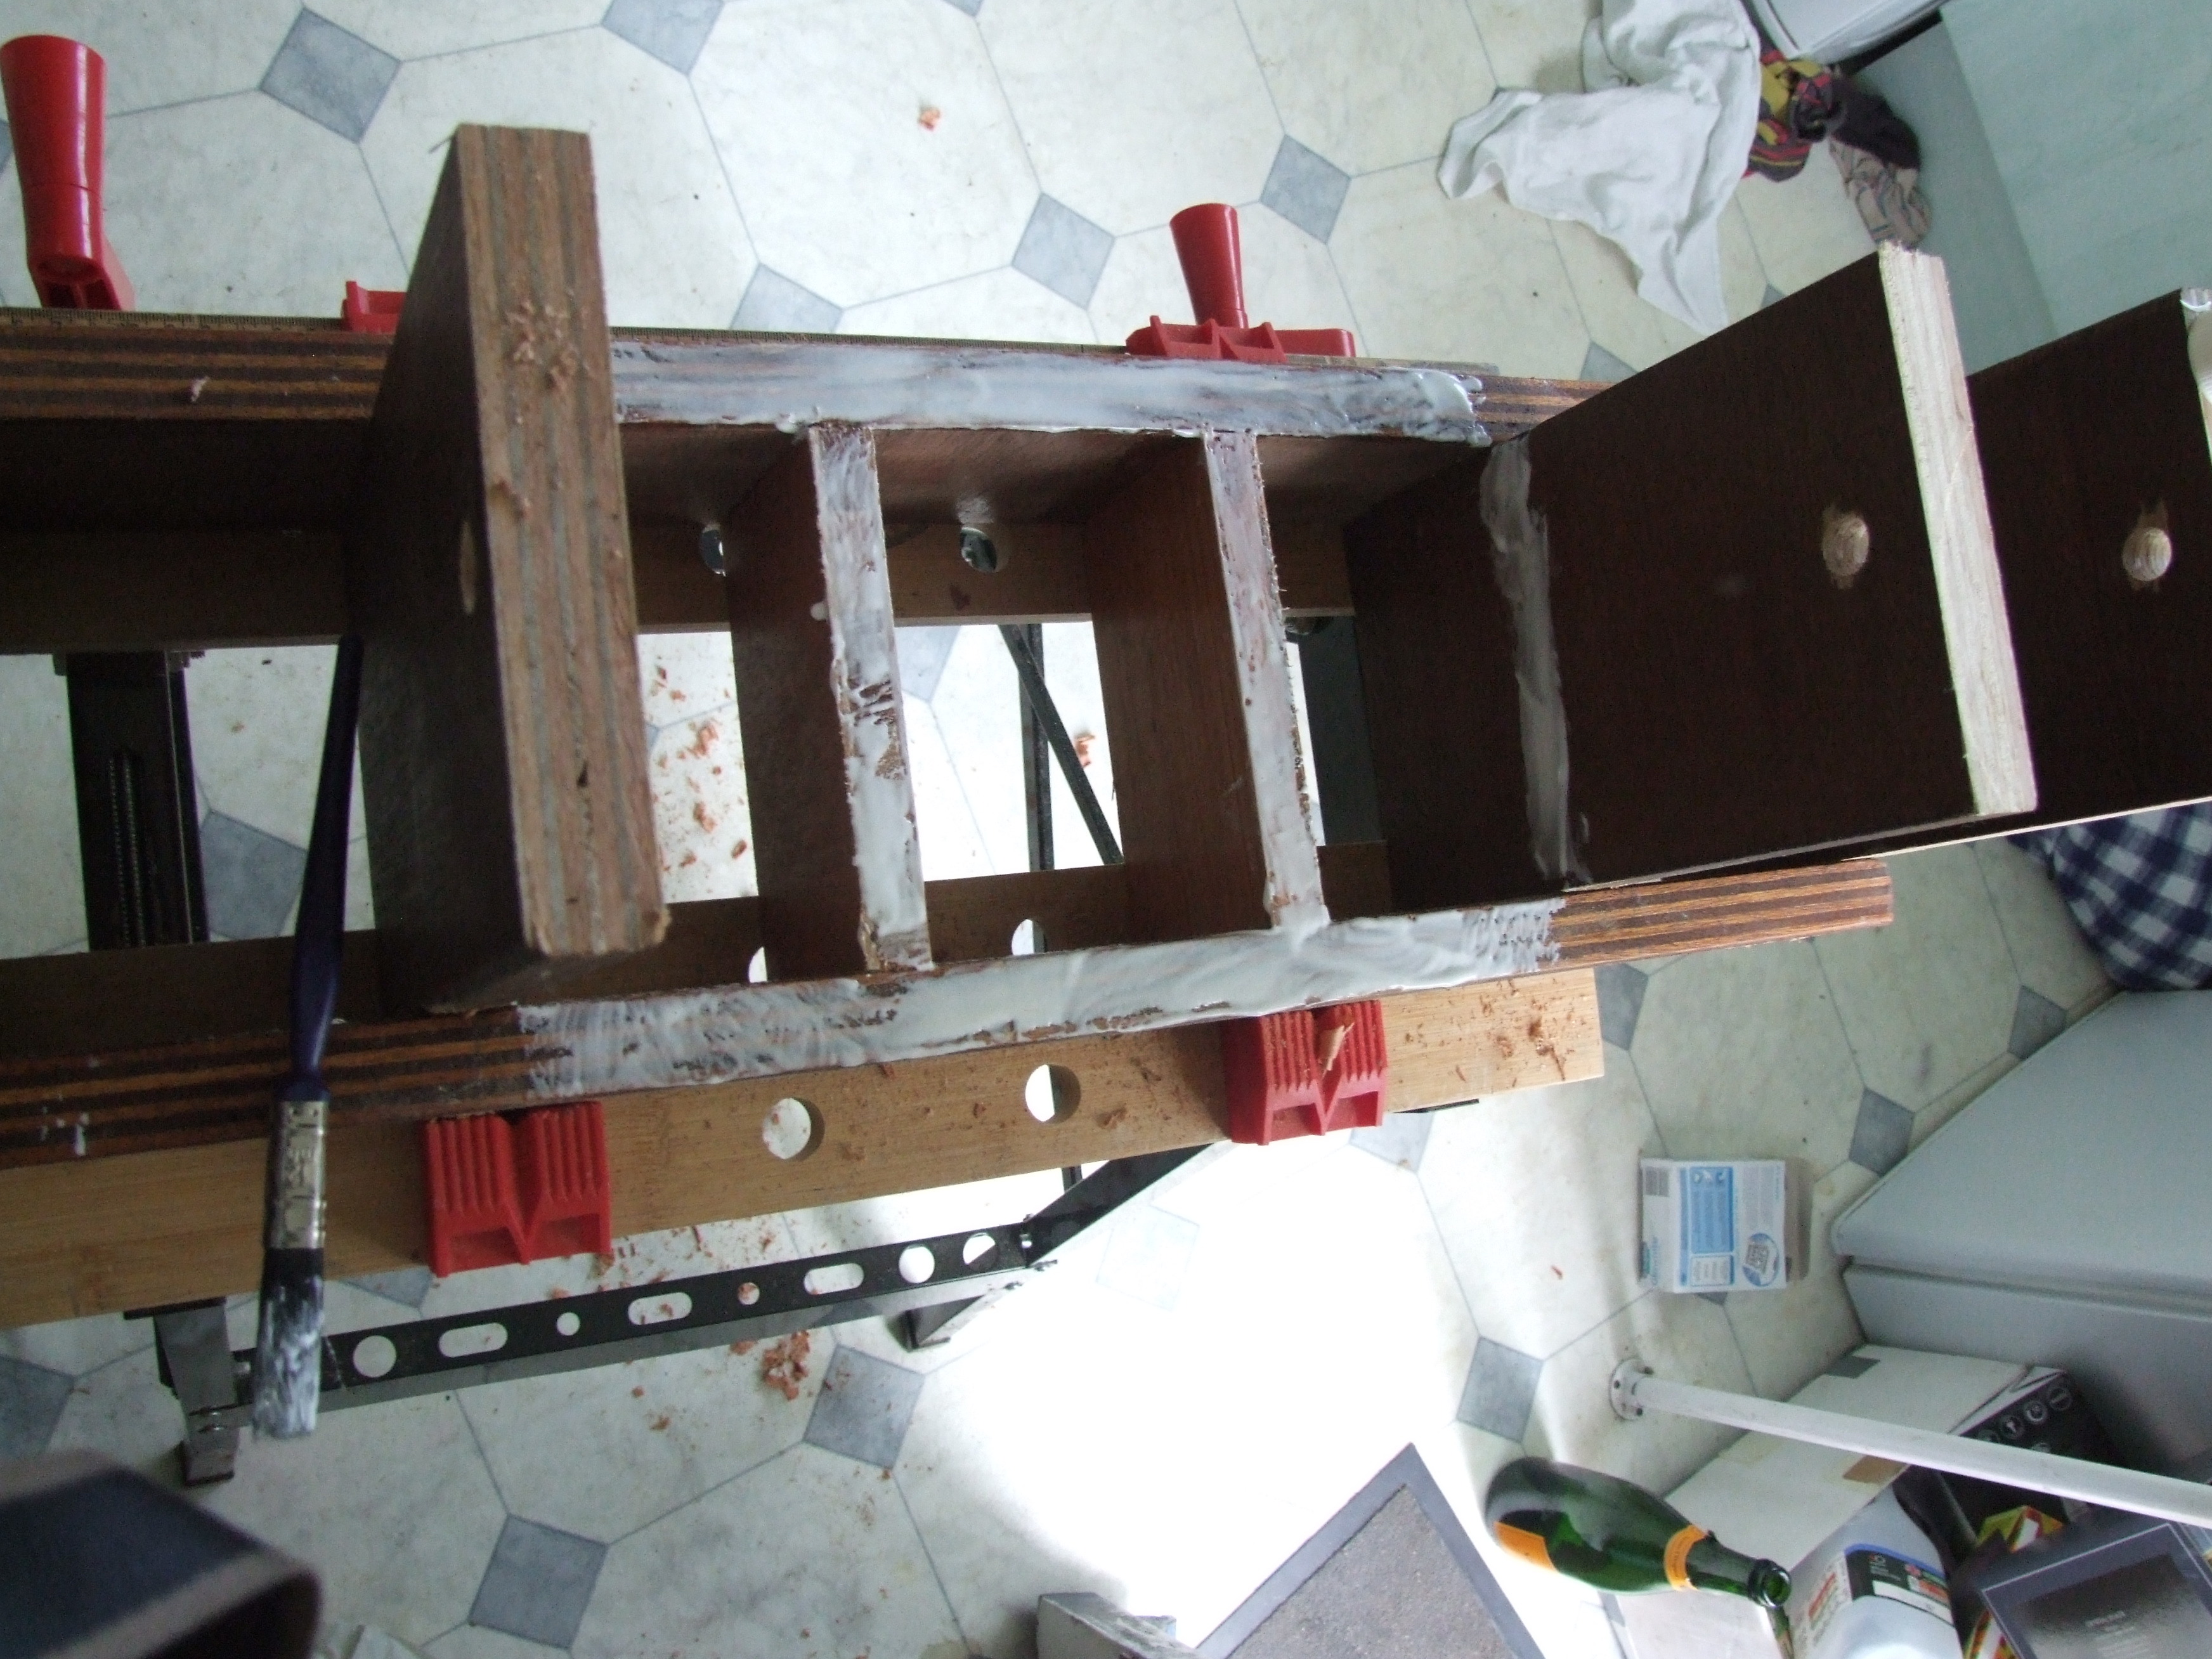
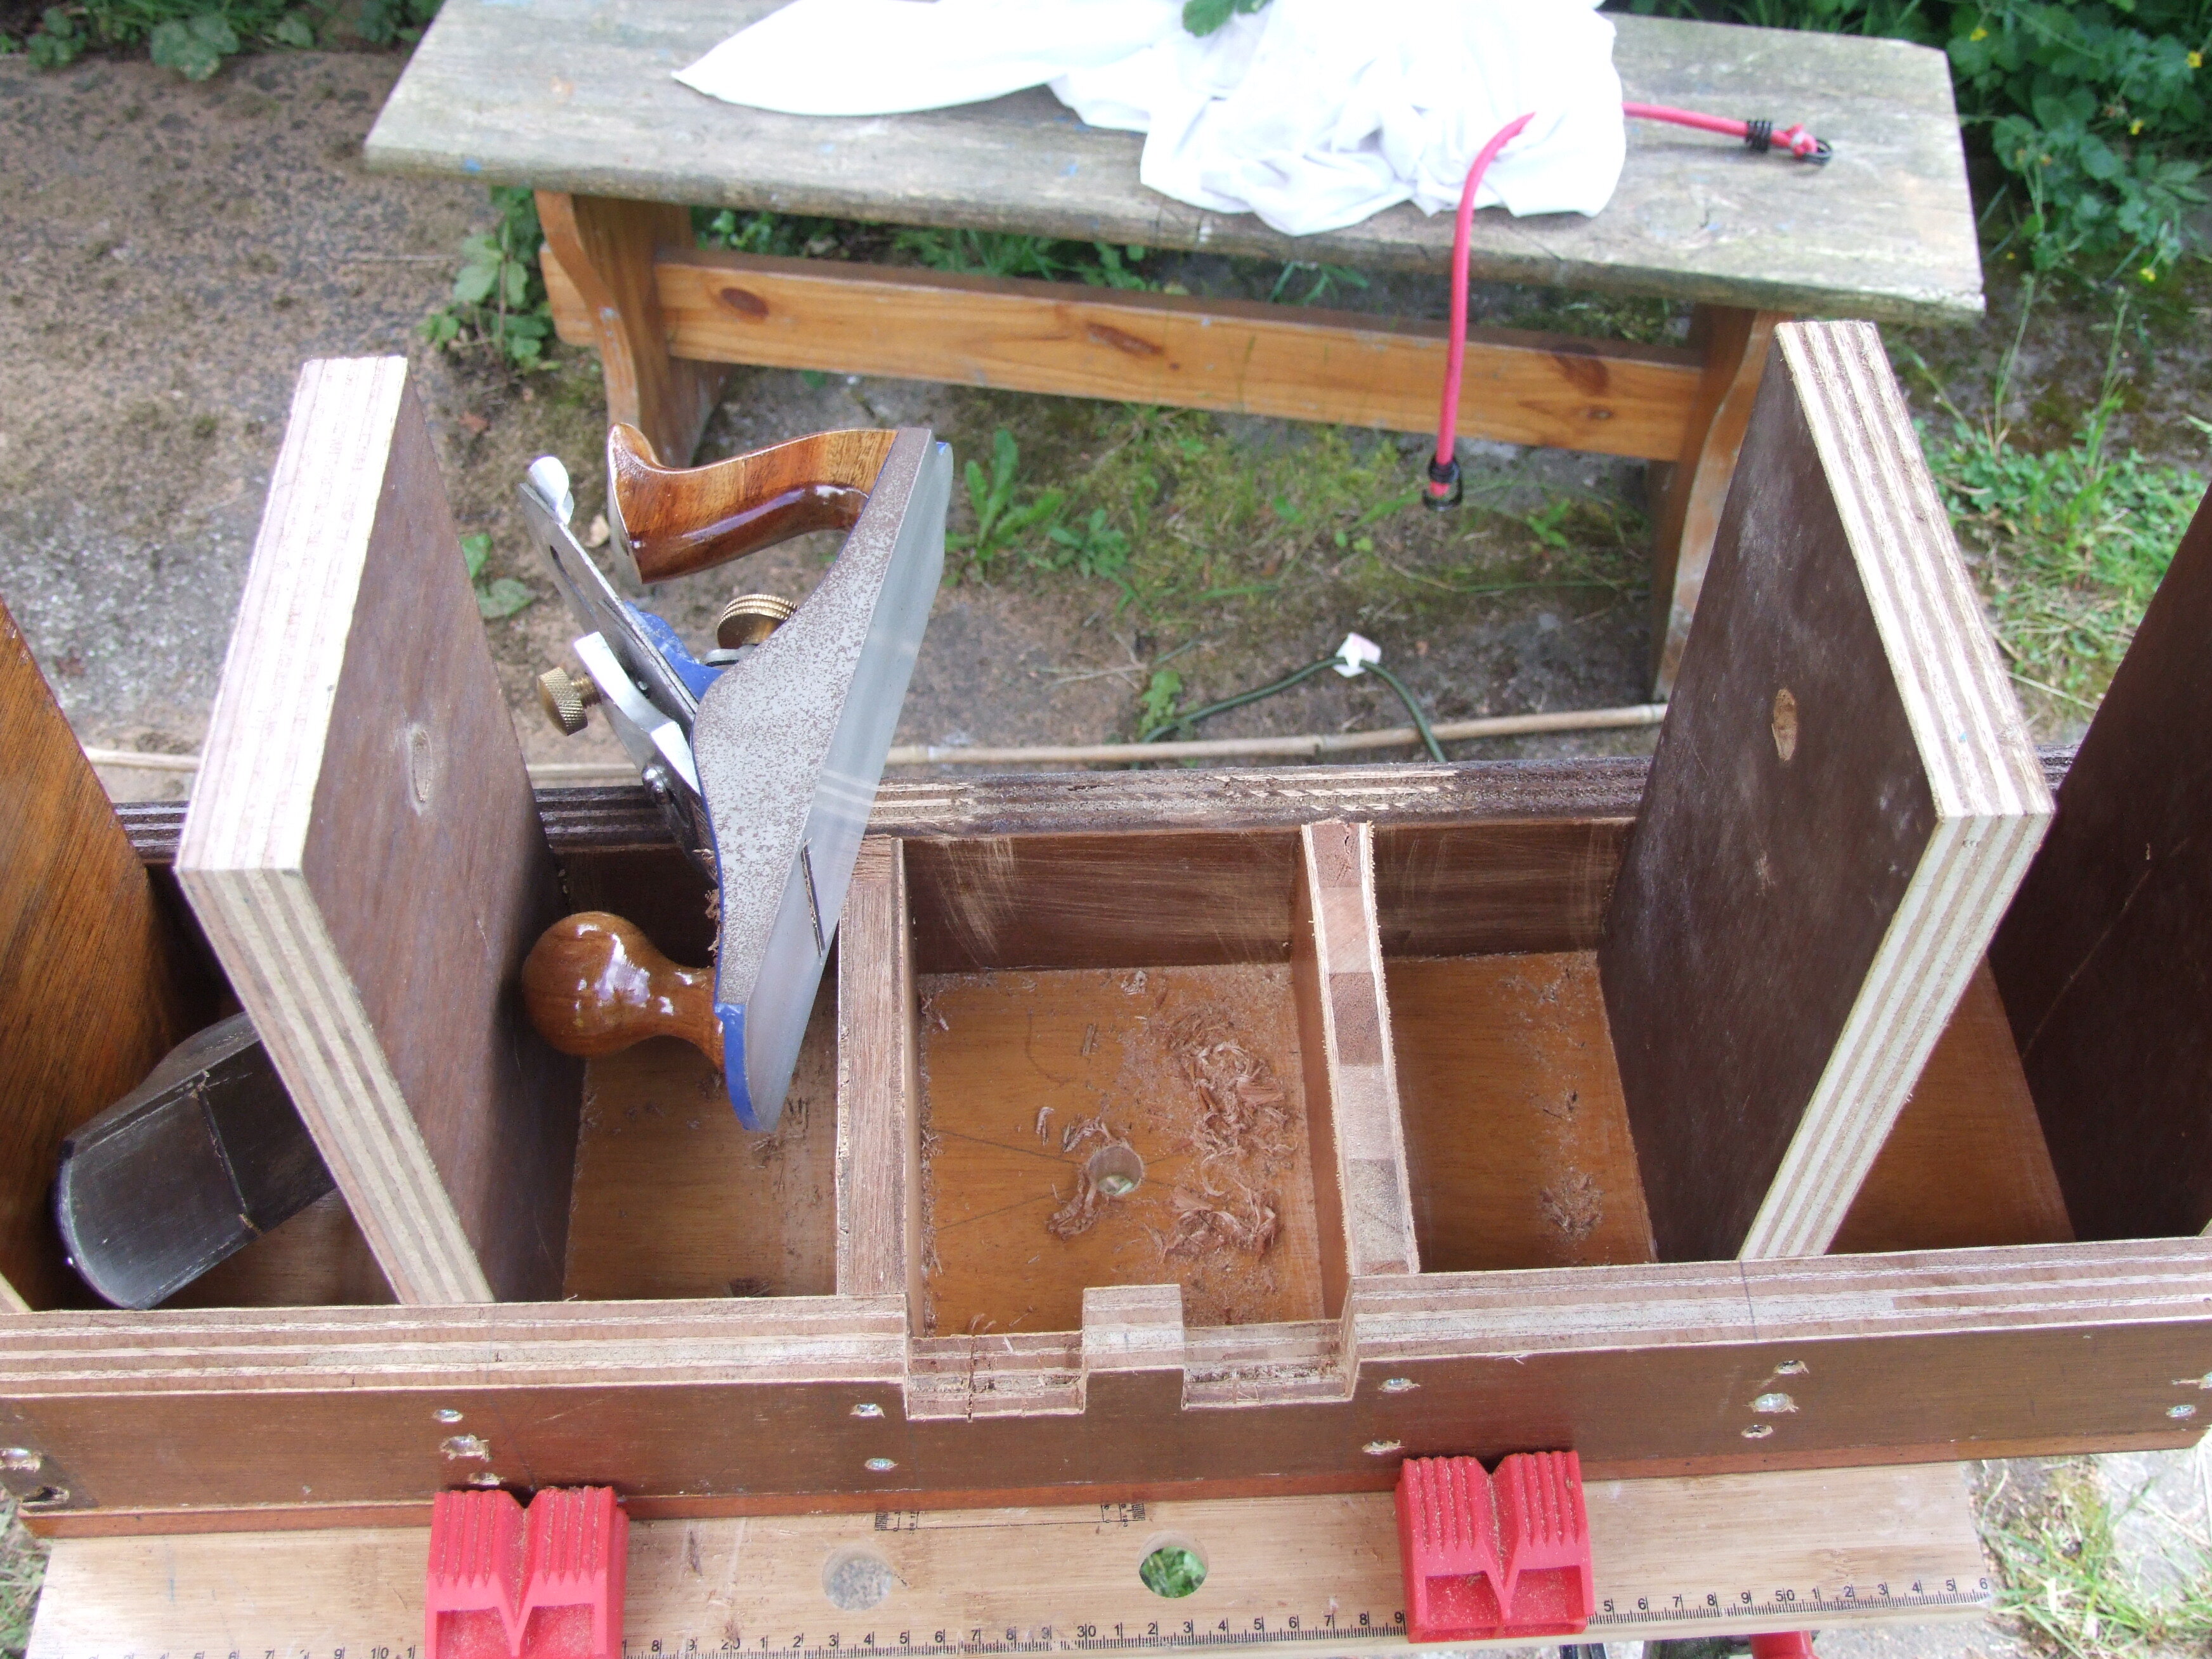
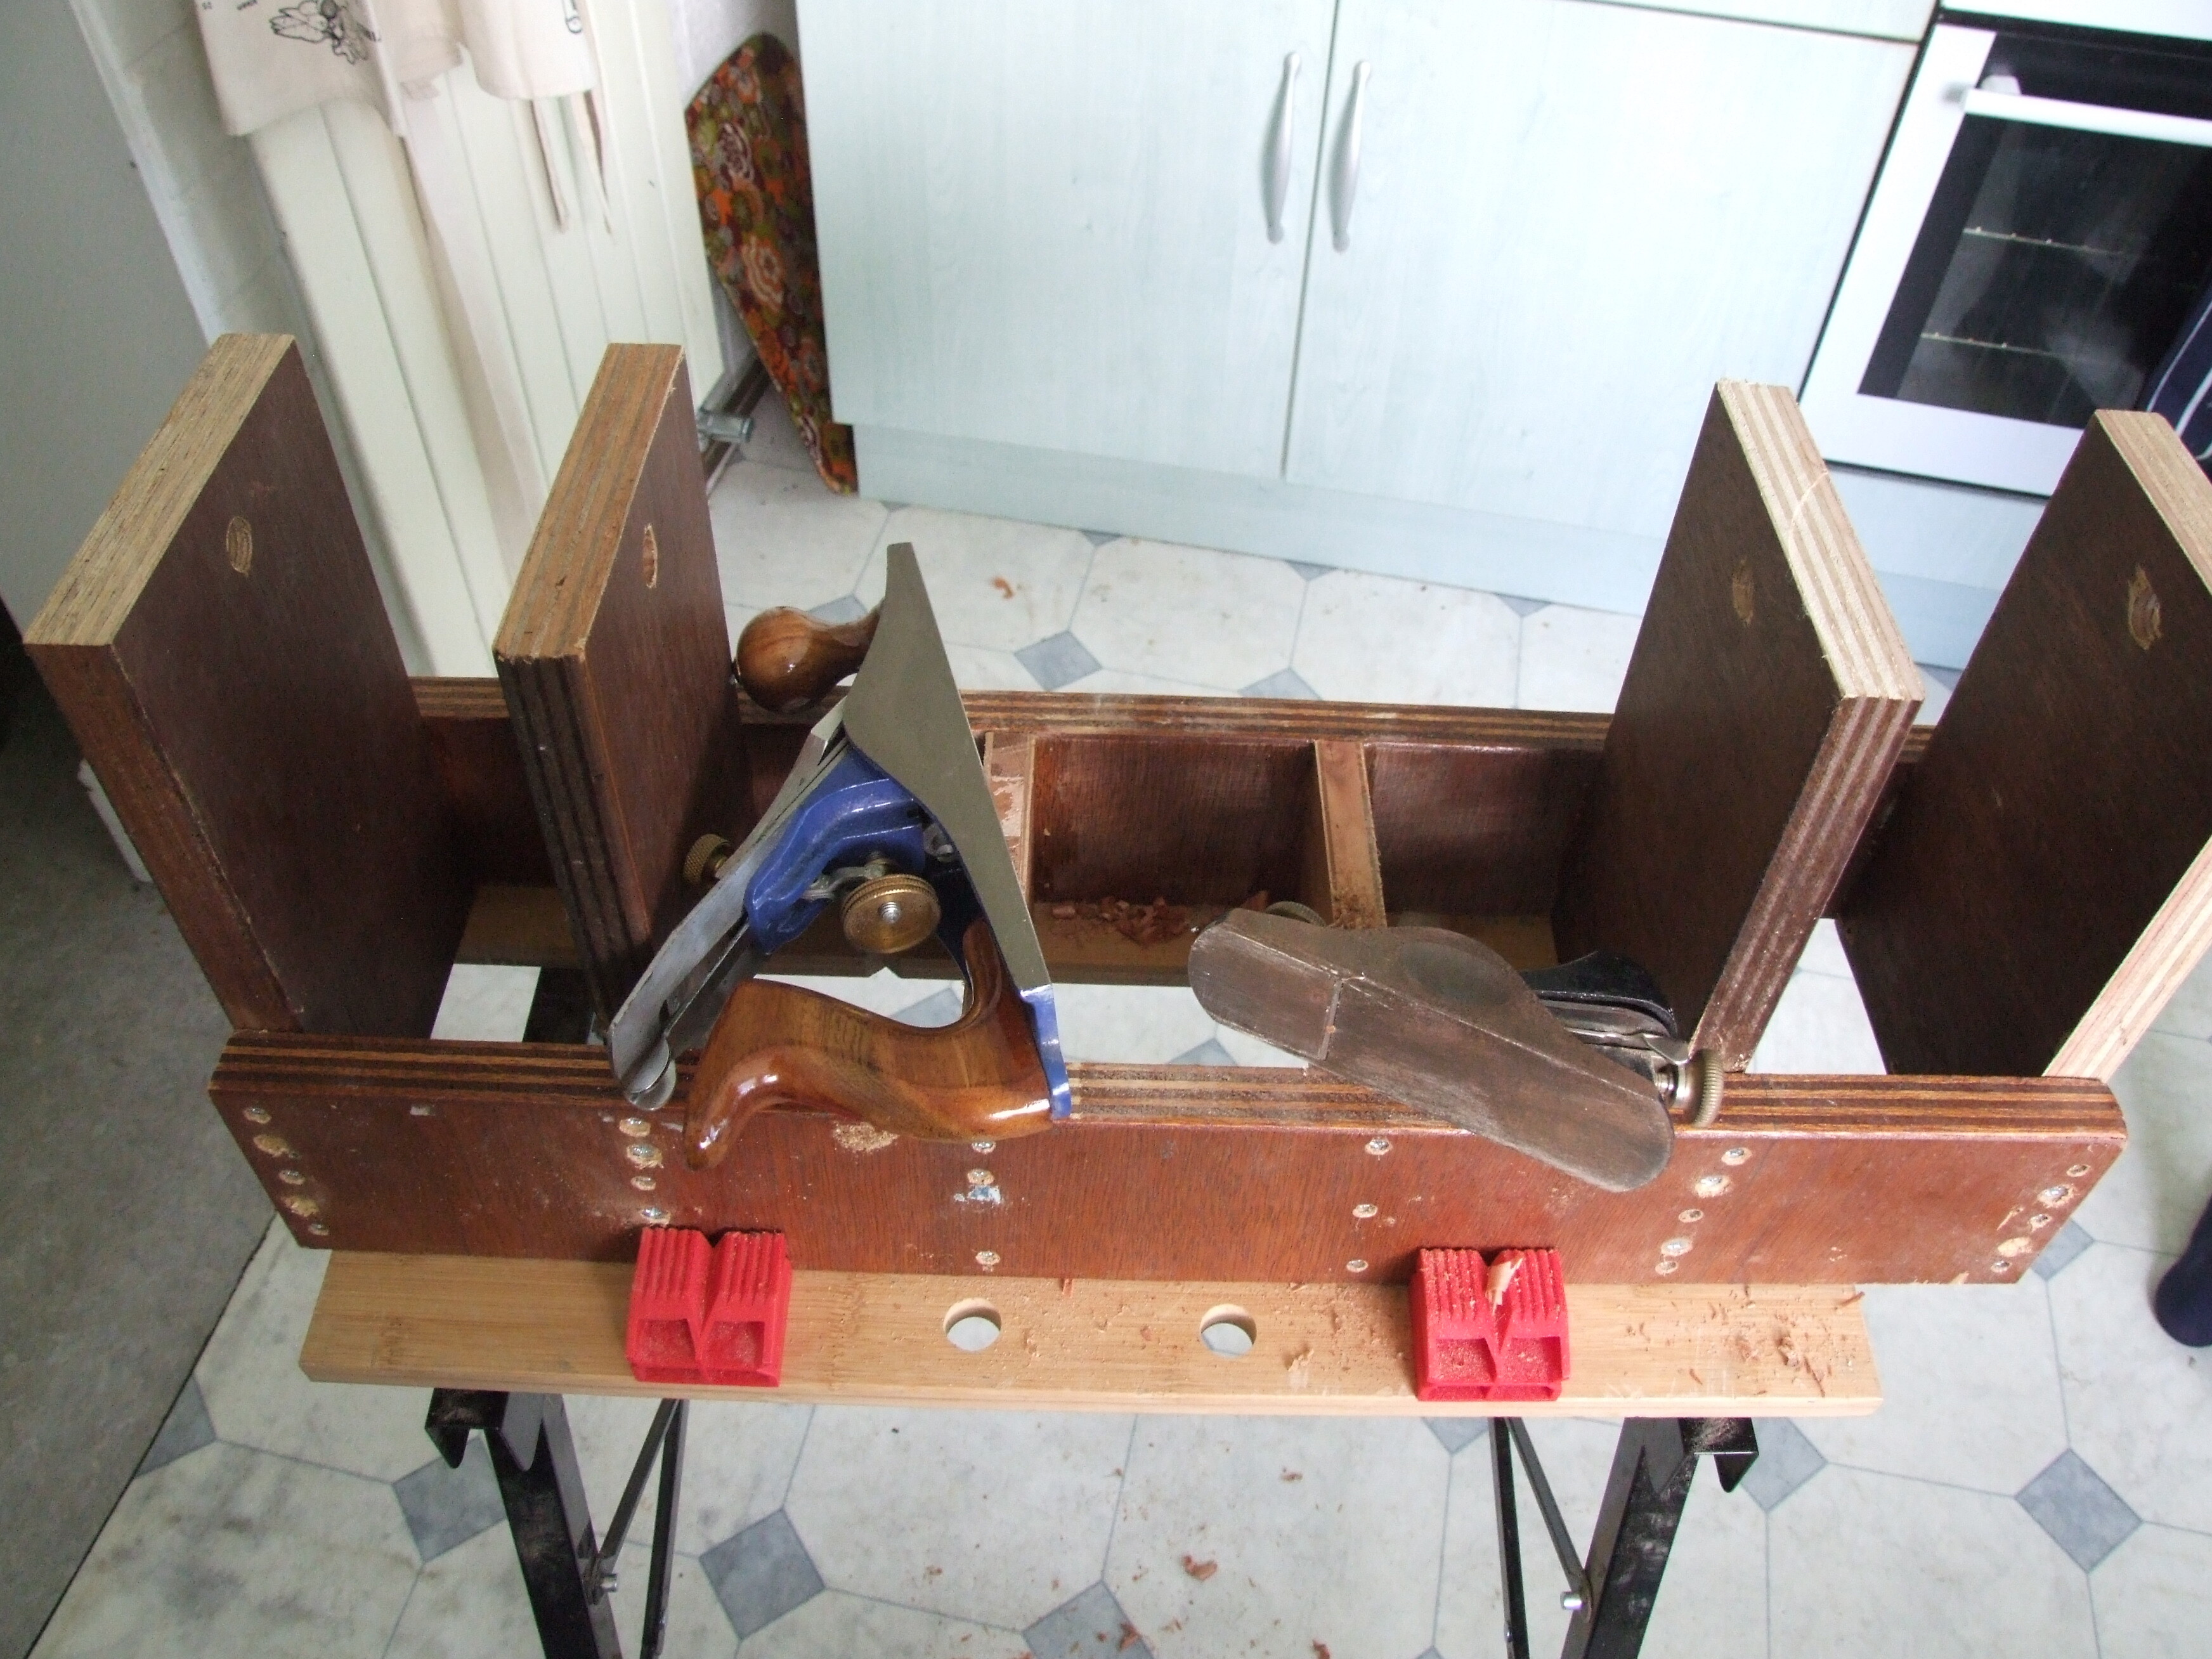
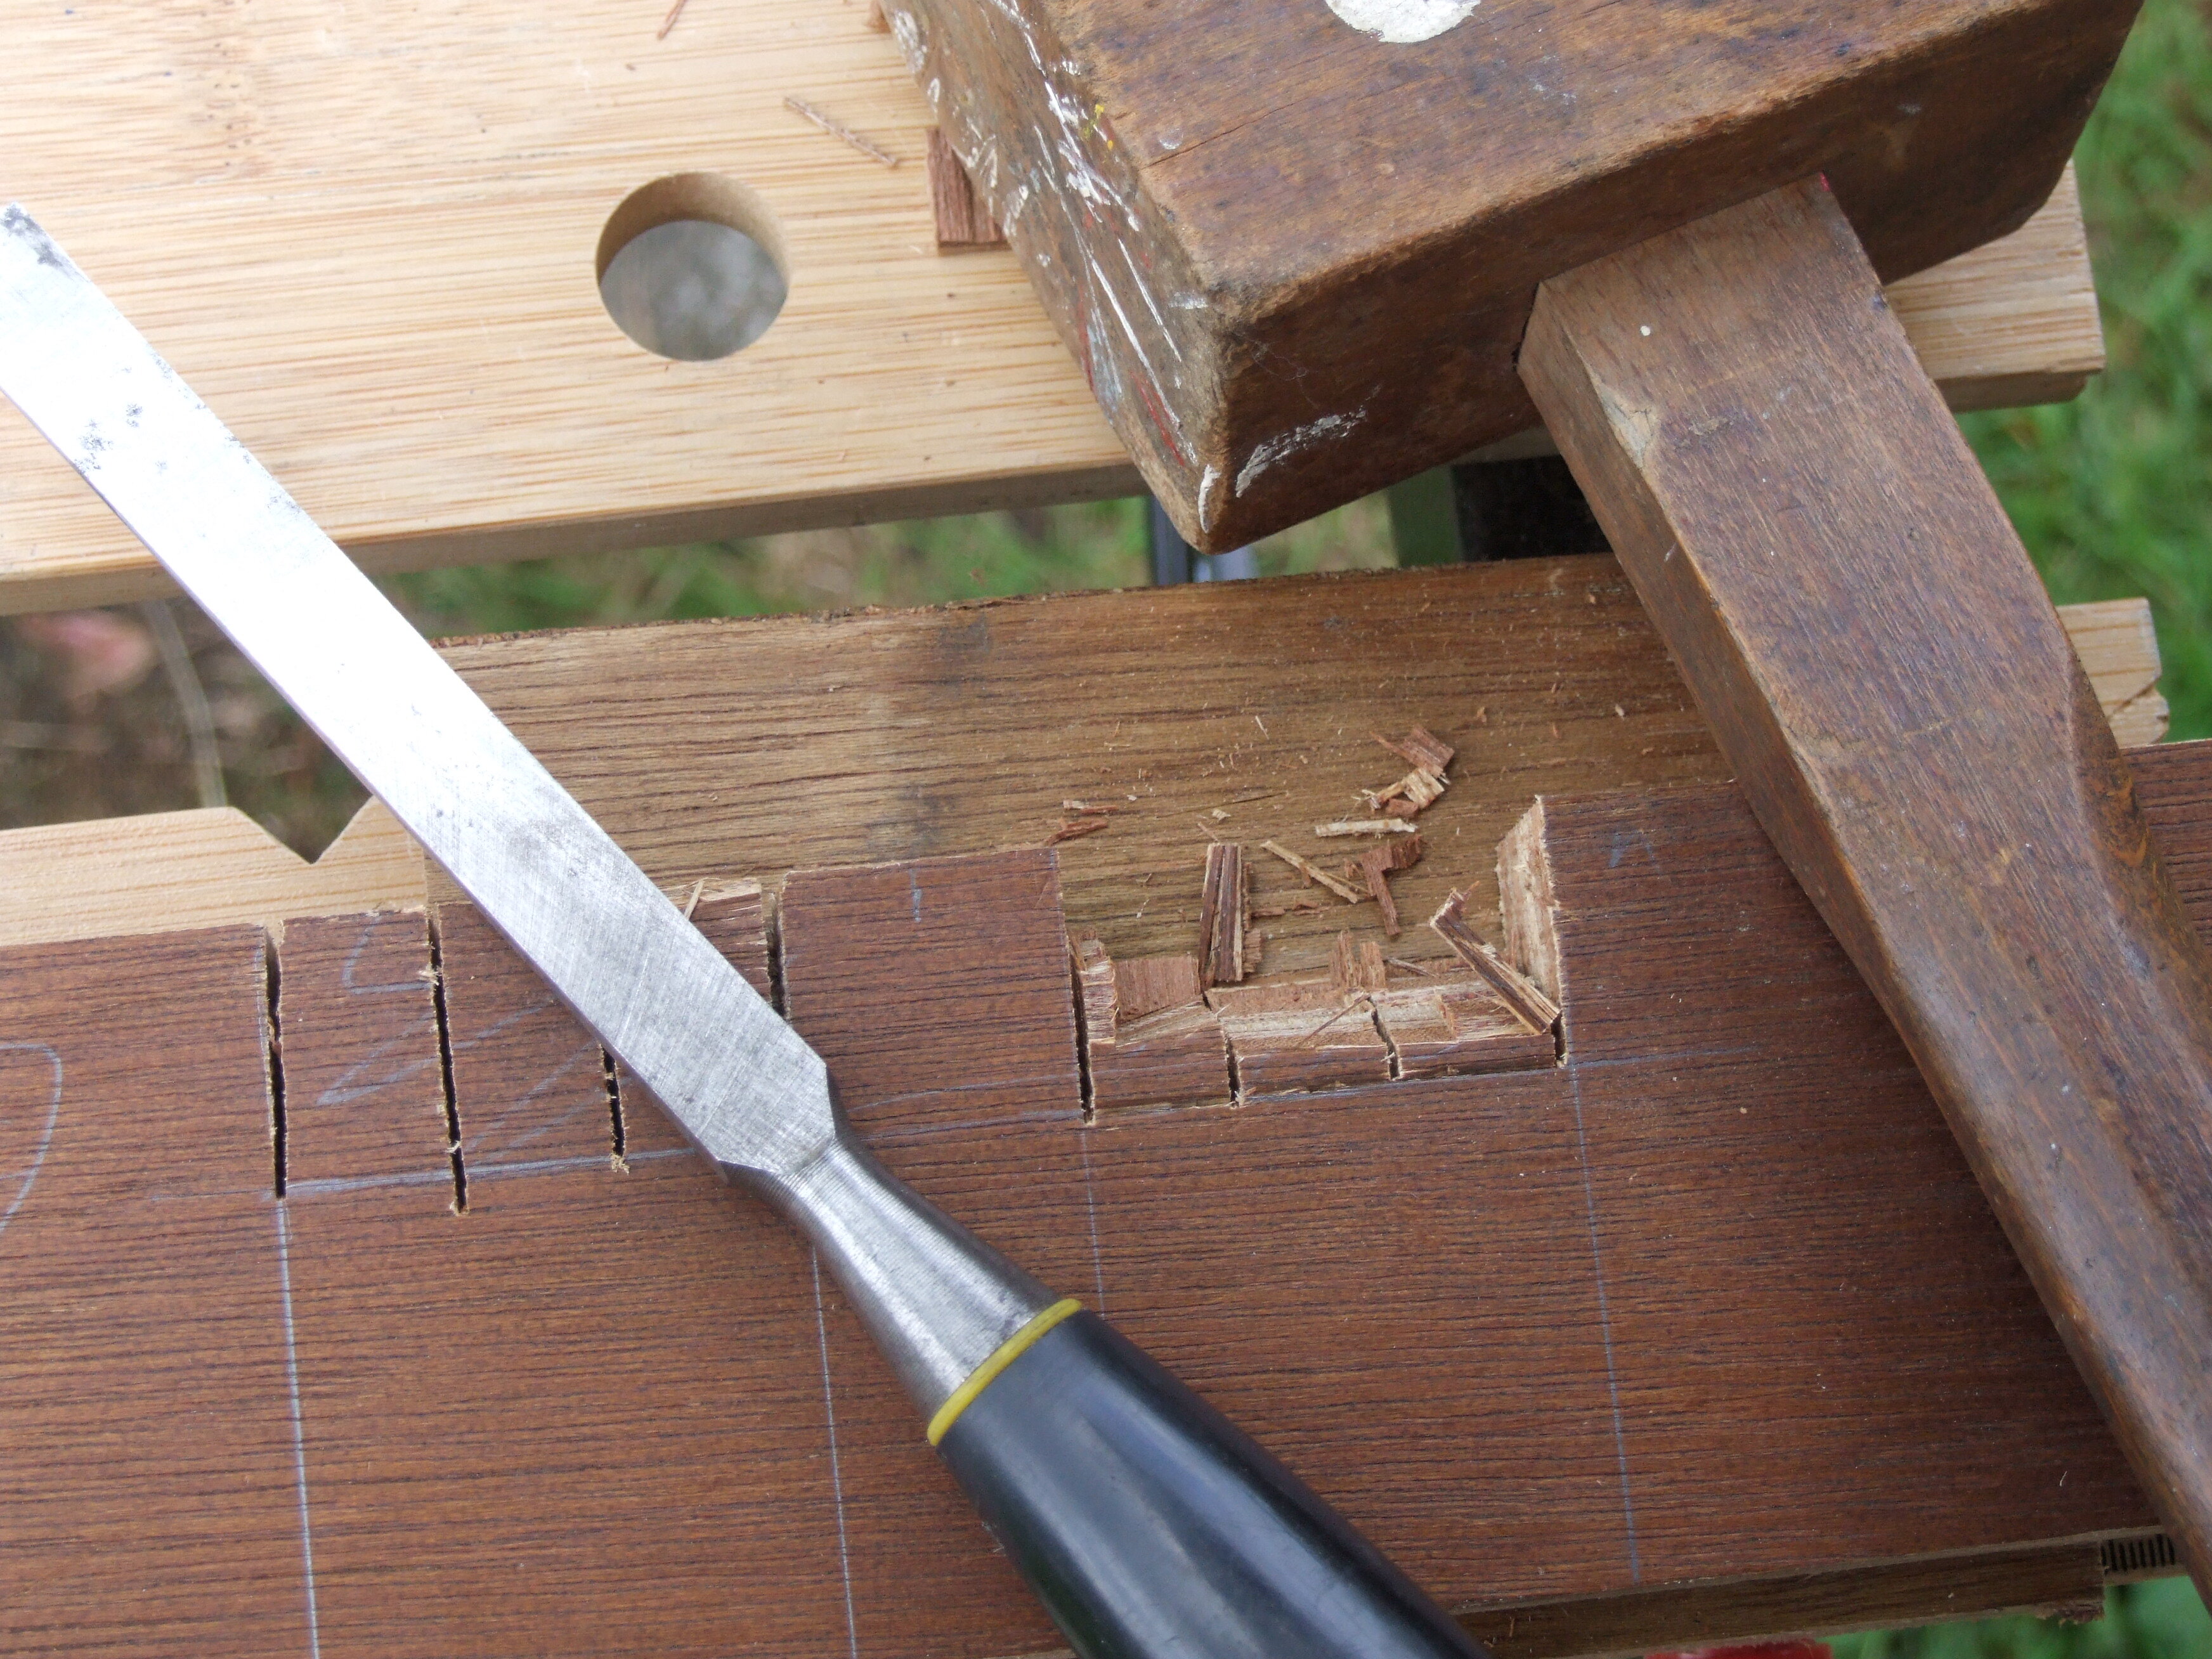
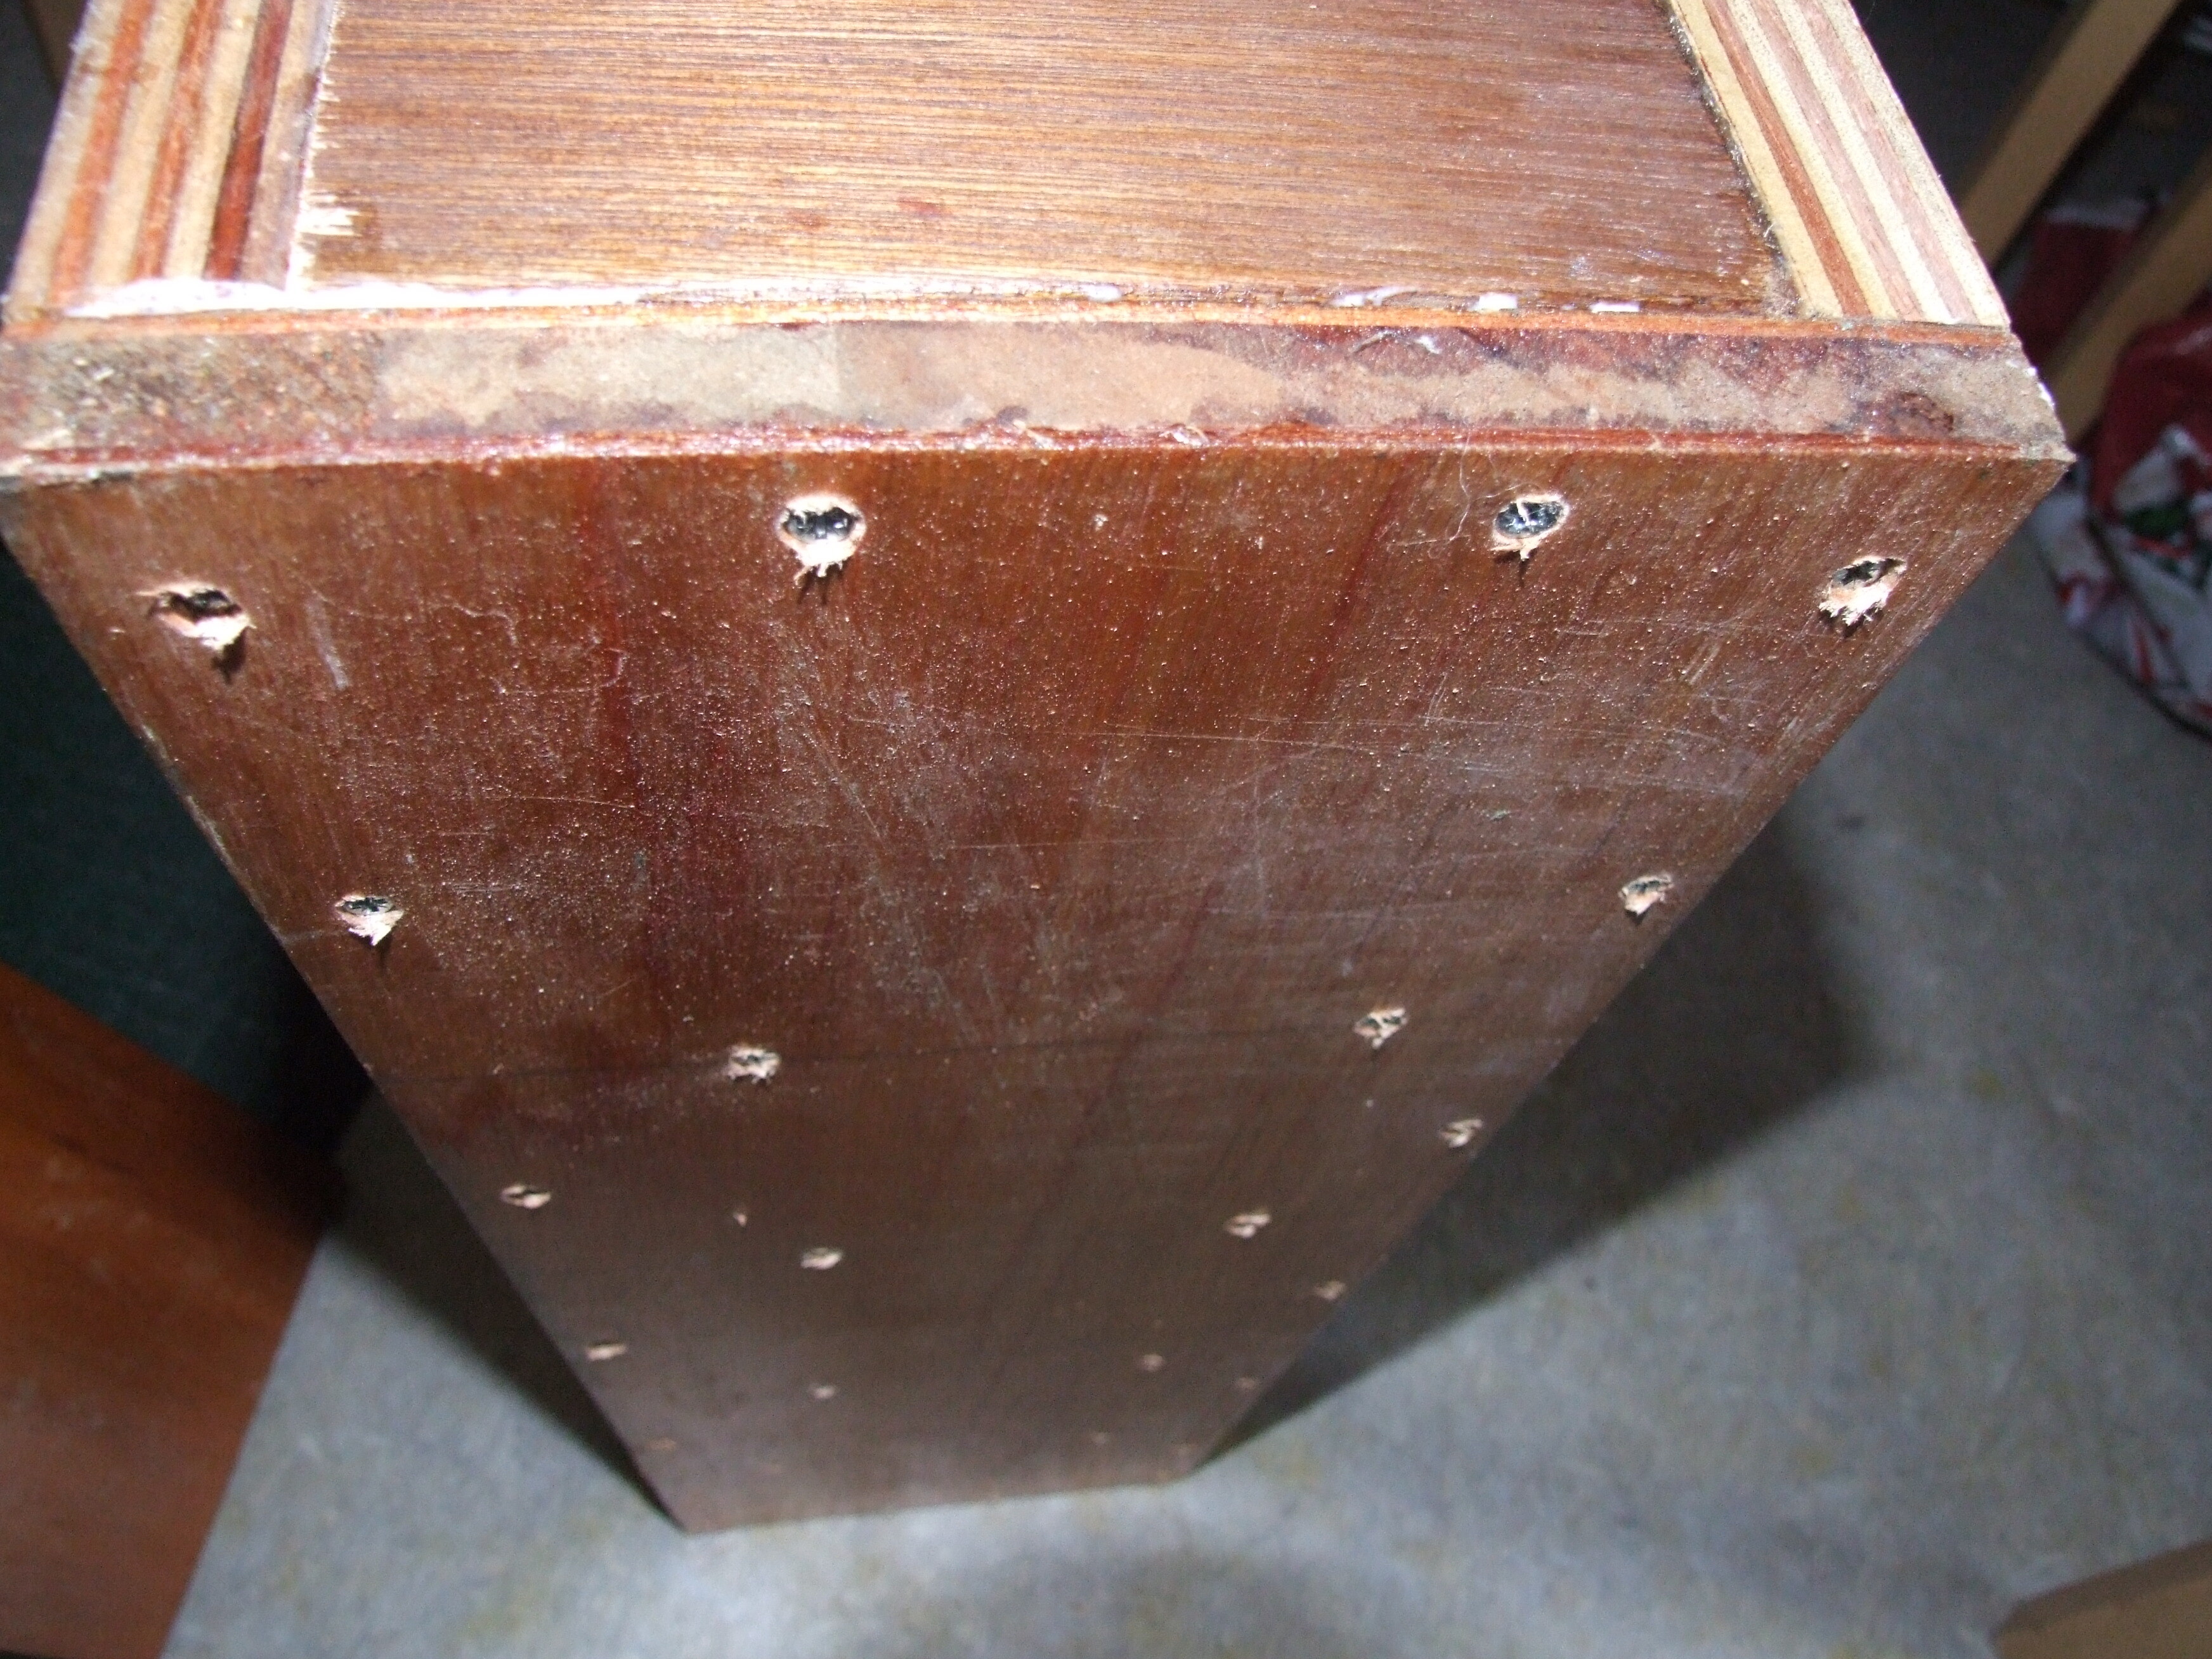
Construction was just glued and screwed. The spacers needed planing before the inside would fit on.
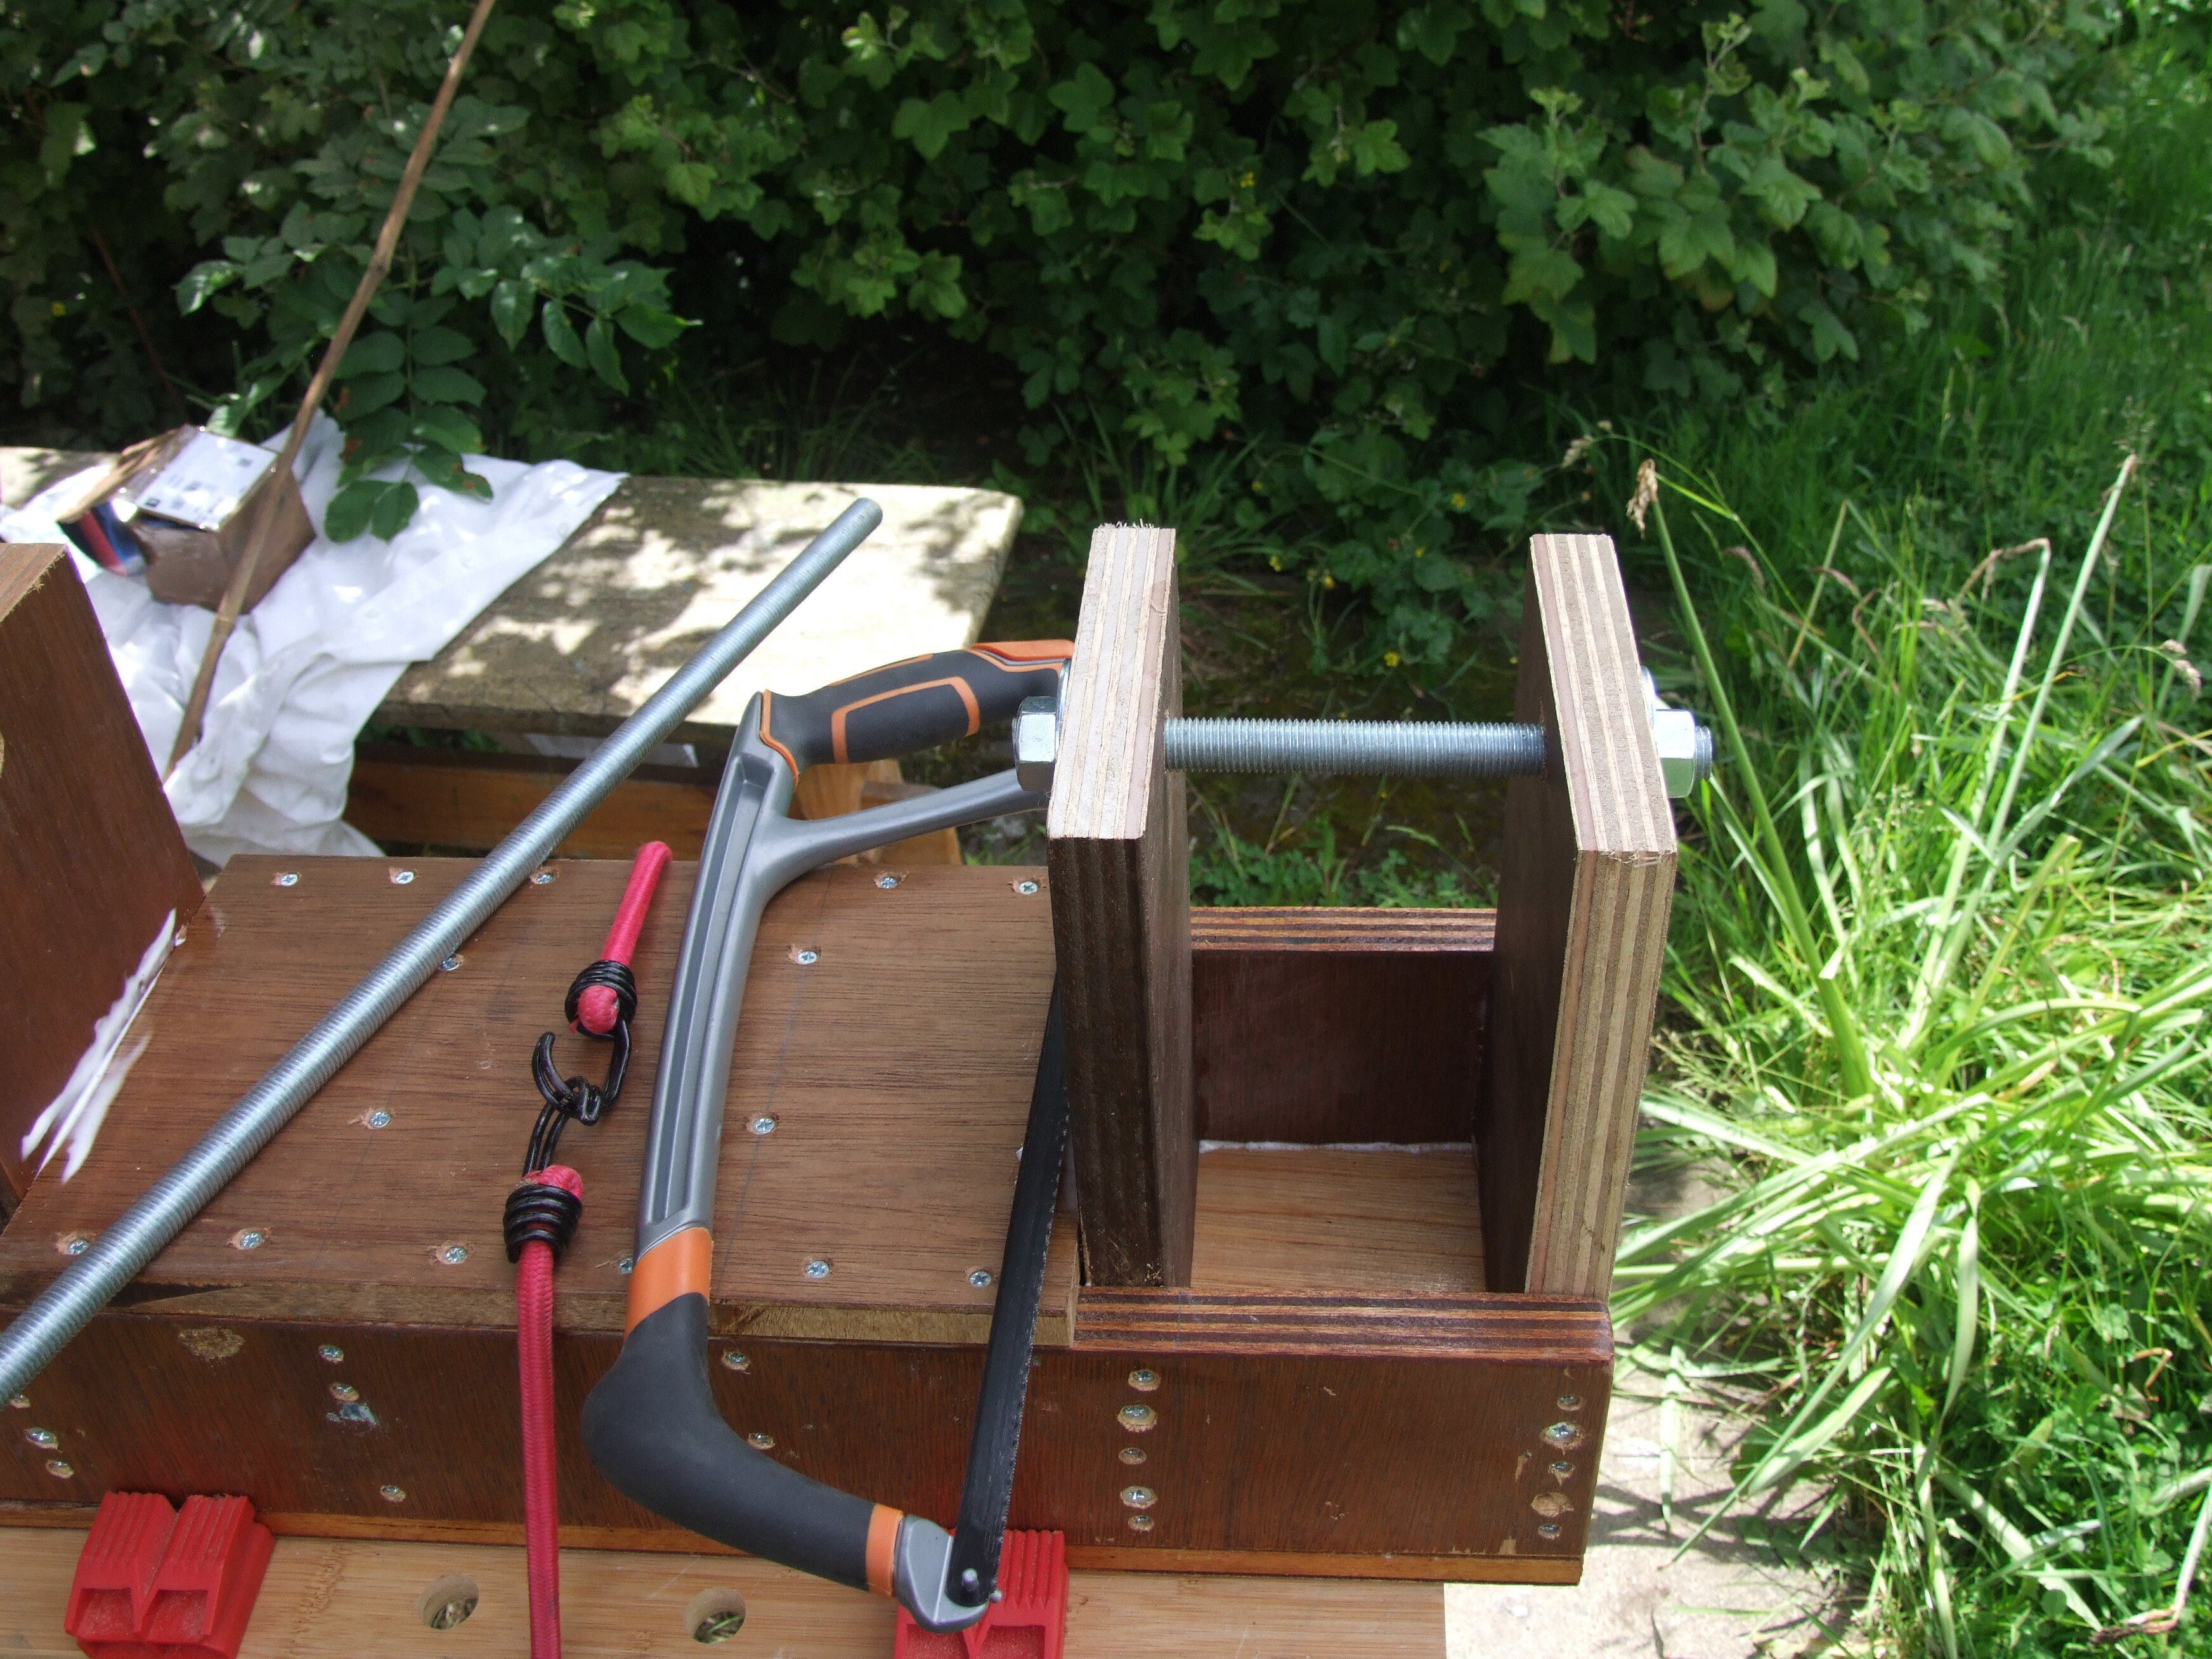
Fit the axles with the help of a file and cut them off in situ:
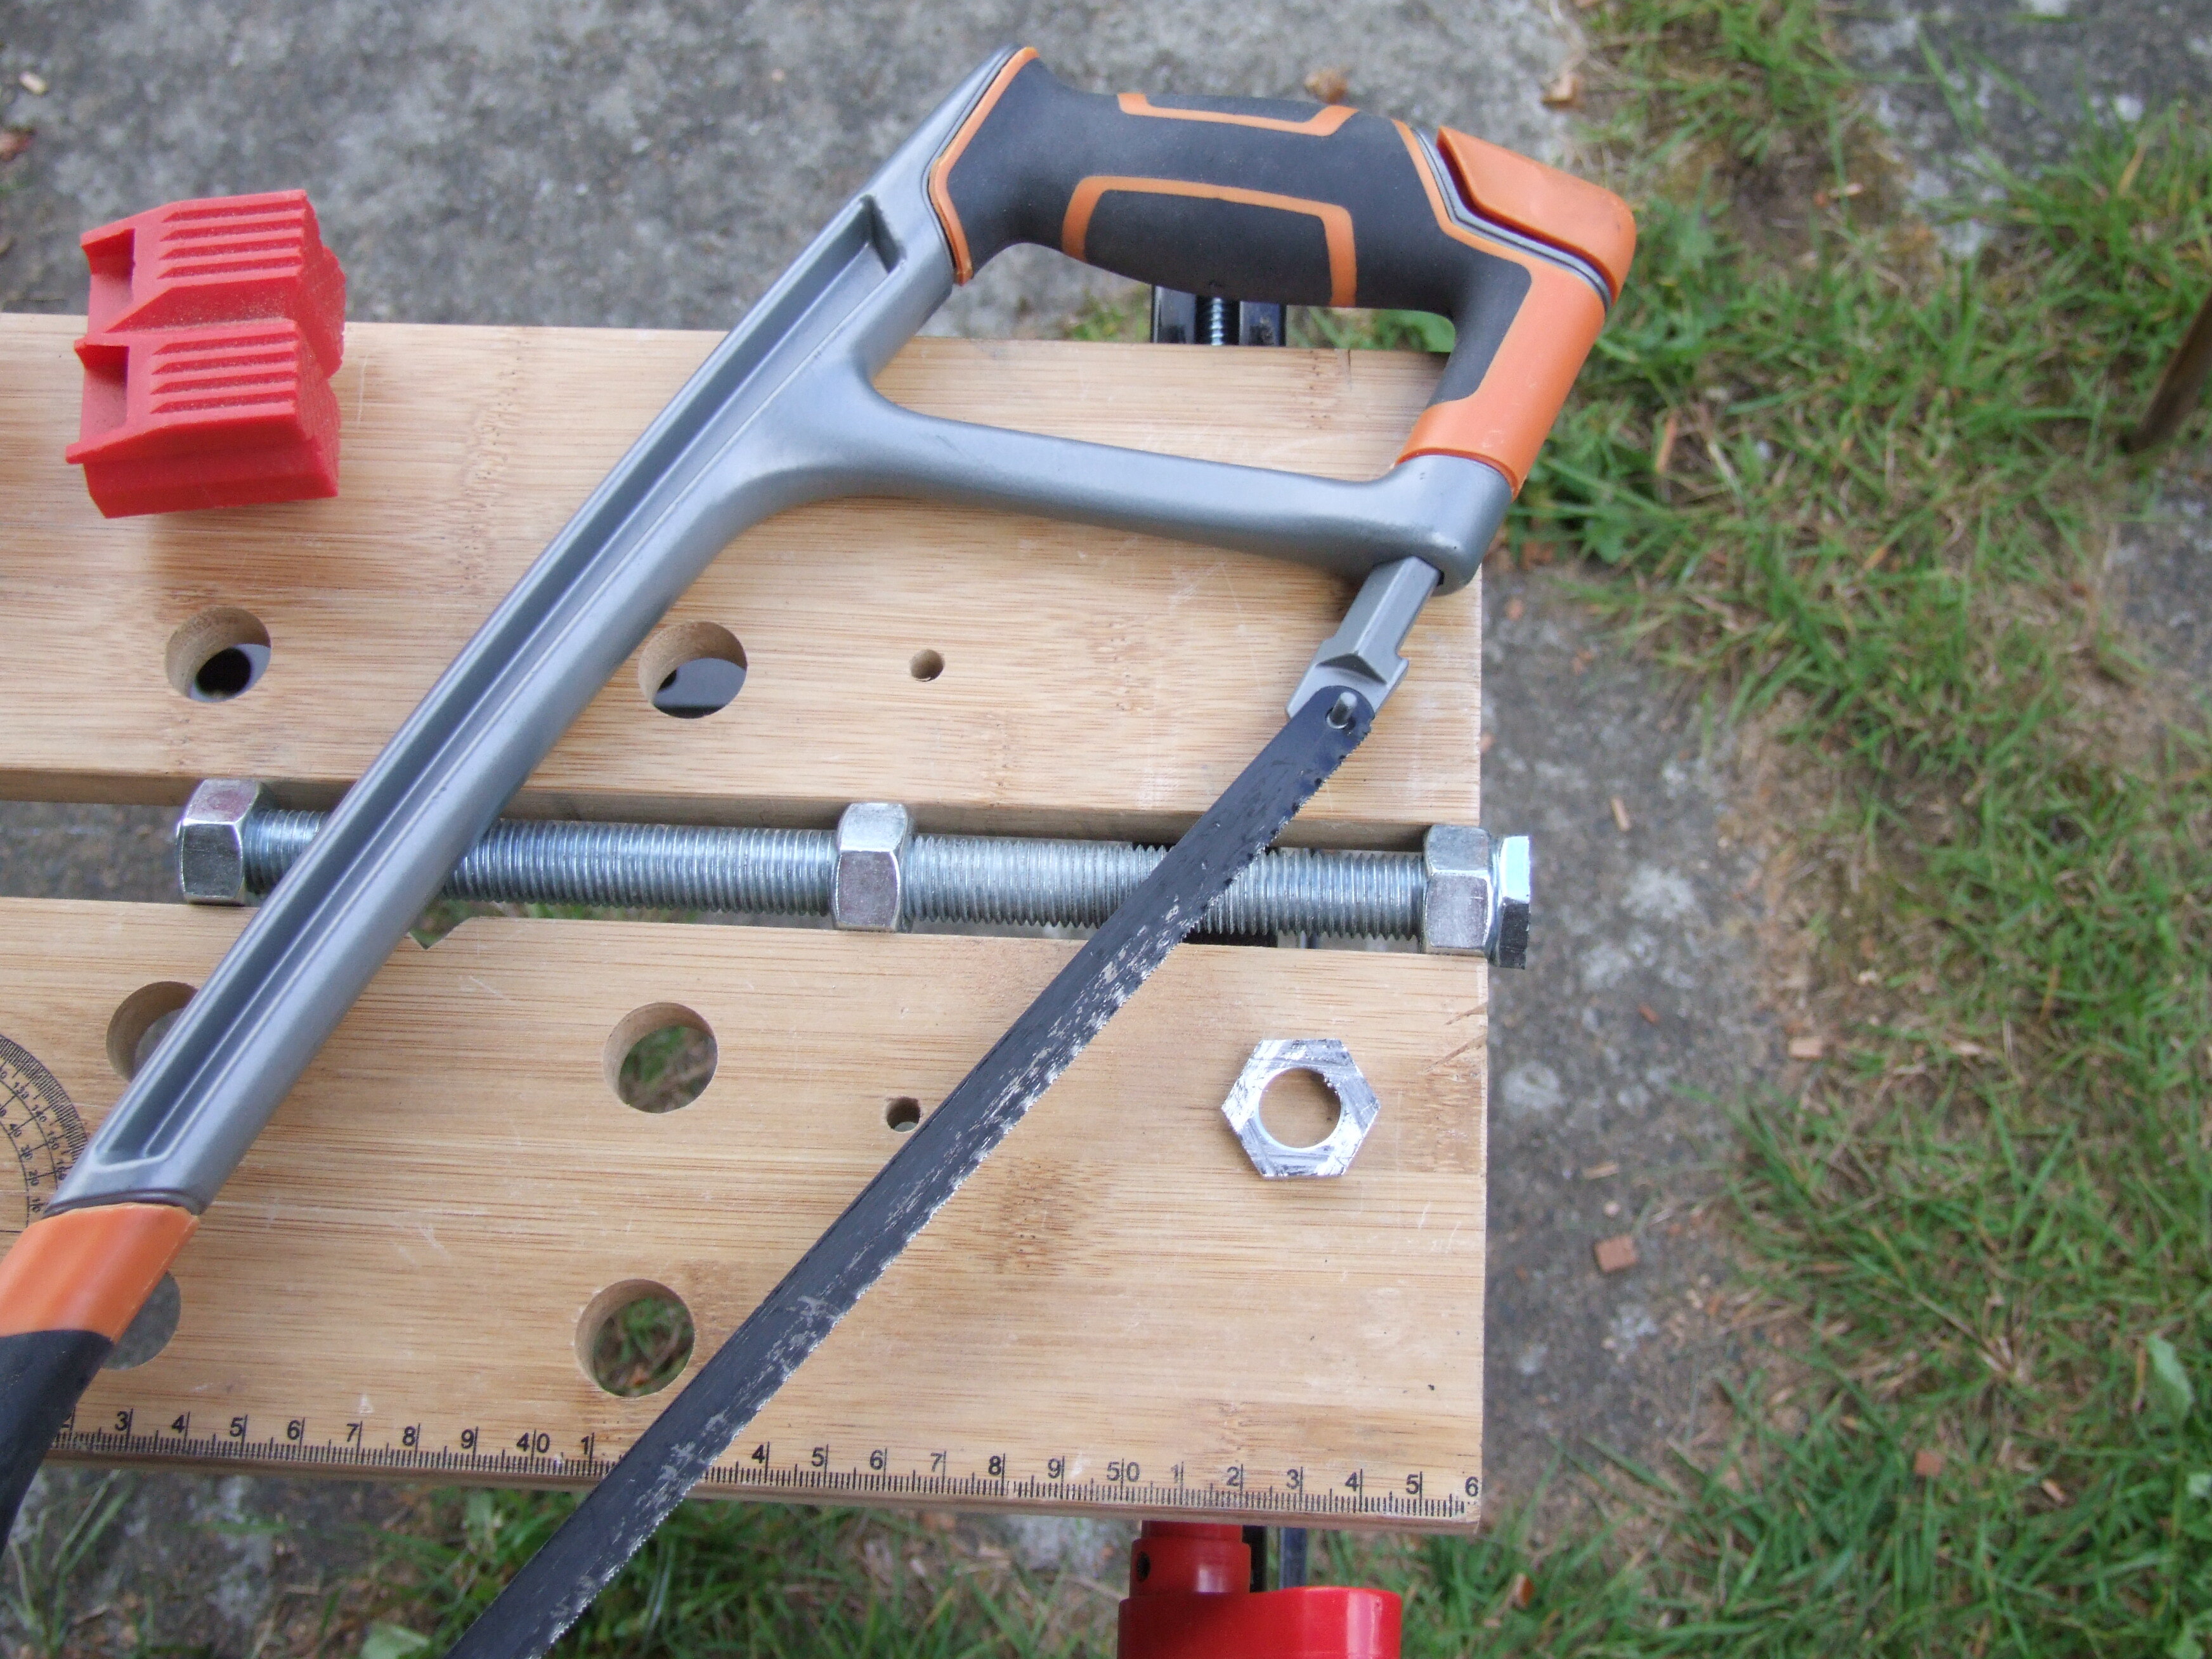
This stuff wears out hacksaw blade in no time. But there was worse to come: if we’re going to have a trolley, the rotating axle will transfer horizontal force. And gravity can hardly be depended upon to keep the bearing together, but the mylar-clad plate is not thick enough to recess a full nut in it, and I didn’t want anything protruding to get caught. So I cut a nut in half:
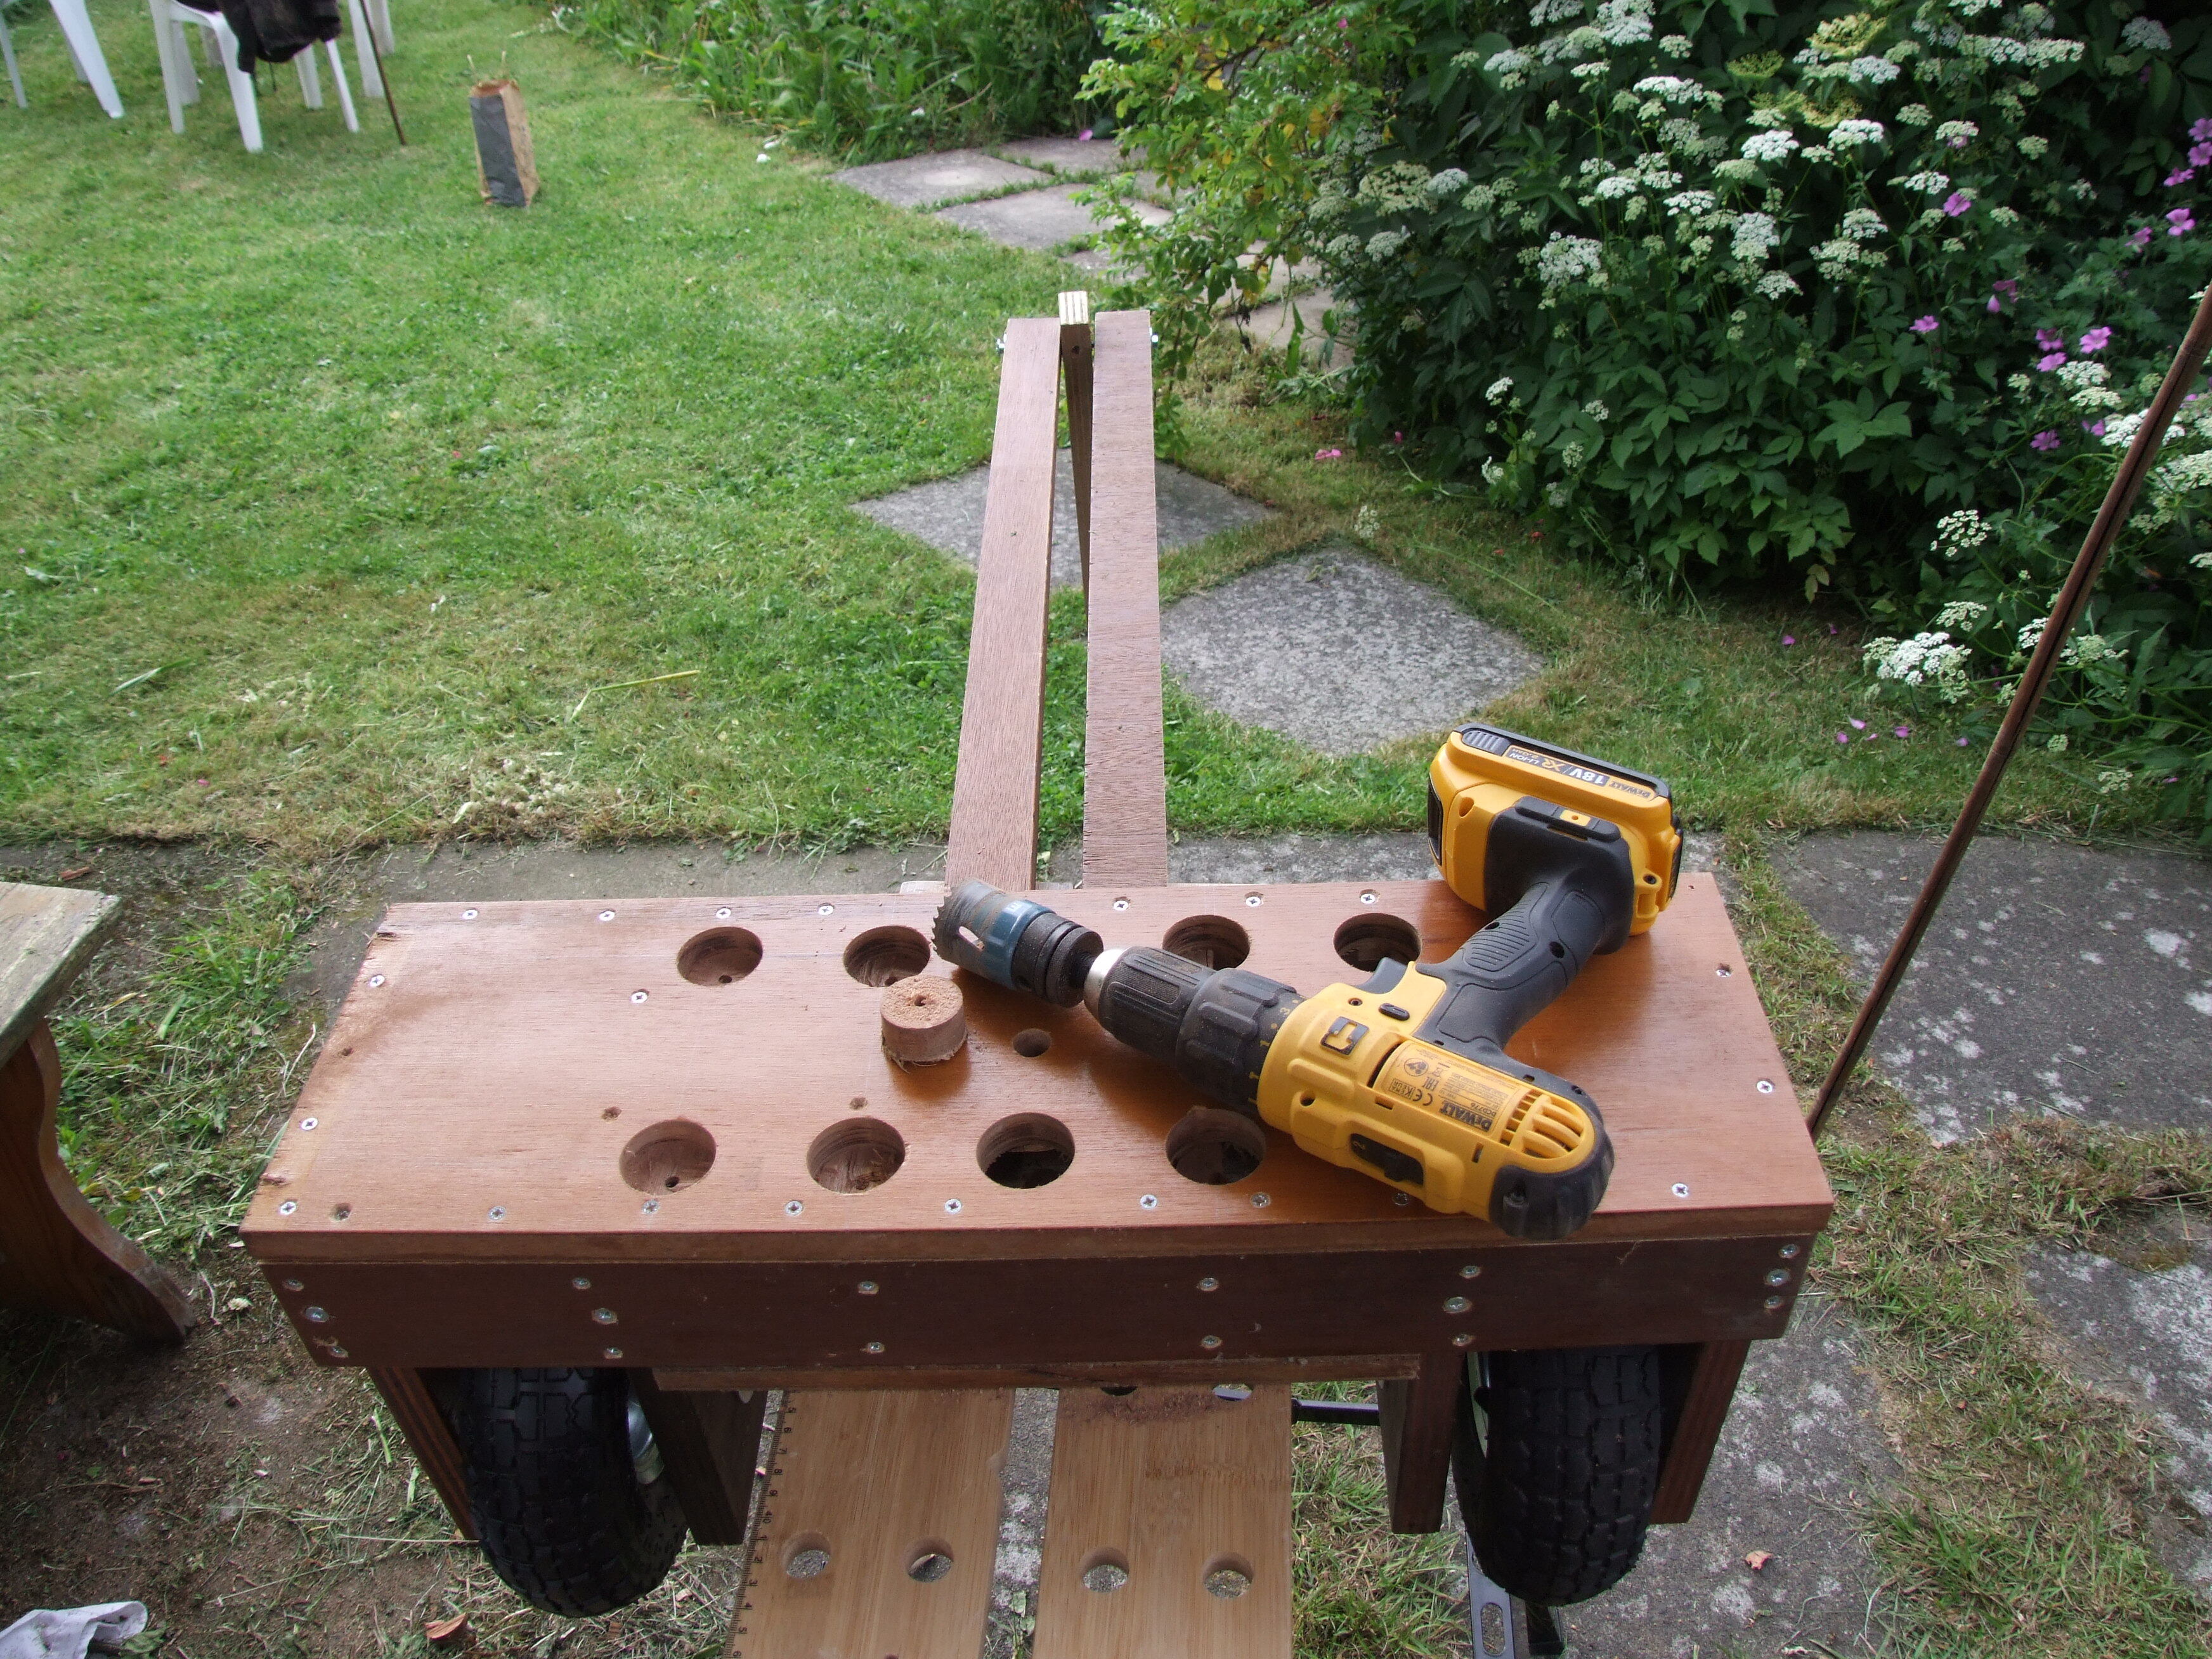
Incidentally, without any spanners large enough to grip these nuts I made a pair out of scrap ply. Inability to tighten this axle properly resulted in having to do it up again every journey. But for now, drill out holes for the bearings:
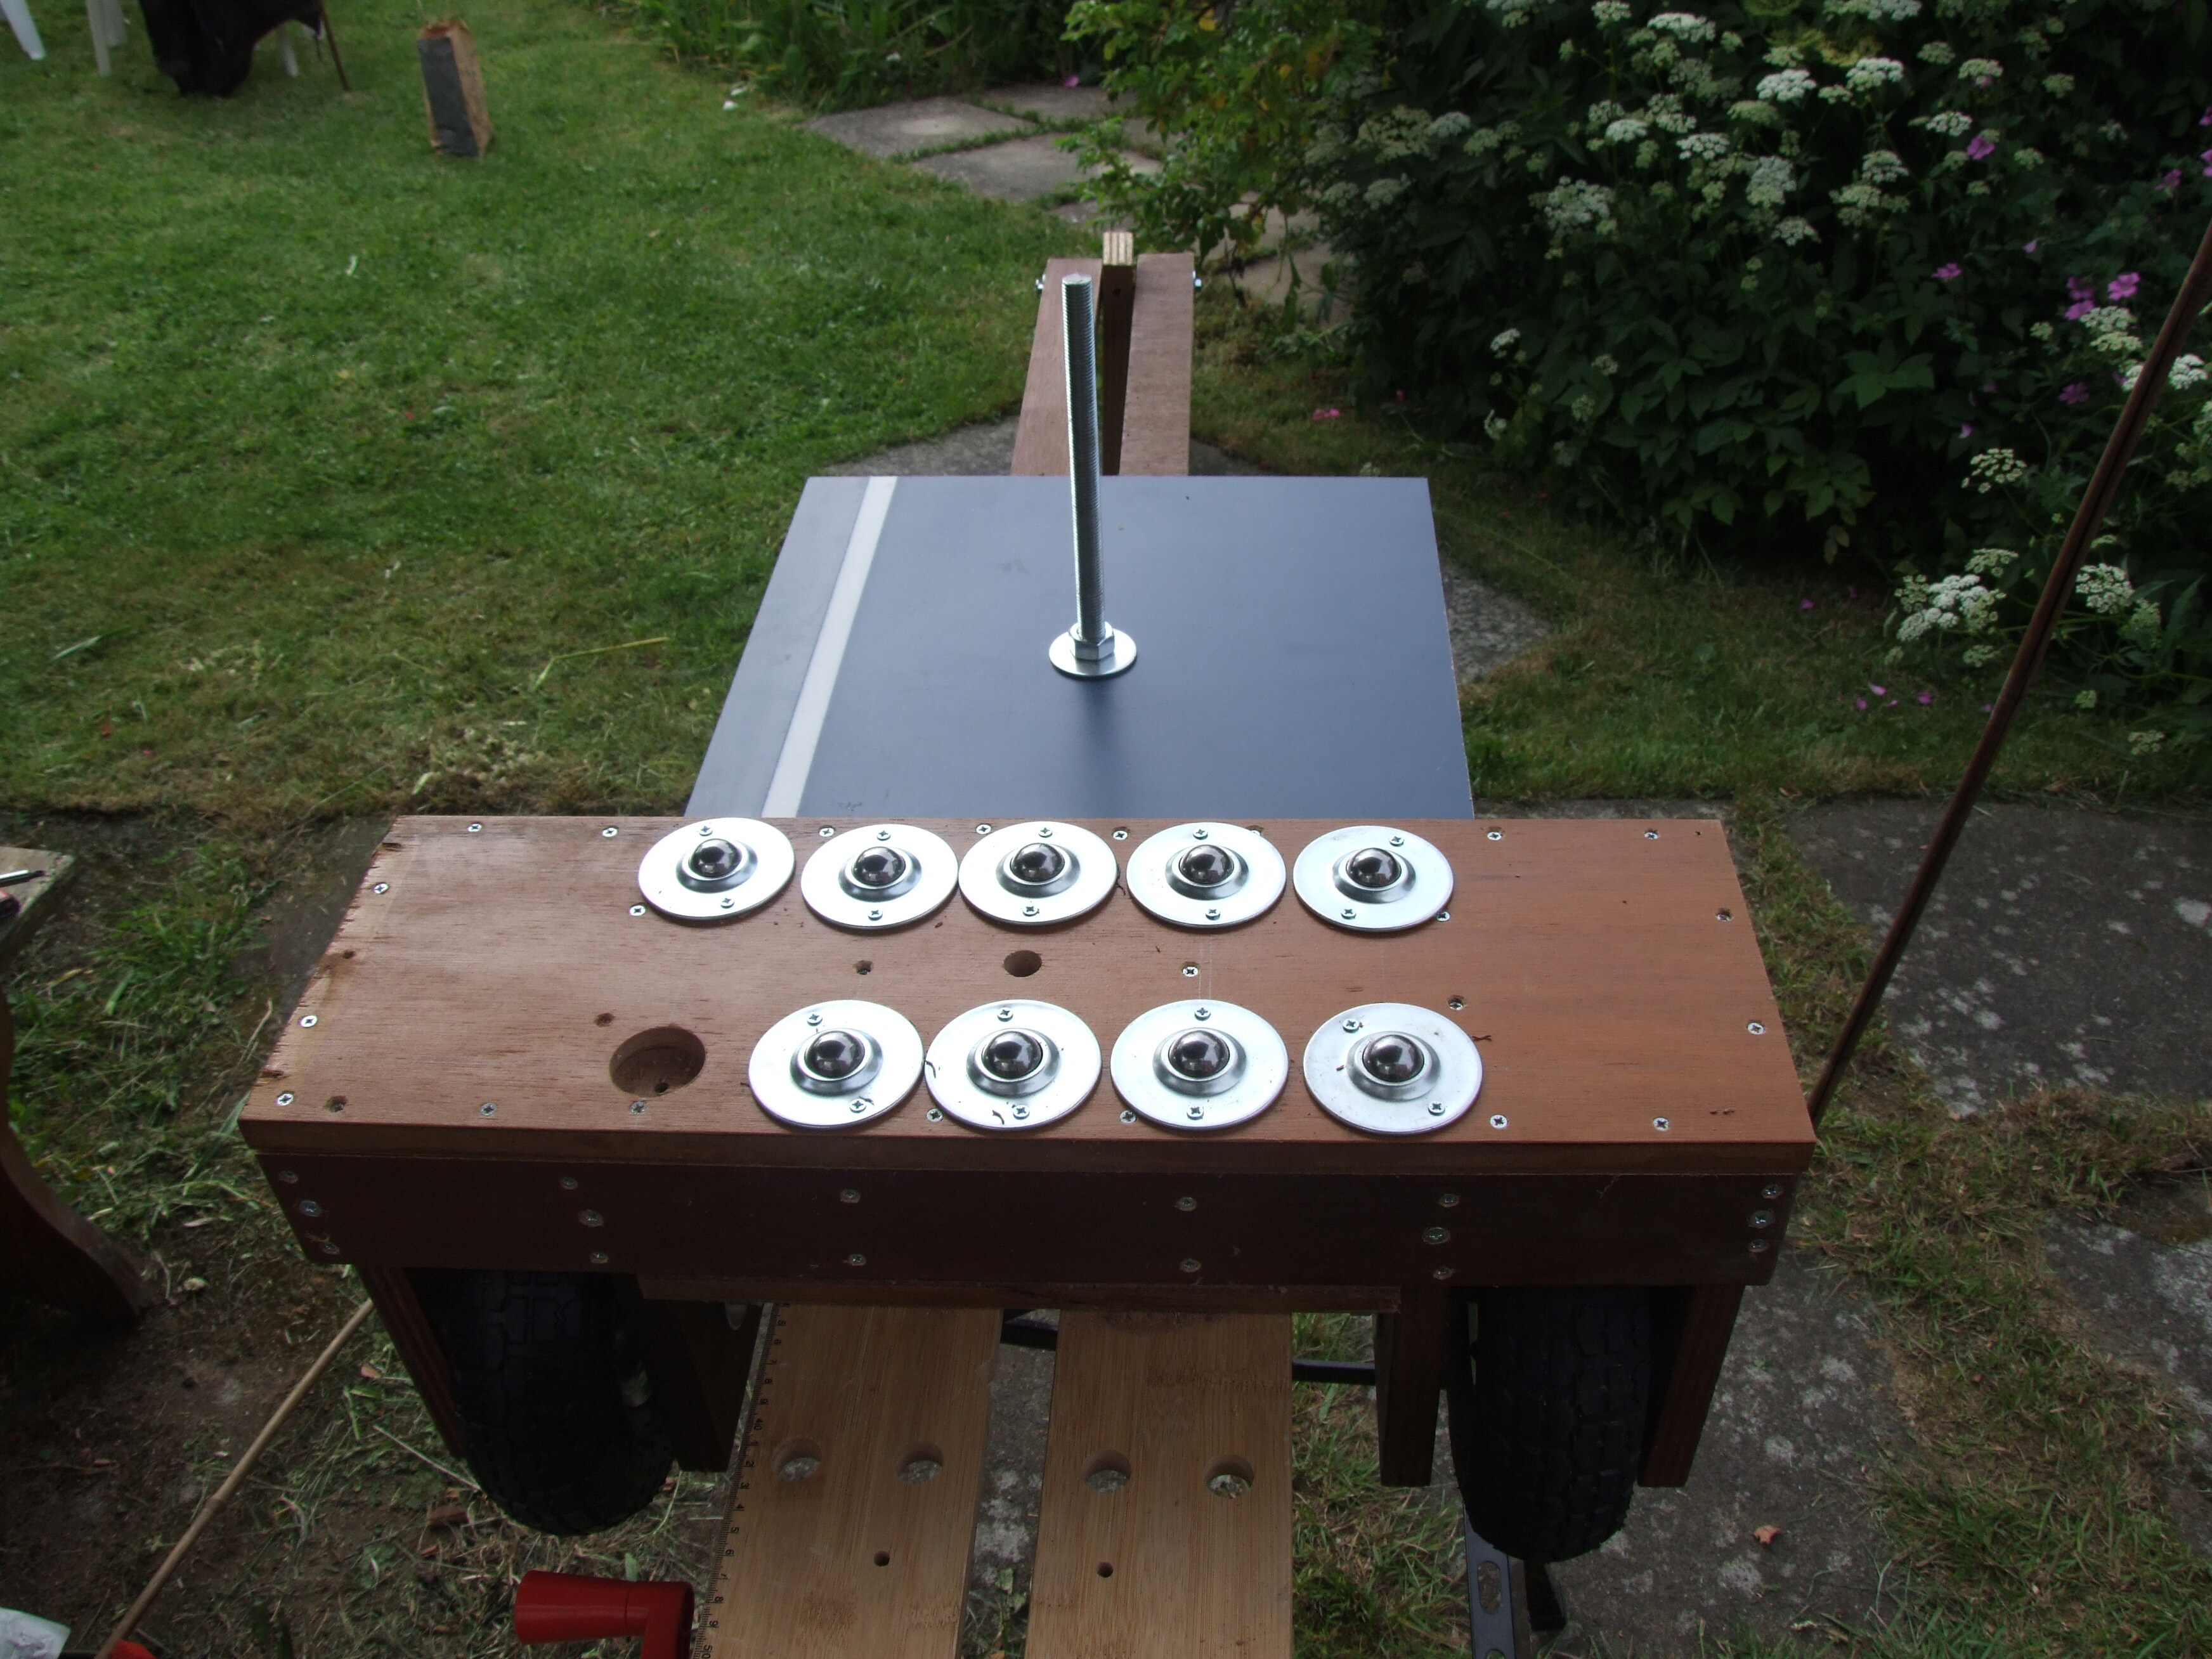
As you can see, they only sent me 9 bearings. But then they refunded half, so I shan’t complain. All together and screwed to the ply, whose offcuts make ramps:
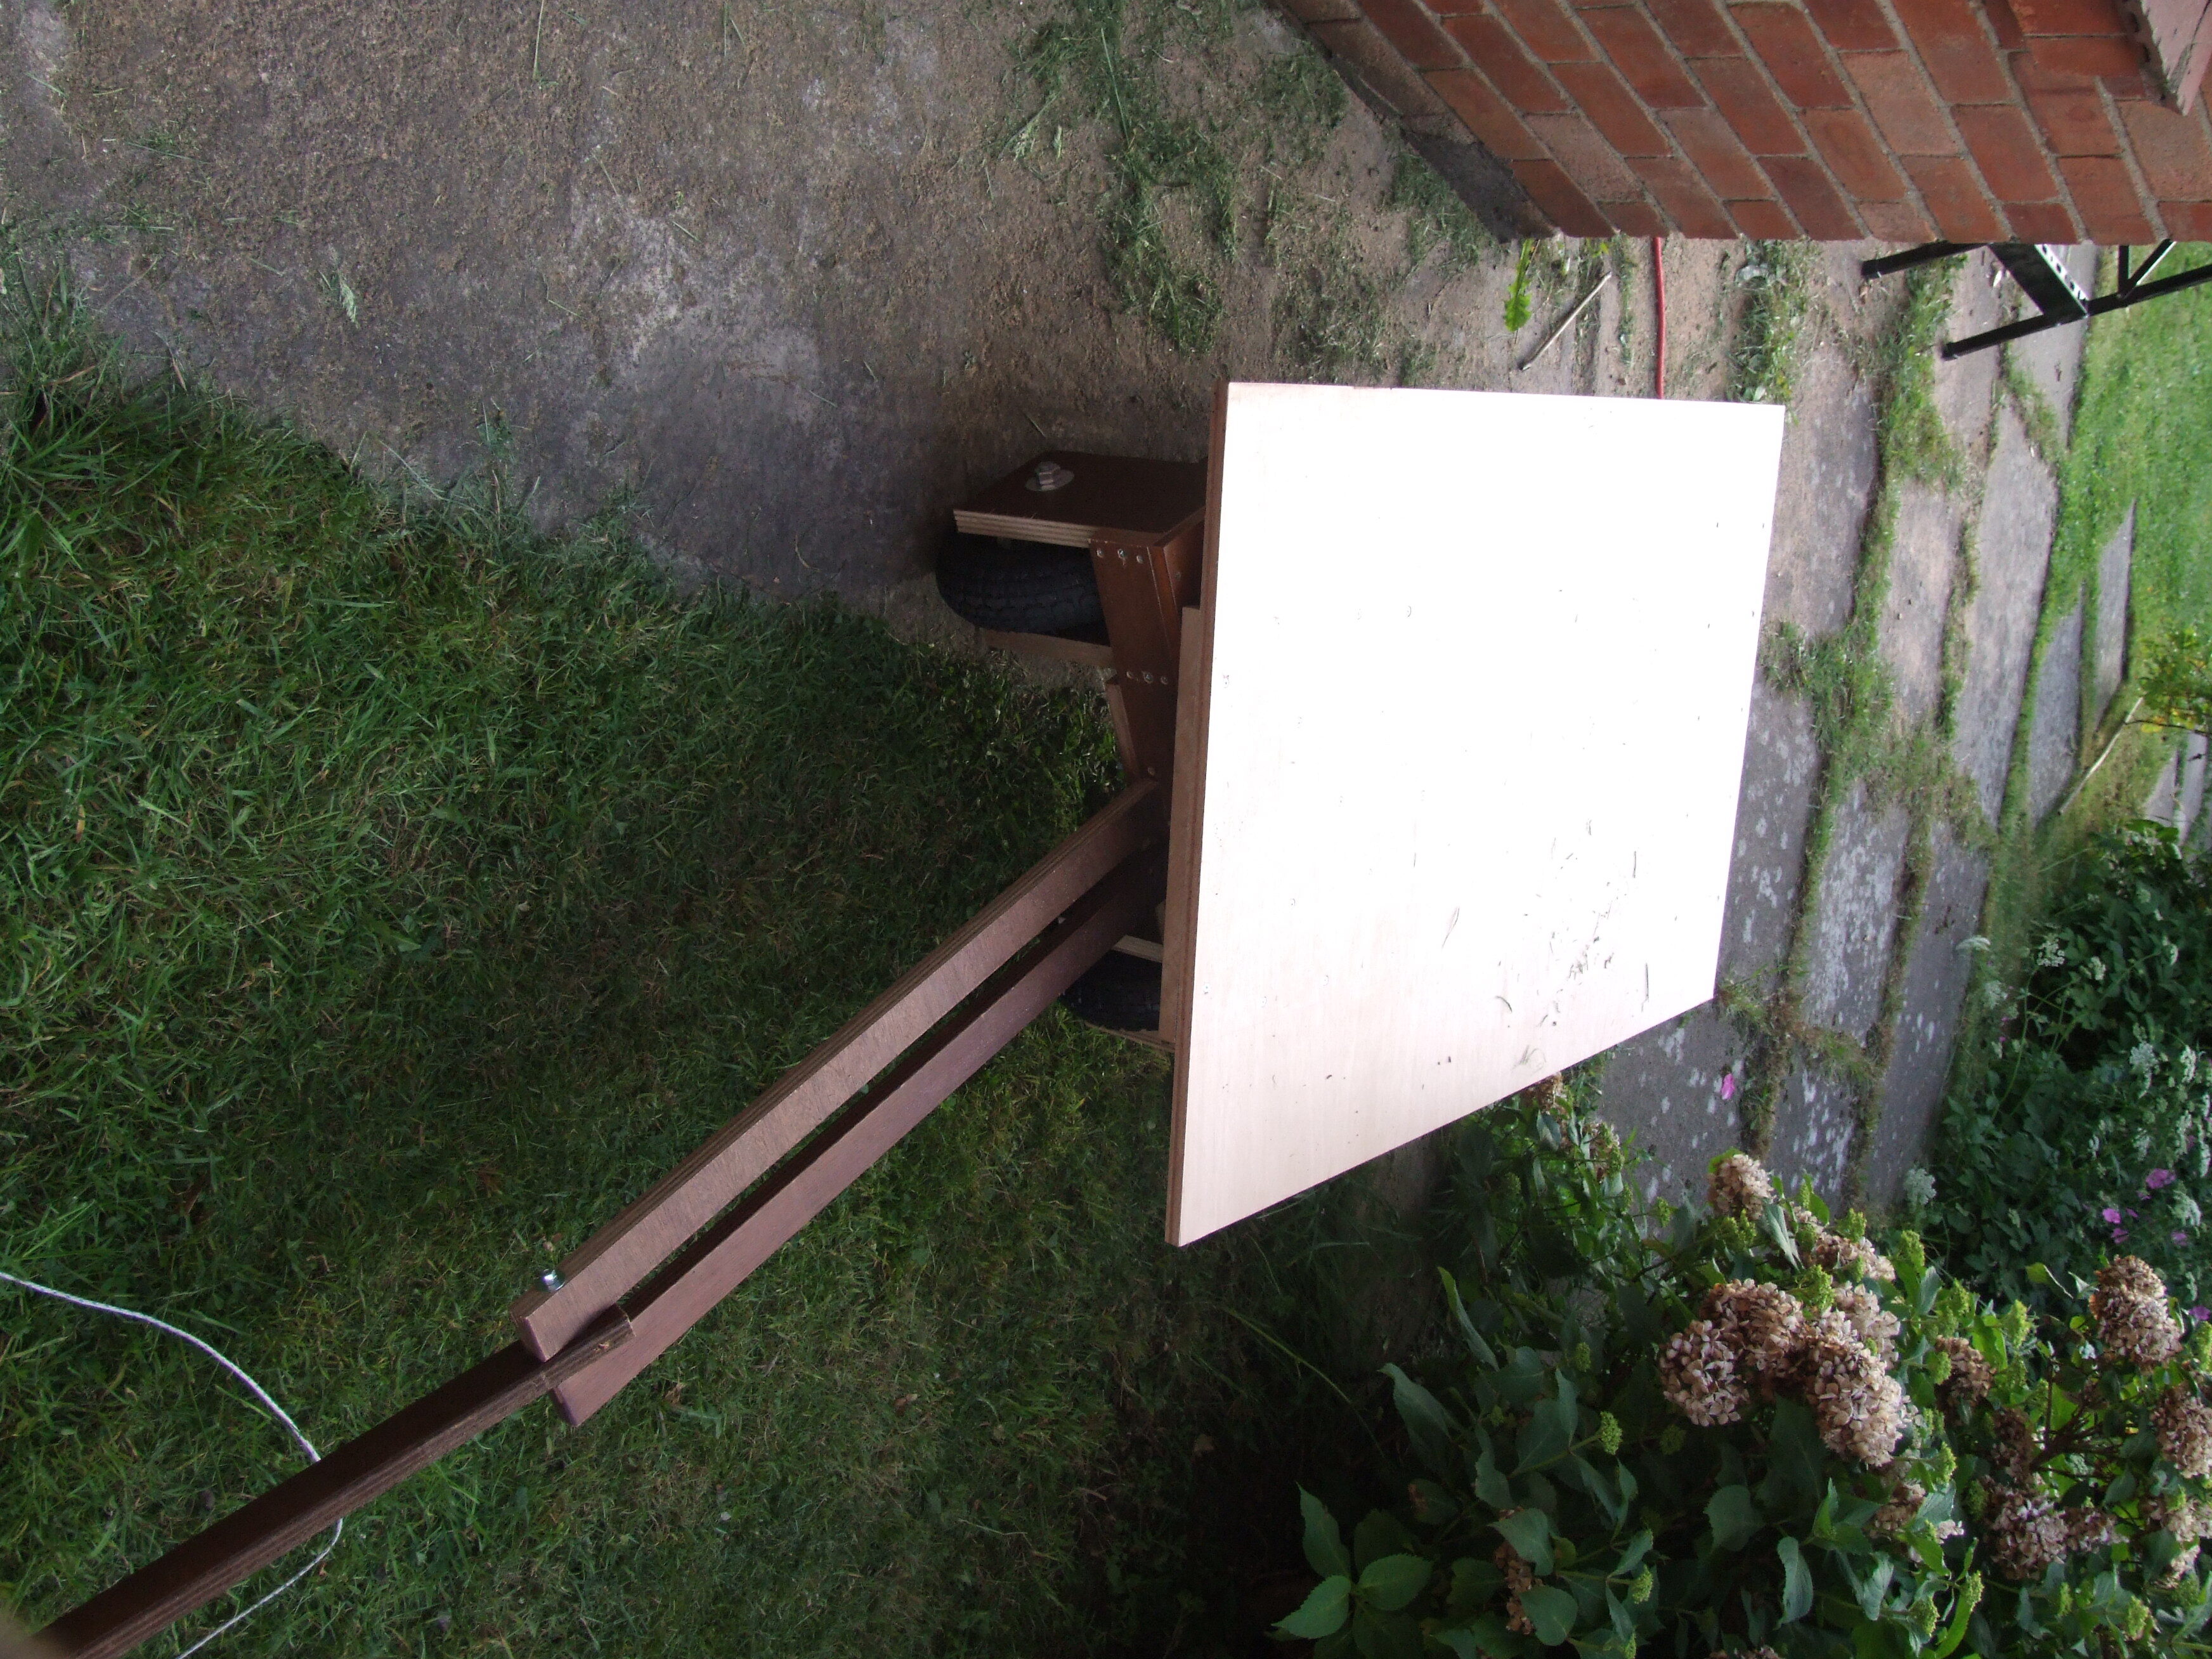
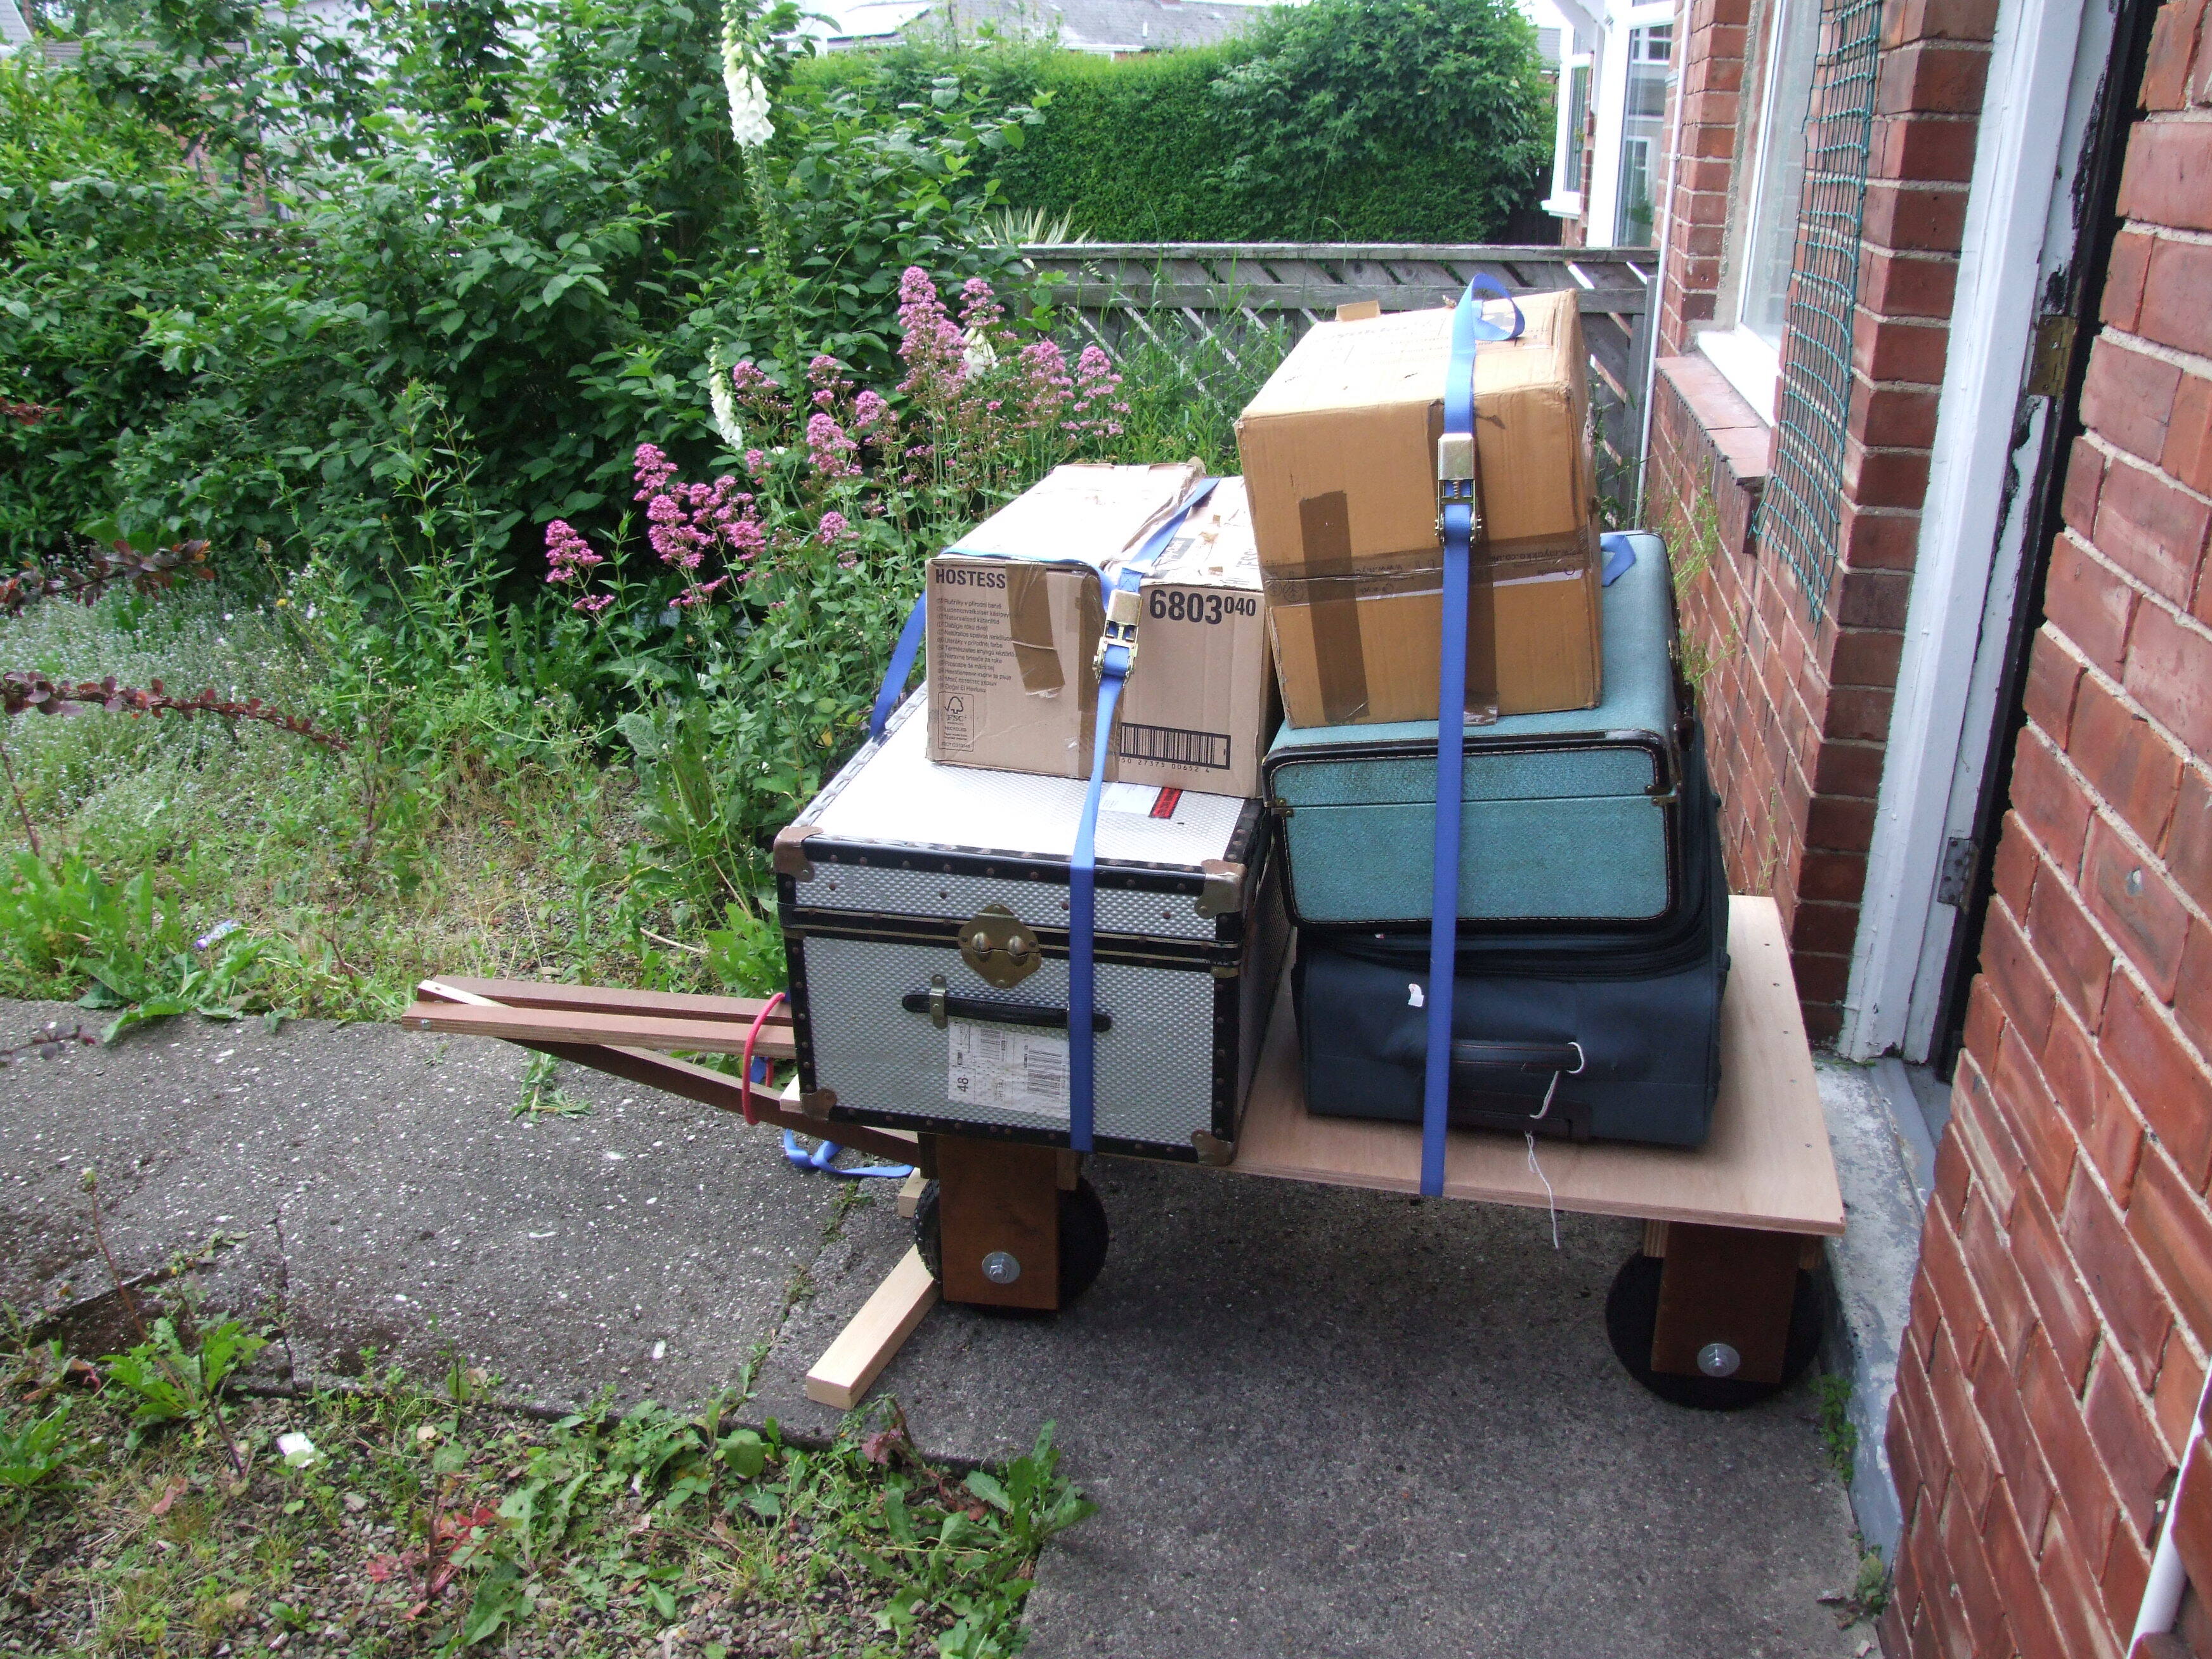
And we have a trolley! Now to use it…
Testing
Here is a trolley, full of books. In total there’s about 250kg on there (I did weigh them, but I’ve forgotten)—good enough for a test. The 18mm ply is bowing lightly:
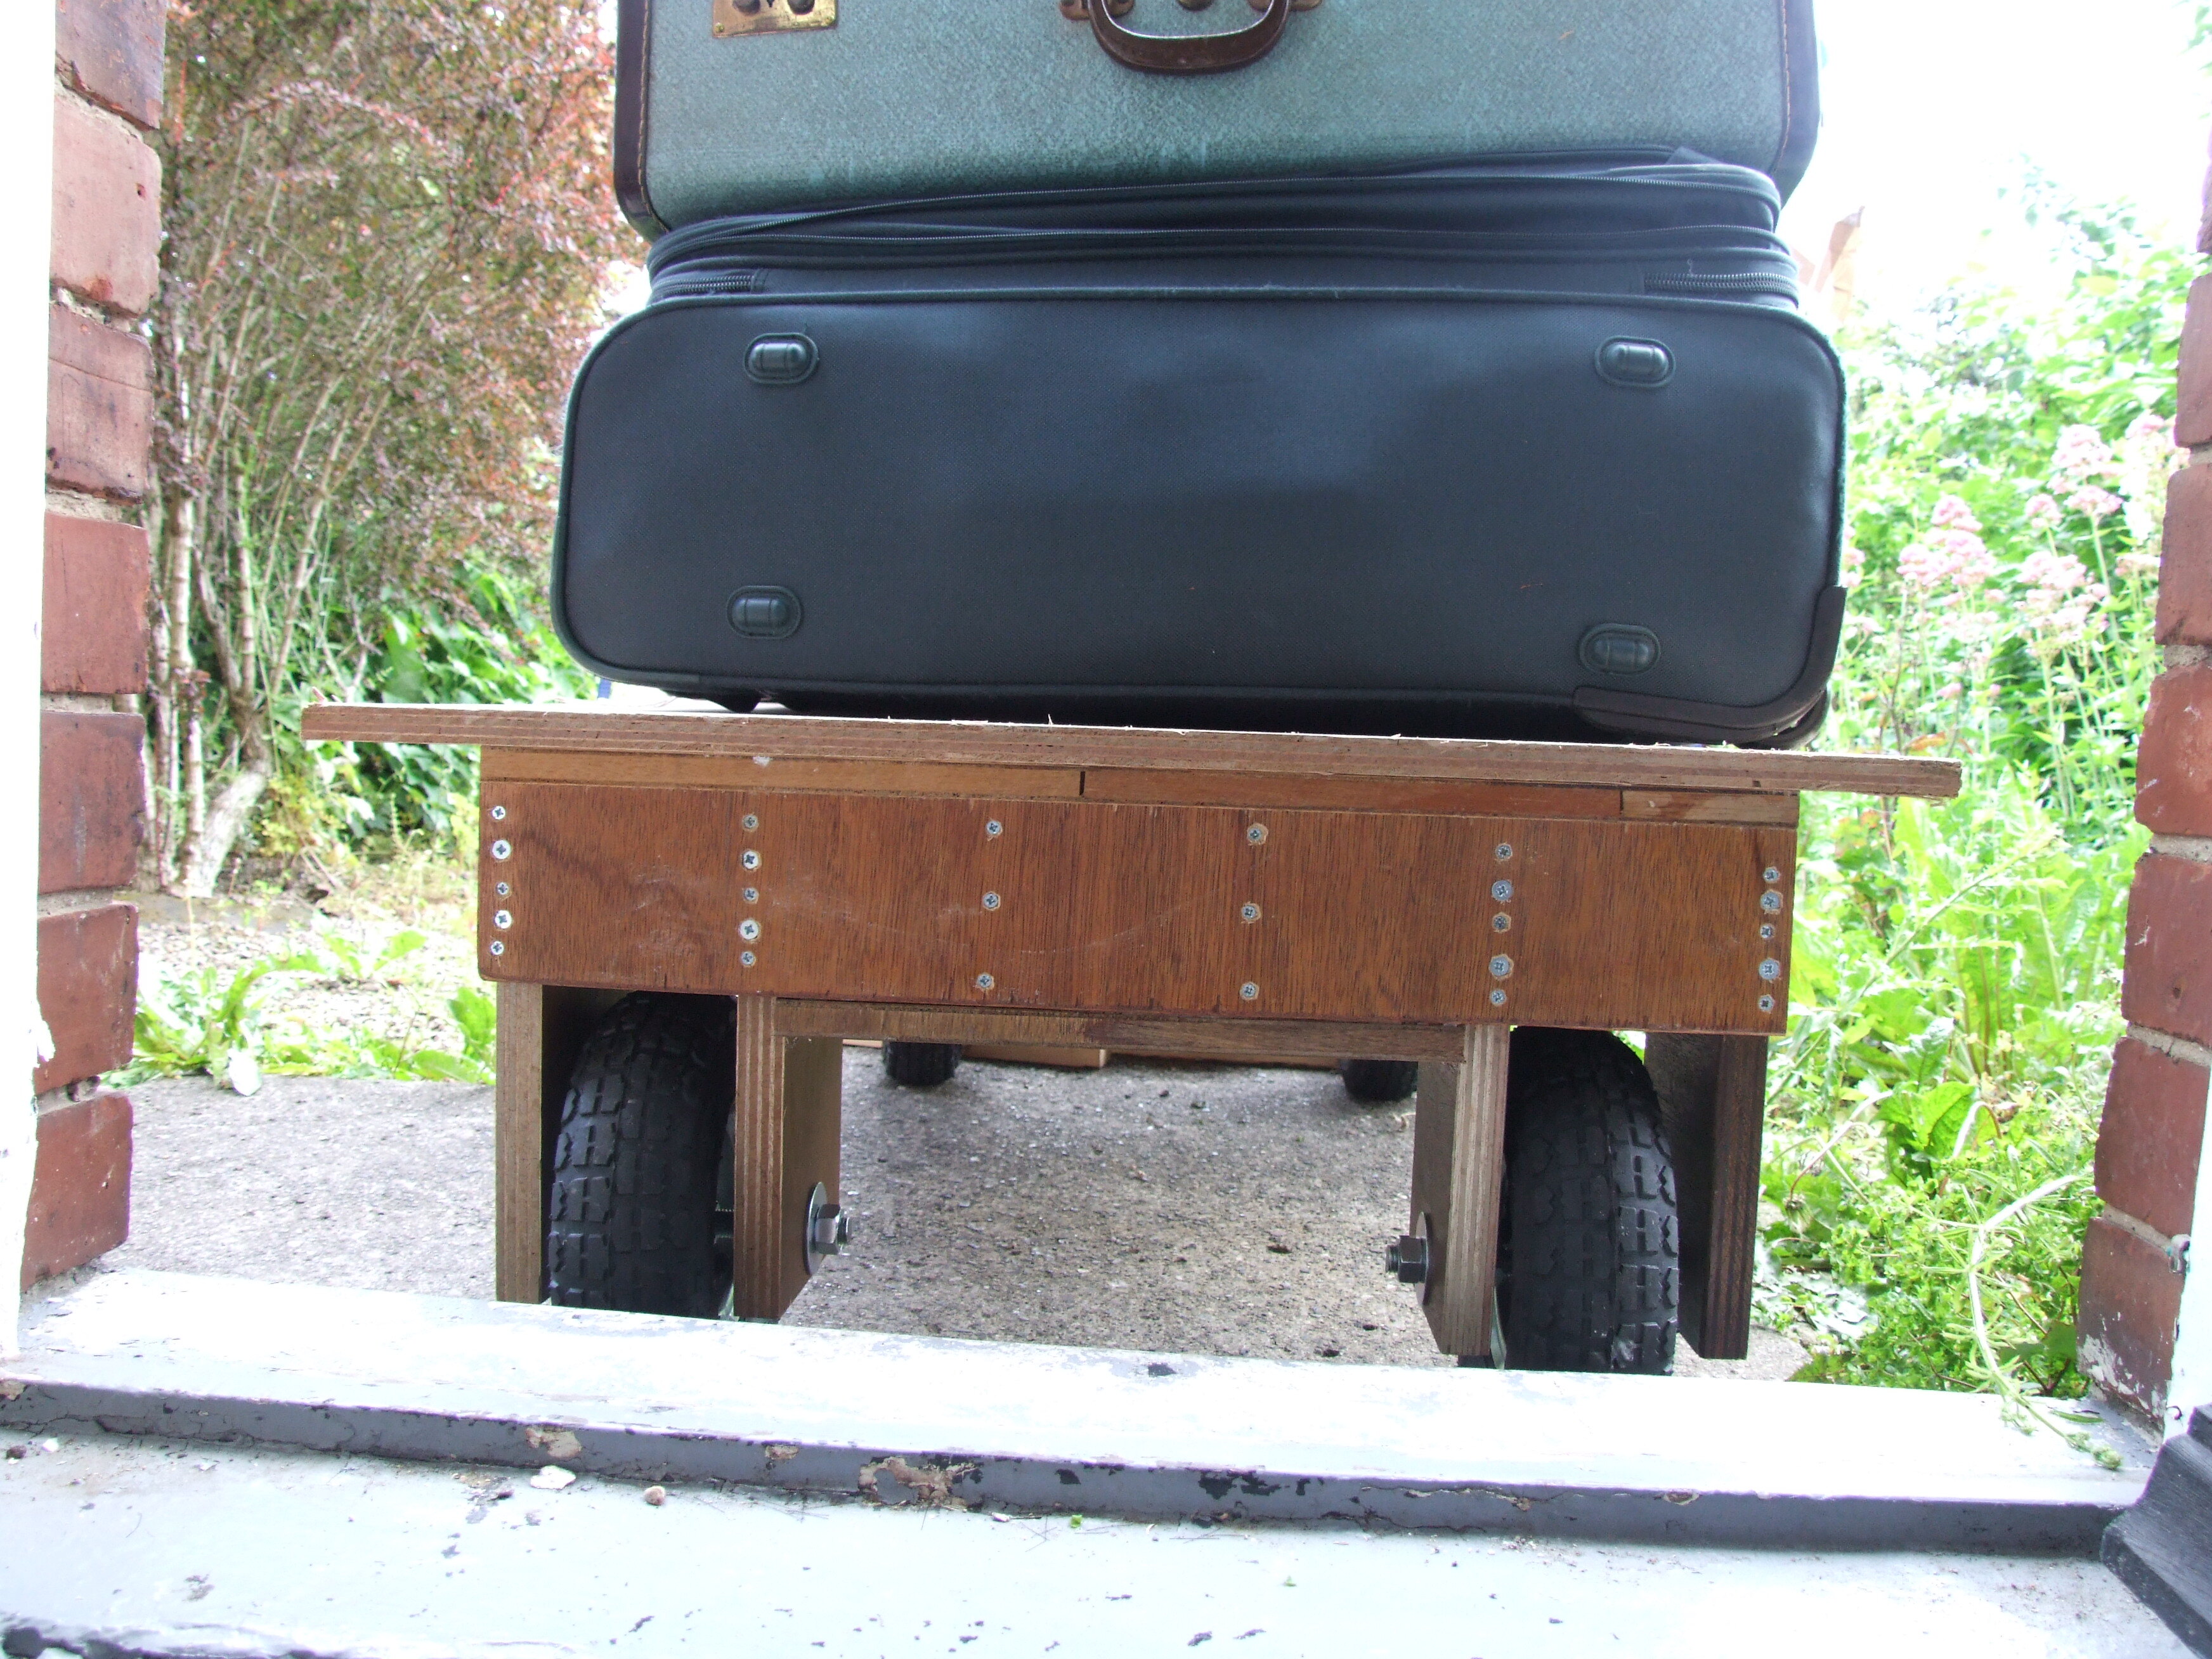
On the other hand, the beams are not:
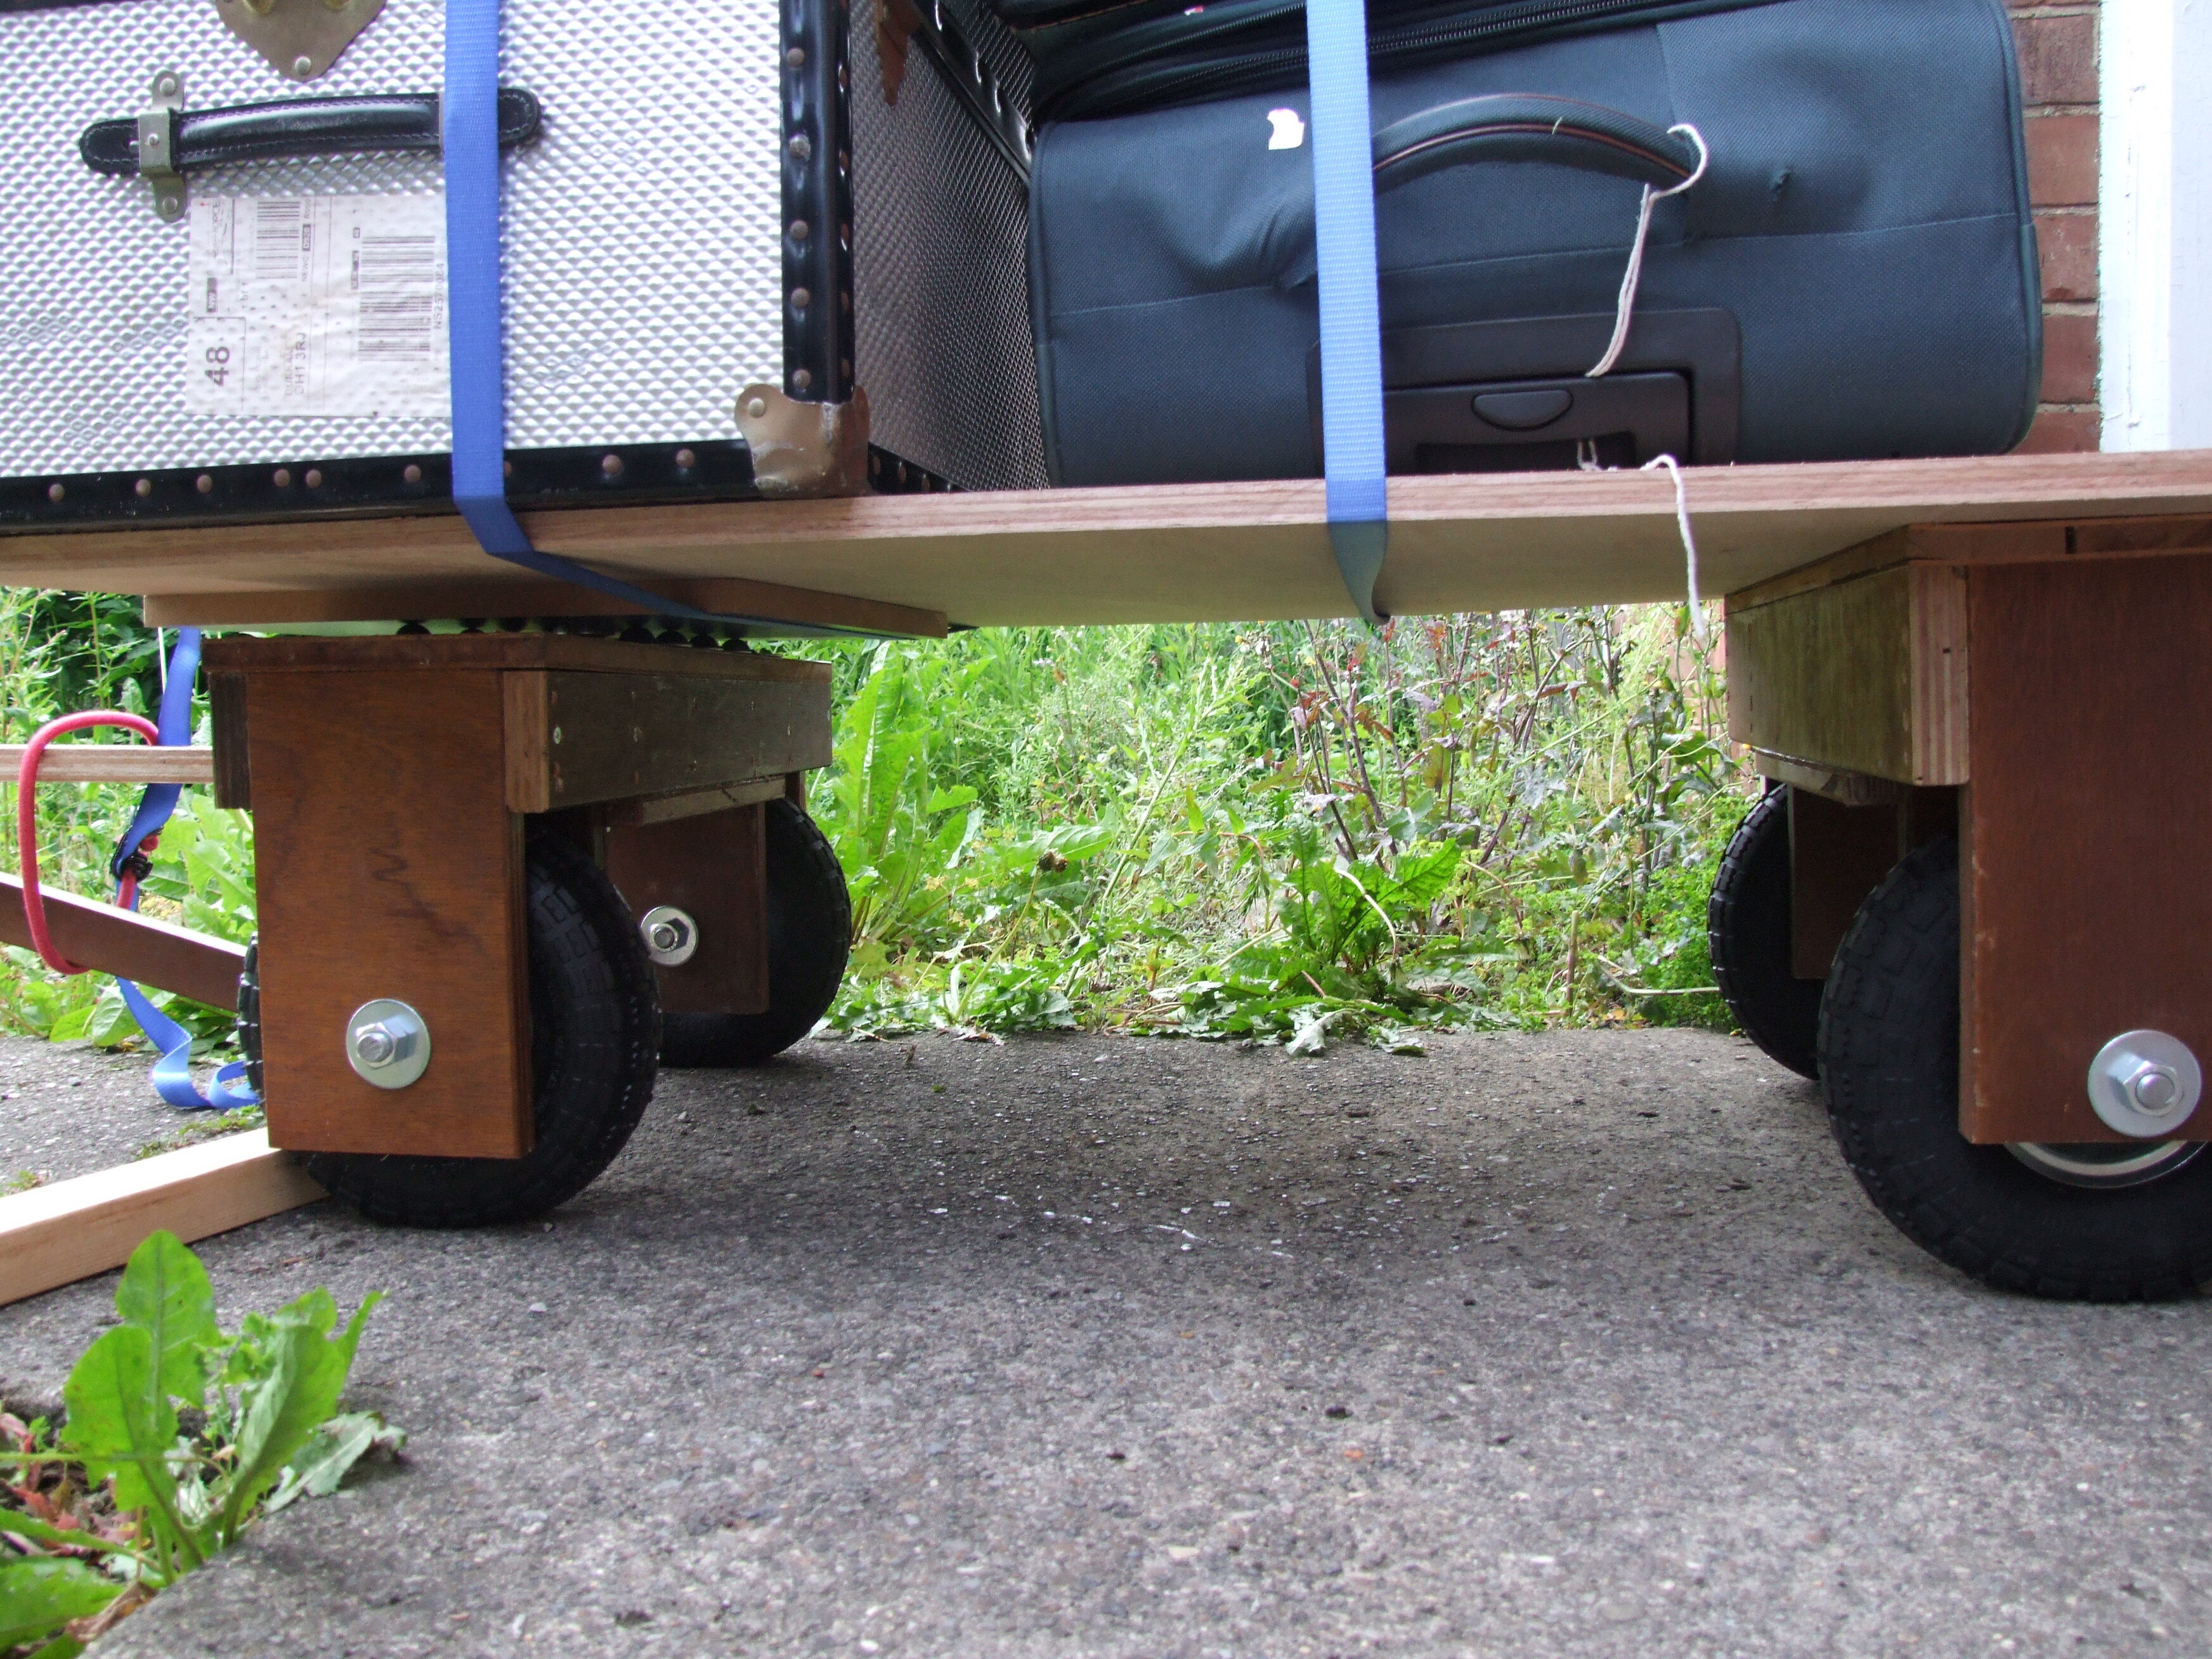
As you can see, the wheels are not quite running true. Yet the axles are parallel: it turns out that m16 studding is a lousy axle for a pair of 16mm ballraces, which really want a shaft at or slightly over 16mm. As it is, the bearing rotates on the axle as well as the wheel on the bearing. The sound is rather alarming, but there we go. Oh well.
On this first trip the recessed-half-nut system failed on arrival. It had been designed under the assumption that the trolley would be pushed and steered separately, and here I was pulling it. So I gave up on having a clear top and replaced the front plate and took the bolt all the way through:
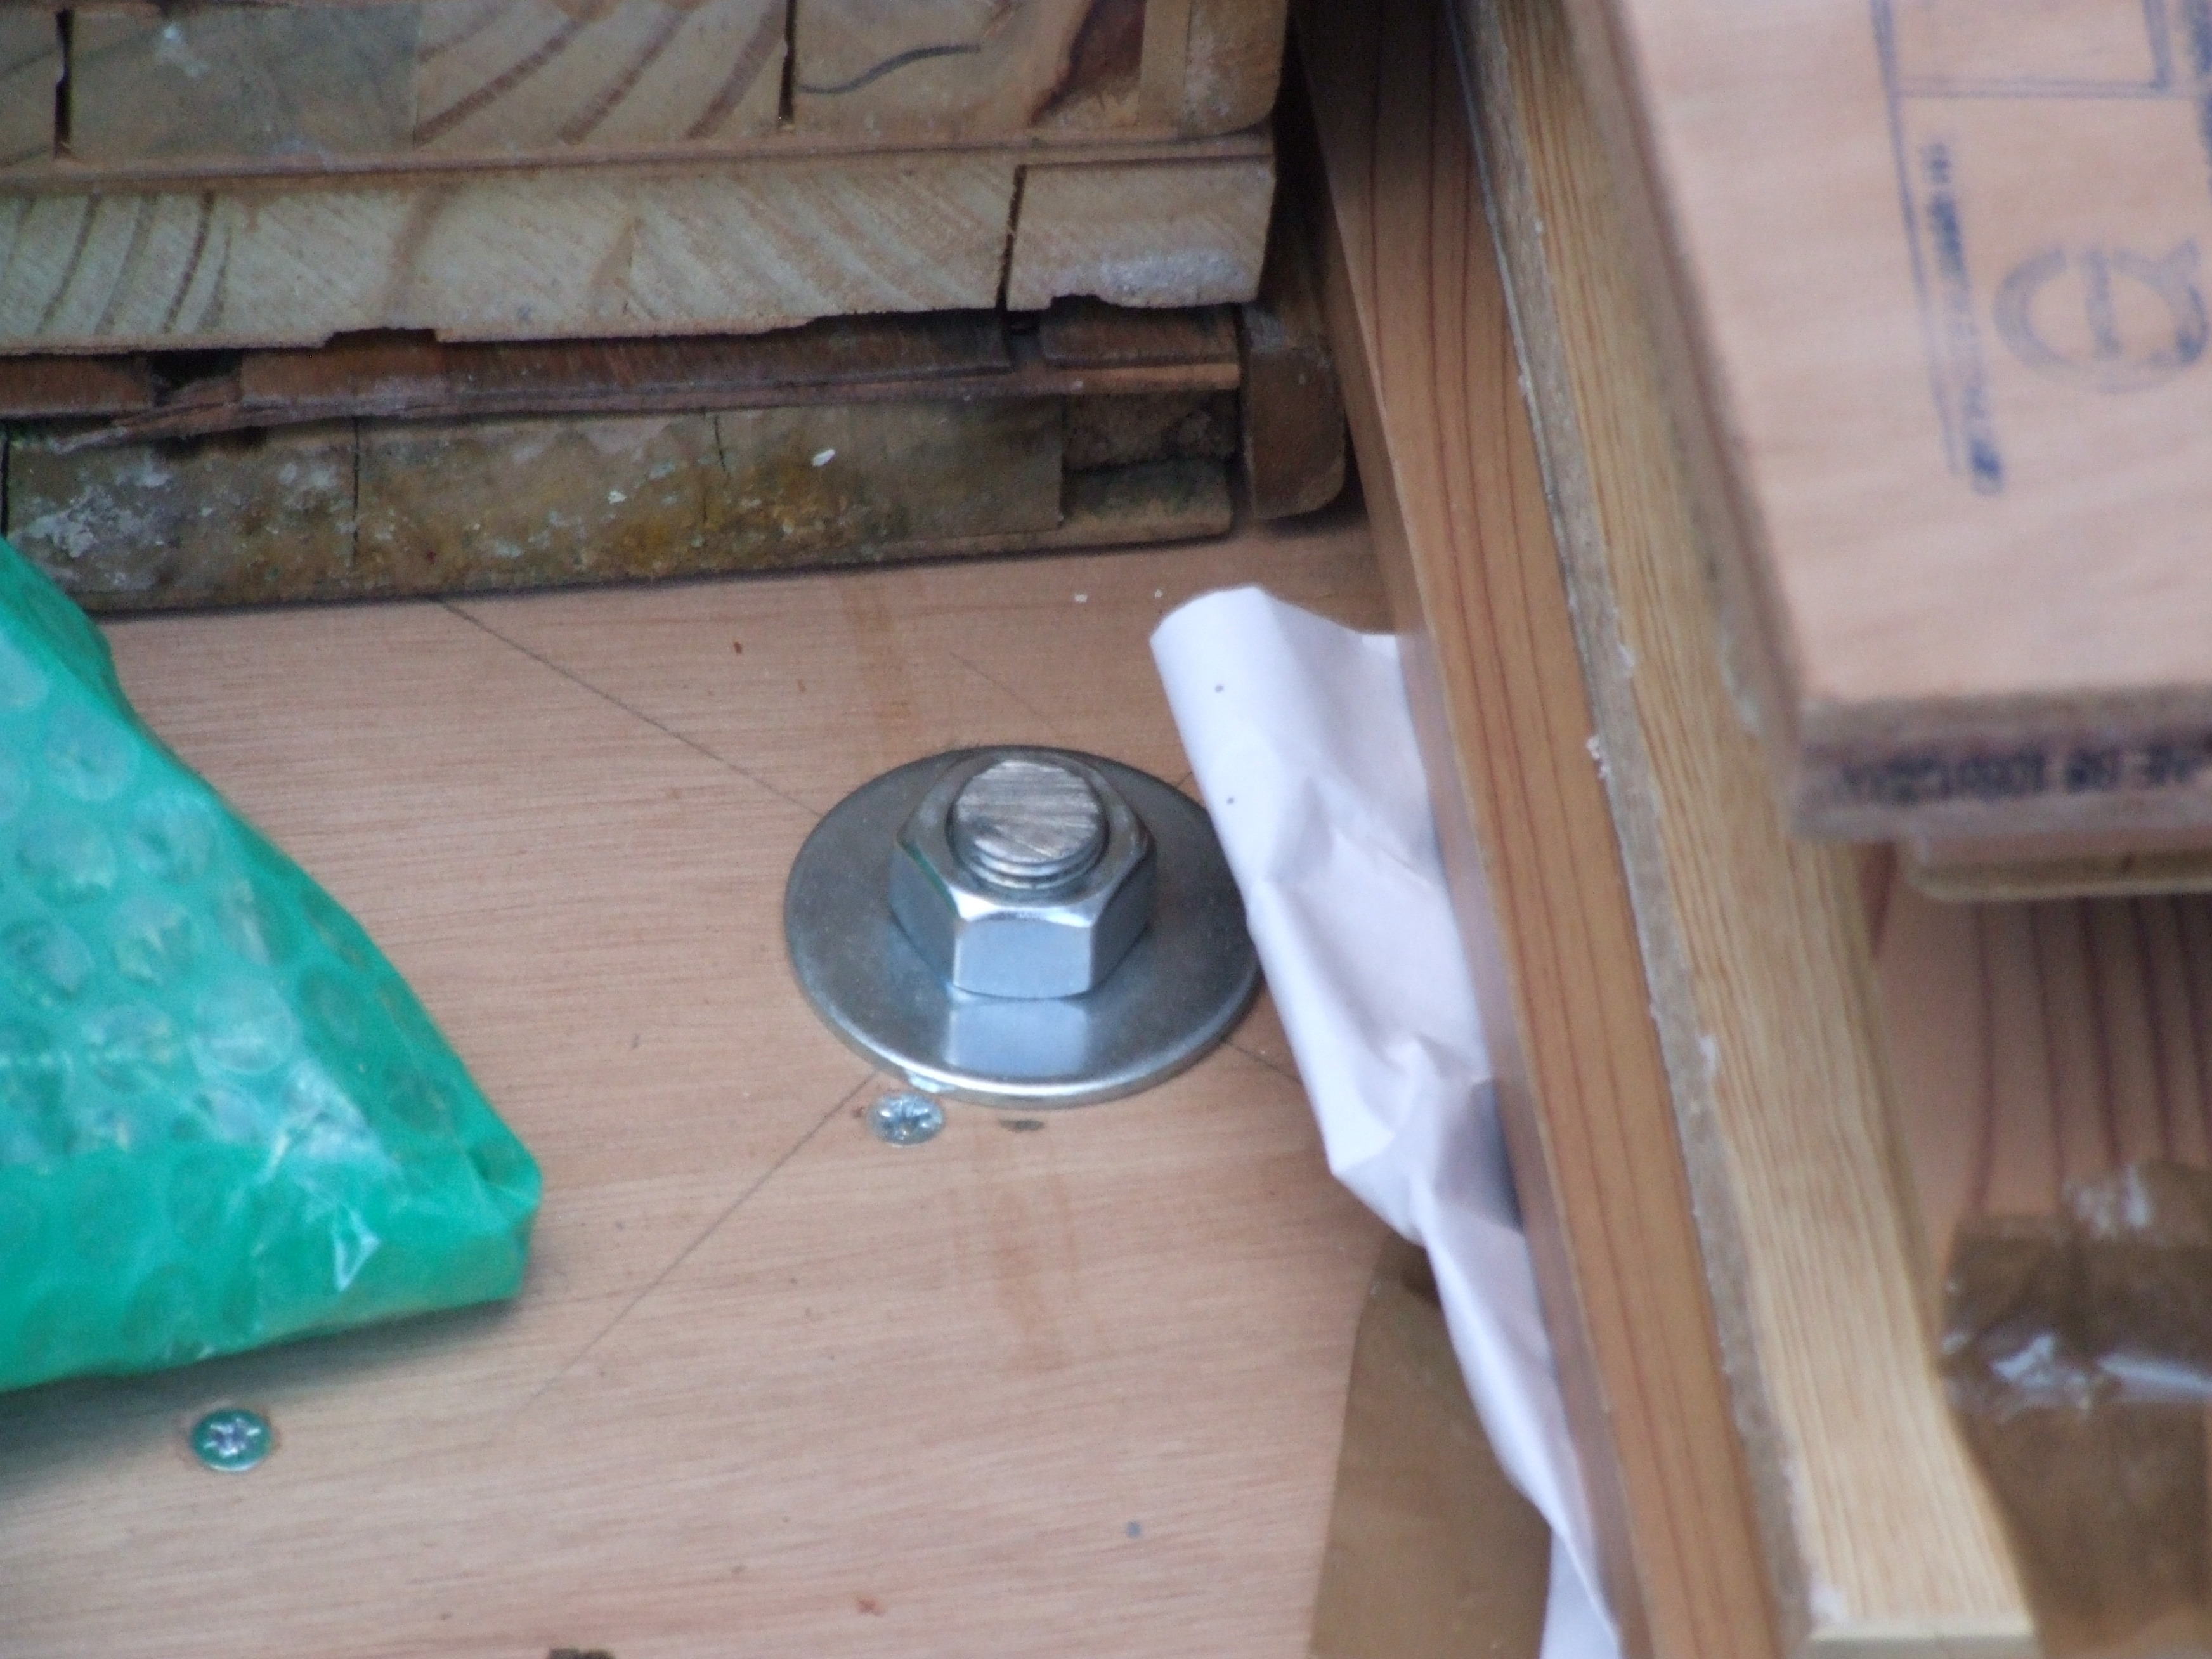
The half-nut is now within, holding the axle fast to the top (the whole front bogie rotates against the axle. So far the holes are holding up fine.) whilst clearing the bearings.
Piano Moving
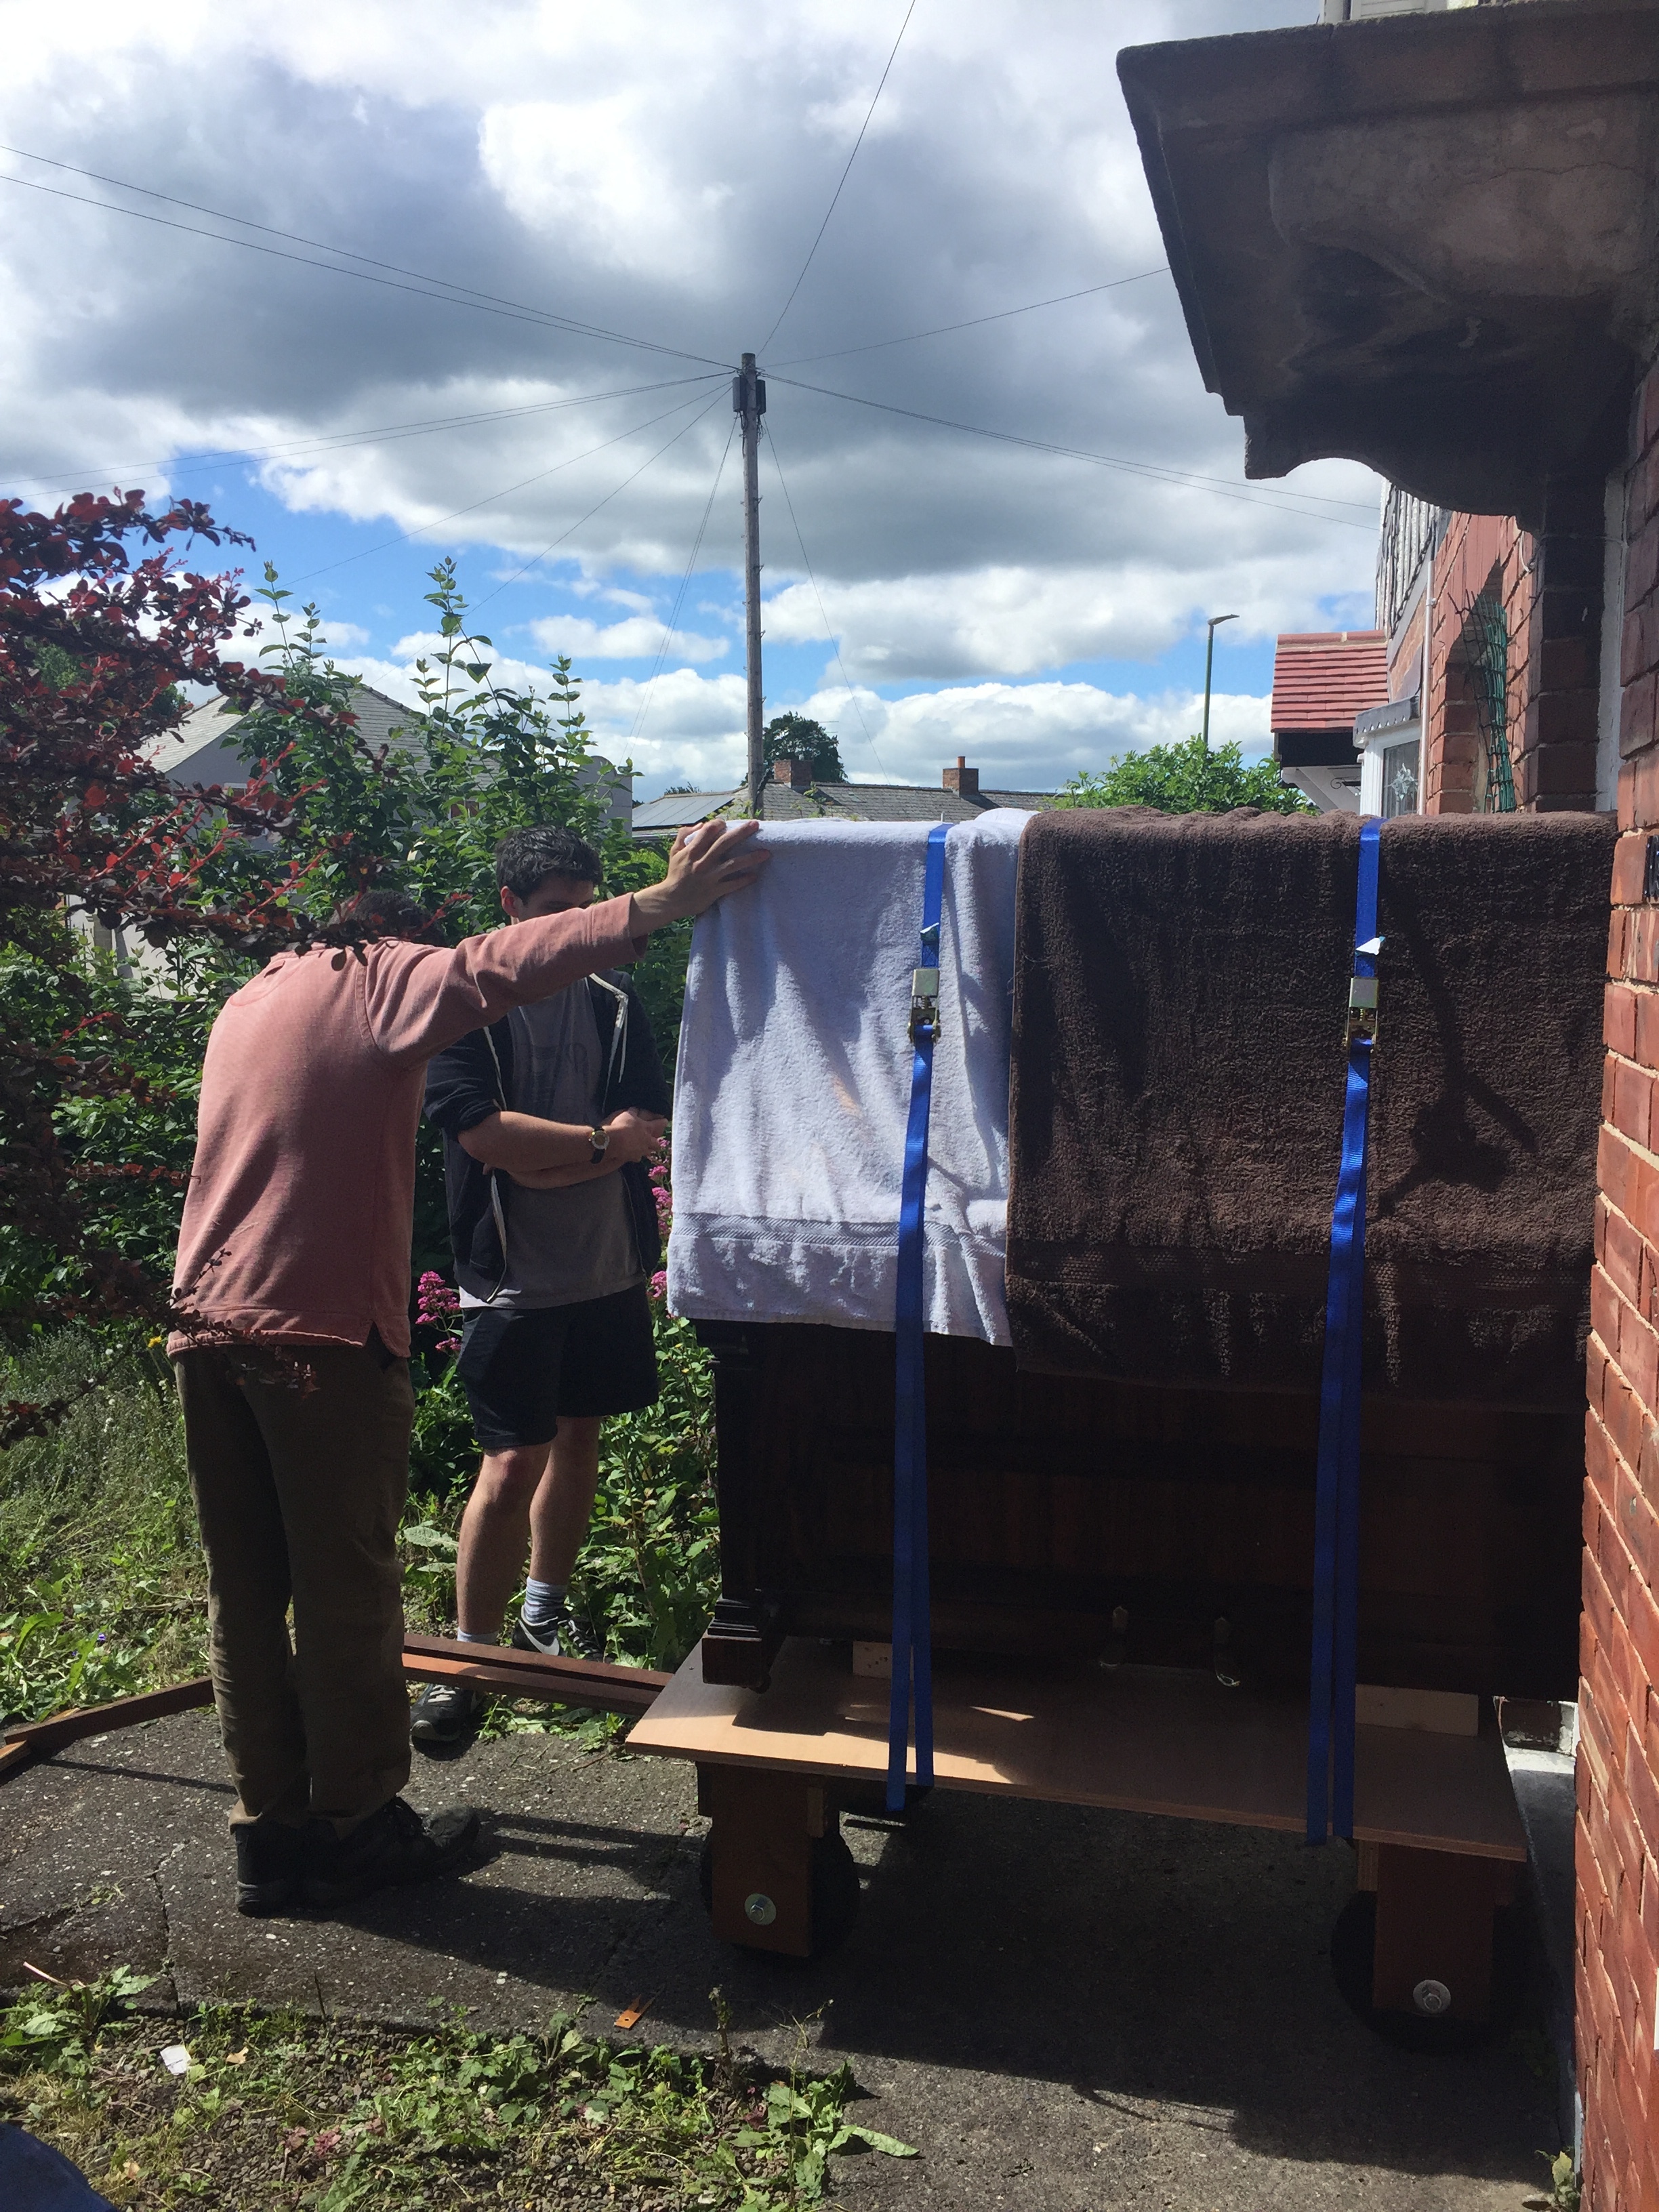
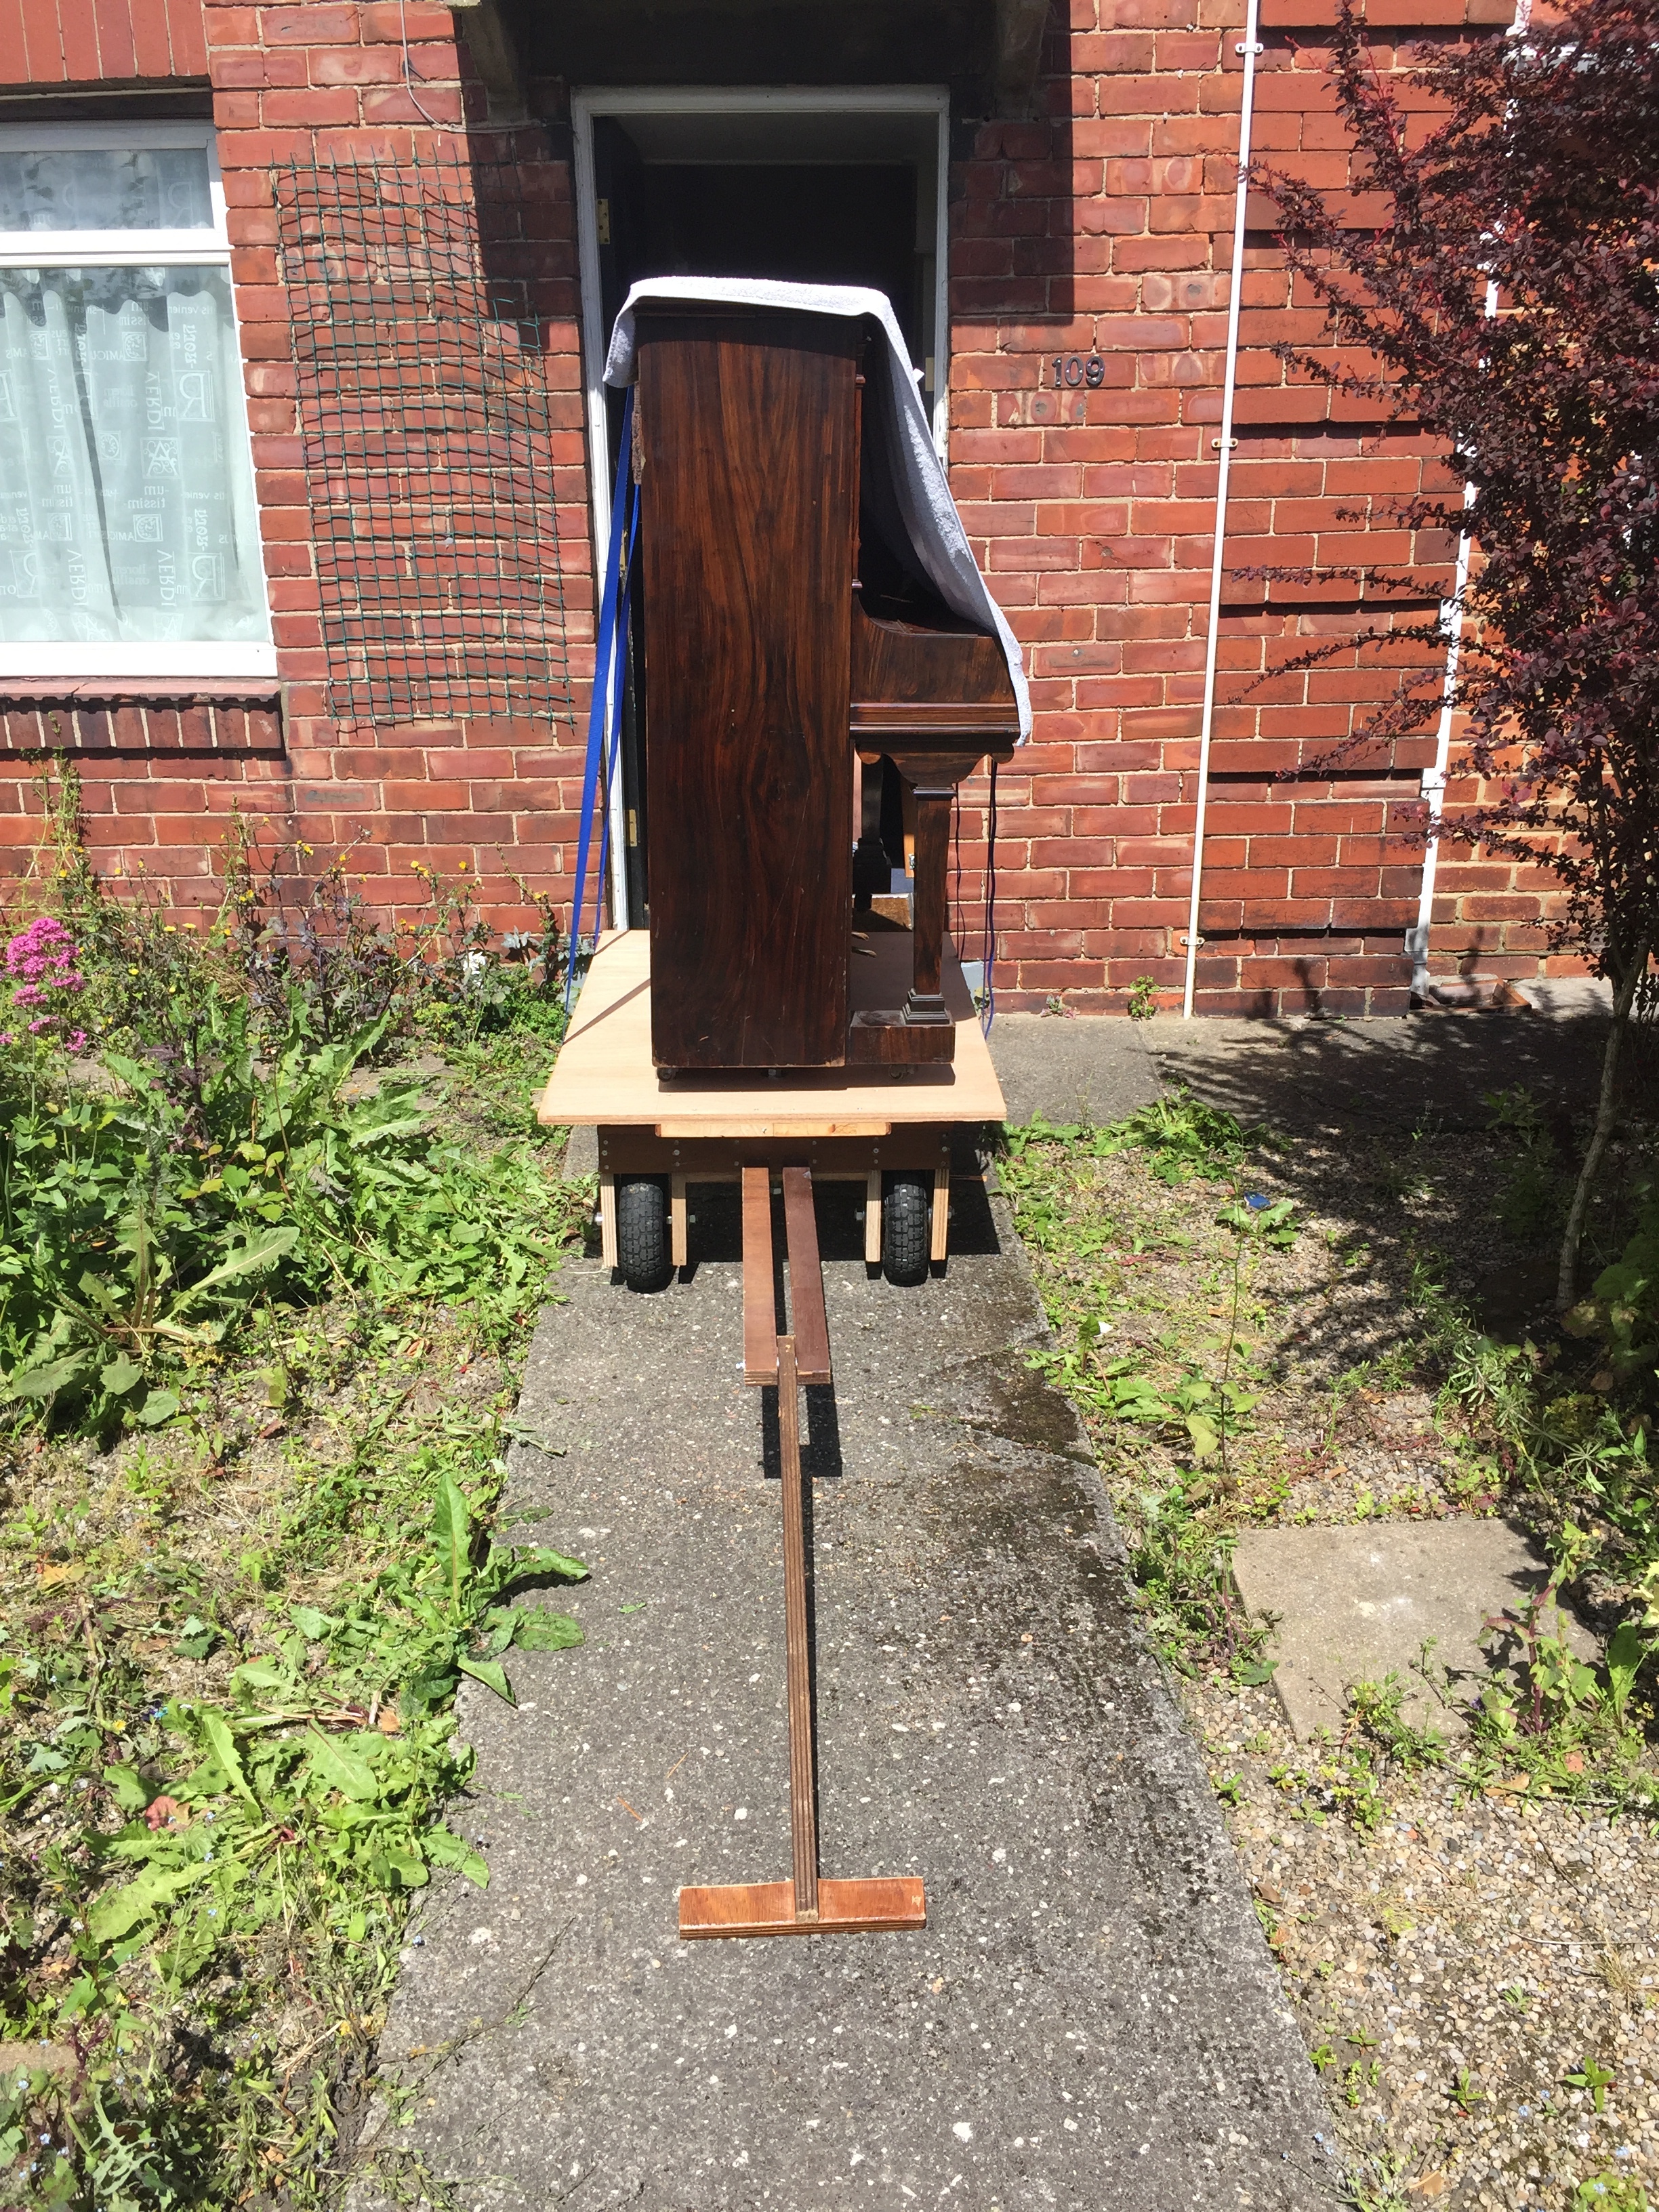
So the trolley could stand the weight: but could we move a piano on it? First to wheel it on with a little dolly I made (not shown):Then to chock it up and strap it down. This time we actually did push and hold the piano itself lest it tumble, and the yoke was used only for steering.
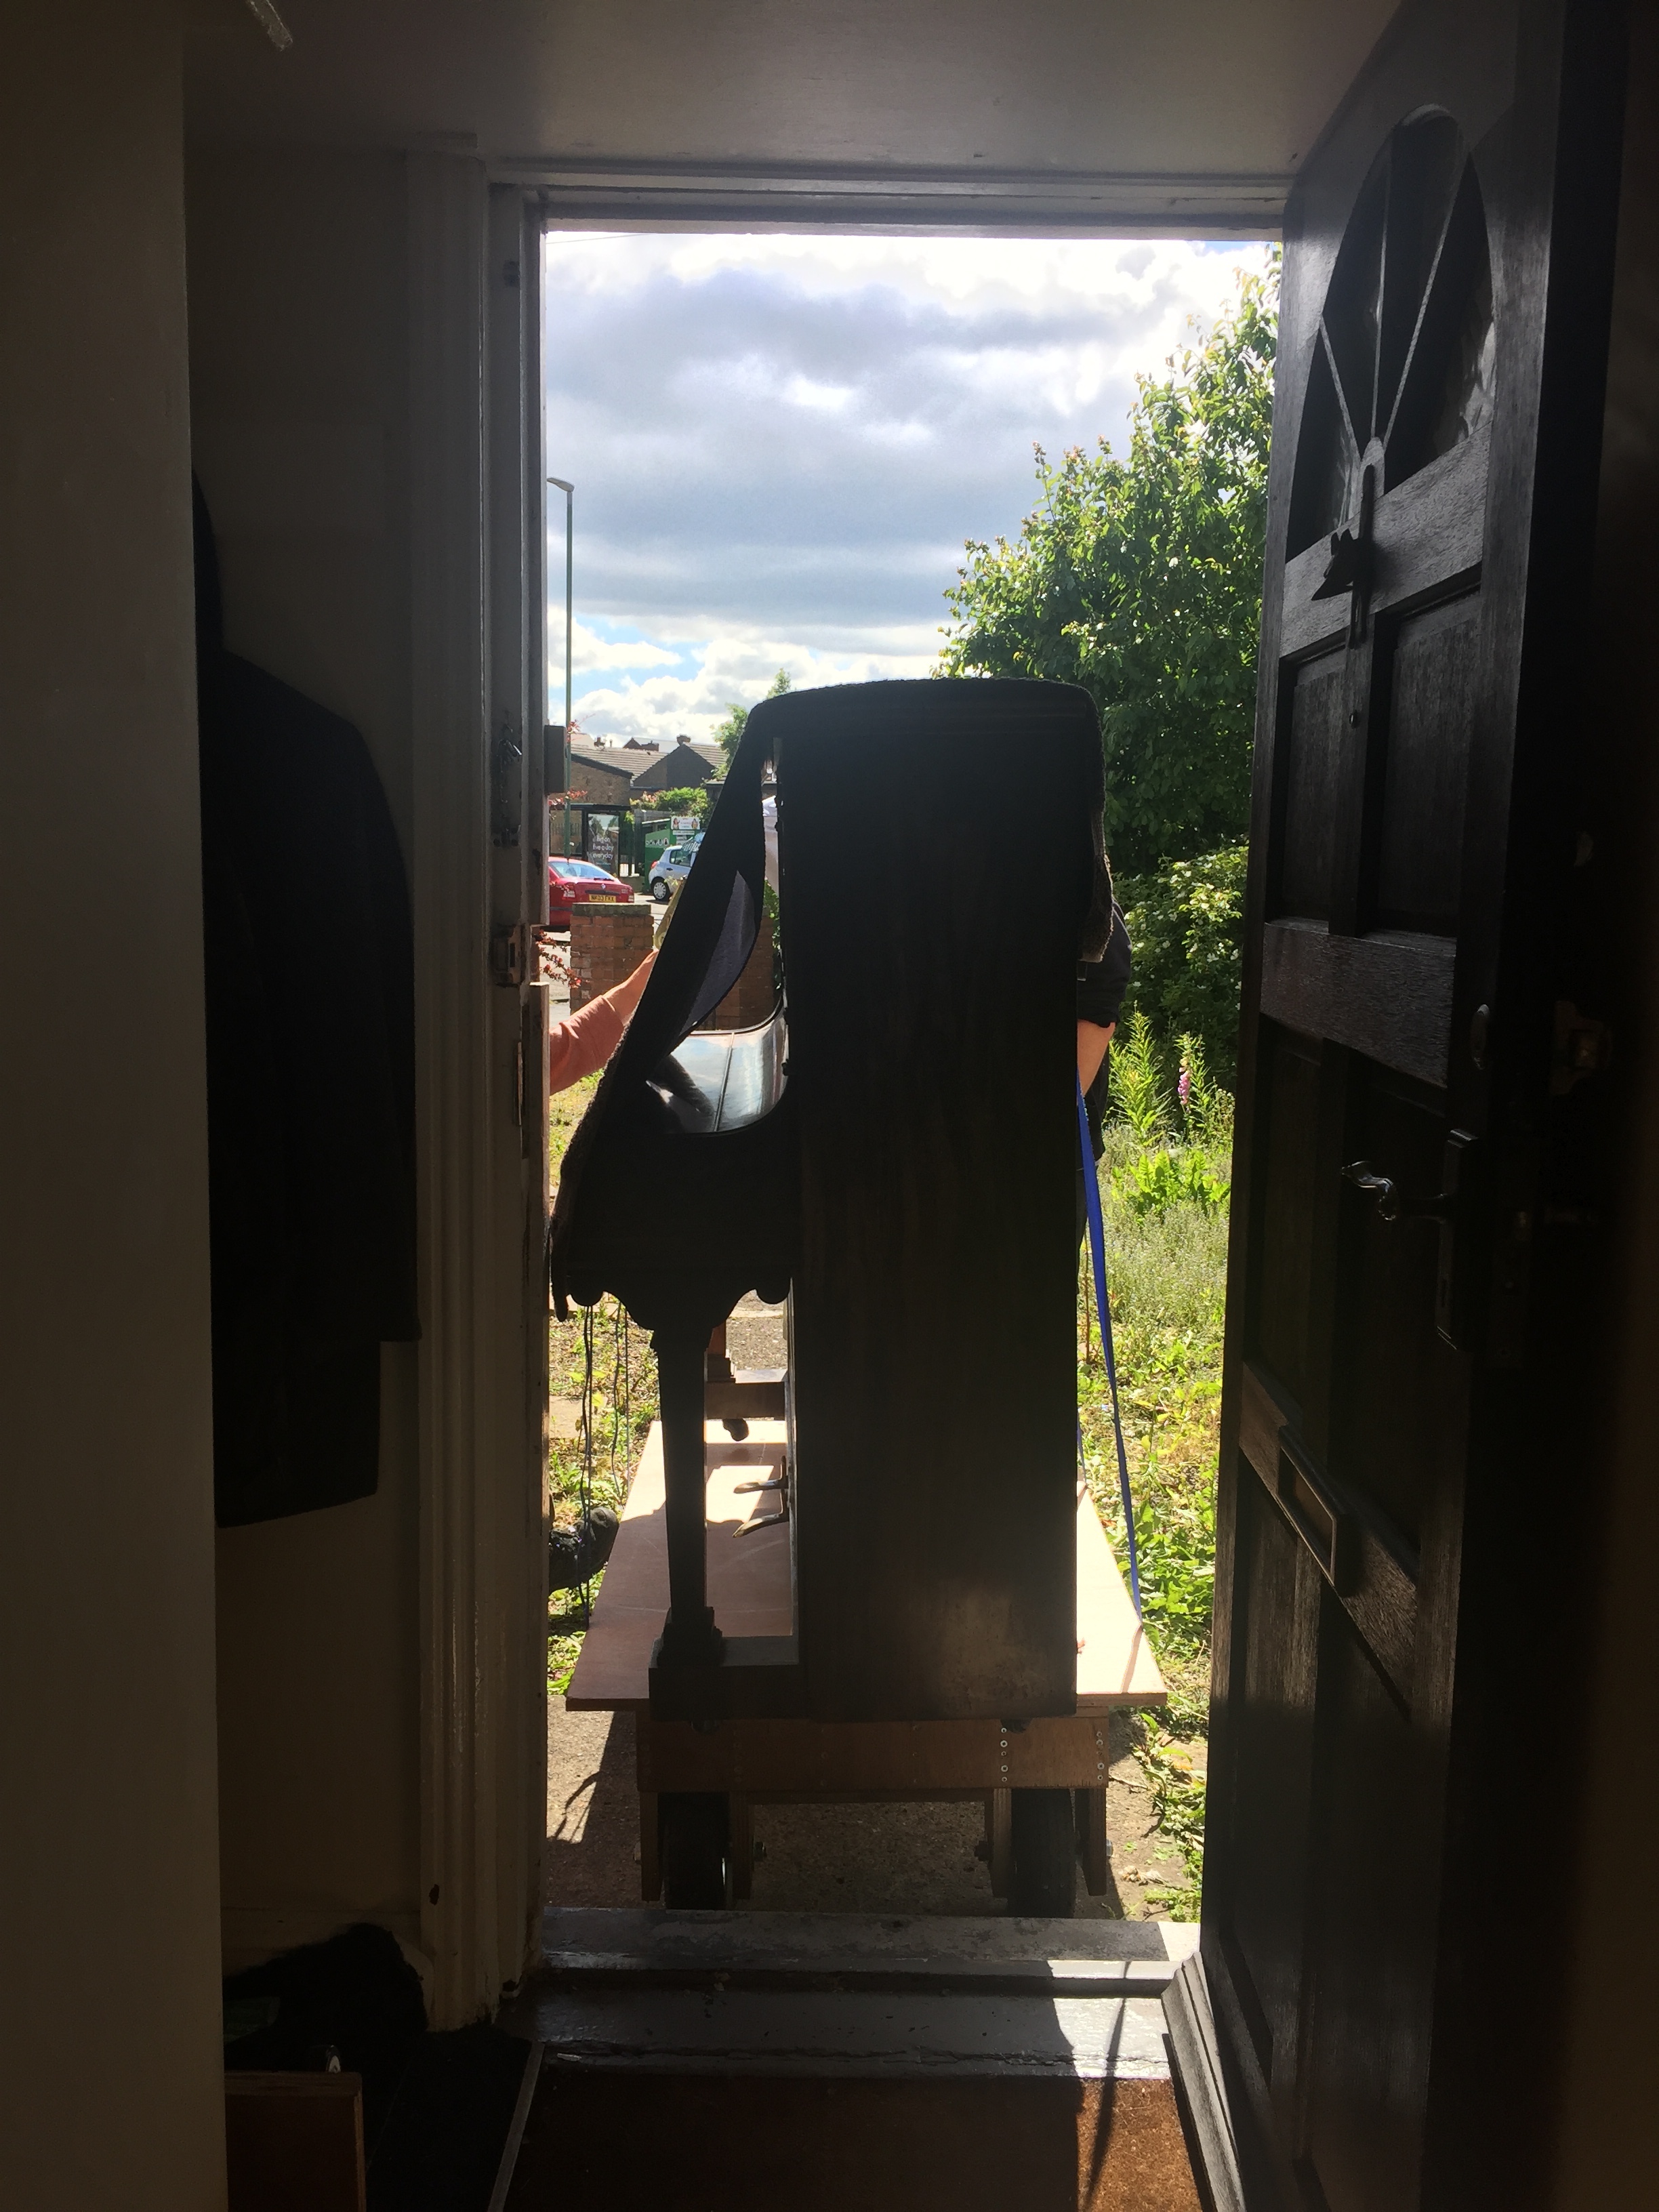
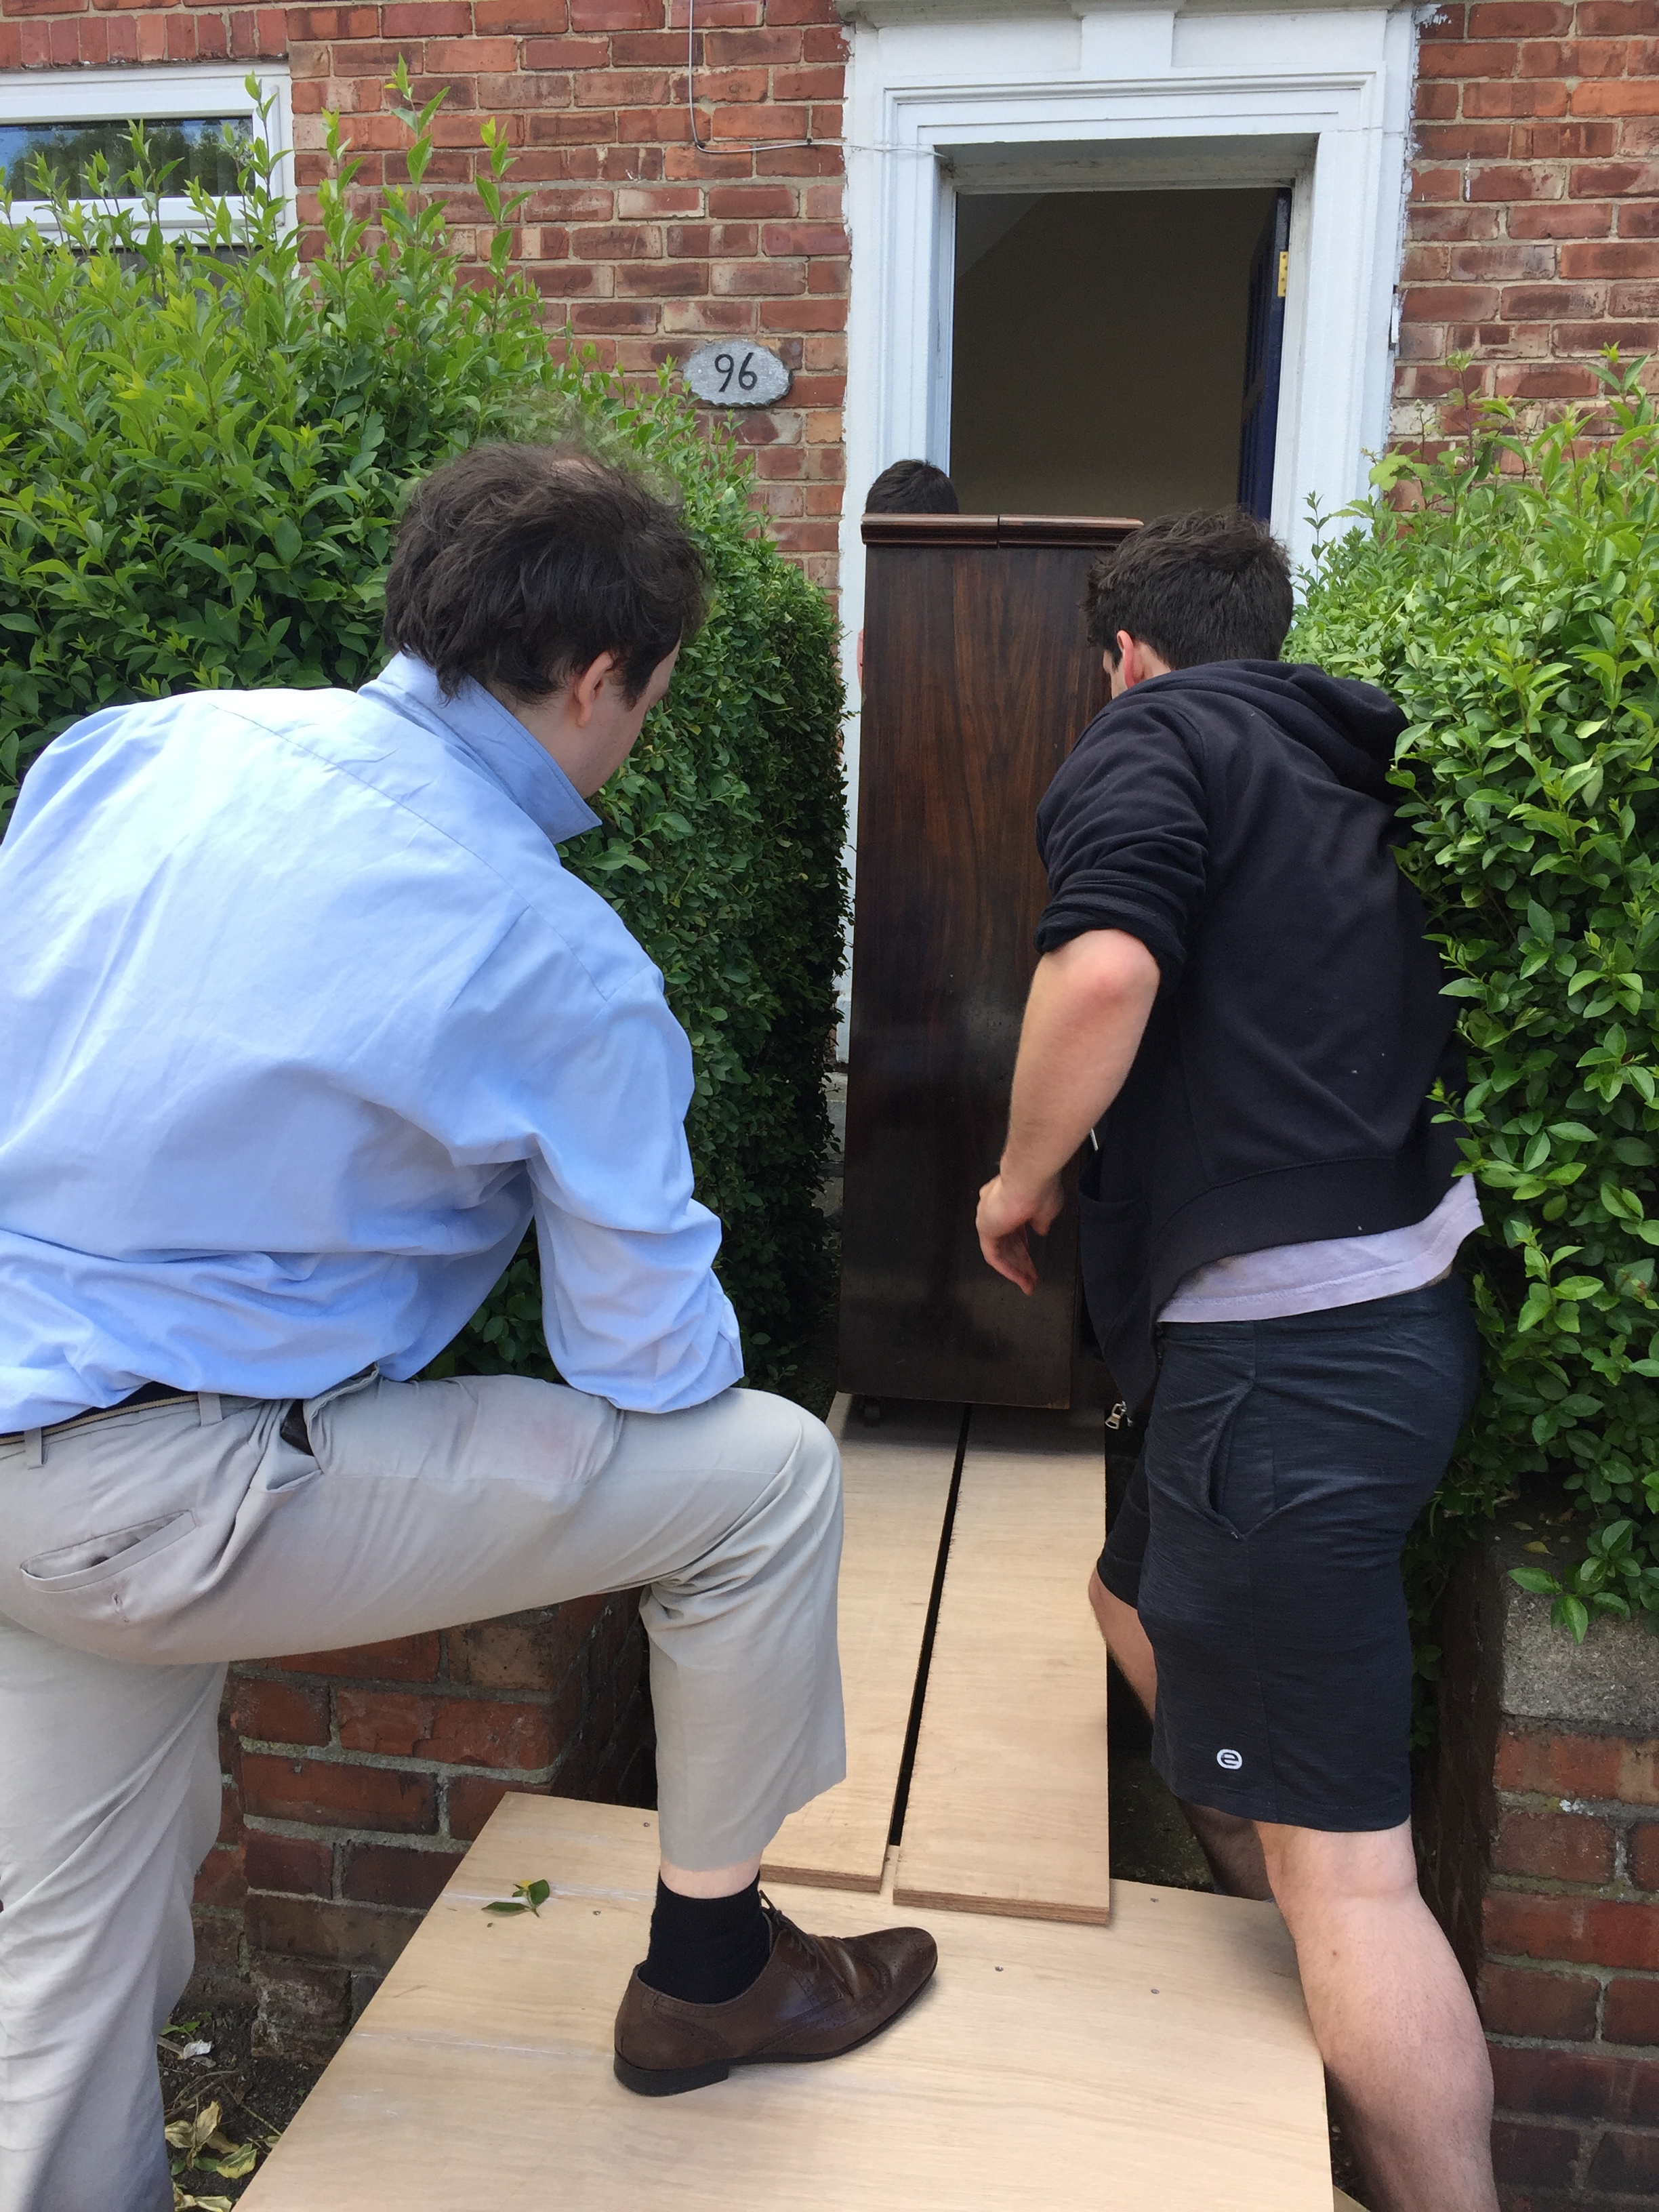
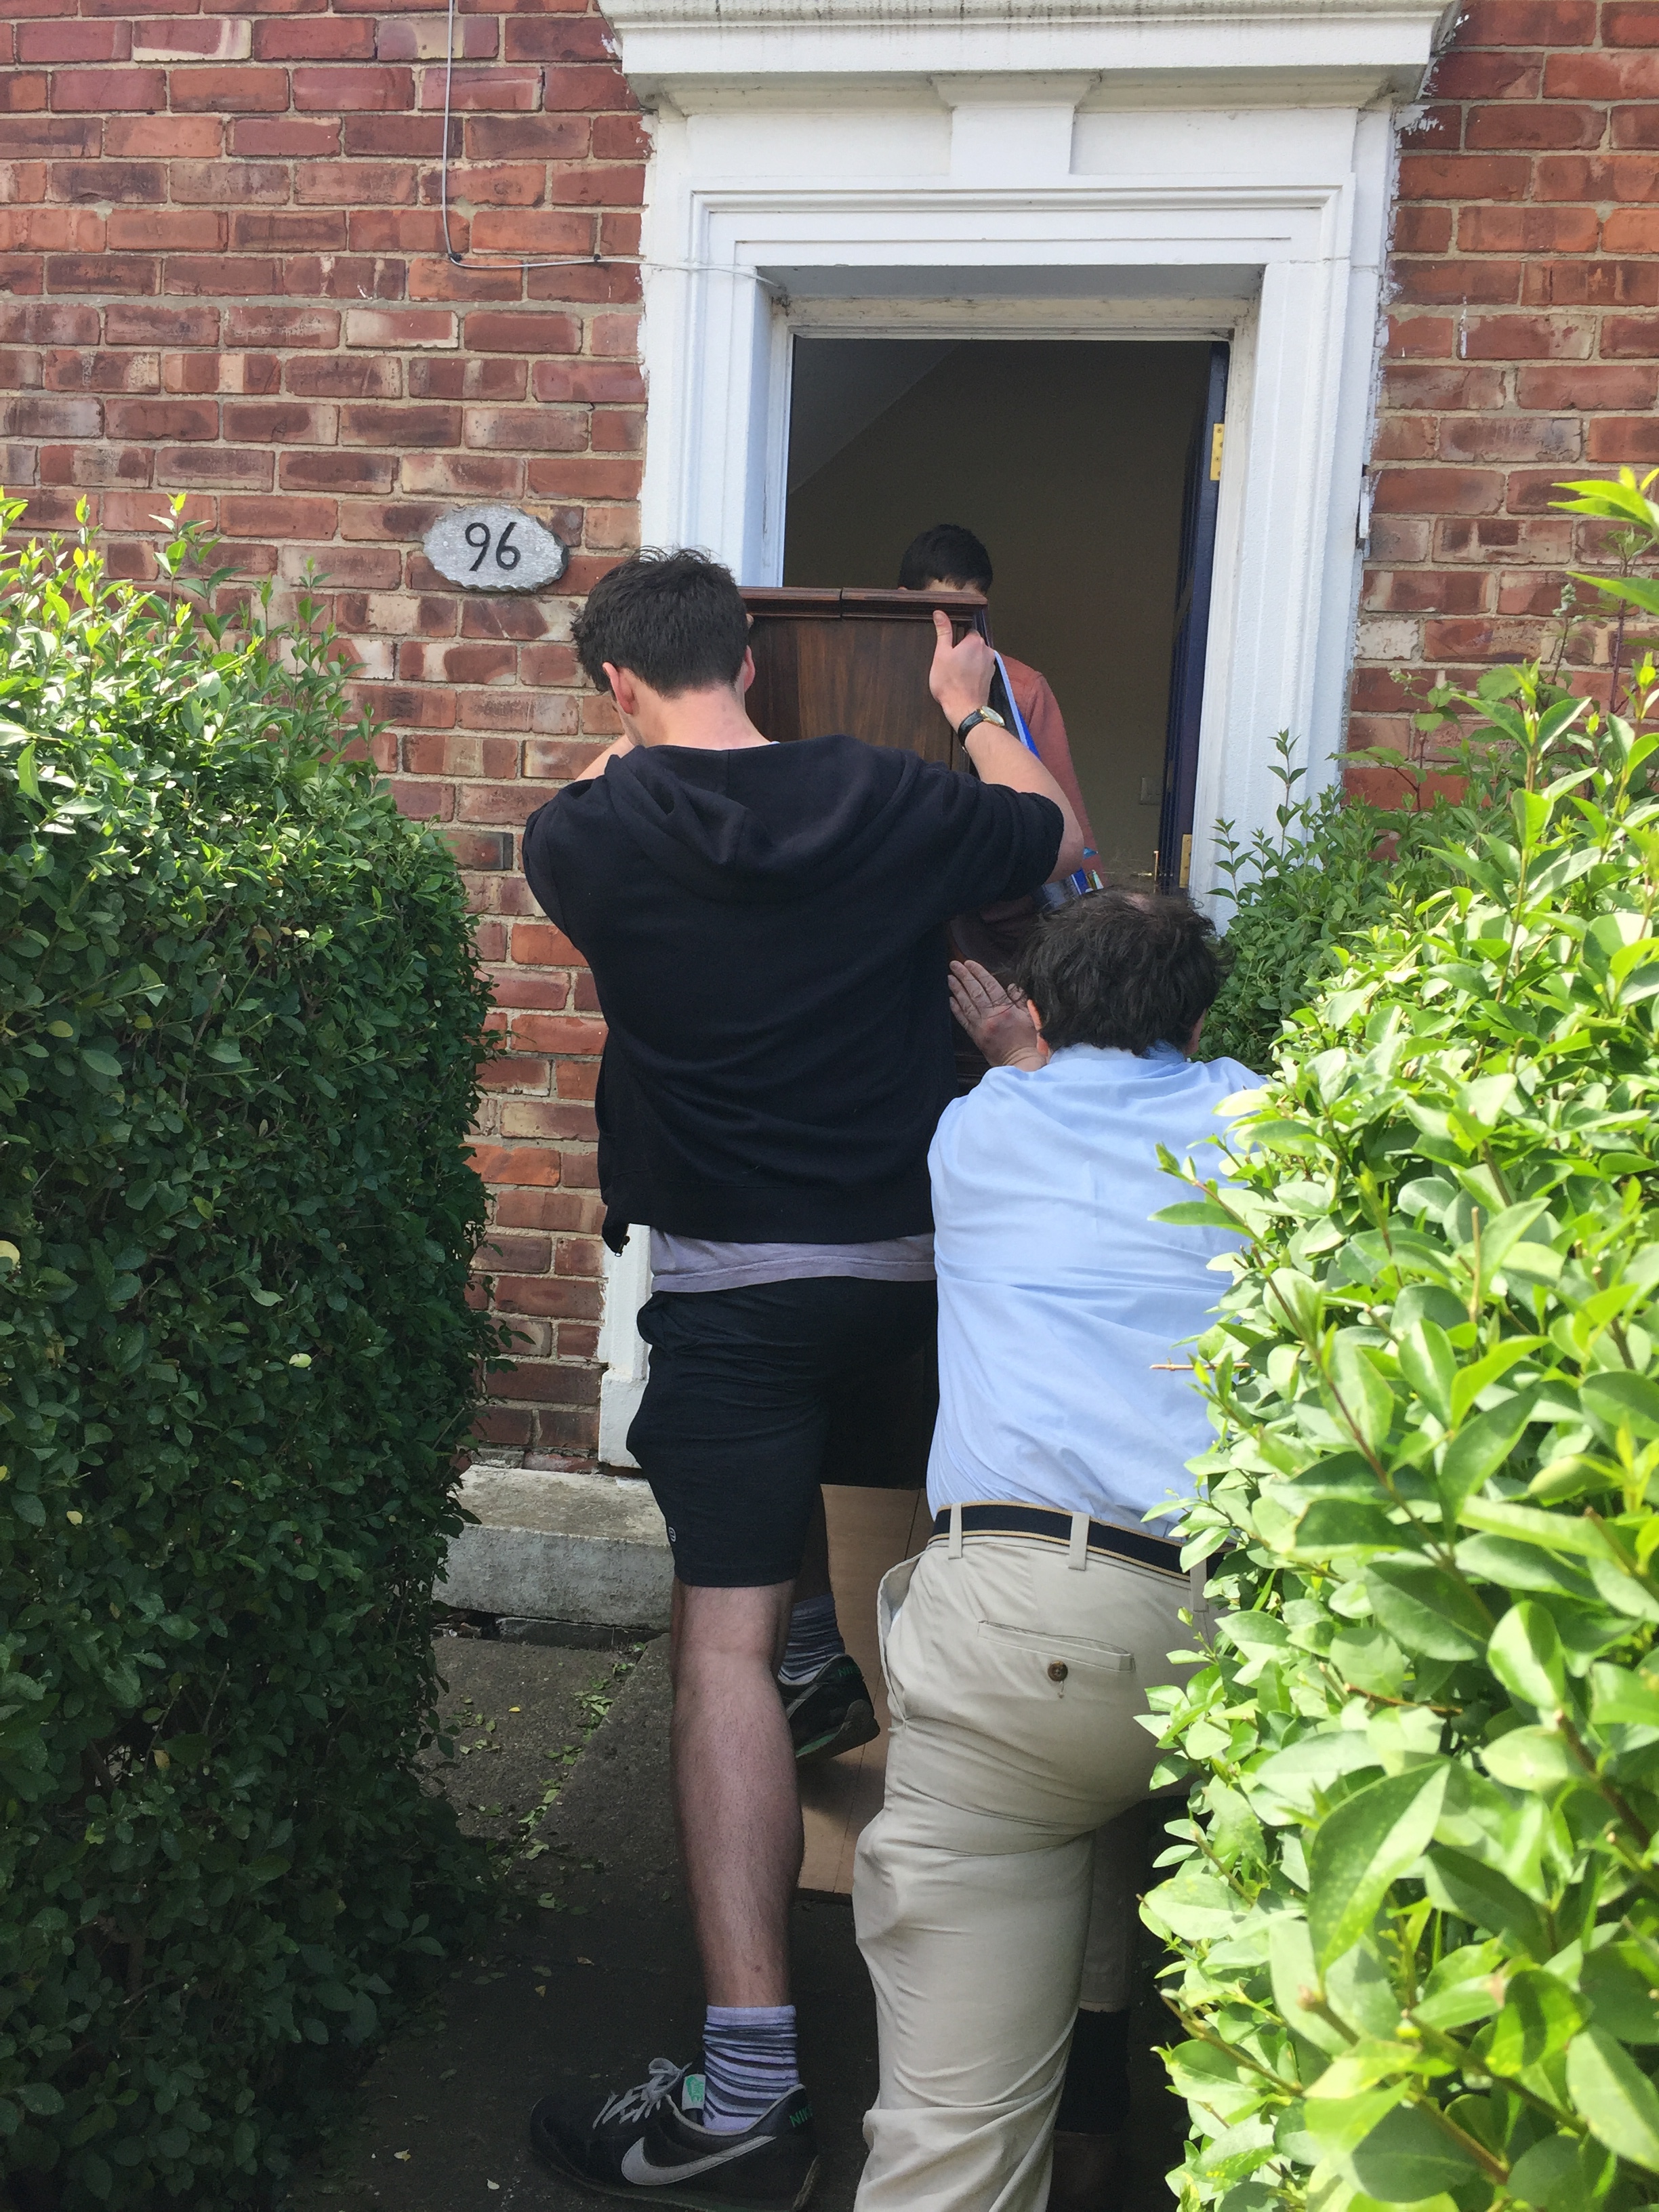
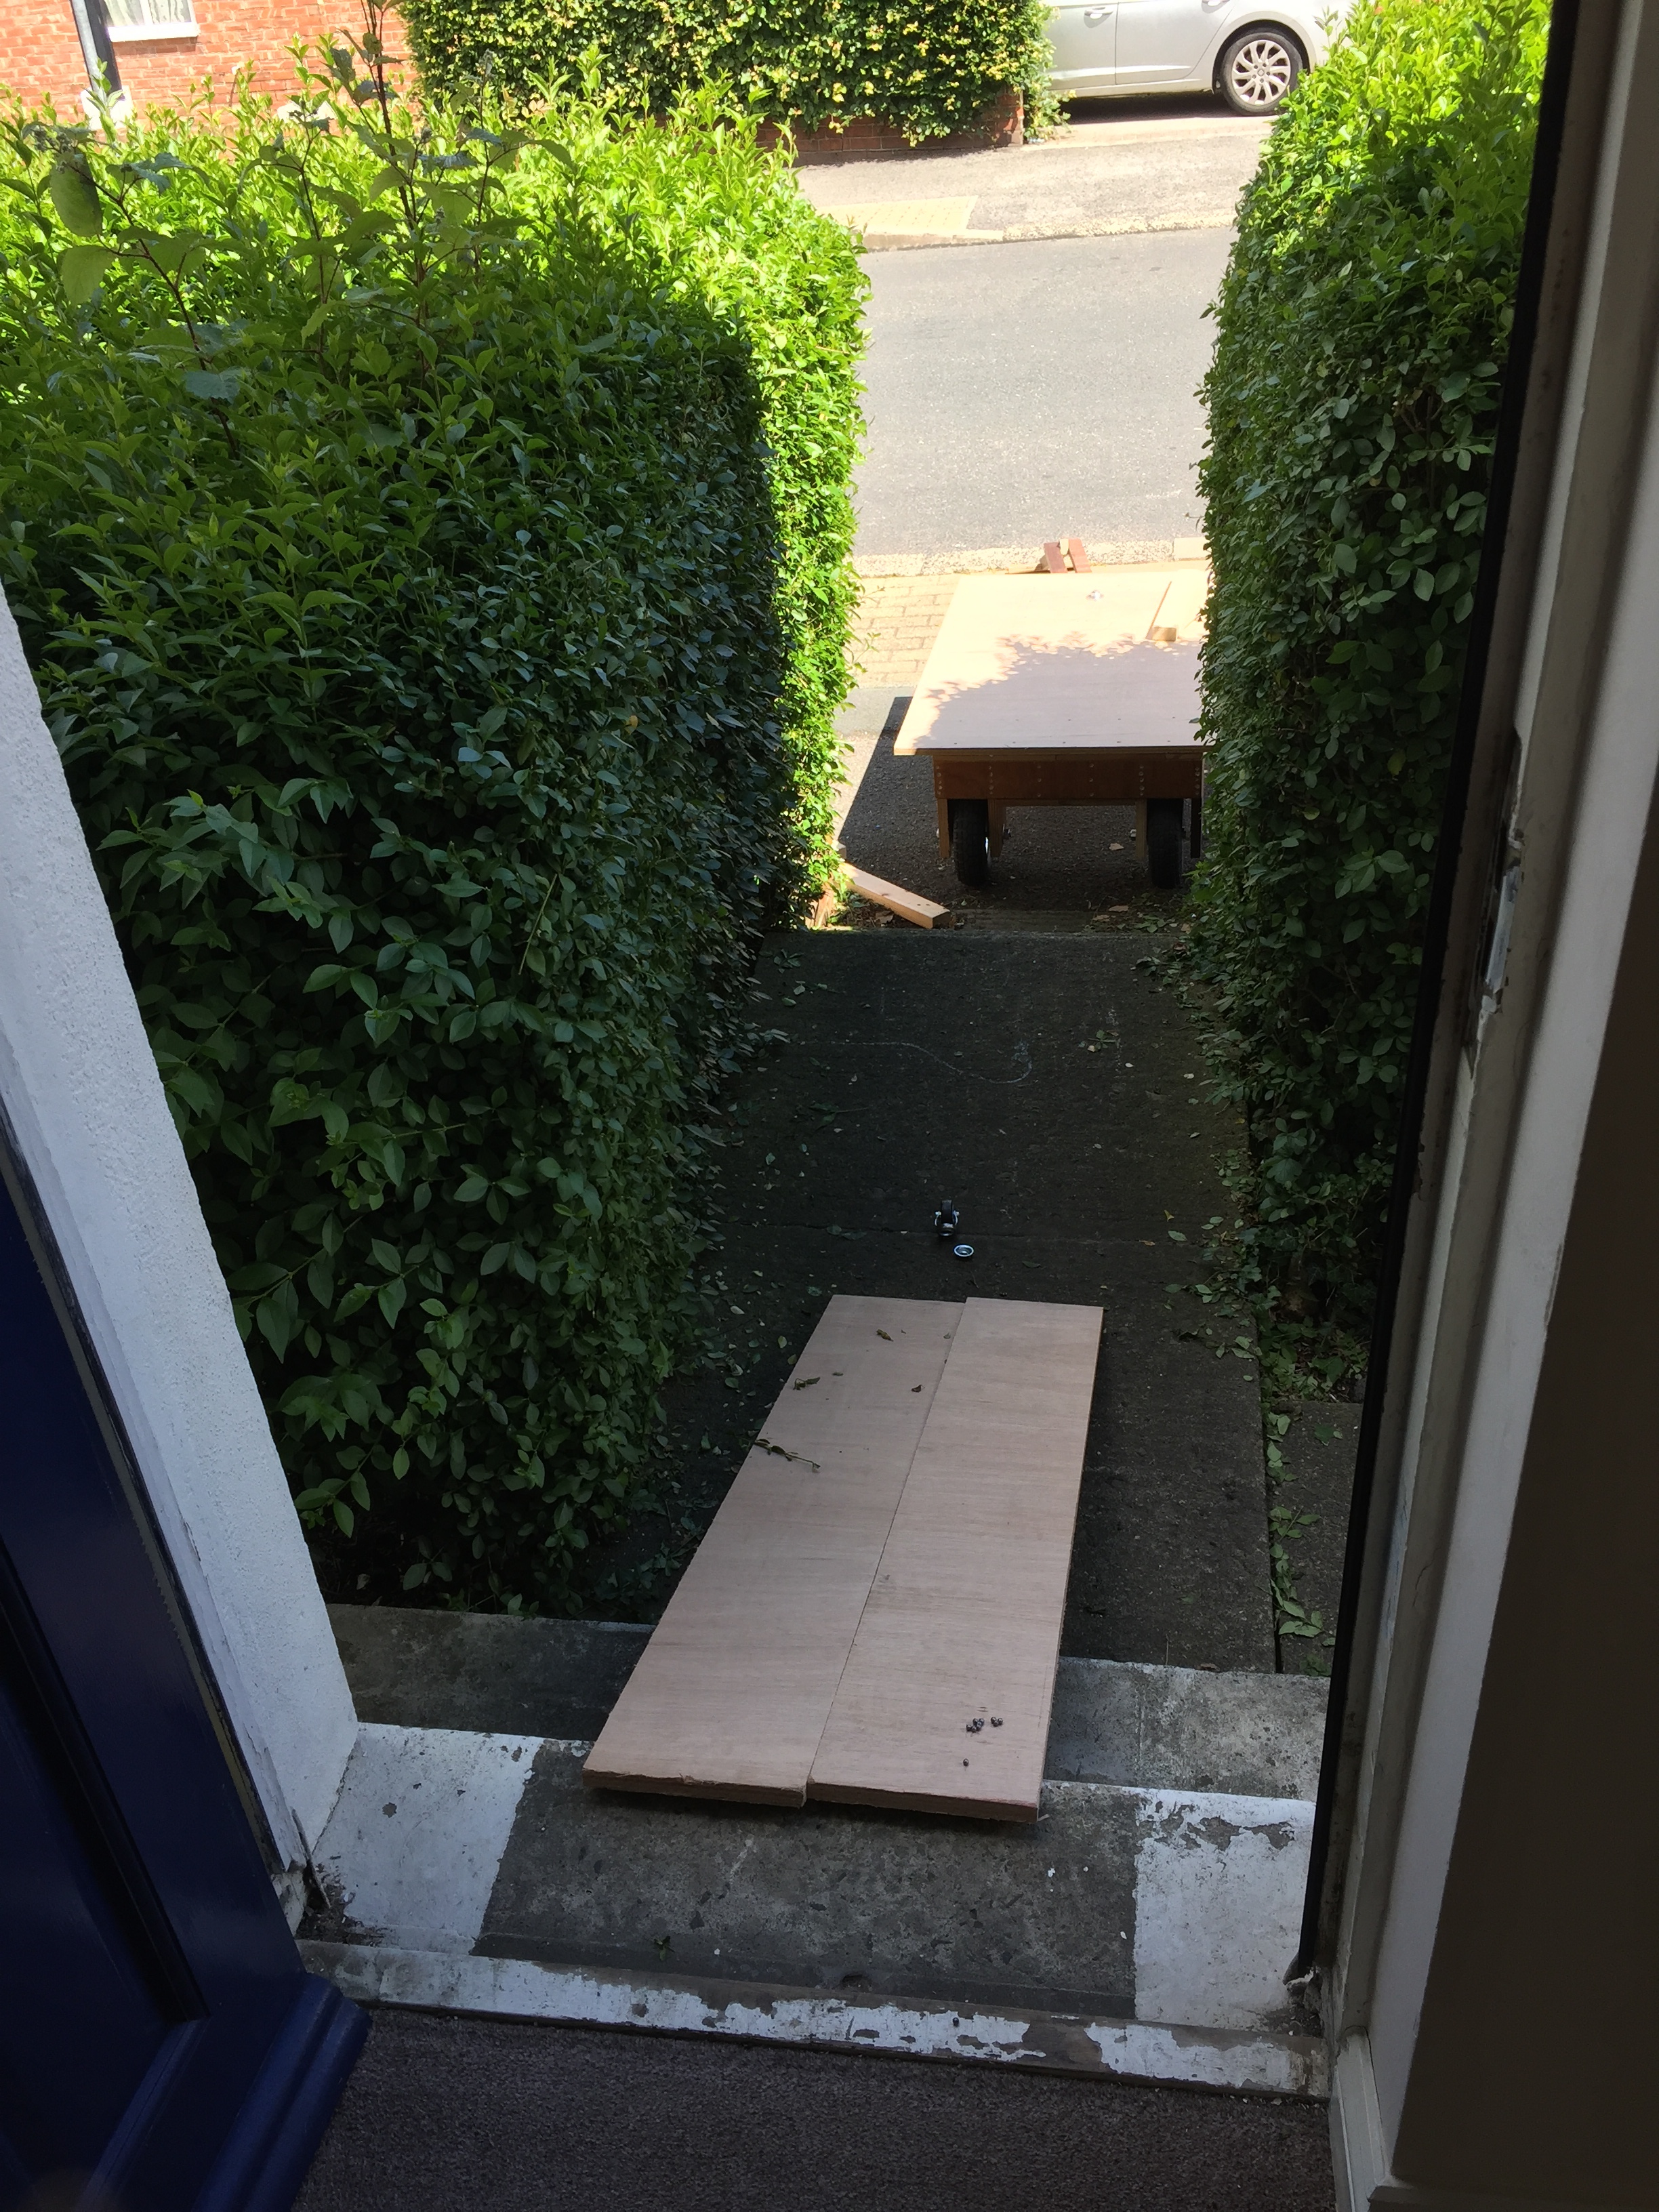
Then to get it up a set of steps and over a threshold:
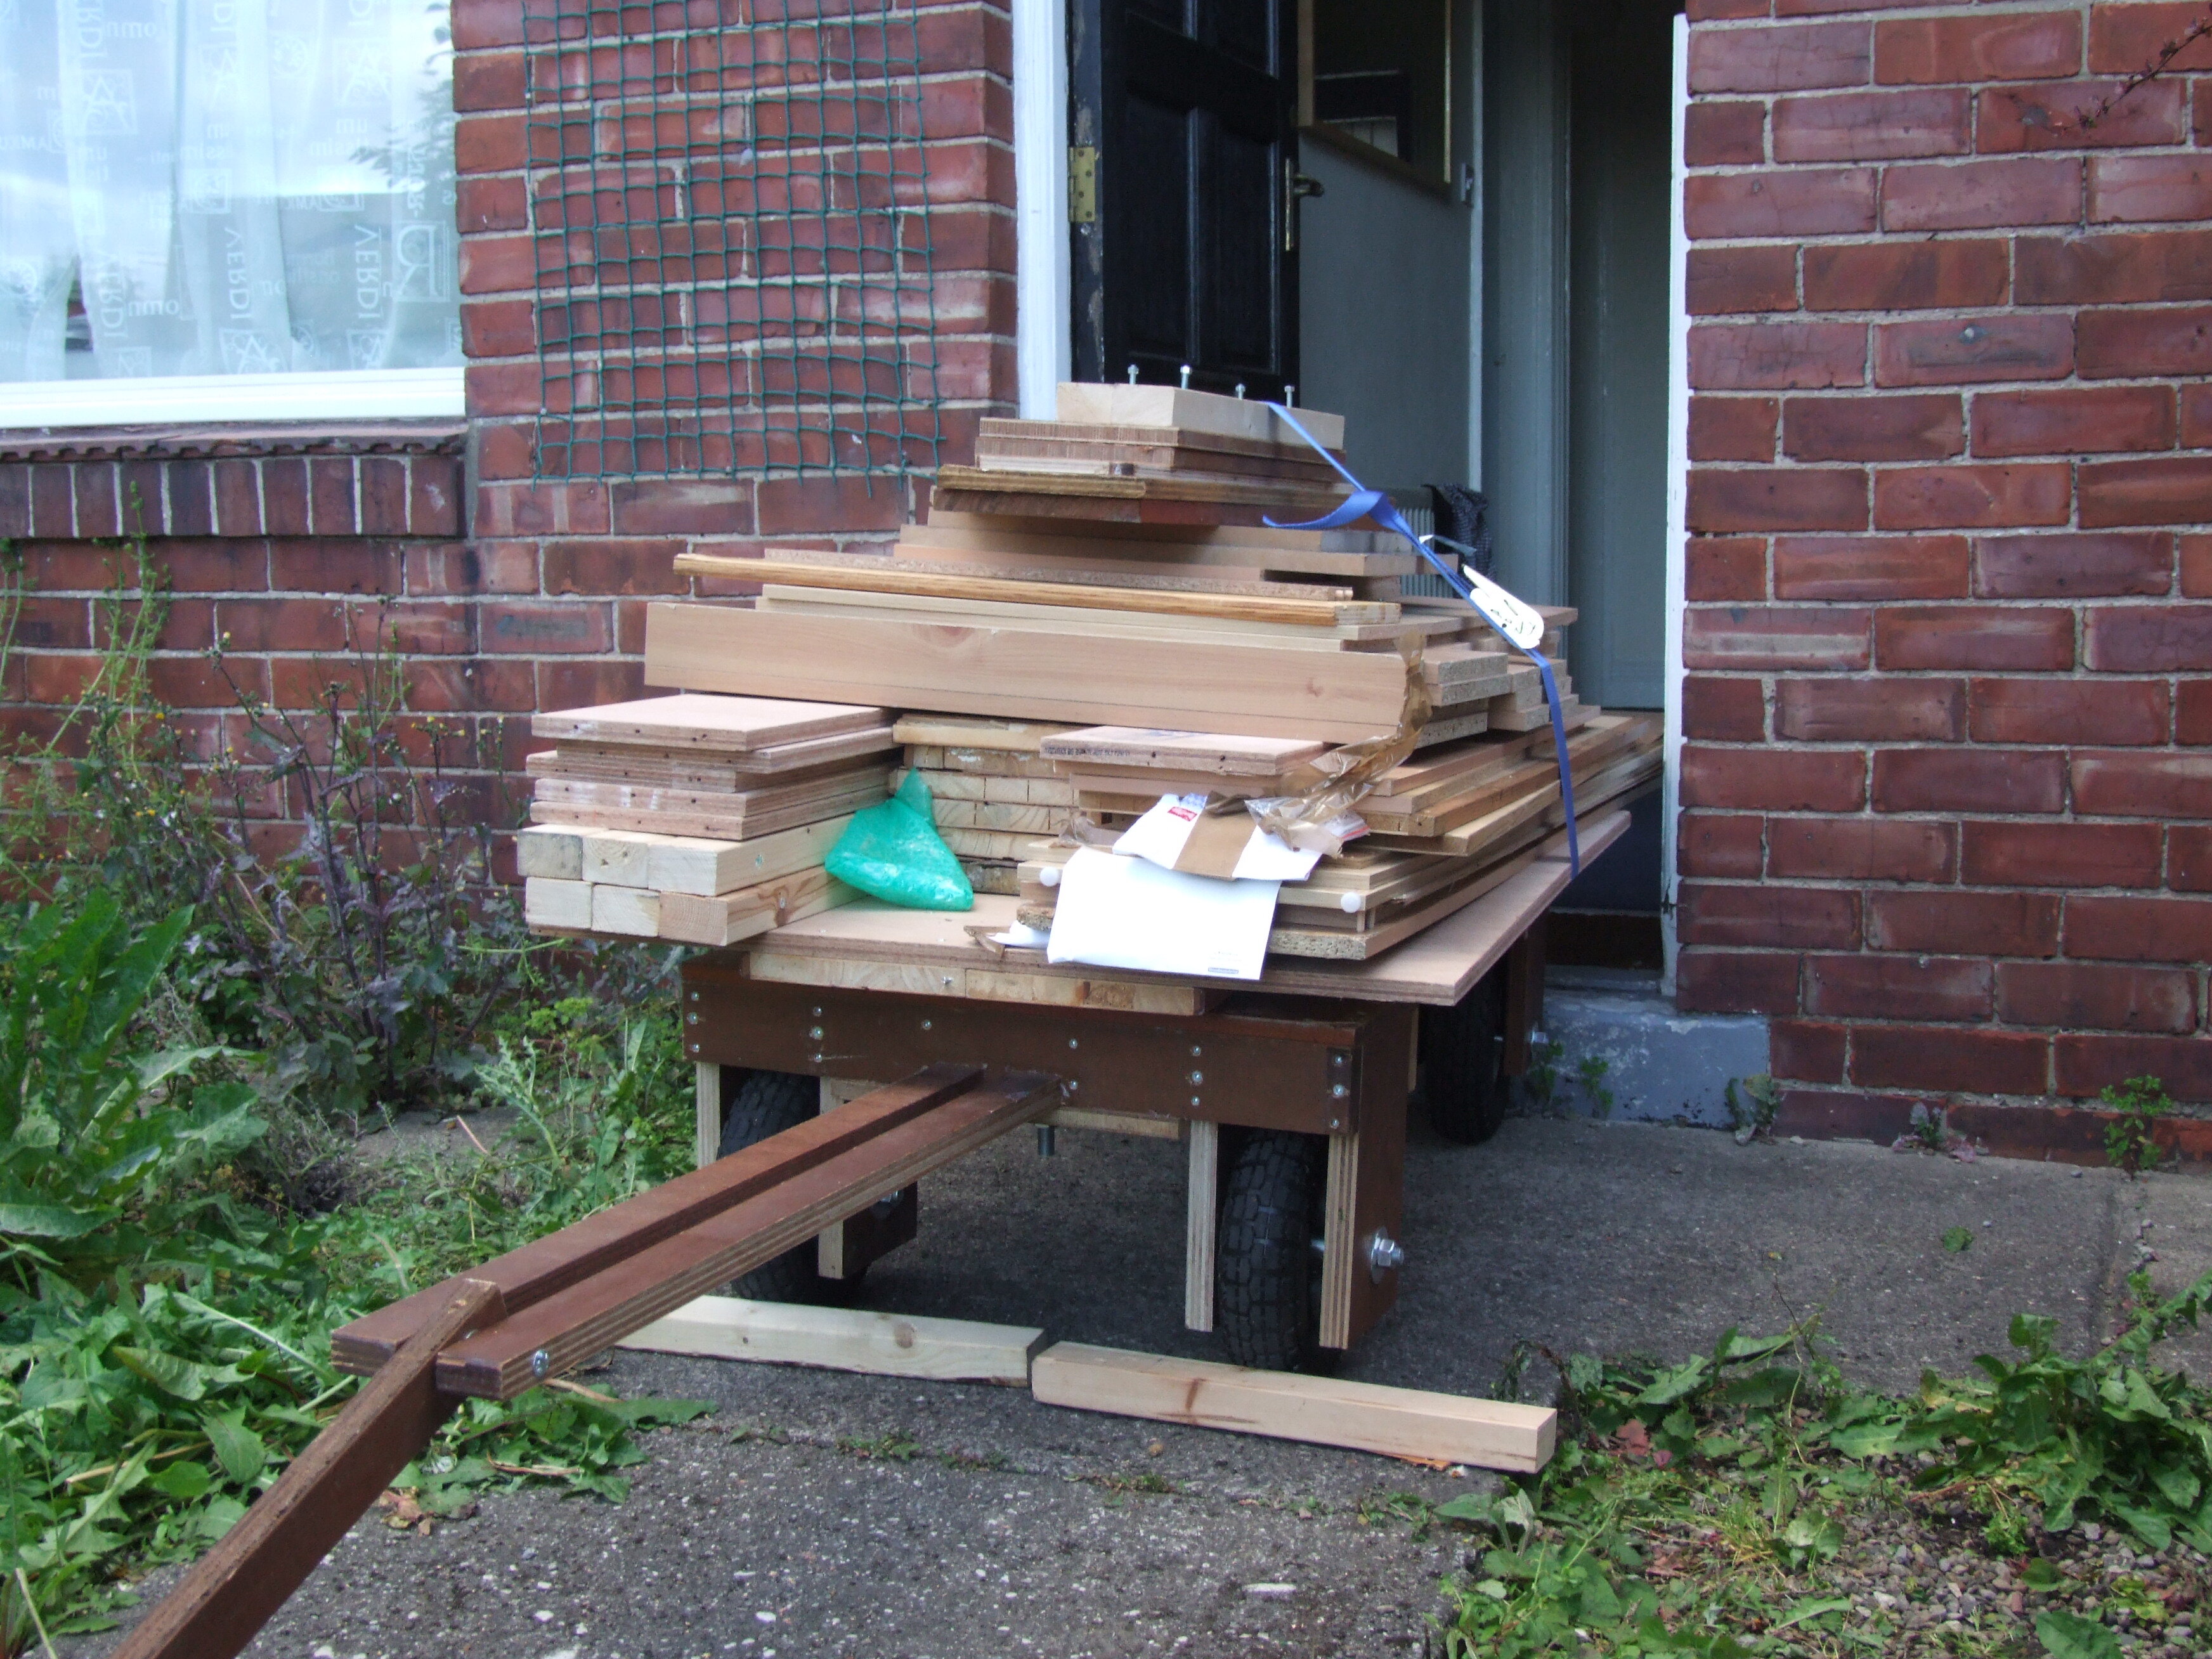
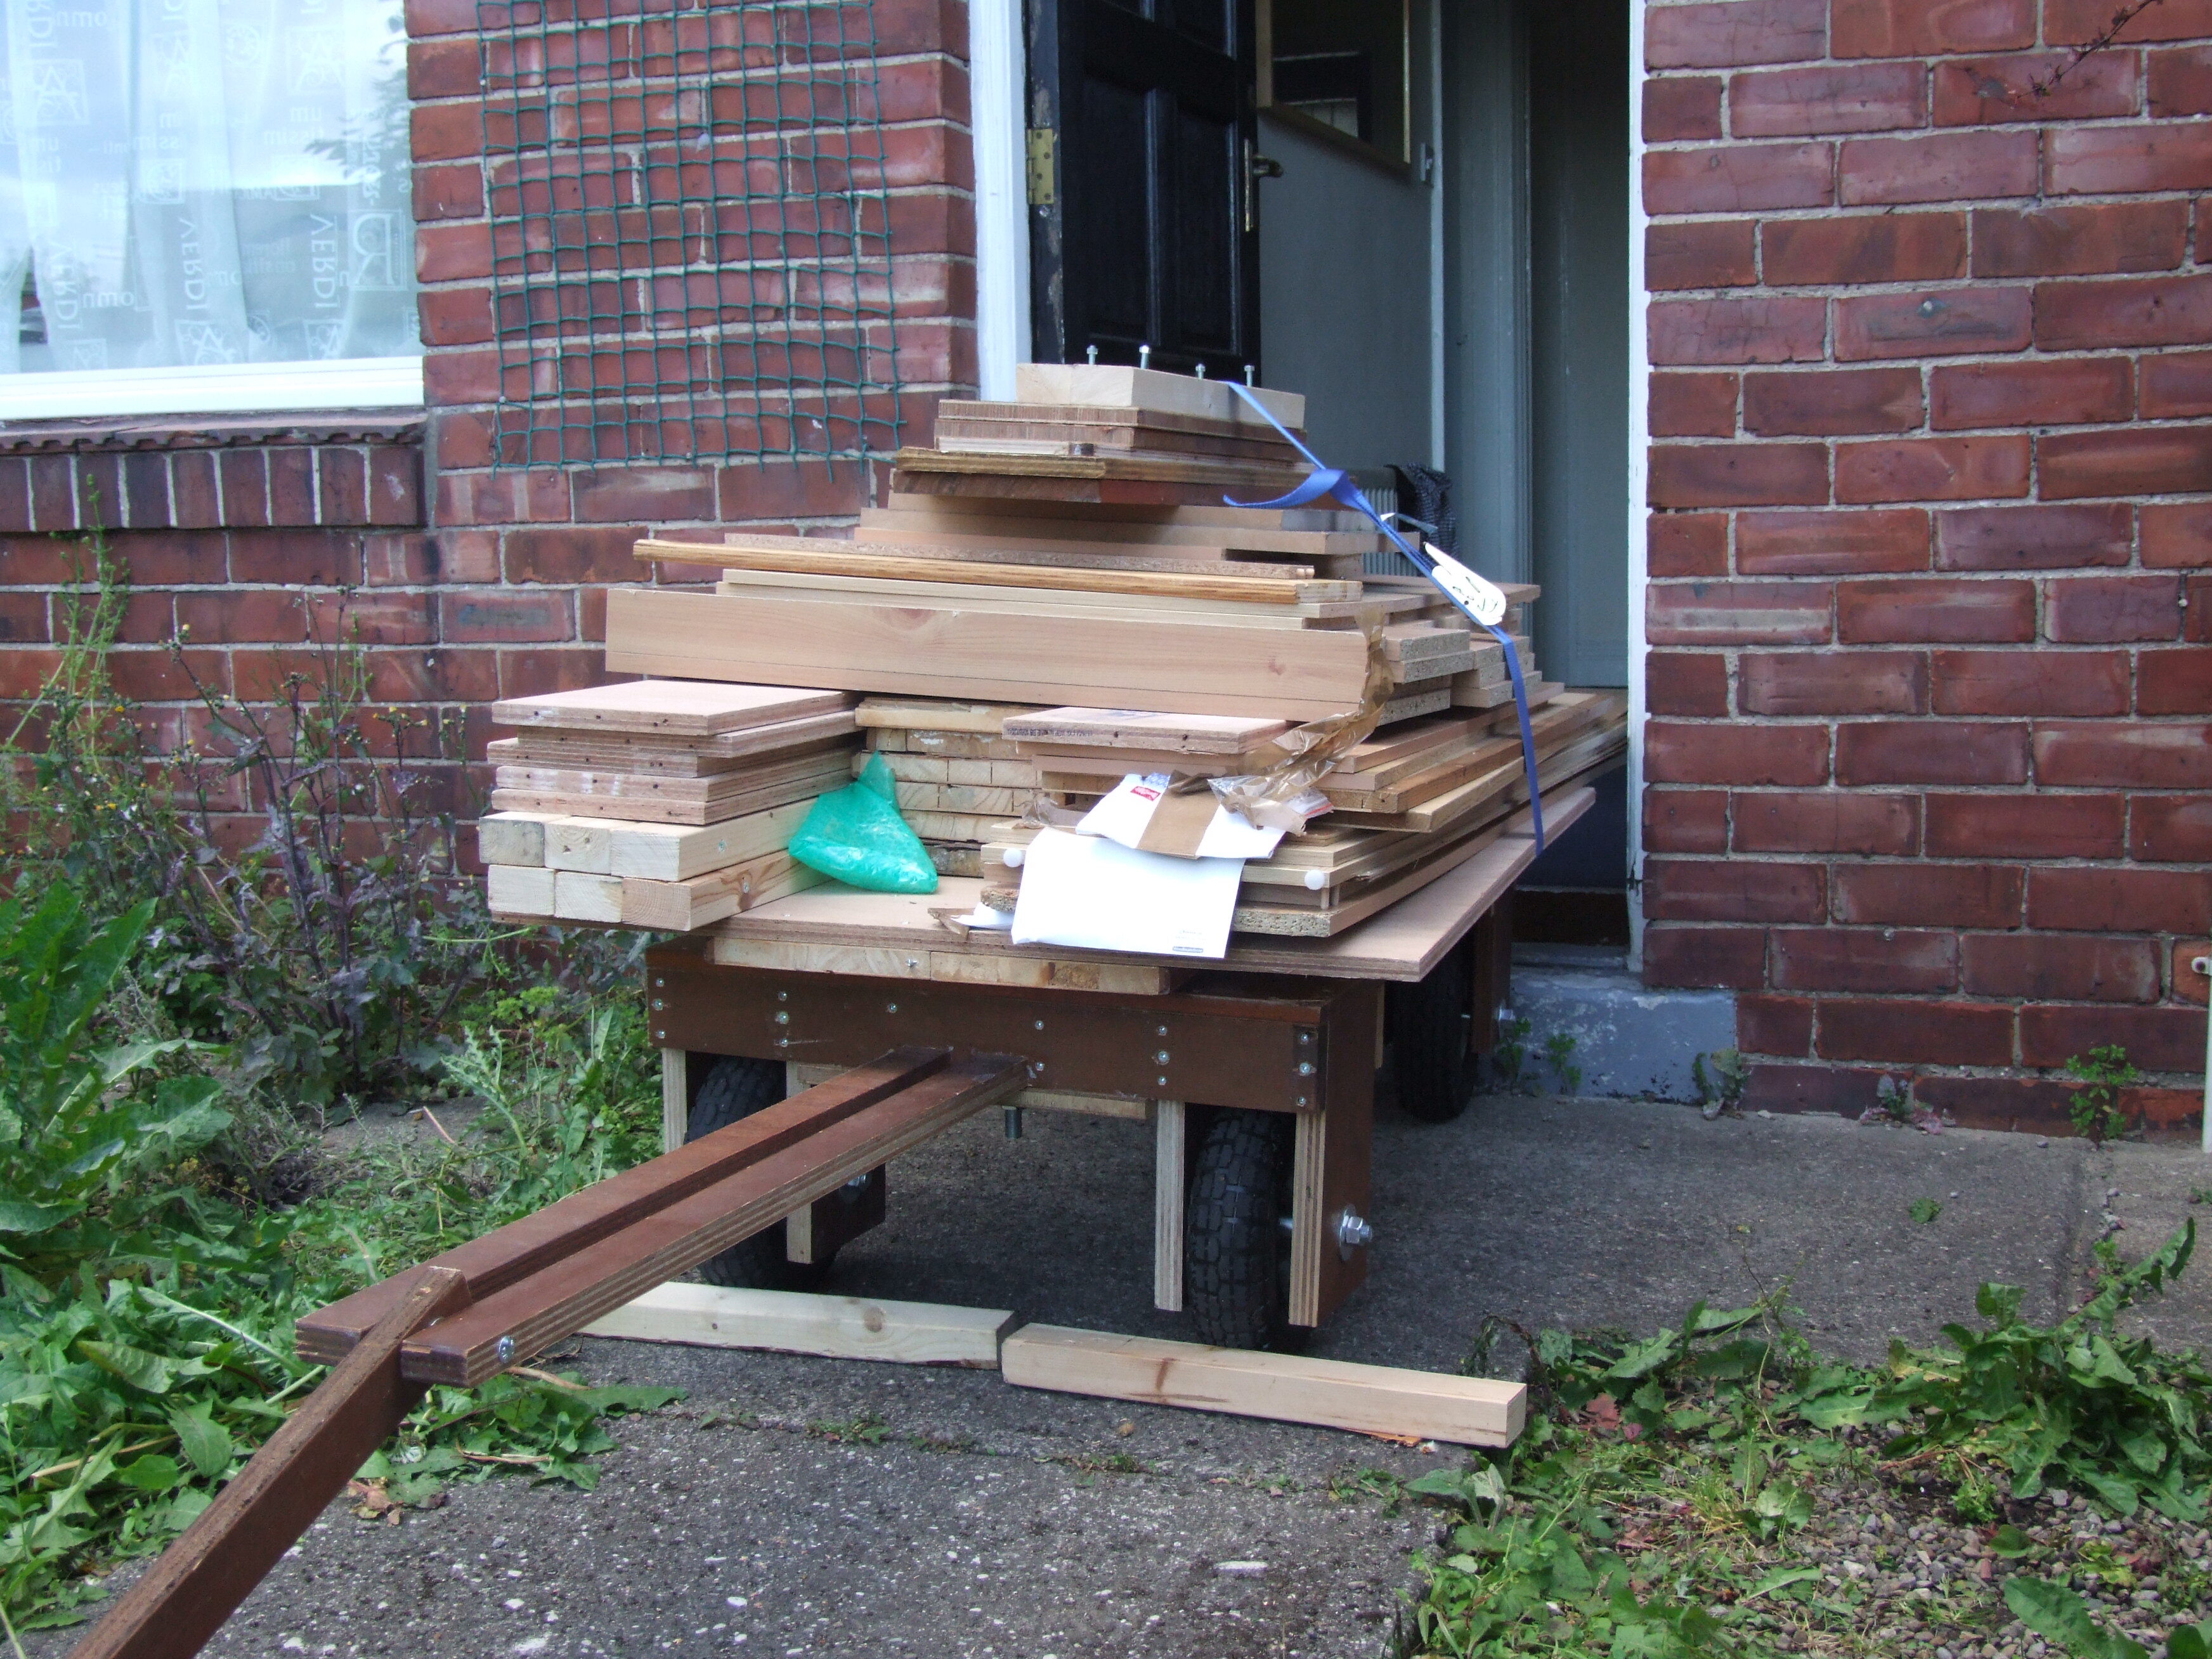
(I’m inside lifting the piano!) The small dolly failed on the threshold, but by that point we could wheel the piano on its own castors. The trolley is still fine: I’ve since used it around B&Q, with an angled frame to take timber, causing the staff to ask whether it was one of their trollies, and if so where I’d found it.
