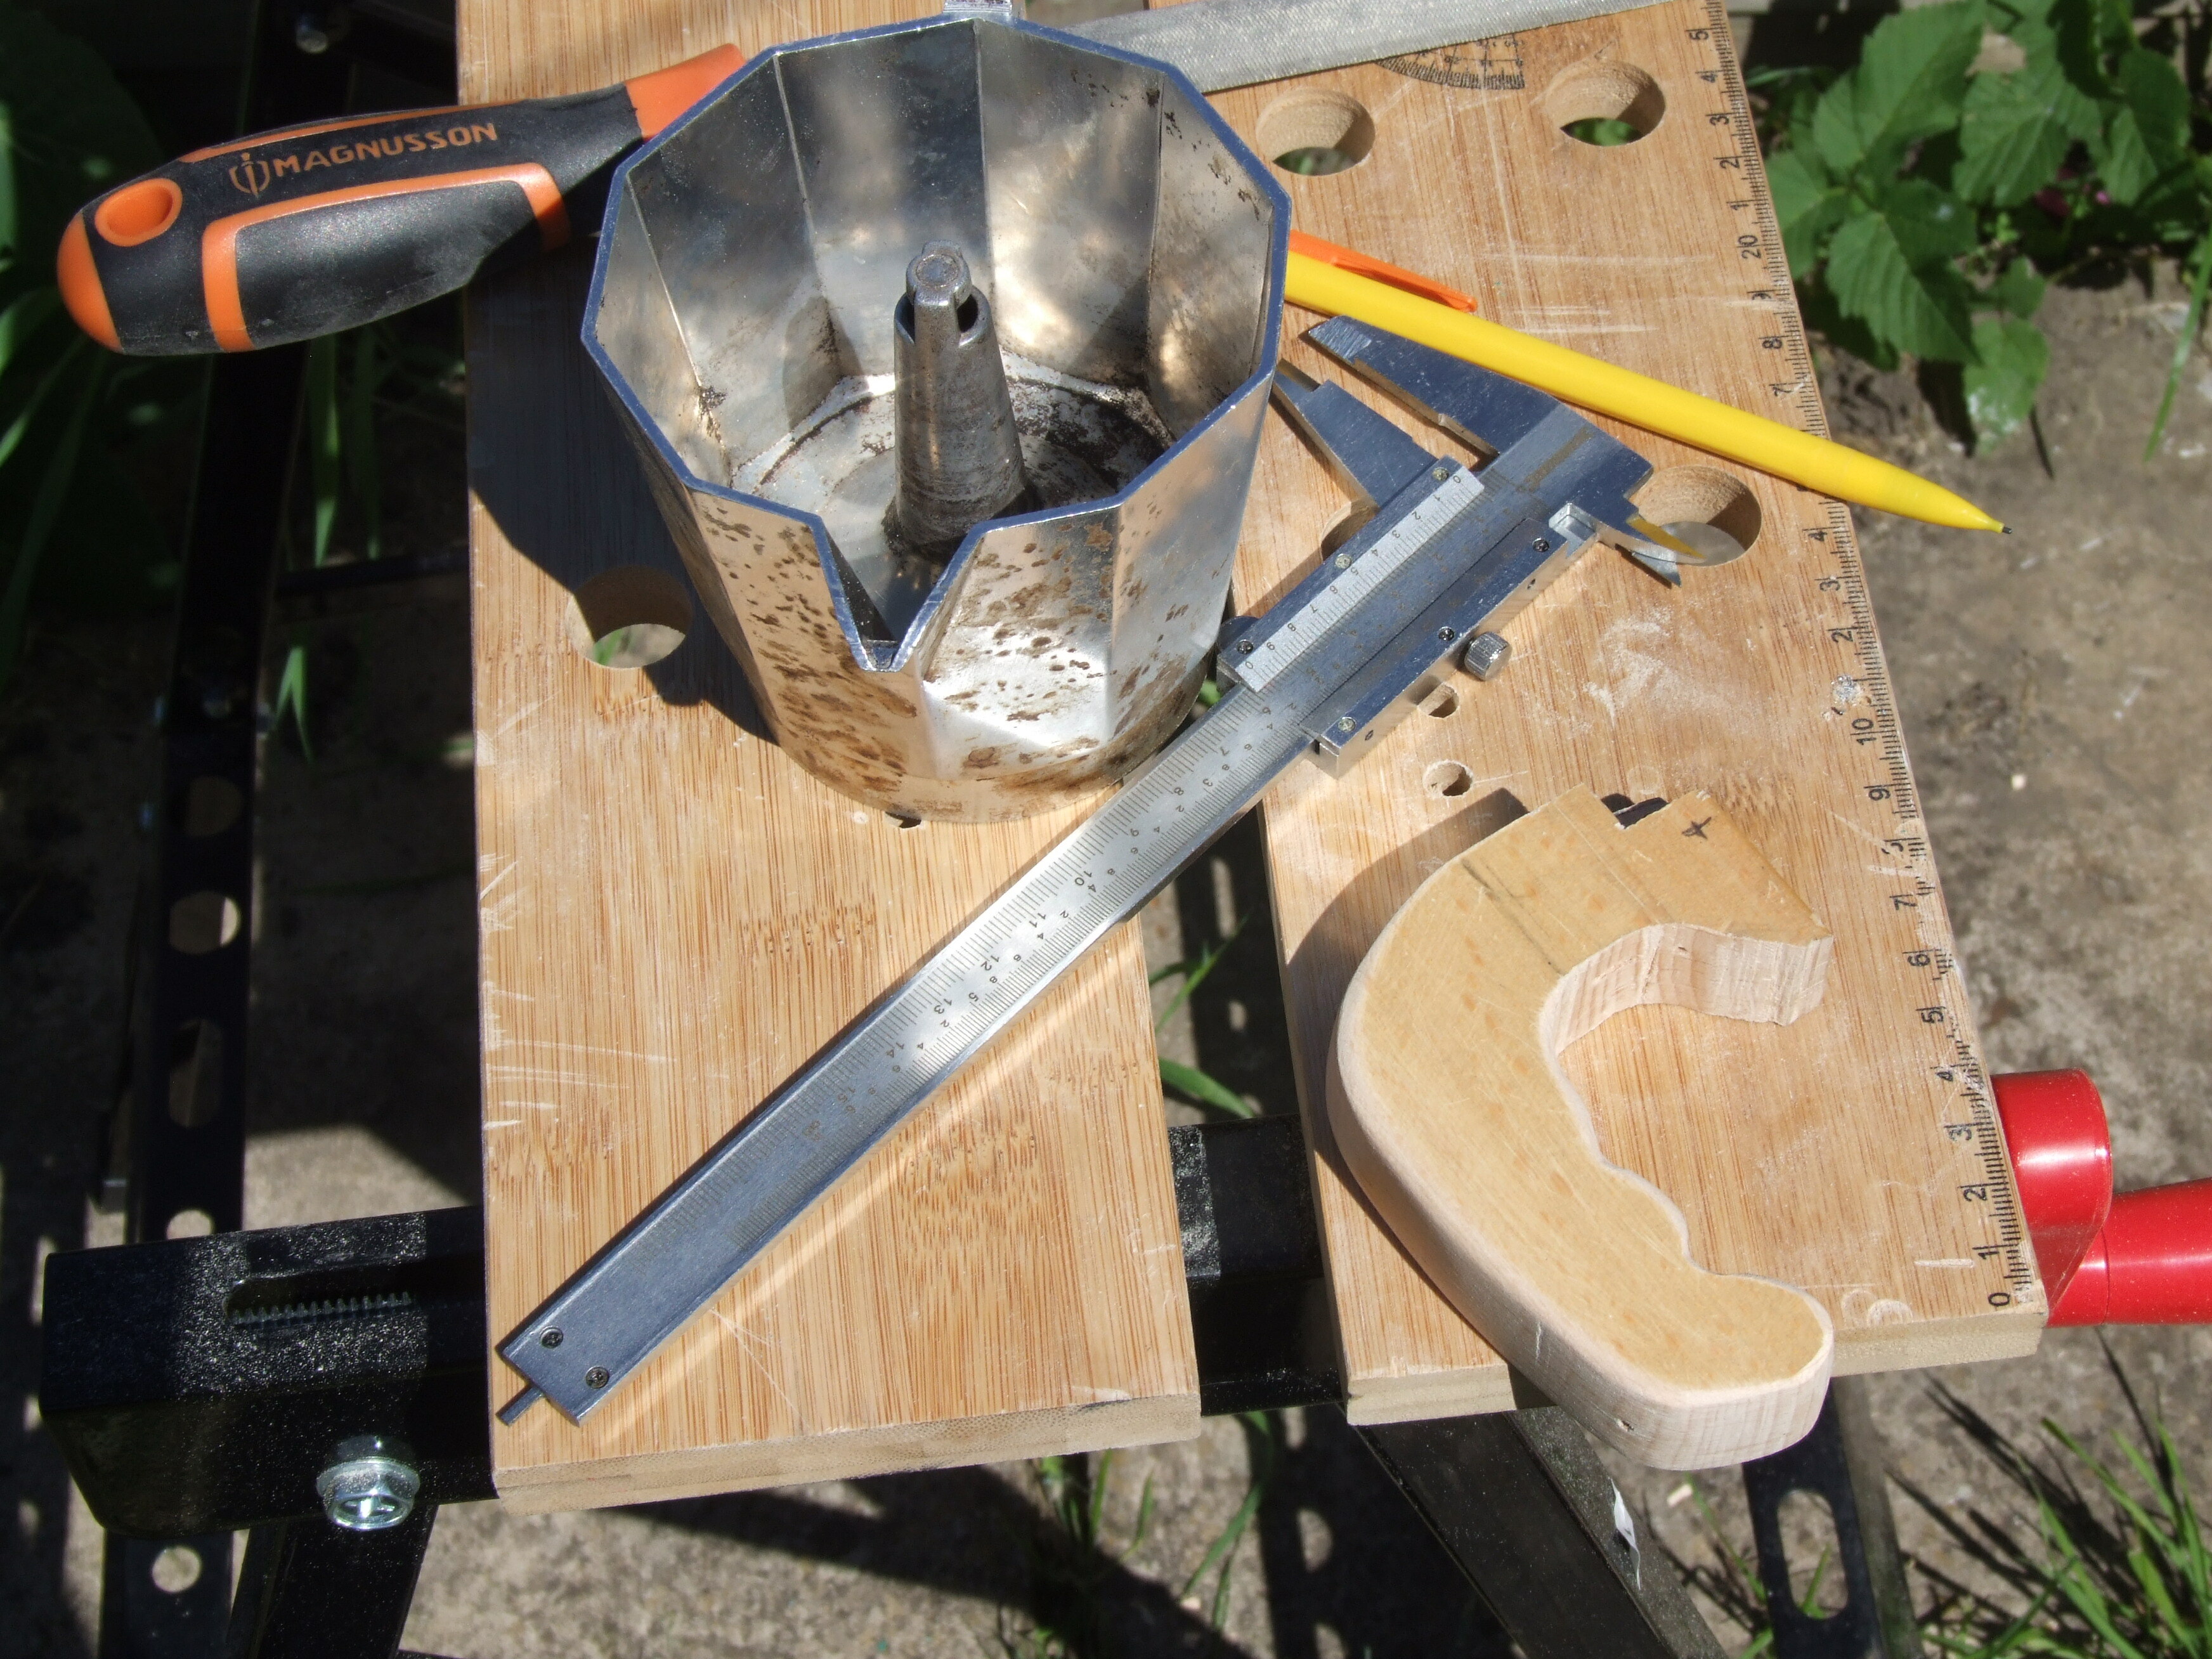
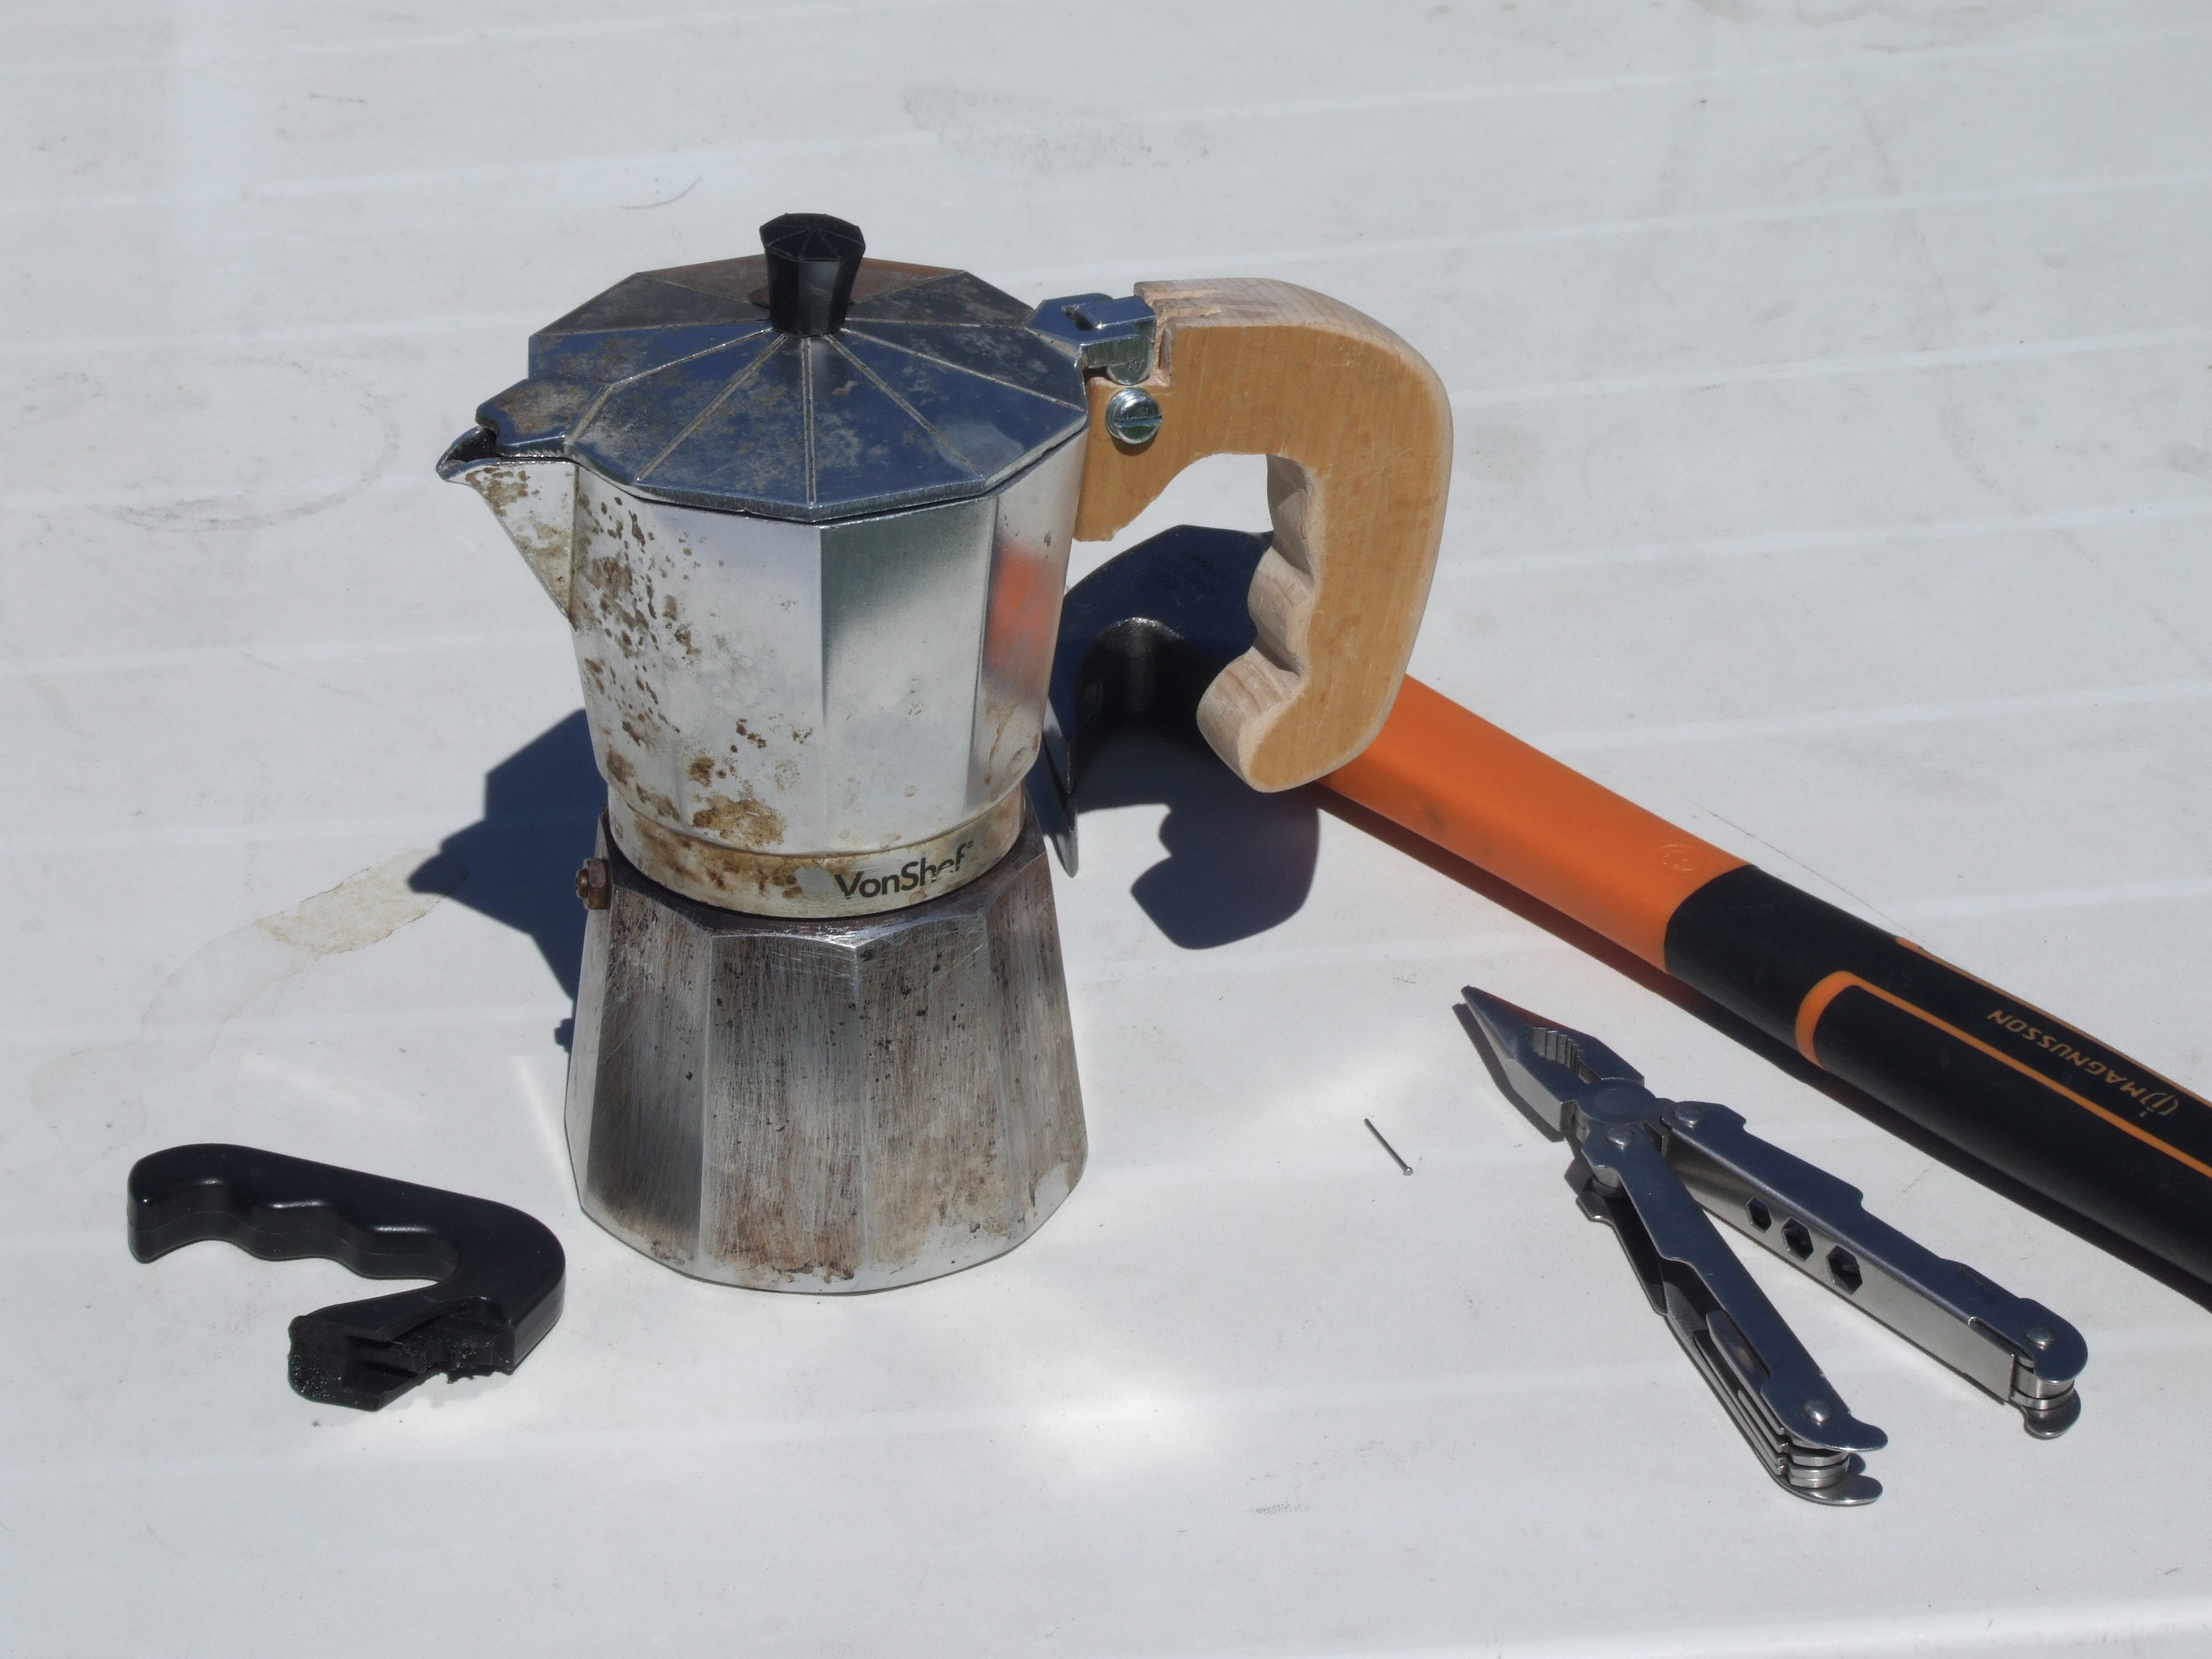
One should not over-brew one’s coffee. This is a fault (mea culpa) I occasionally commit. One should probably not use one’s coffee pot to reheat coffee, and if one does, one should pay some attention to how long it is on for. Else it will boil dry, and then that heat has got to go somewhere… In this case, it went into the handle, the silicone rubber seal between the two sections and the knob. The handle drooped, faded and expired with a great groan. Already it had broken off when the pot hit the floor at a velocity not specified in the design; now its weakened frame gave up the ghost. (Why do they use thermoplastics for these things? Because this aluminium pot cost ~£6. But it came with not only an (ungrammatical) warranty, but also a spare silicone sealing ring and filter! So all is not lost.) Here is the dismembered carcass:
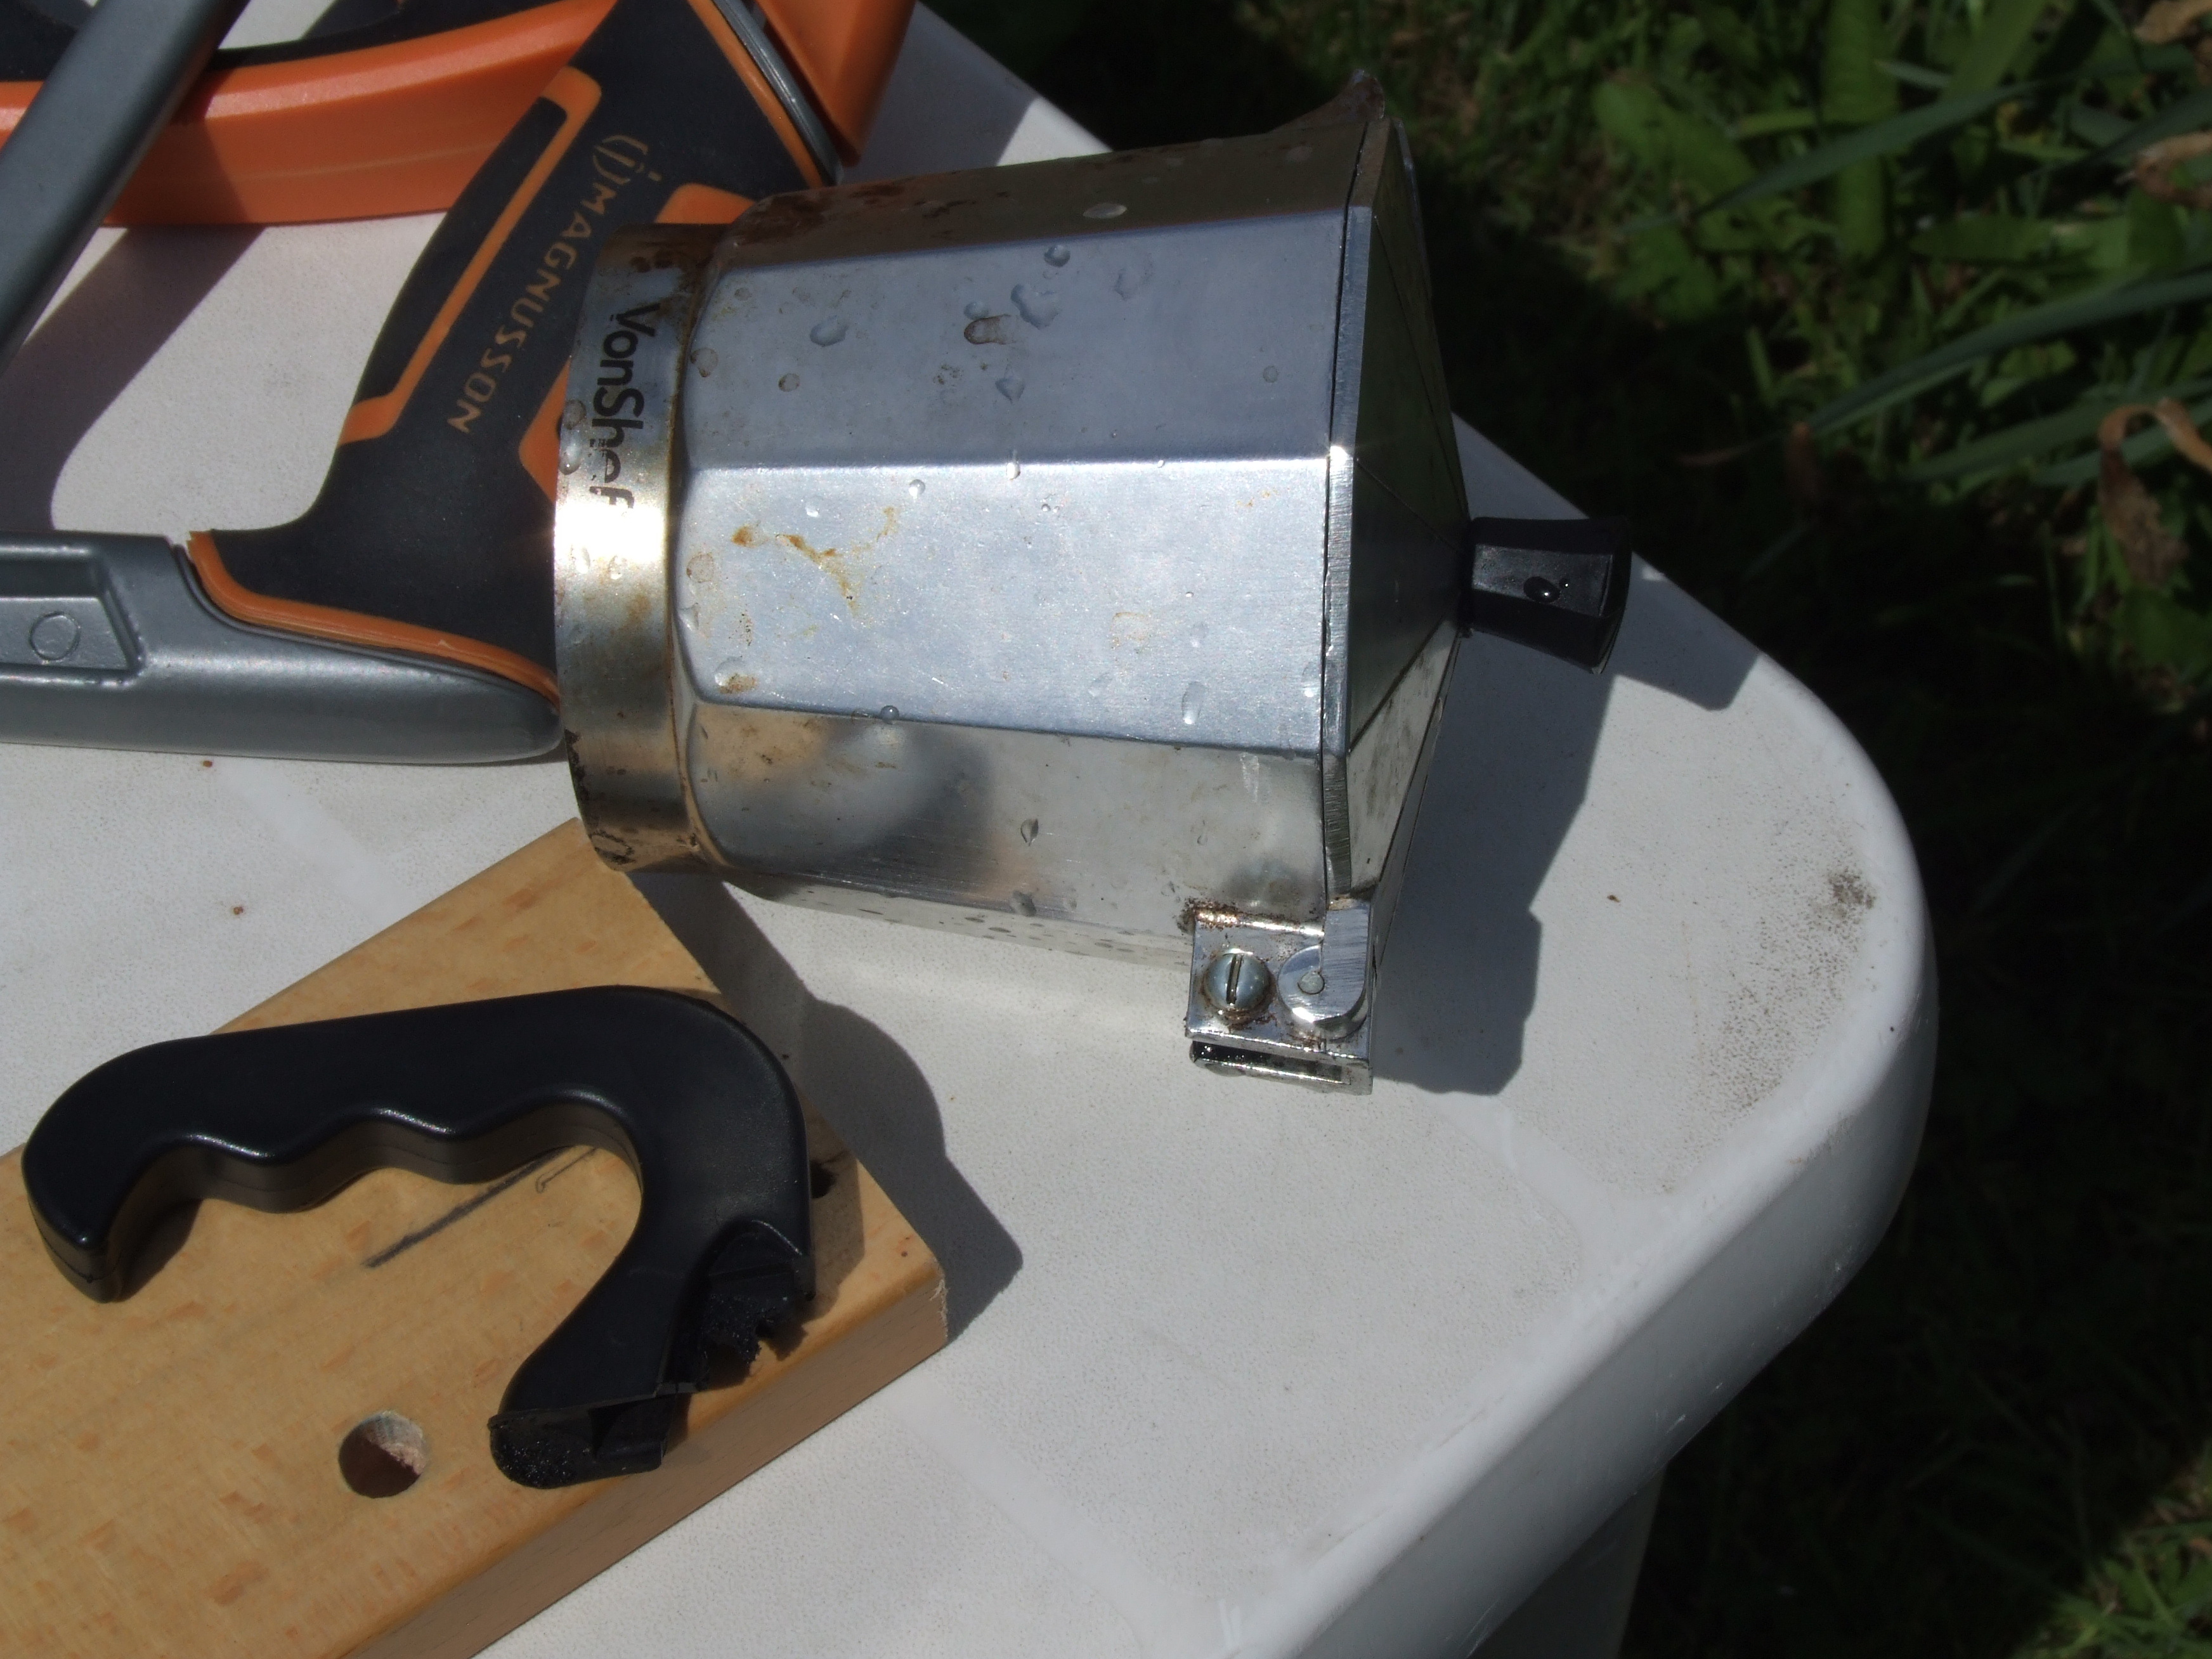
Below the remains of the handle is a piece of beech I obtained gratis at the wood-recycling place. And here is an odd and rather eclectic selection of tools:
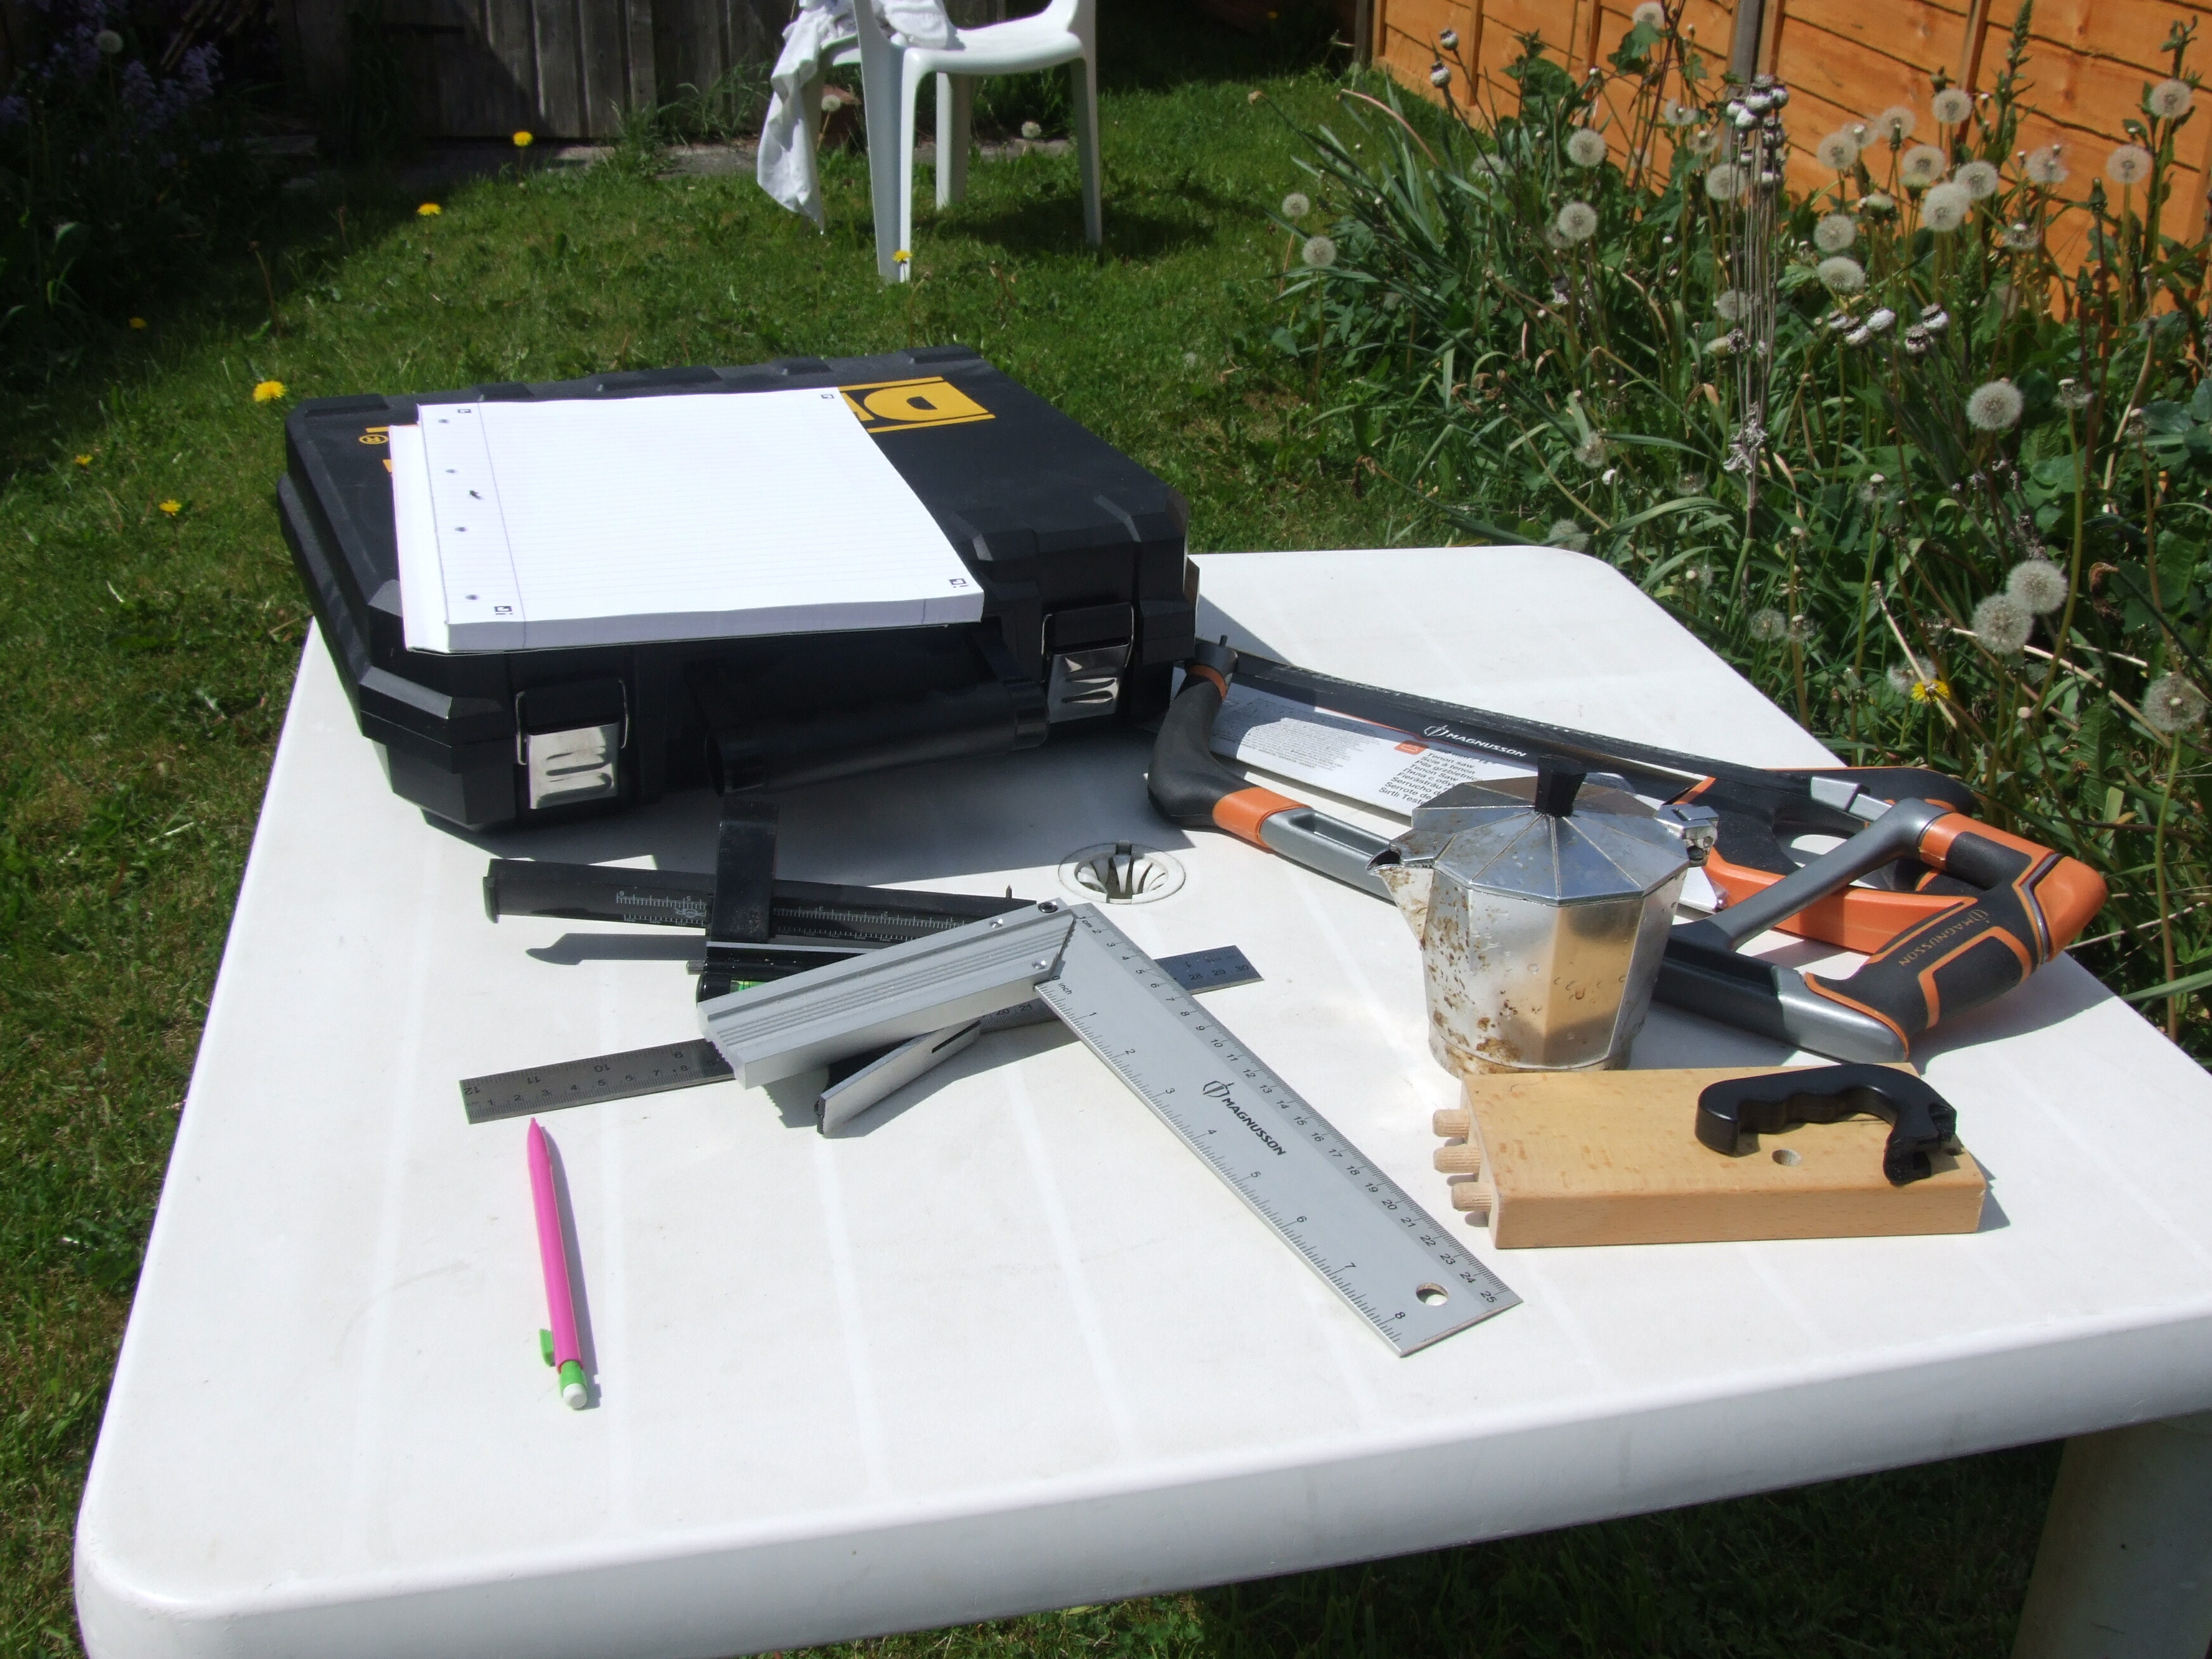
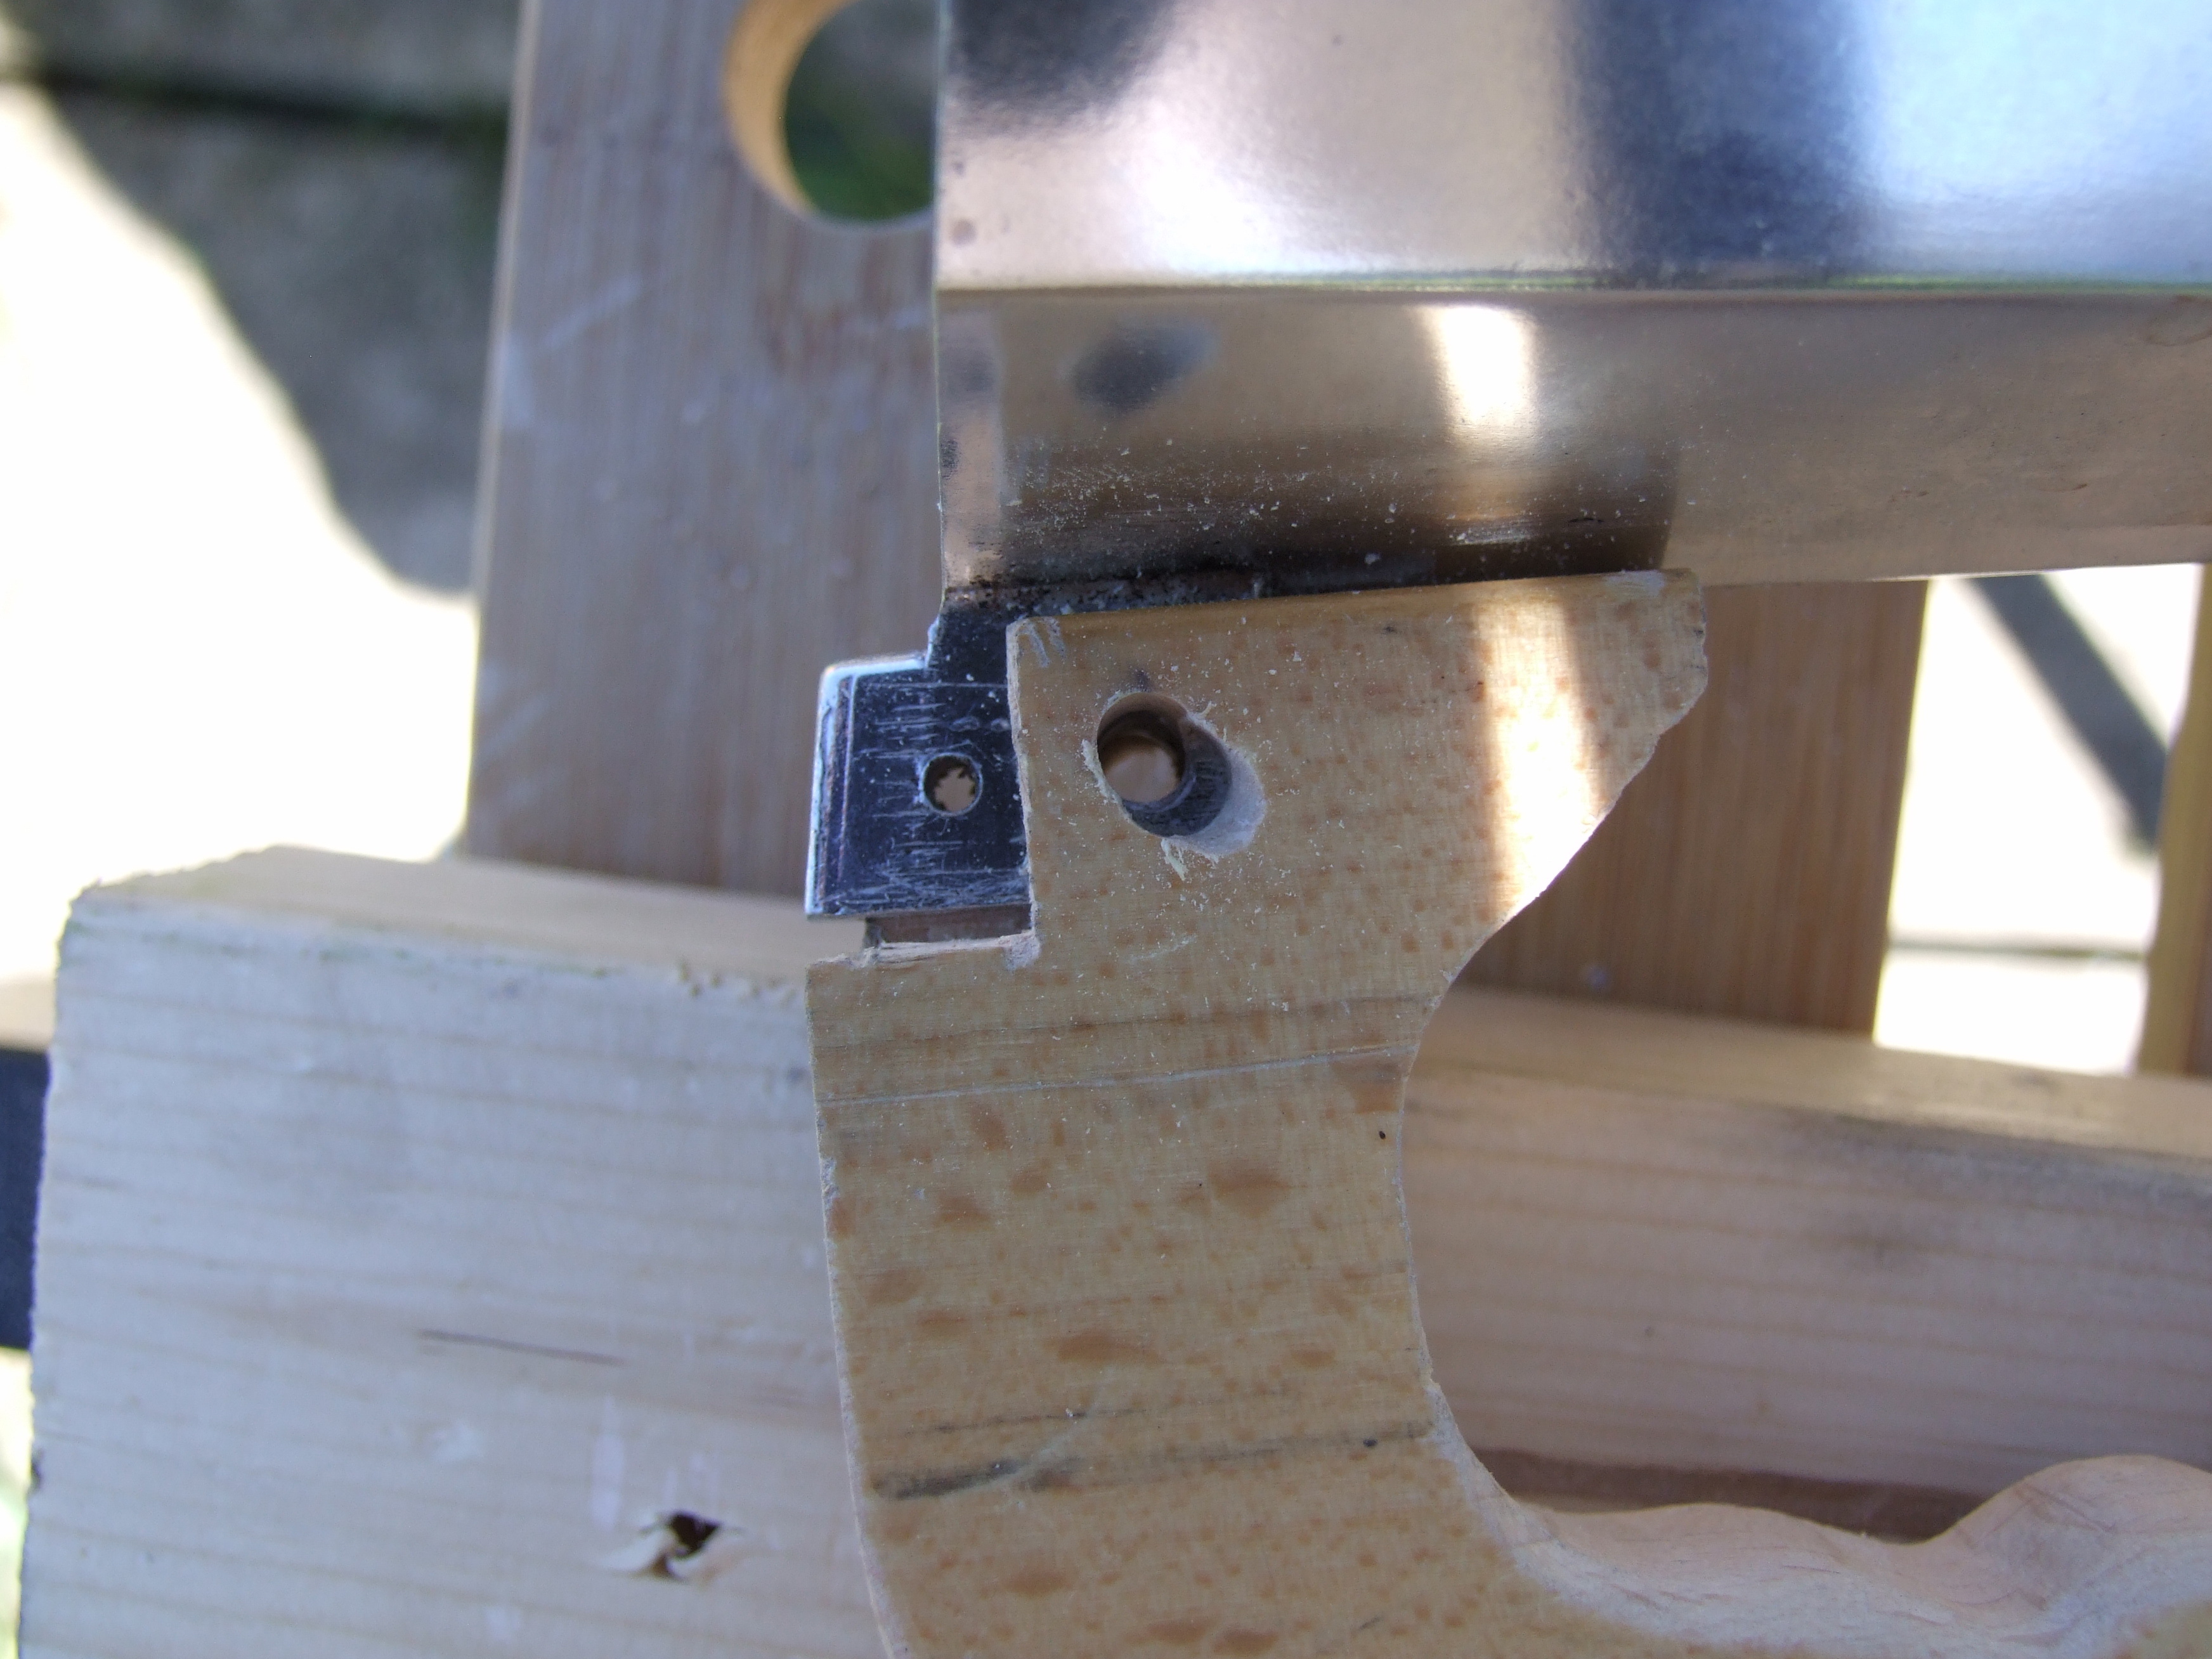
I’m not sponsored by Magnusson (though I’ll happy sign a contract). But apparently all the local tool shops are. The square comes with a worrying sticker saying it is only ‘approximate’ (!) but is actually fine. First thing is to mark out and cut the block to size so we can work on the inner face, where the handle meets the pot:
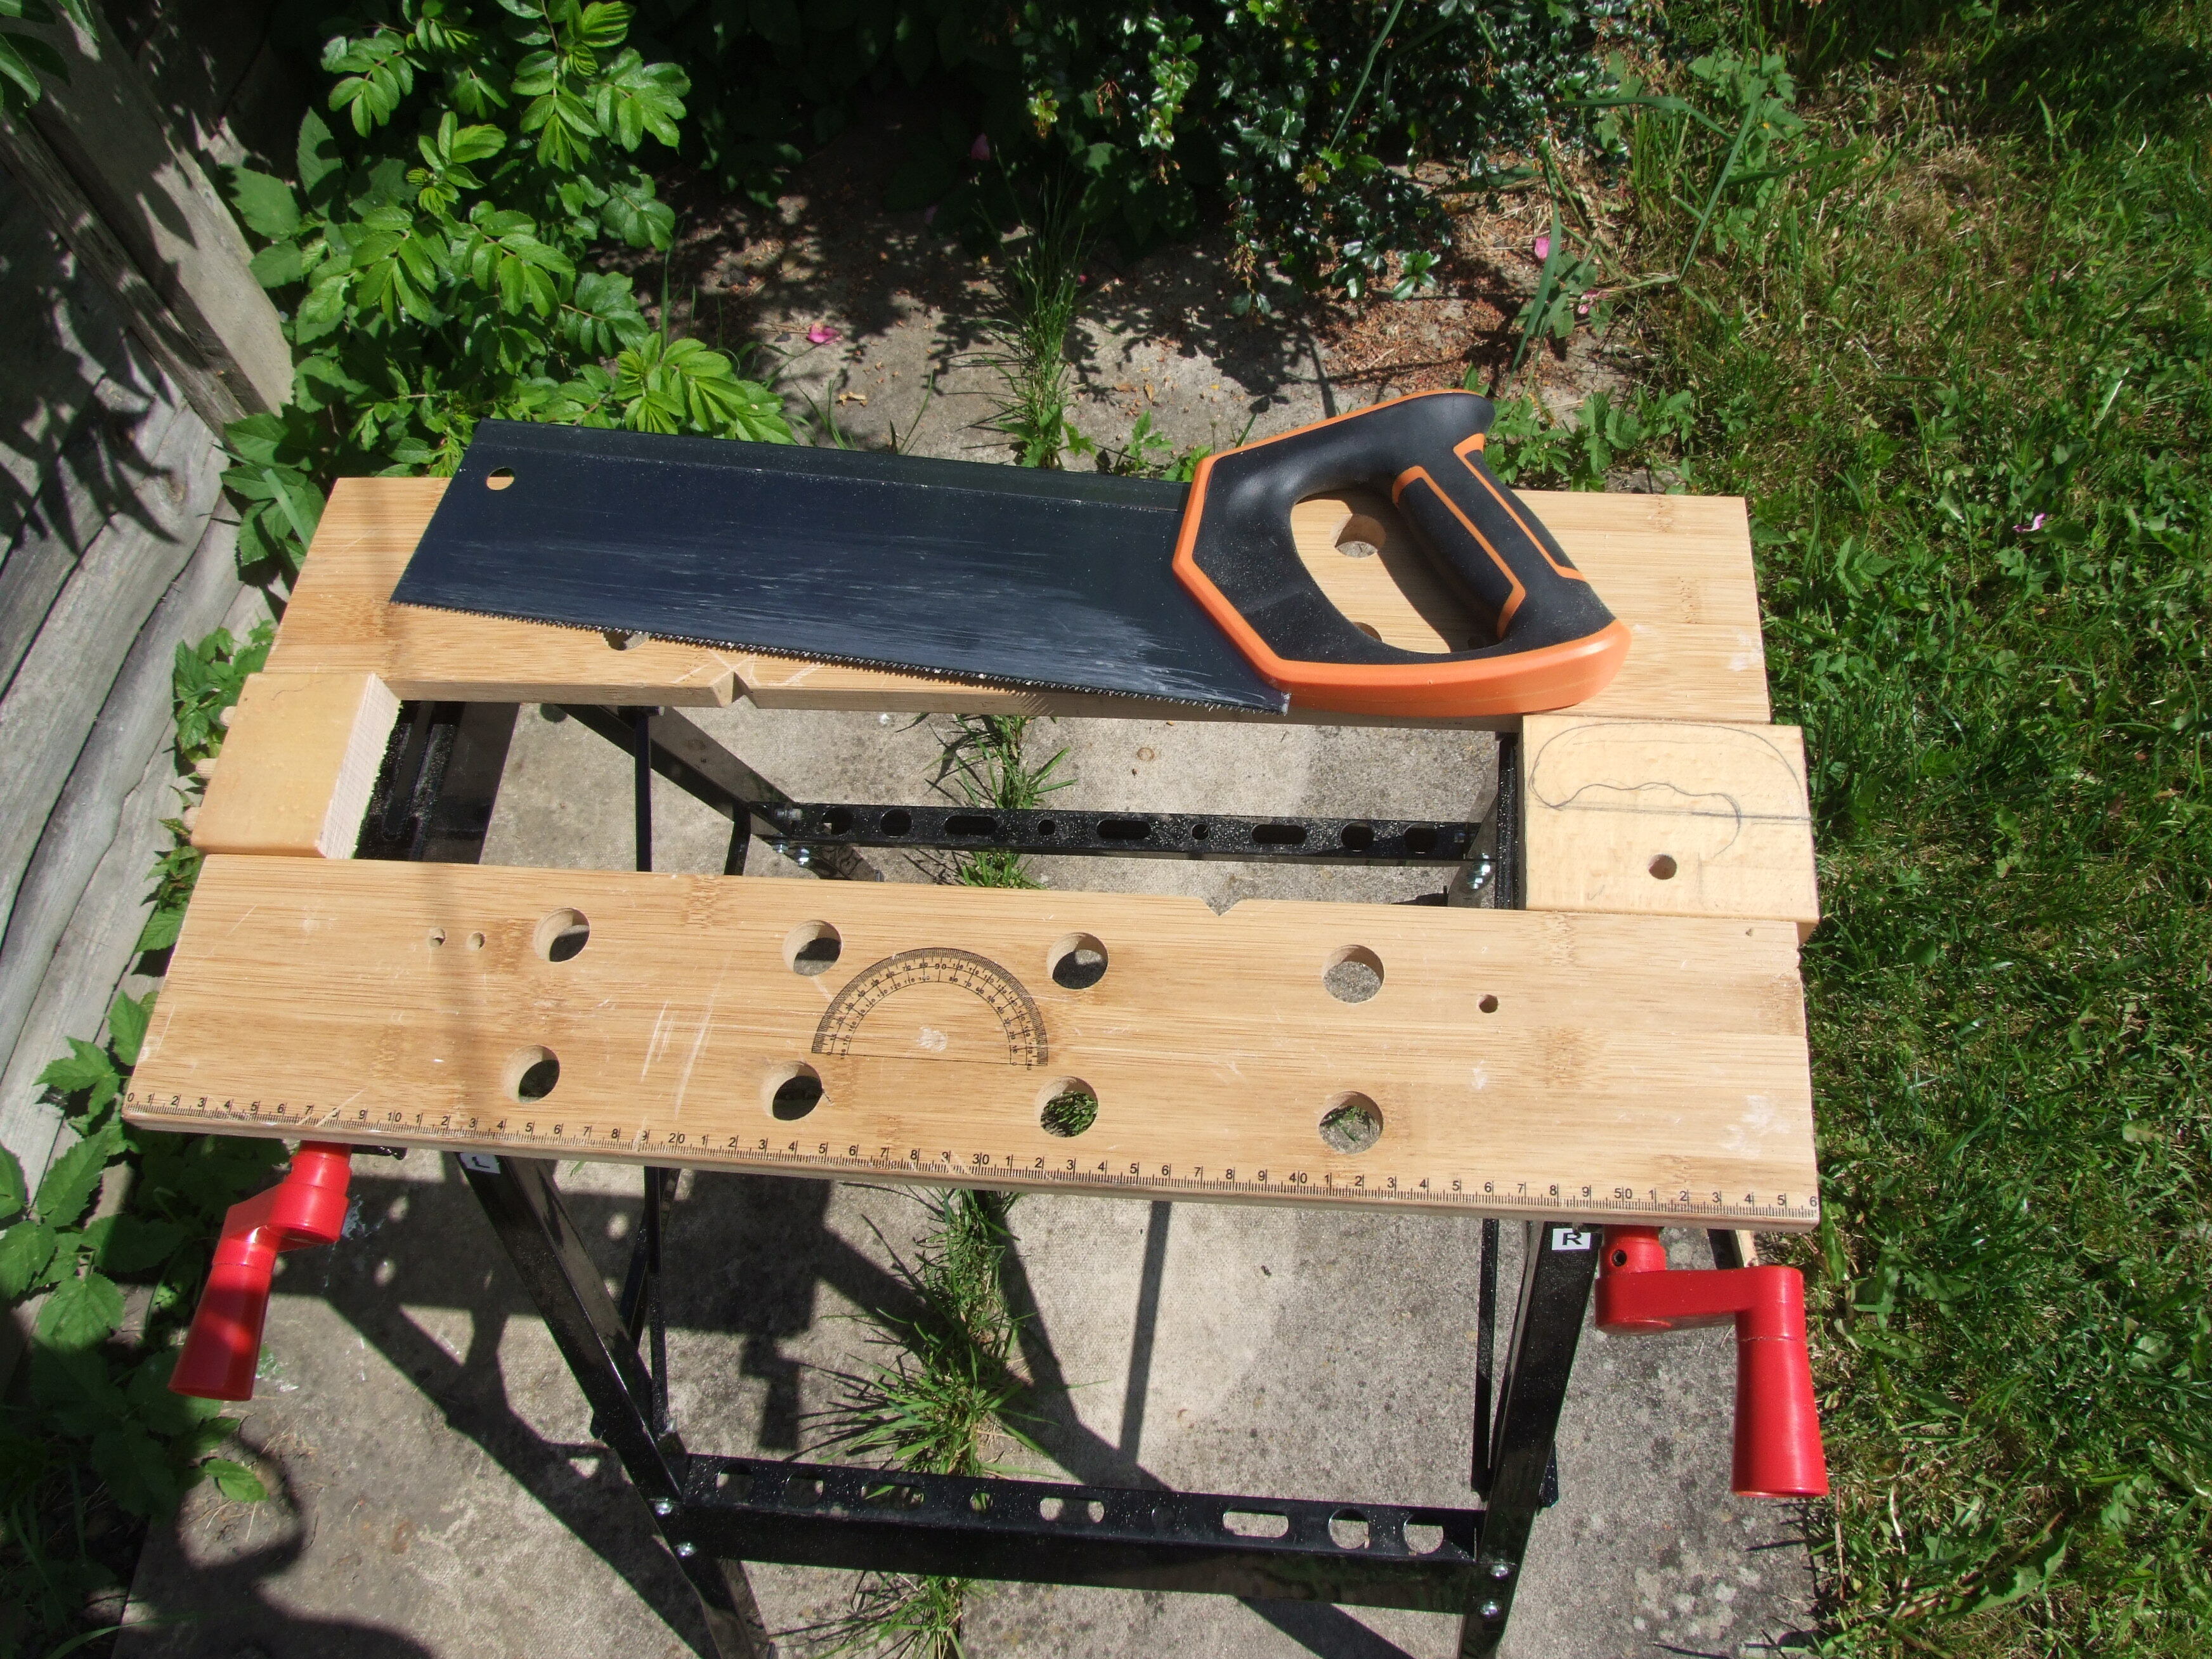
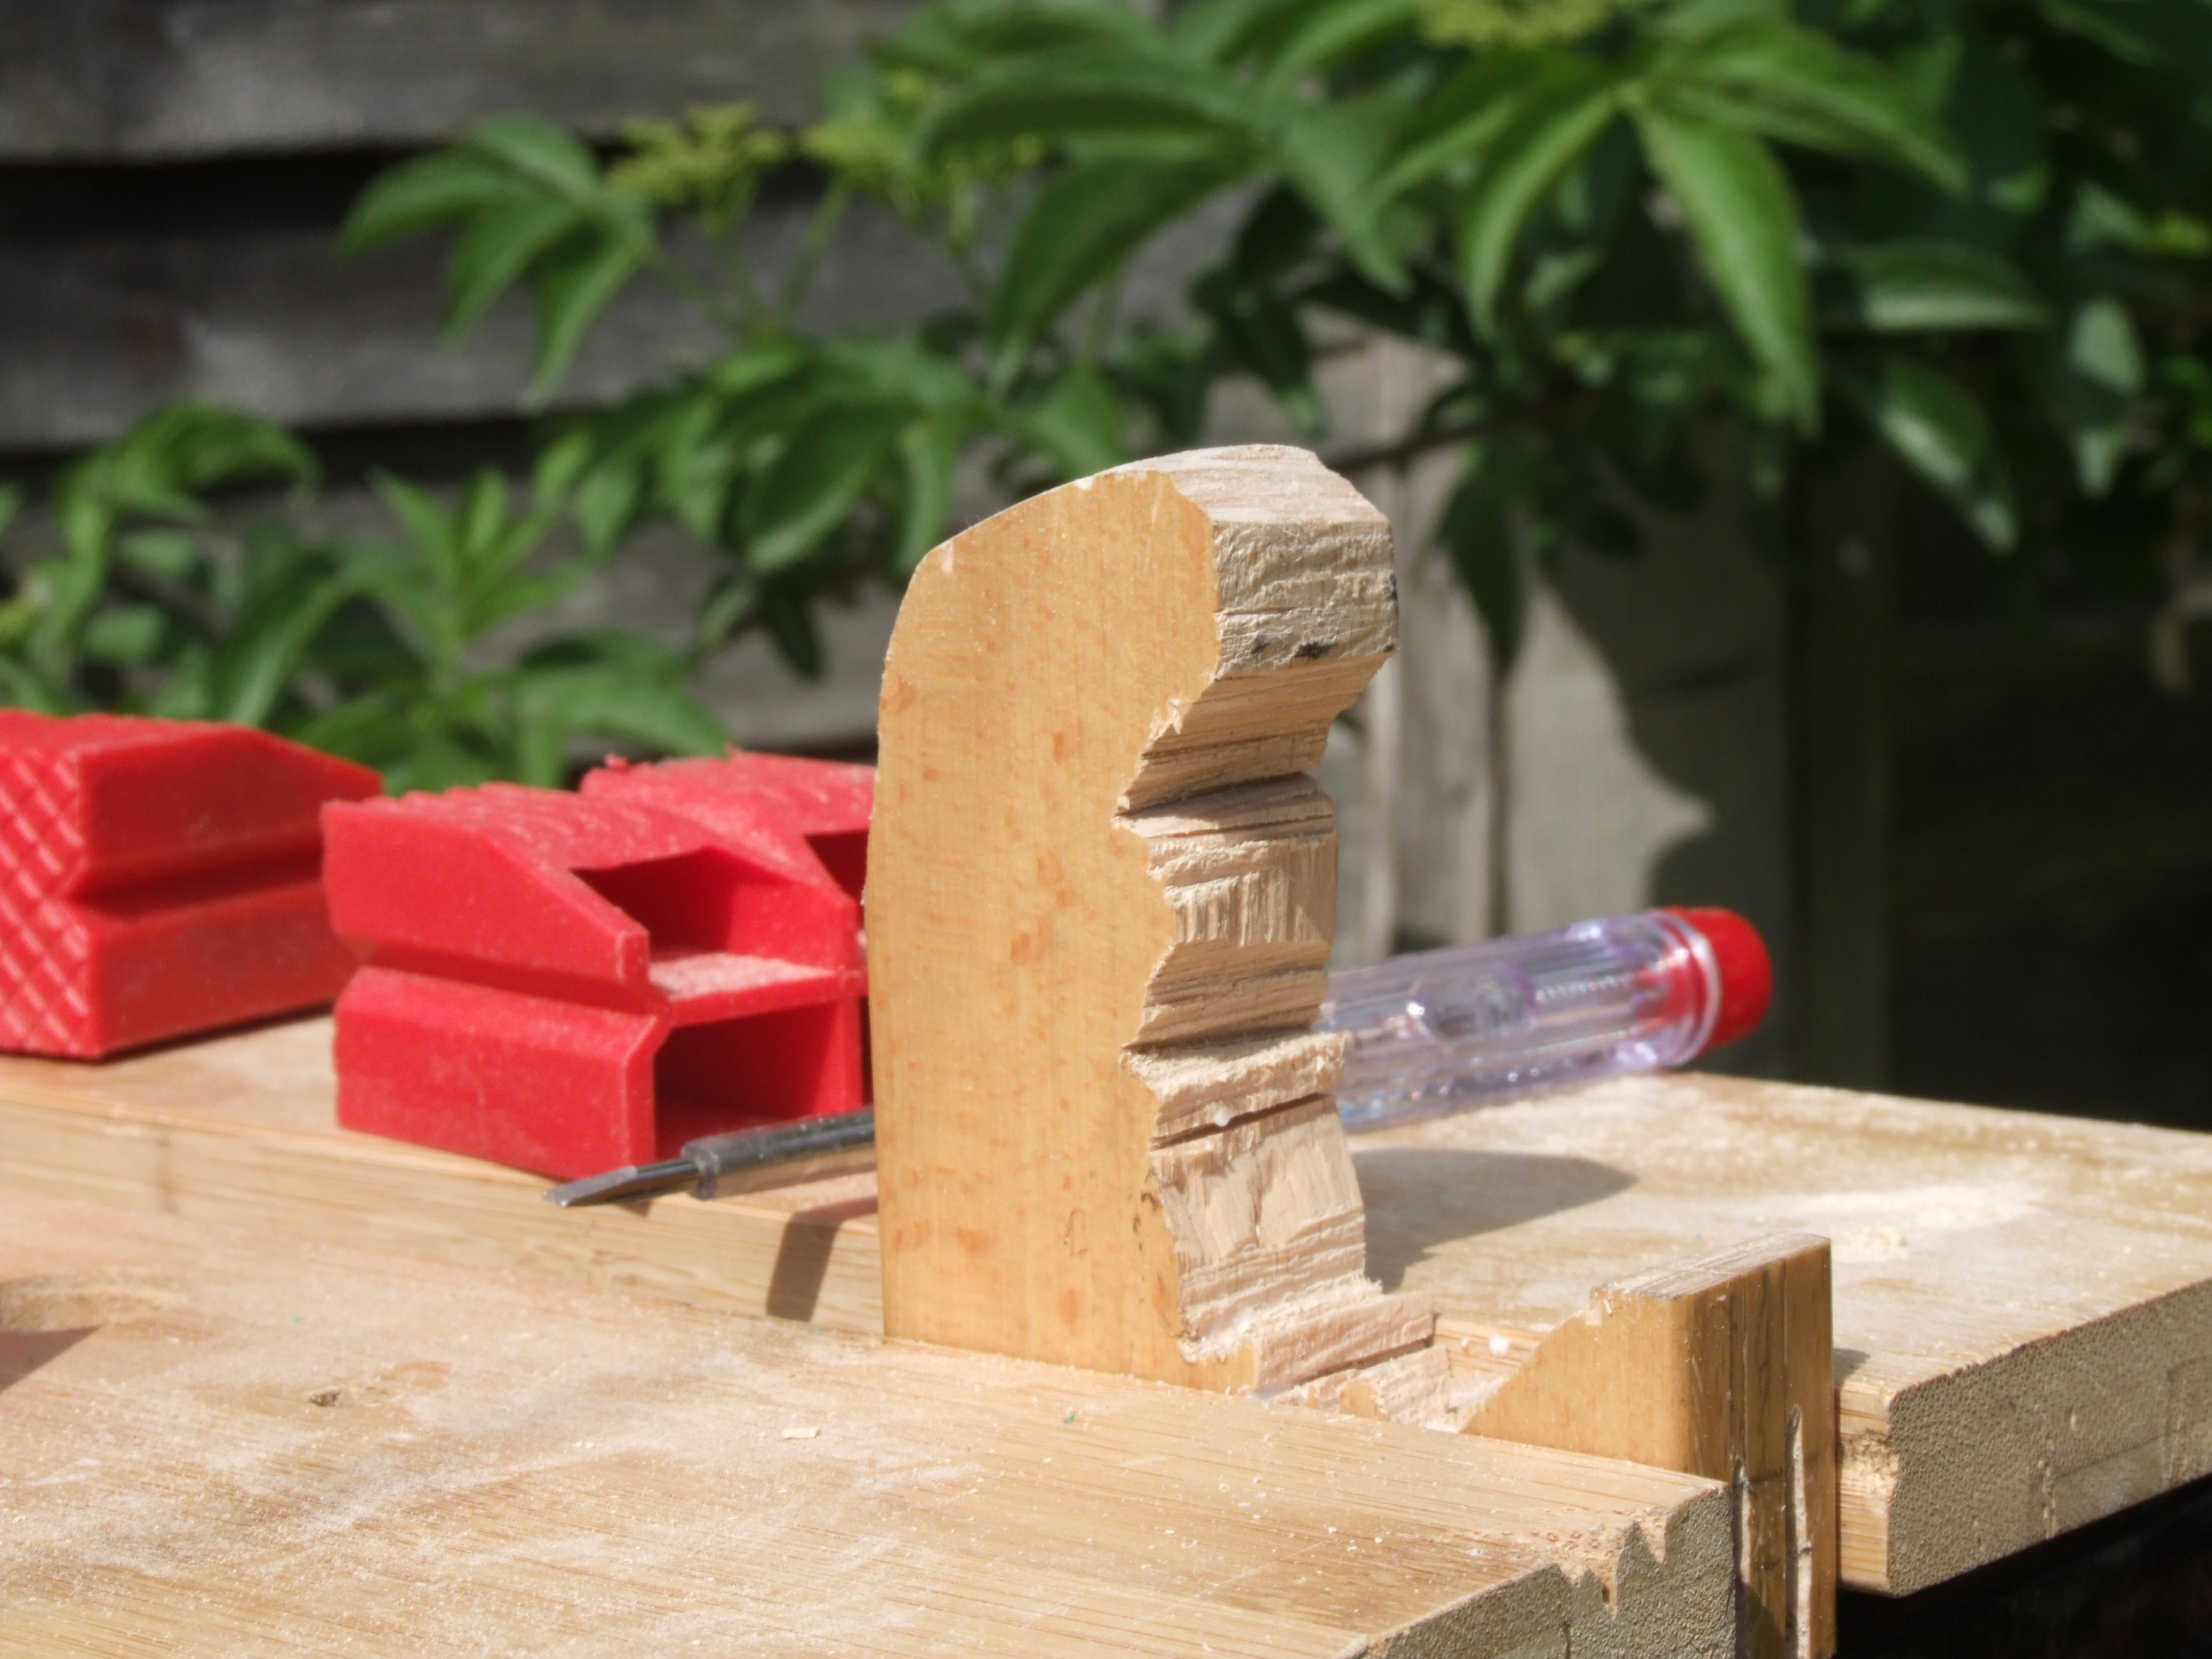
I had to trim around a few holes. Now, the profile at the end is rather complicated, and involved a few blind grooves about 3mm wide and .5" deep. Sensible people—and me if I had access to a workshop—would just laminate up a piece. Instead I decided to see what I could do with a little judicial abuse of a tenon saw. First, two diagnal cuts:
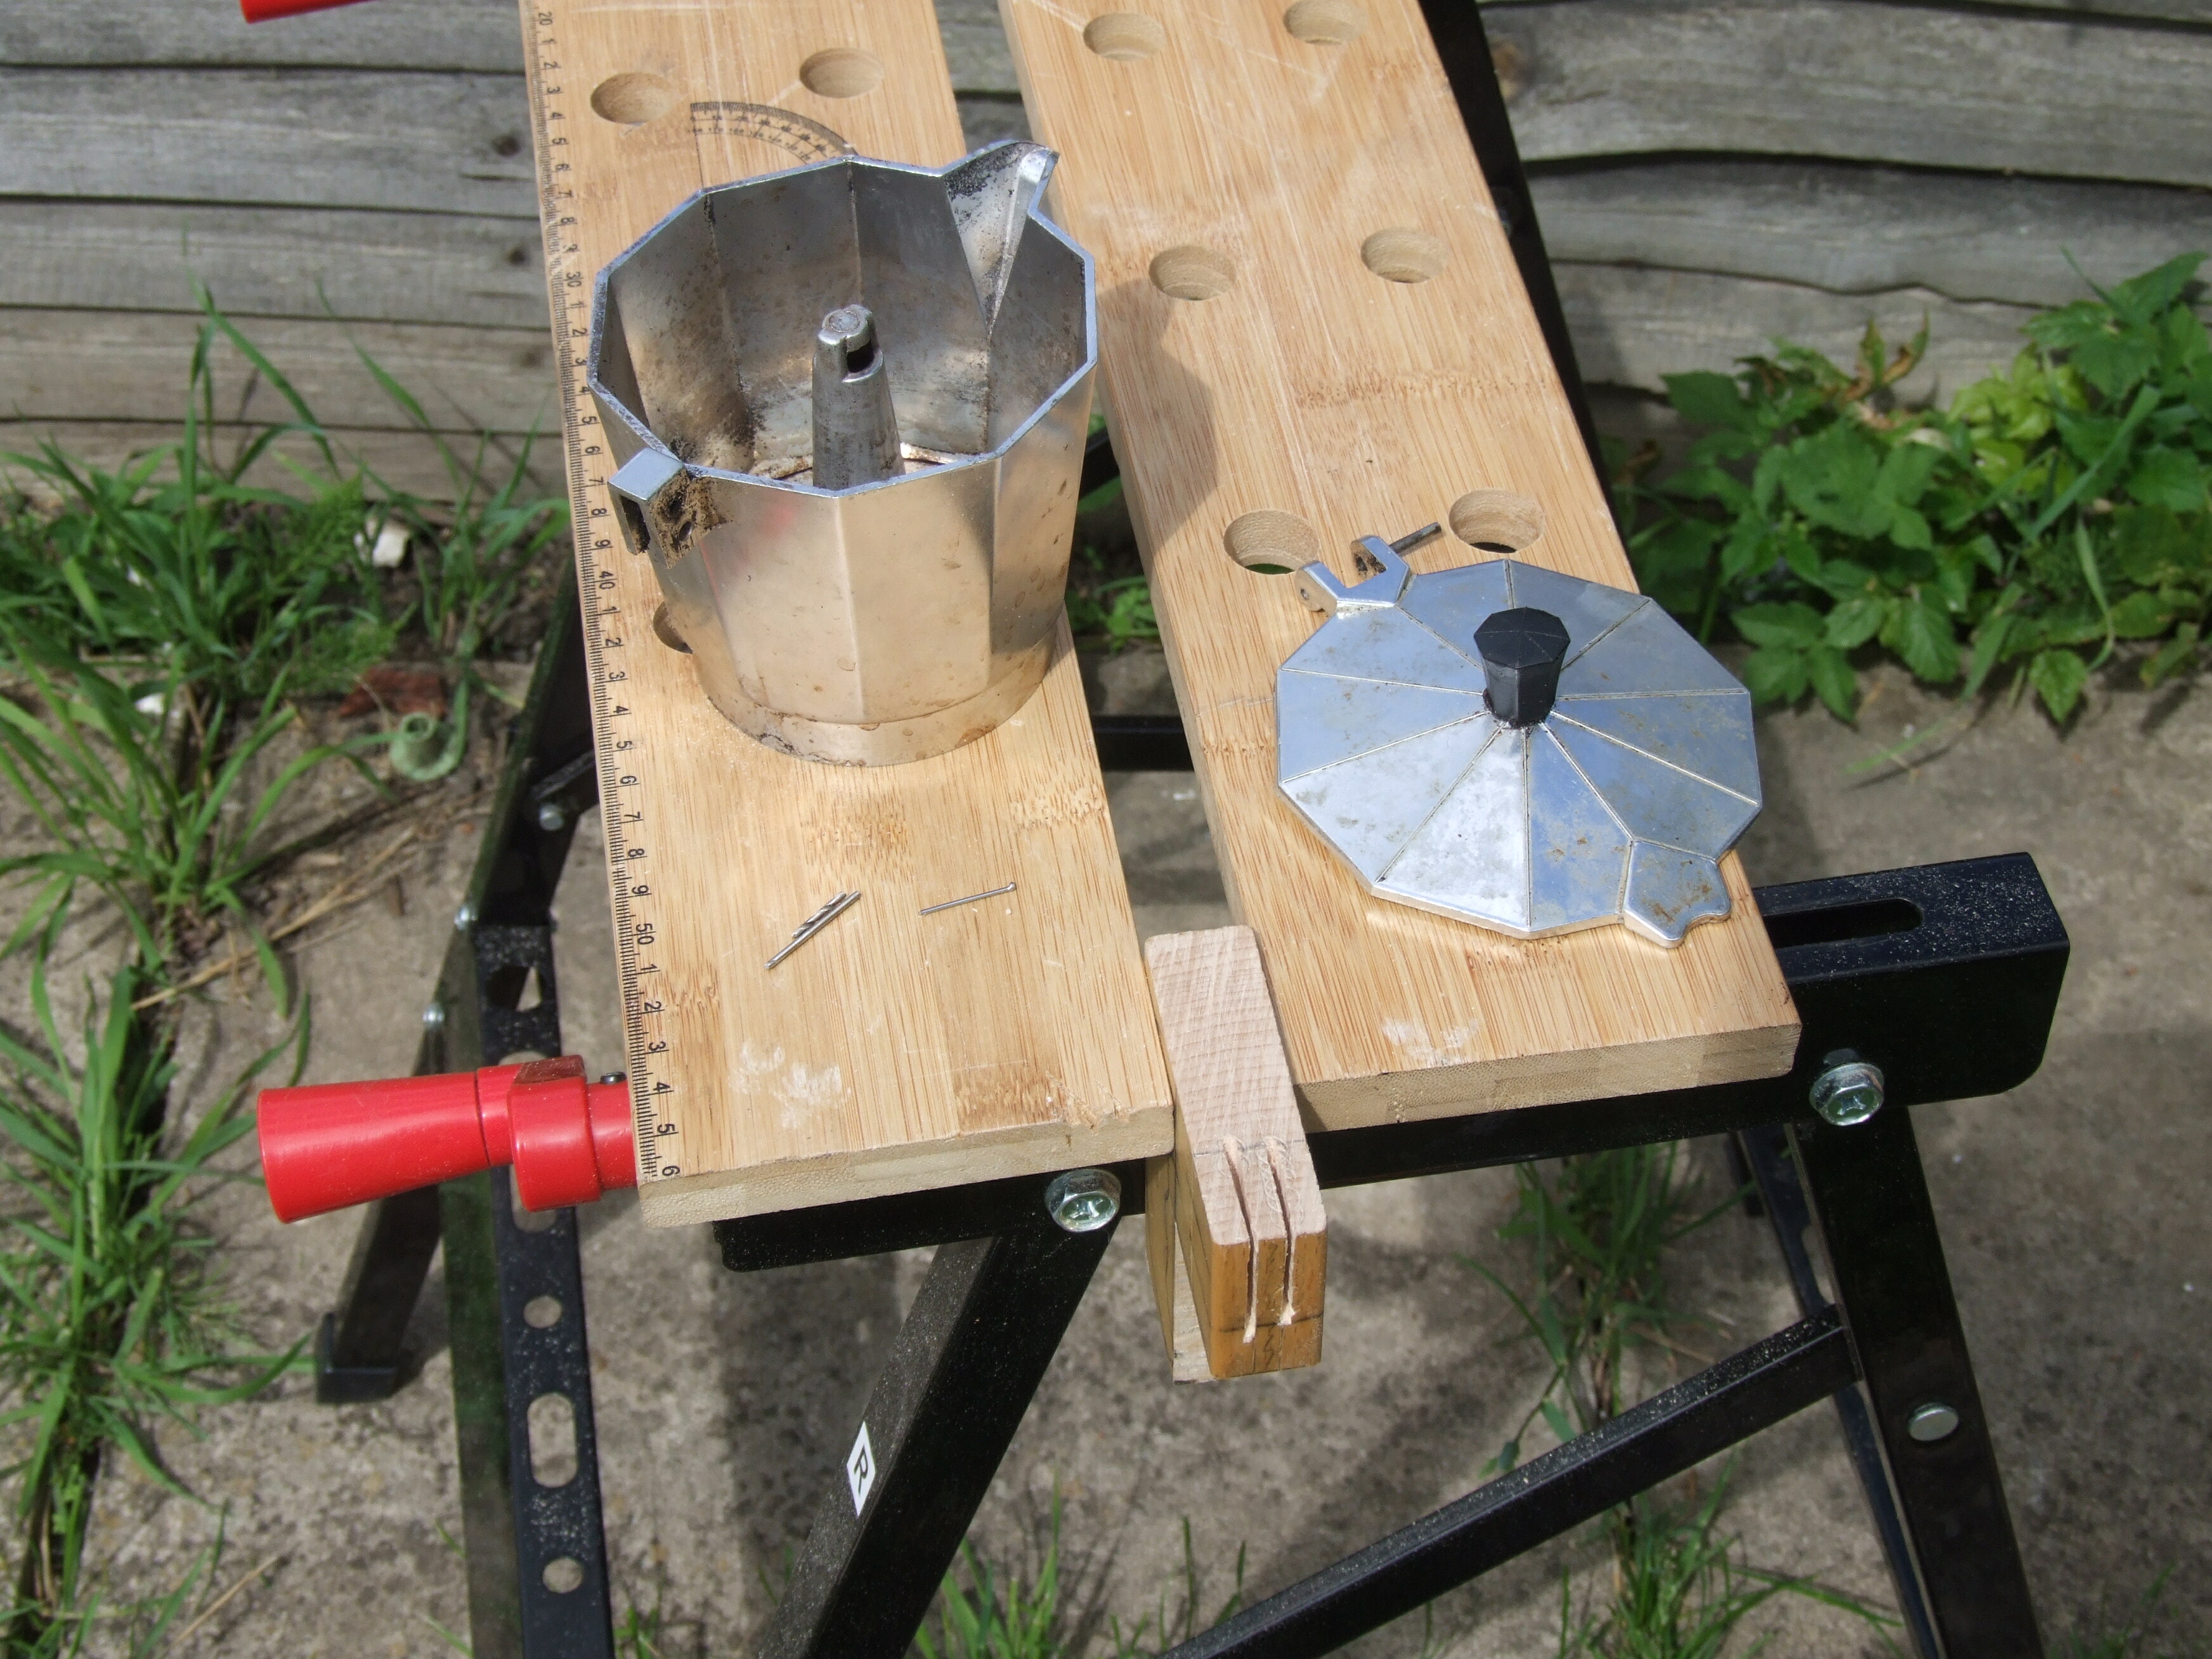
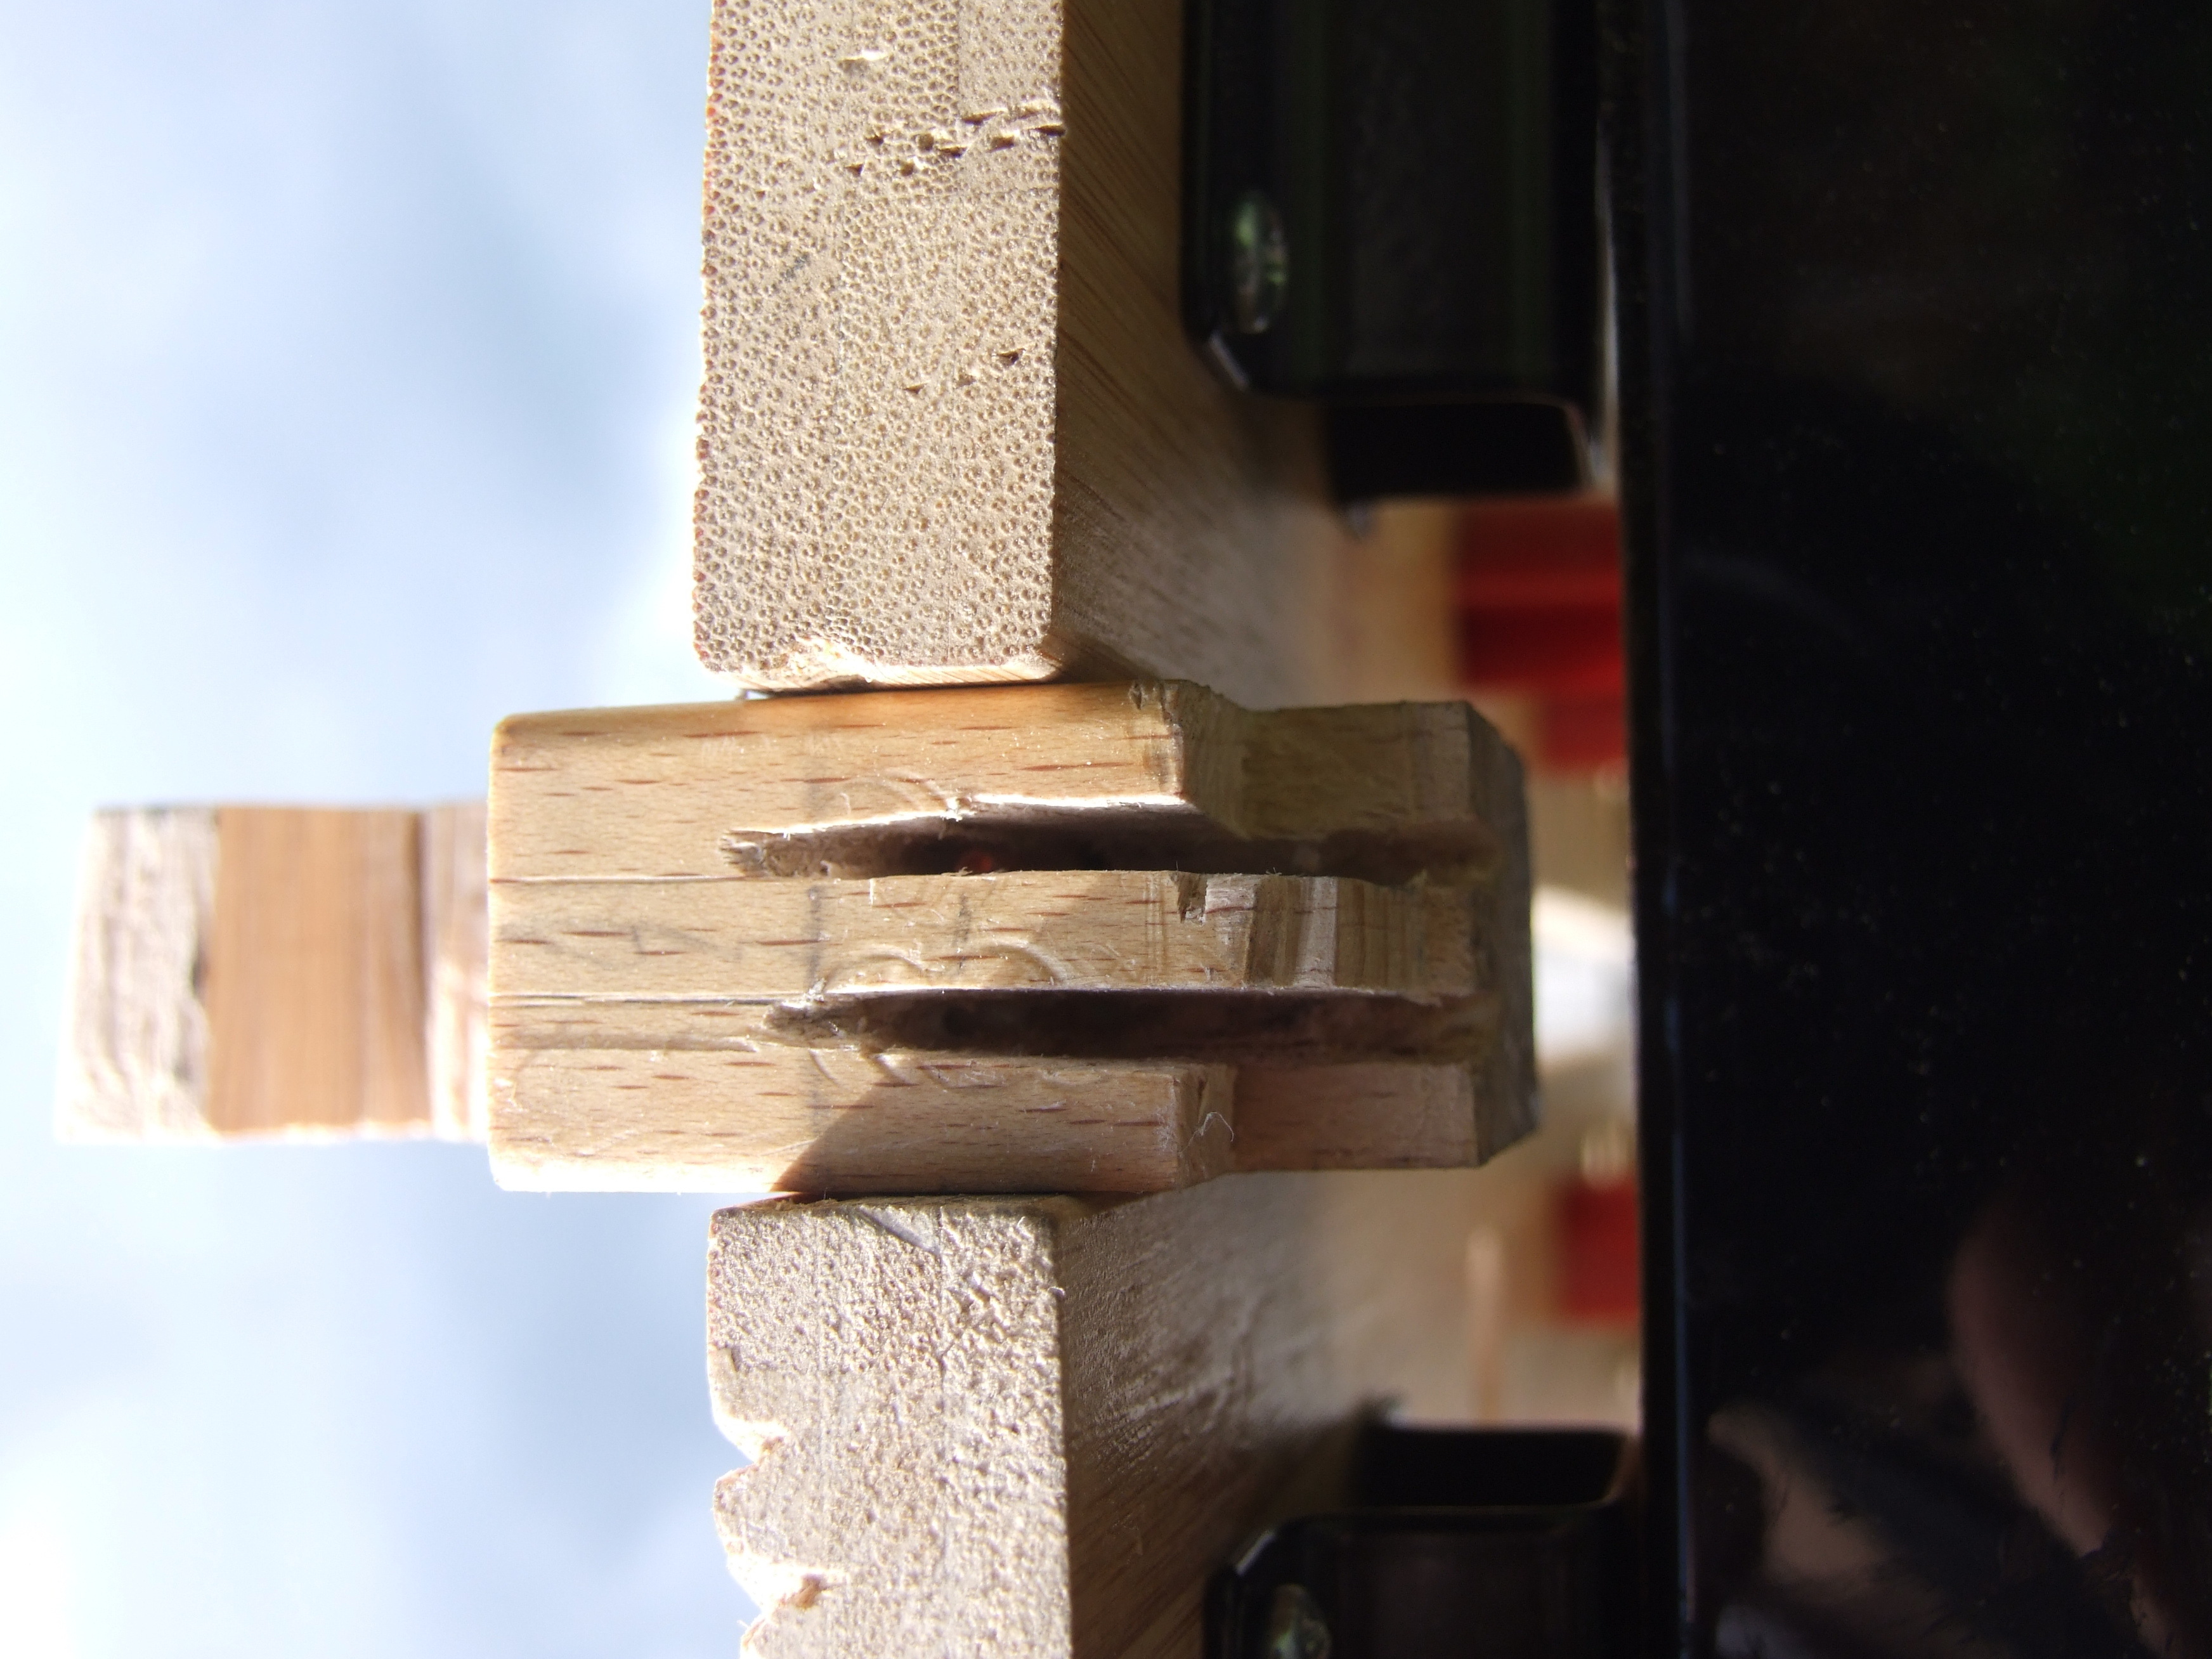
Then (and there are no picture of this, because I don’t want this blog to be censored) the abuse of a 1.5mm drill bit, which eventually broke. Drill square from both corners, parallel holes inwards, then, using the very end of the tenon saw, break out the waste and square it up. That nearly worked. The penknife helped break it out untill it was clear enough to (gasp) mill out square with the 1.5mm drill bit (yes, I know it’s not a milling cutter, it’ll break—well it did). And with a little work we have grooves in the right place. The rest is nasty fiddly cutting and filing. Then the grand profile rough cut with the tenon saw:
At this point I had the clever idea™ of chopping out the waste with a chisel. Alas my ‘scrap’ was rather poor, and the end went and split, so here it is gluing up:
Another sunny morning, and rather more rough shaping to be done, and then, tediously, filing, filing, sanding:
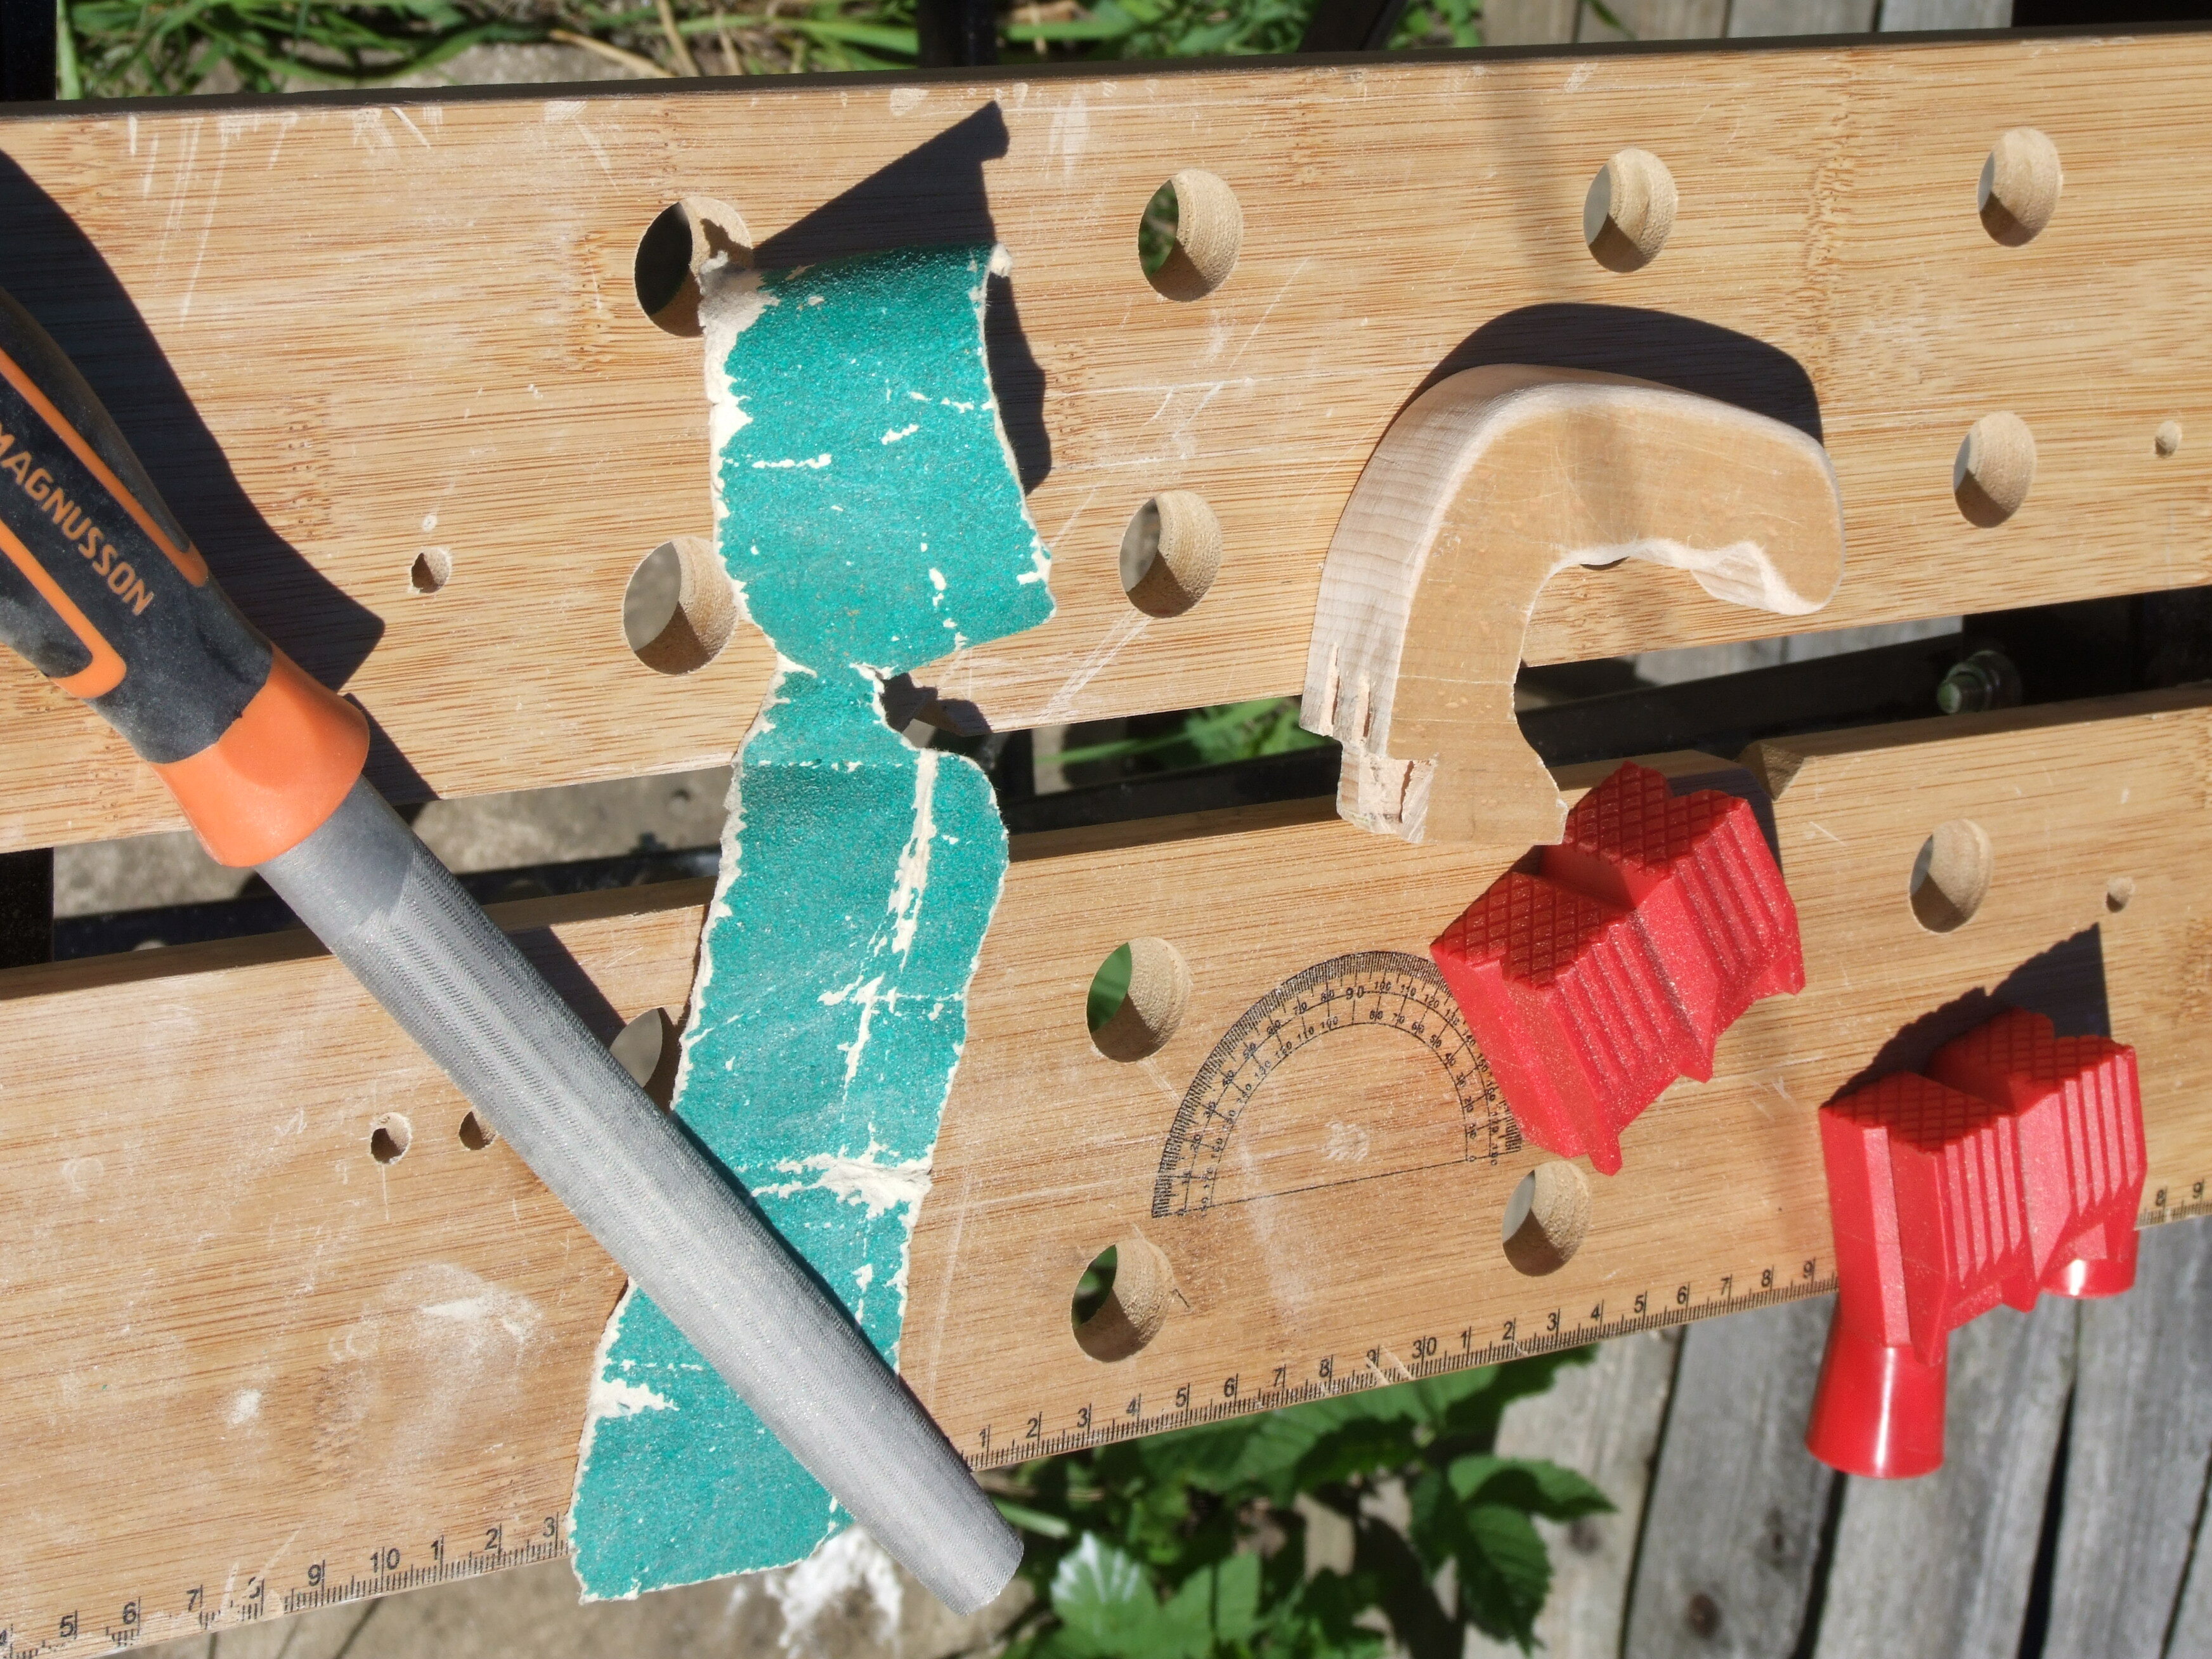
I always hated this kind of work at school. Also, I’m beginning to think I’ve made it far too long. Never mind: now to measure and drill the holes. First is easy, second will be guesswork:
As you can see, I missed quite badly. But in the end I didn’t have any M4 bolts in the right length, so I drilled it all out to 5mm—there’s plenty of metal—and then cut down an M5 bolt to fit. Then, of course, the top shoulders had to pared away with the chisel till the lid opened. And there you have it:
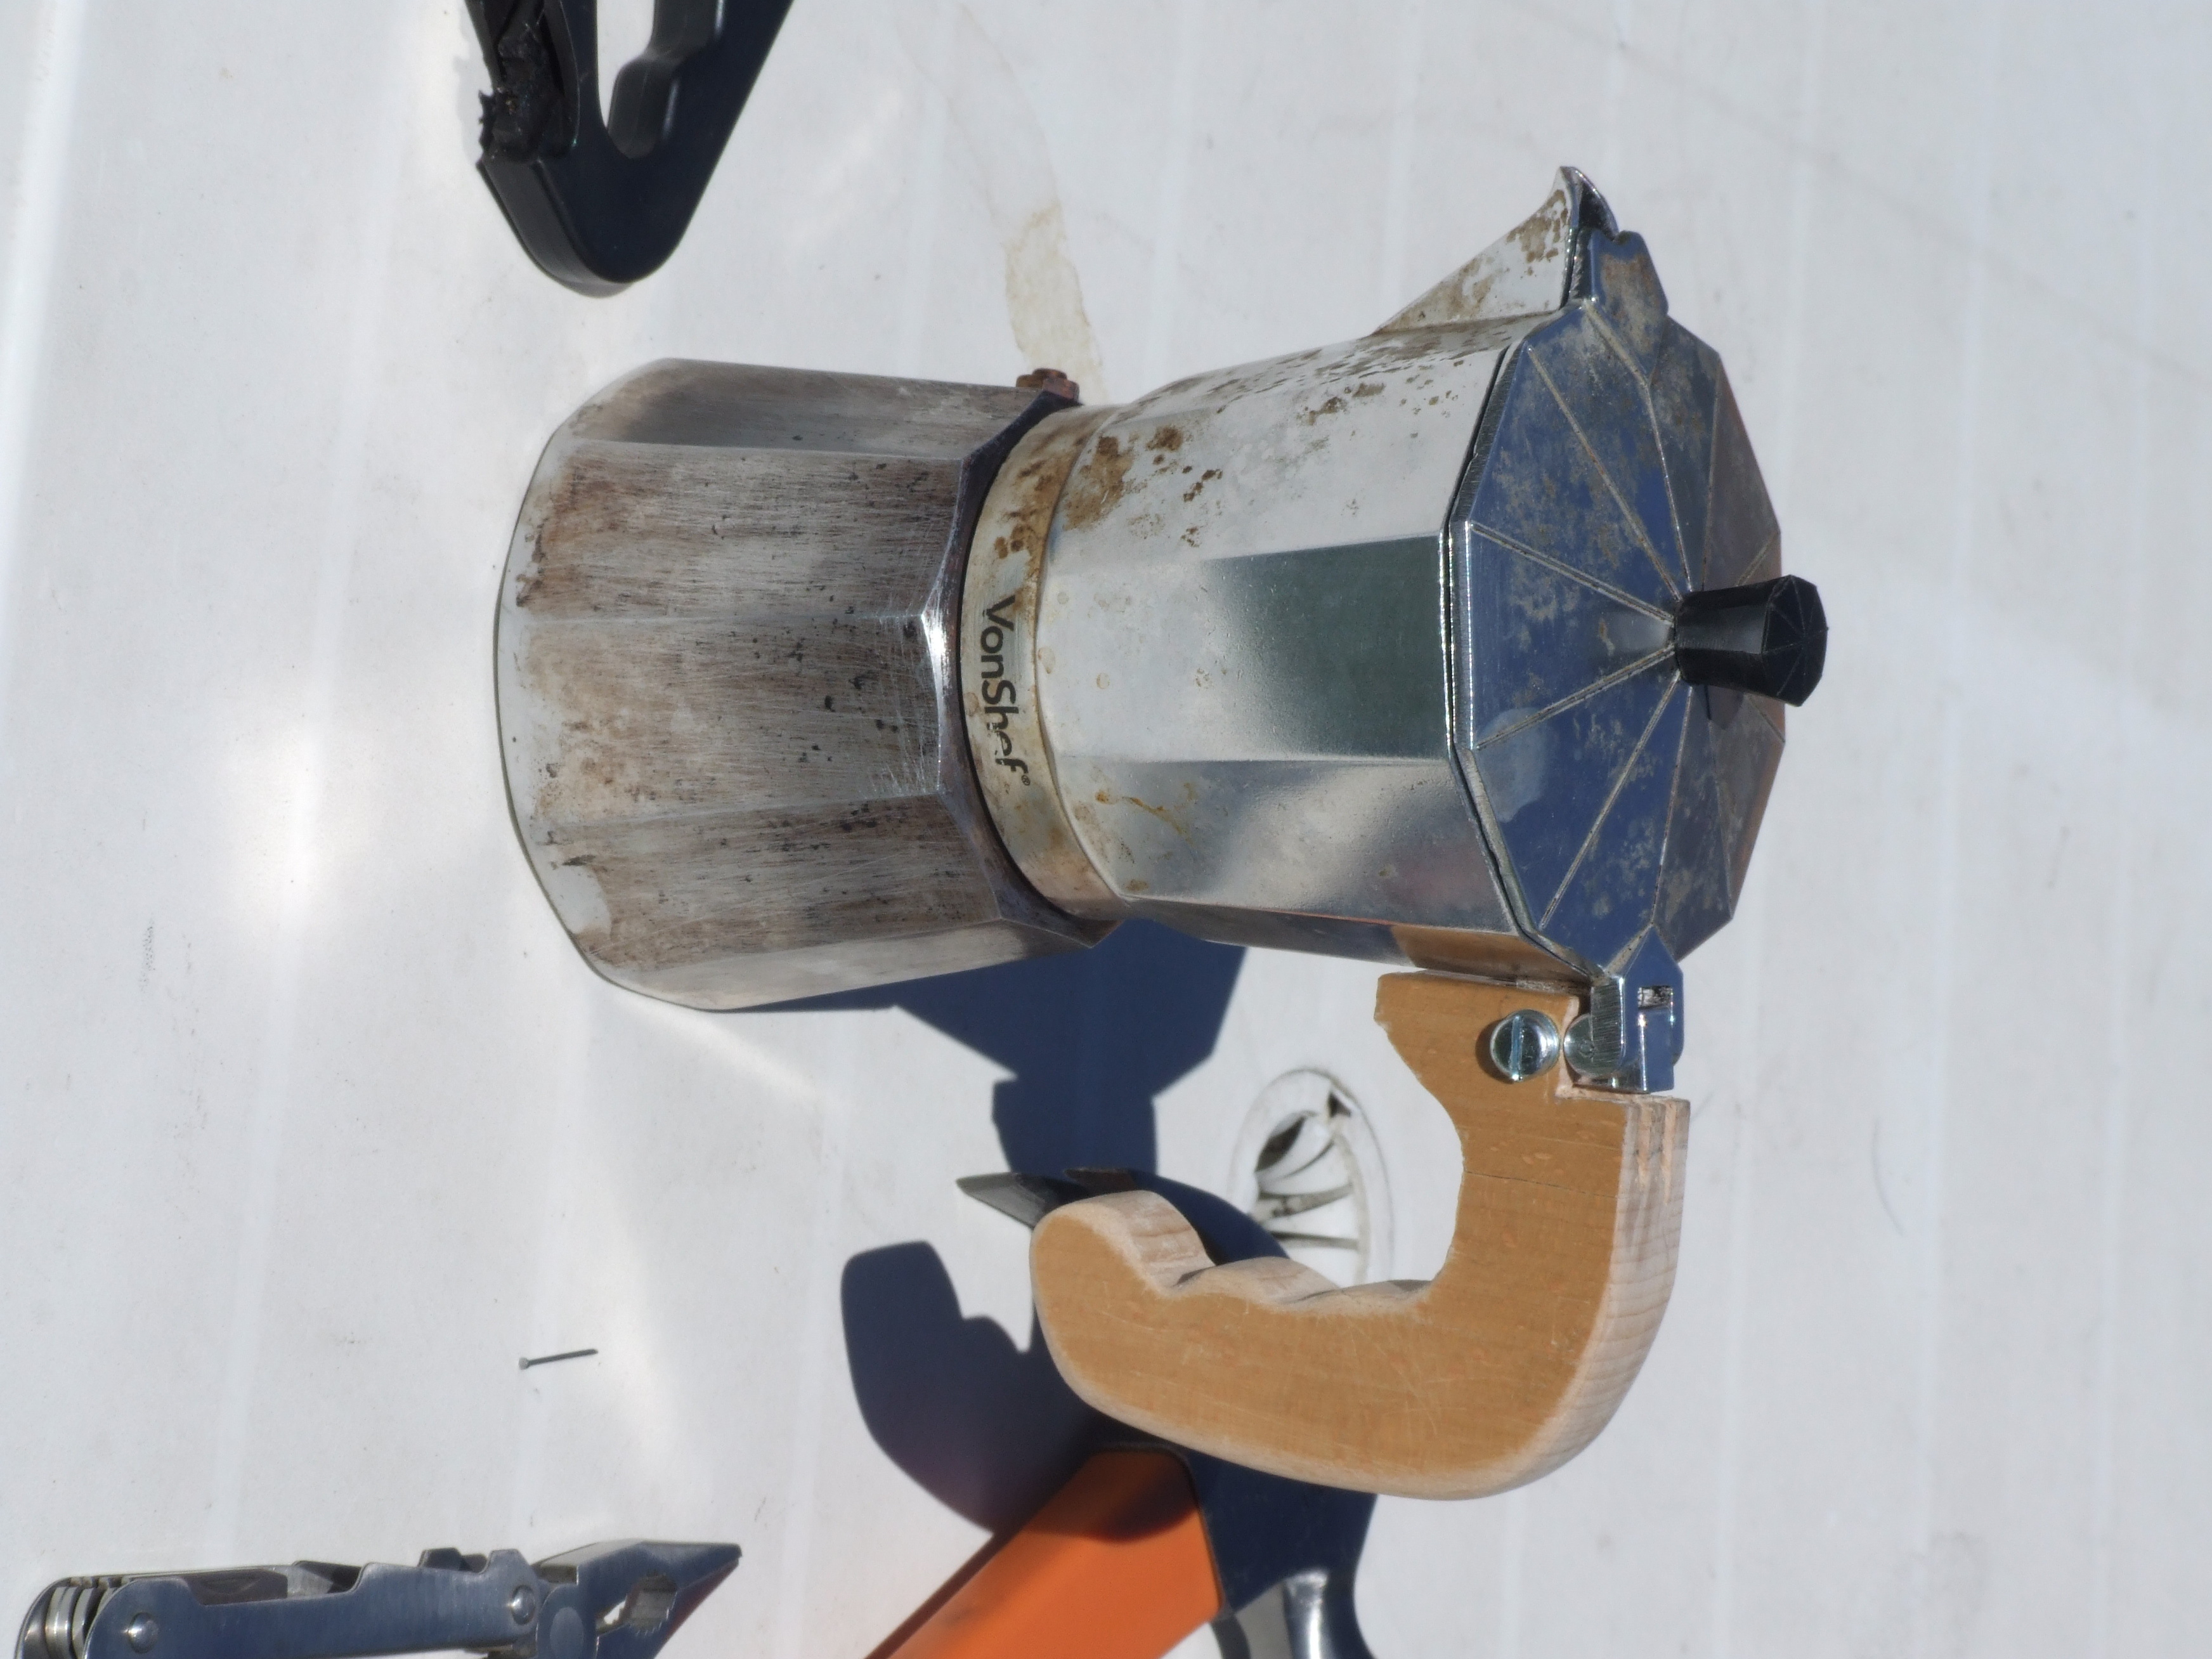
It looks, I think, heartily silly. It is also far too large. But it works fine, it cost me nothing (but 5 hours’ work in the sun—but I needed a distraction, and the mind can still work). And at least it’s a talking point now.