I arrived back yesterday to discover that the fridge, or more specifically the fridge-freezer, had been off for at least a week.1 The same week, coincidentally, that temperatures in the range of southern France on a cool day have lead to pantograph cables all falling off. Oops. Hopefully the repairs will be more heat-tolerant… Thus in this heat wave2—well, it was certainly warm—the inside of the fridge/freezer got to goodness knows what temperature (fridges make good beer-brewing ovens, as google will show).
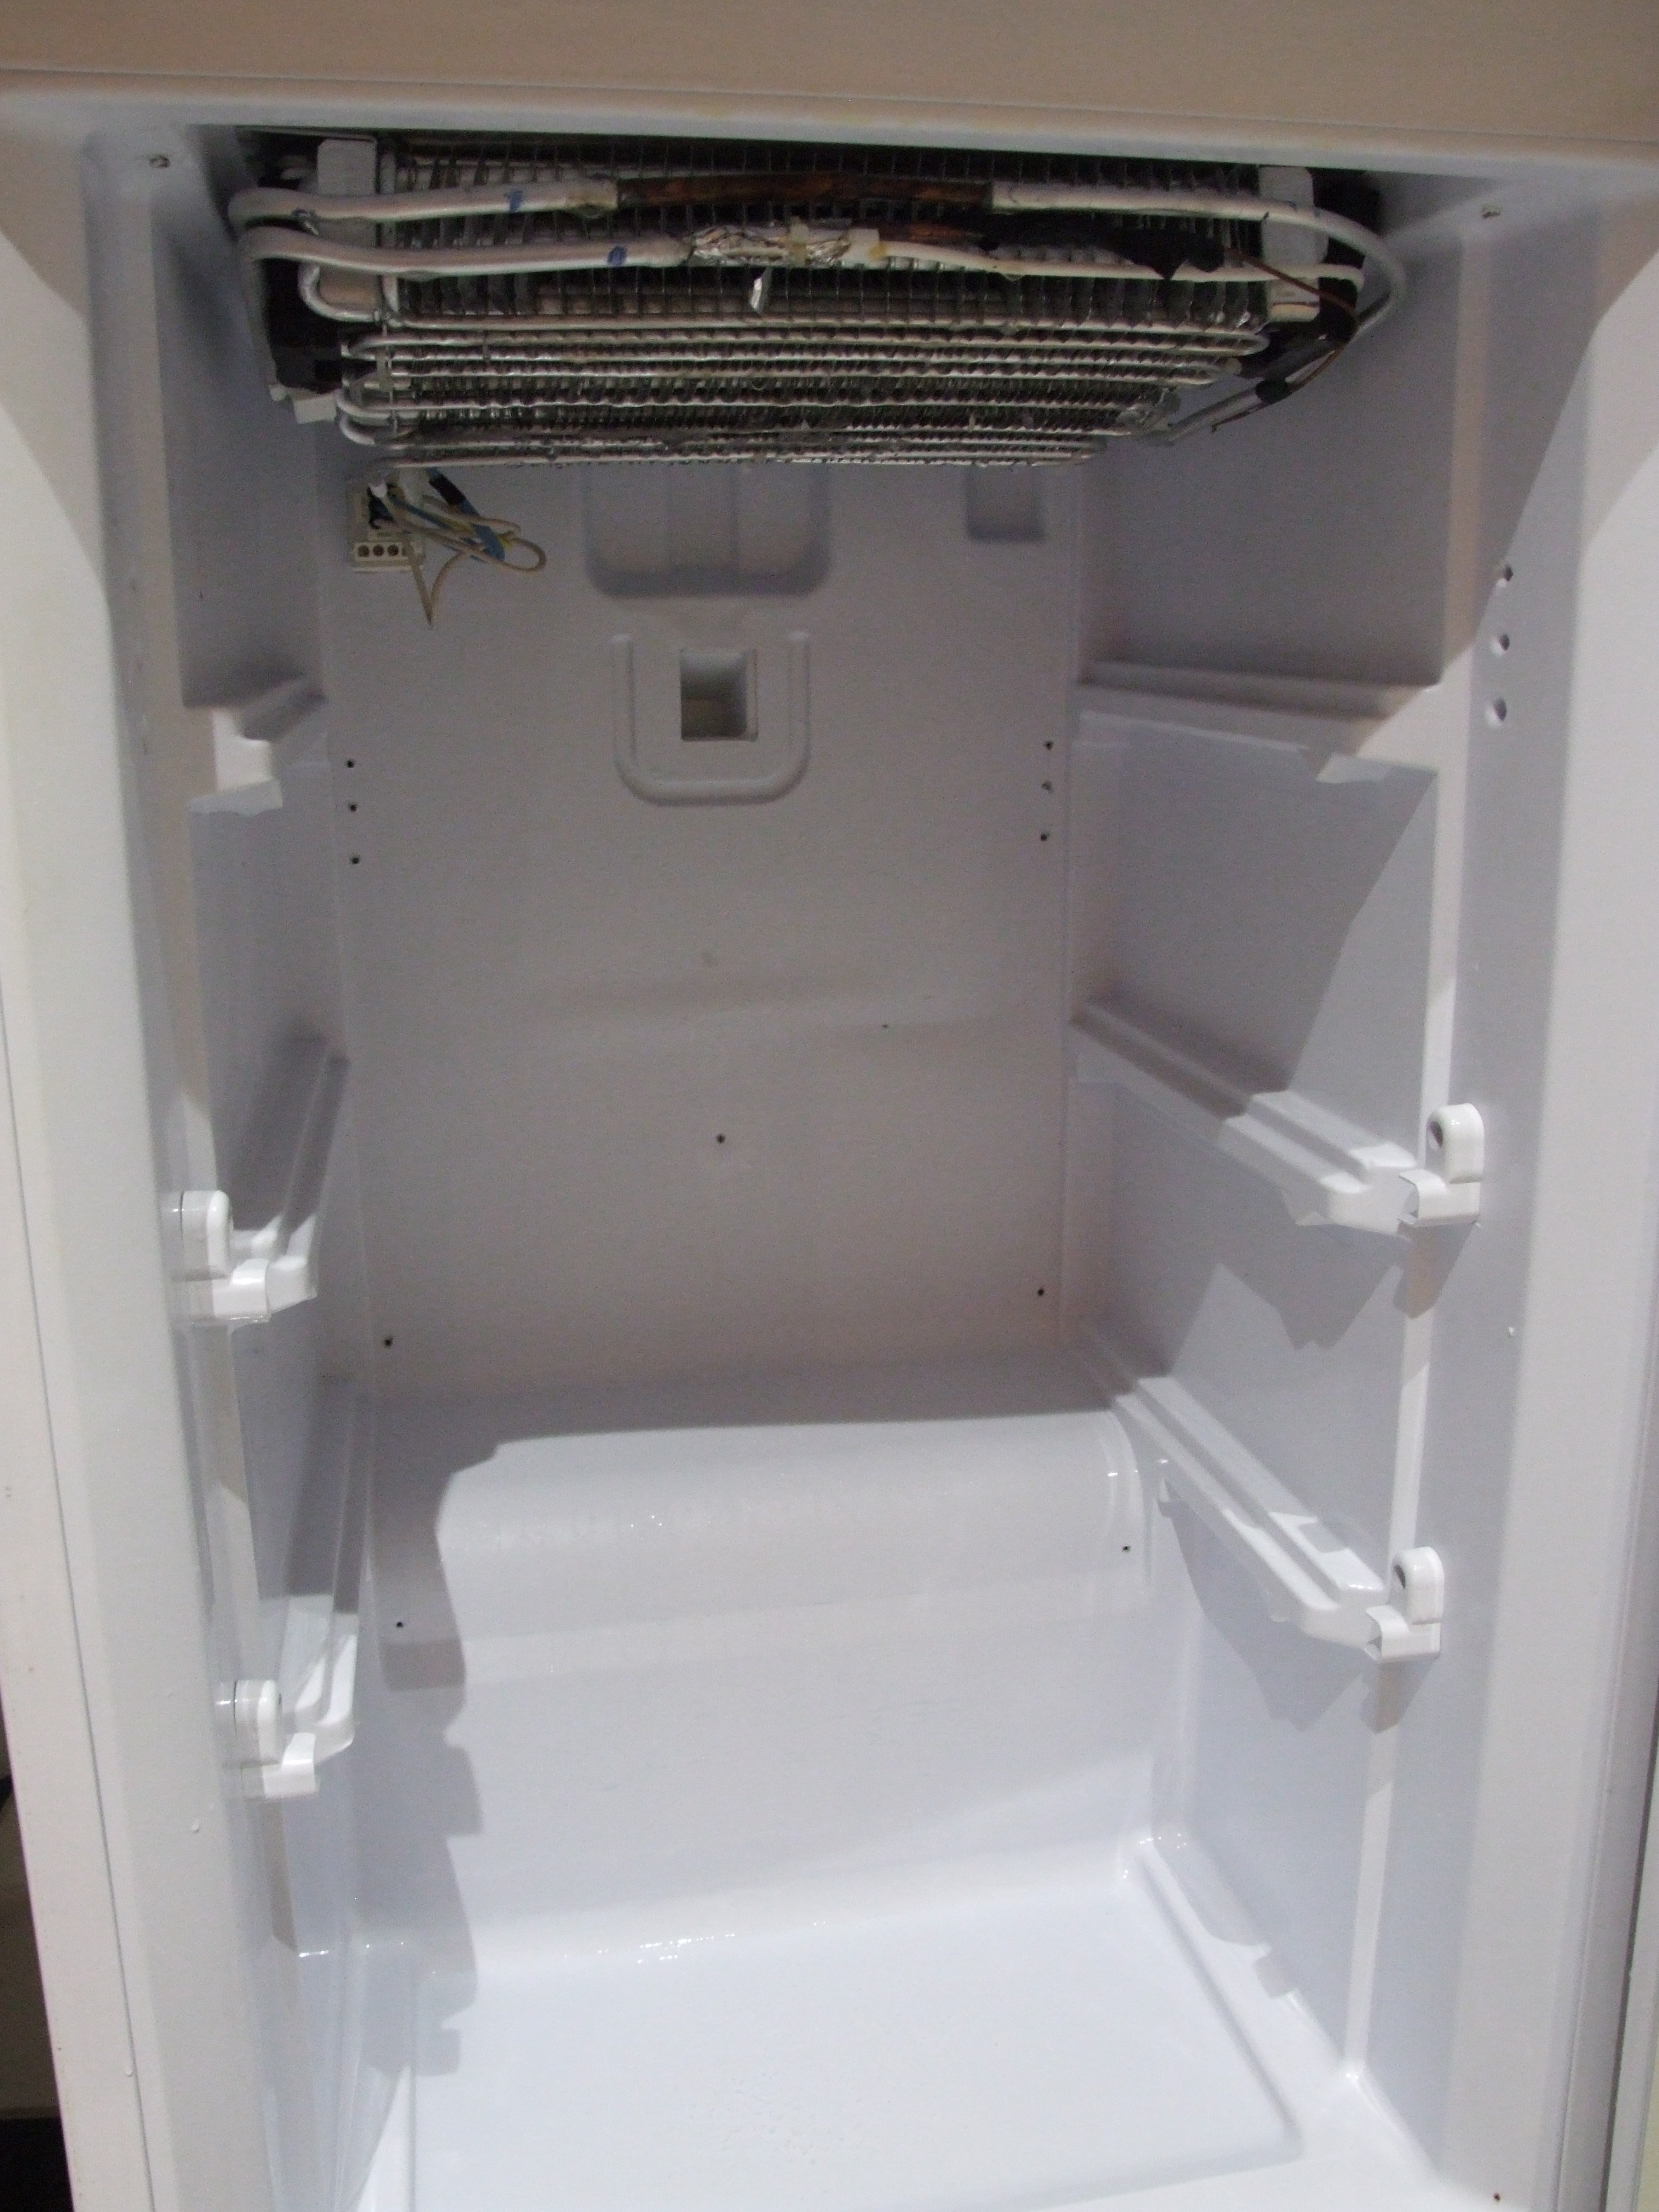
And as to the state of the freezer—well. Once one has bagged all the remains, mopped up everywhere and sanitised the floor, what then? Cleaning everything down and putting the thing back on immediately showed up a problem: it still stank, and the stink was in the air-cooling system. Back in the day freezers had metal piping everywhere attached to a heat exchange on the back. Attached fridges were cooled by blowing air up from the freezer compartment. This worked well, but they keep getting more efficient—so now we have a single cooling array at the top of the freezer with a fan, and, presumably, another for the fridge.3
According to the internet, if one’s freezer is the site of meat decay there are two options: a gradated treatment over several weeks of various cleaners and activated carbon or buying a new freezer. Except I don’t have several weeks, I have less than 48h. And as for buying a new one; well. Looking through the ‘methods’ shows that they do two things: clean everything in sight as thoroughly as possible, and vaporise something inside to work into anything out of sight. I figured if I took the whole thing apart I could just clean everything by hand and have it done with.
Here we go. First, take out the draws, trays, etc, and soak them in the bath with washing up liquid (these have already been disinfected). This is a bath:

Then unscrew everything in sight. The screws were frozen solid and needed the cordless drill.
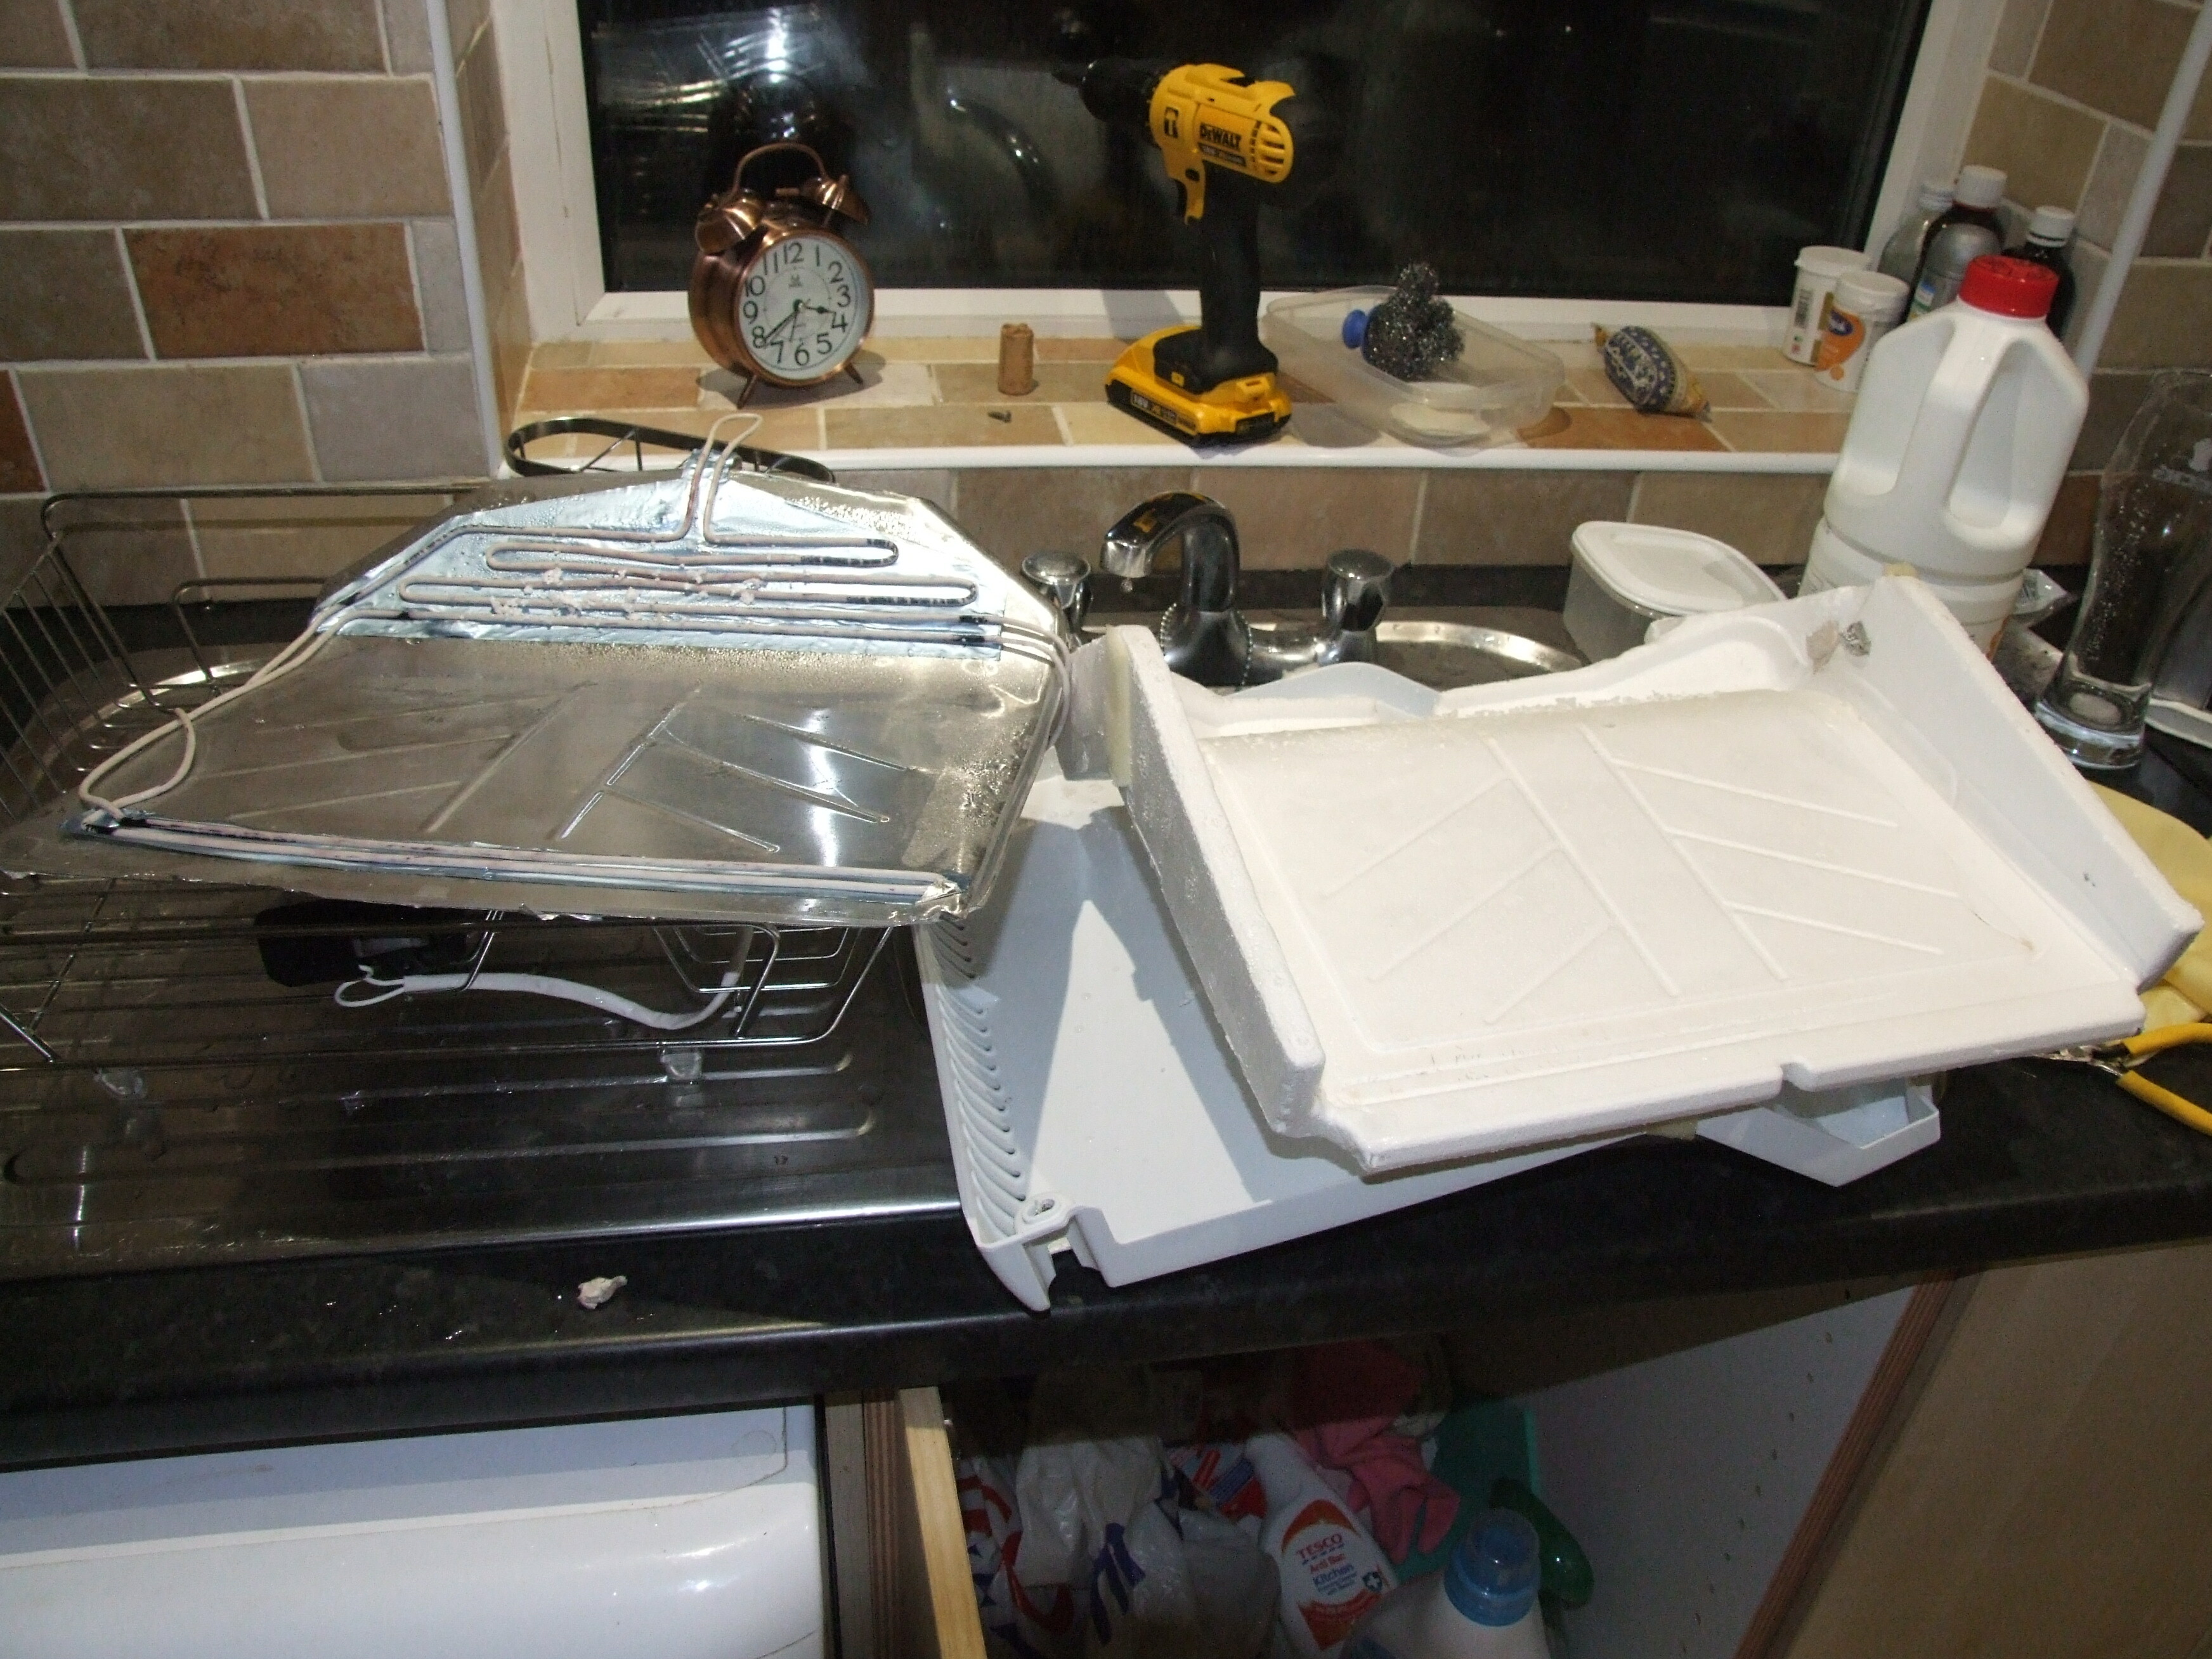
I’ve taken the fan assembly away. It’s in two parts: the fan itself, and a polystyrene-clad tray which fits under the cooler:
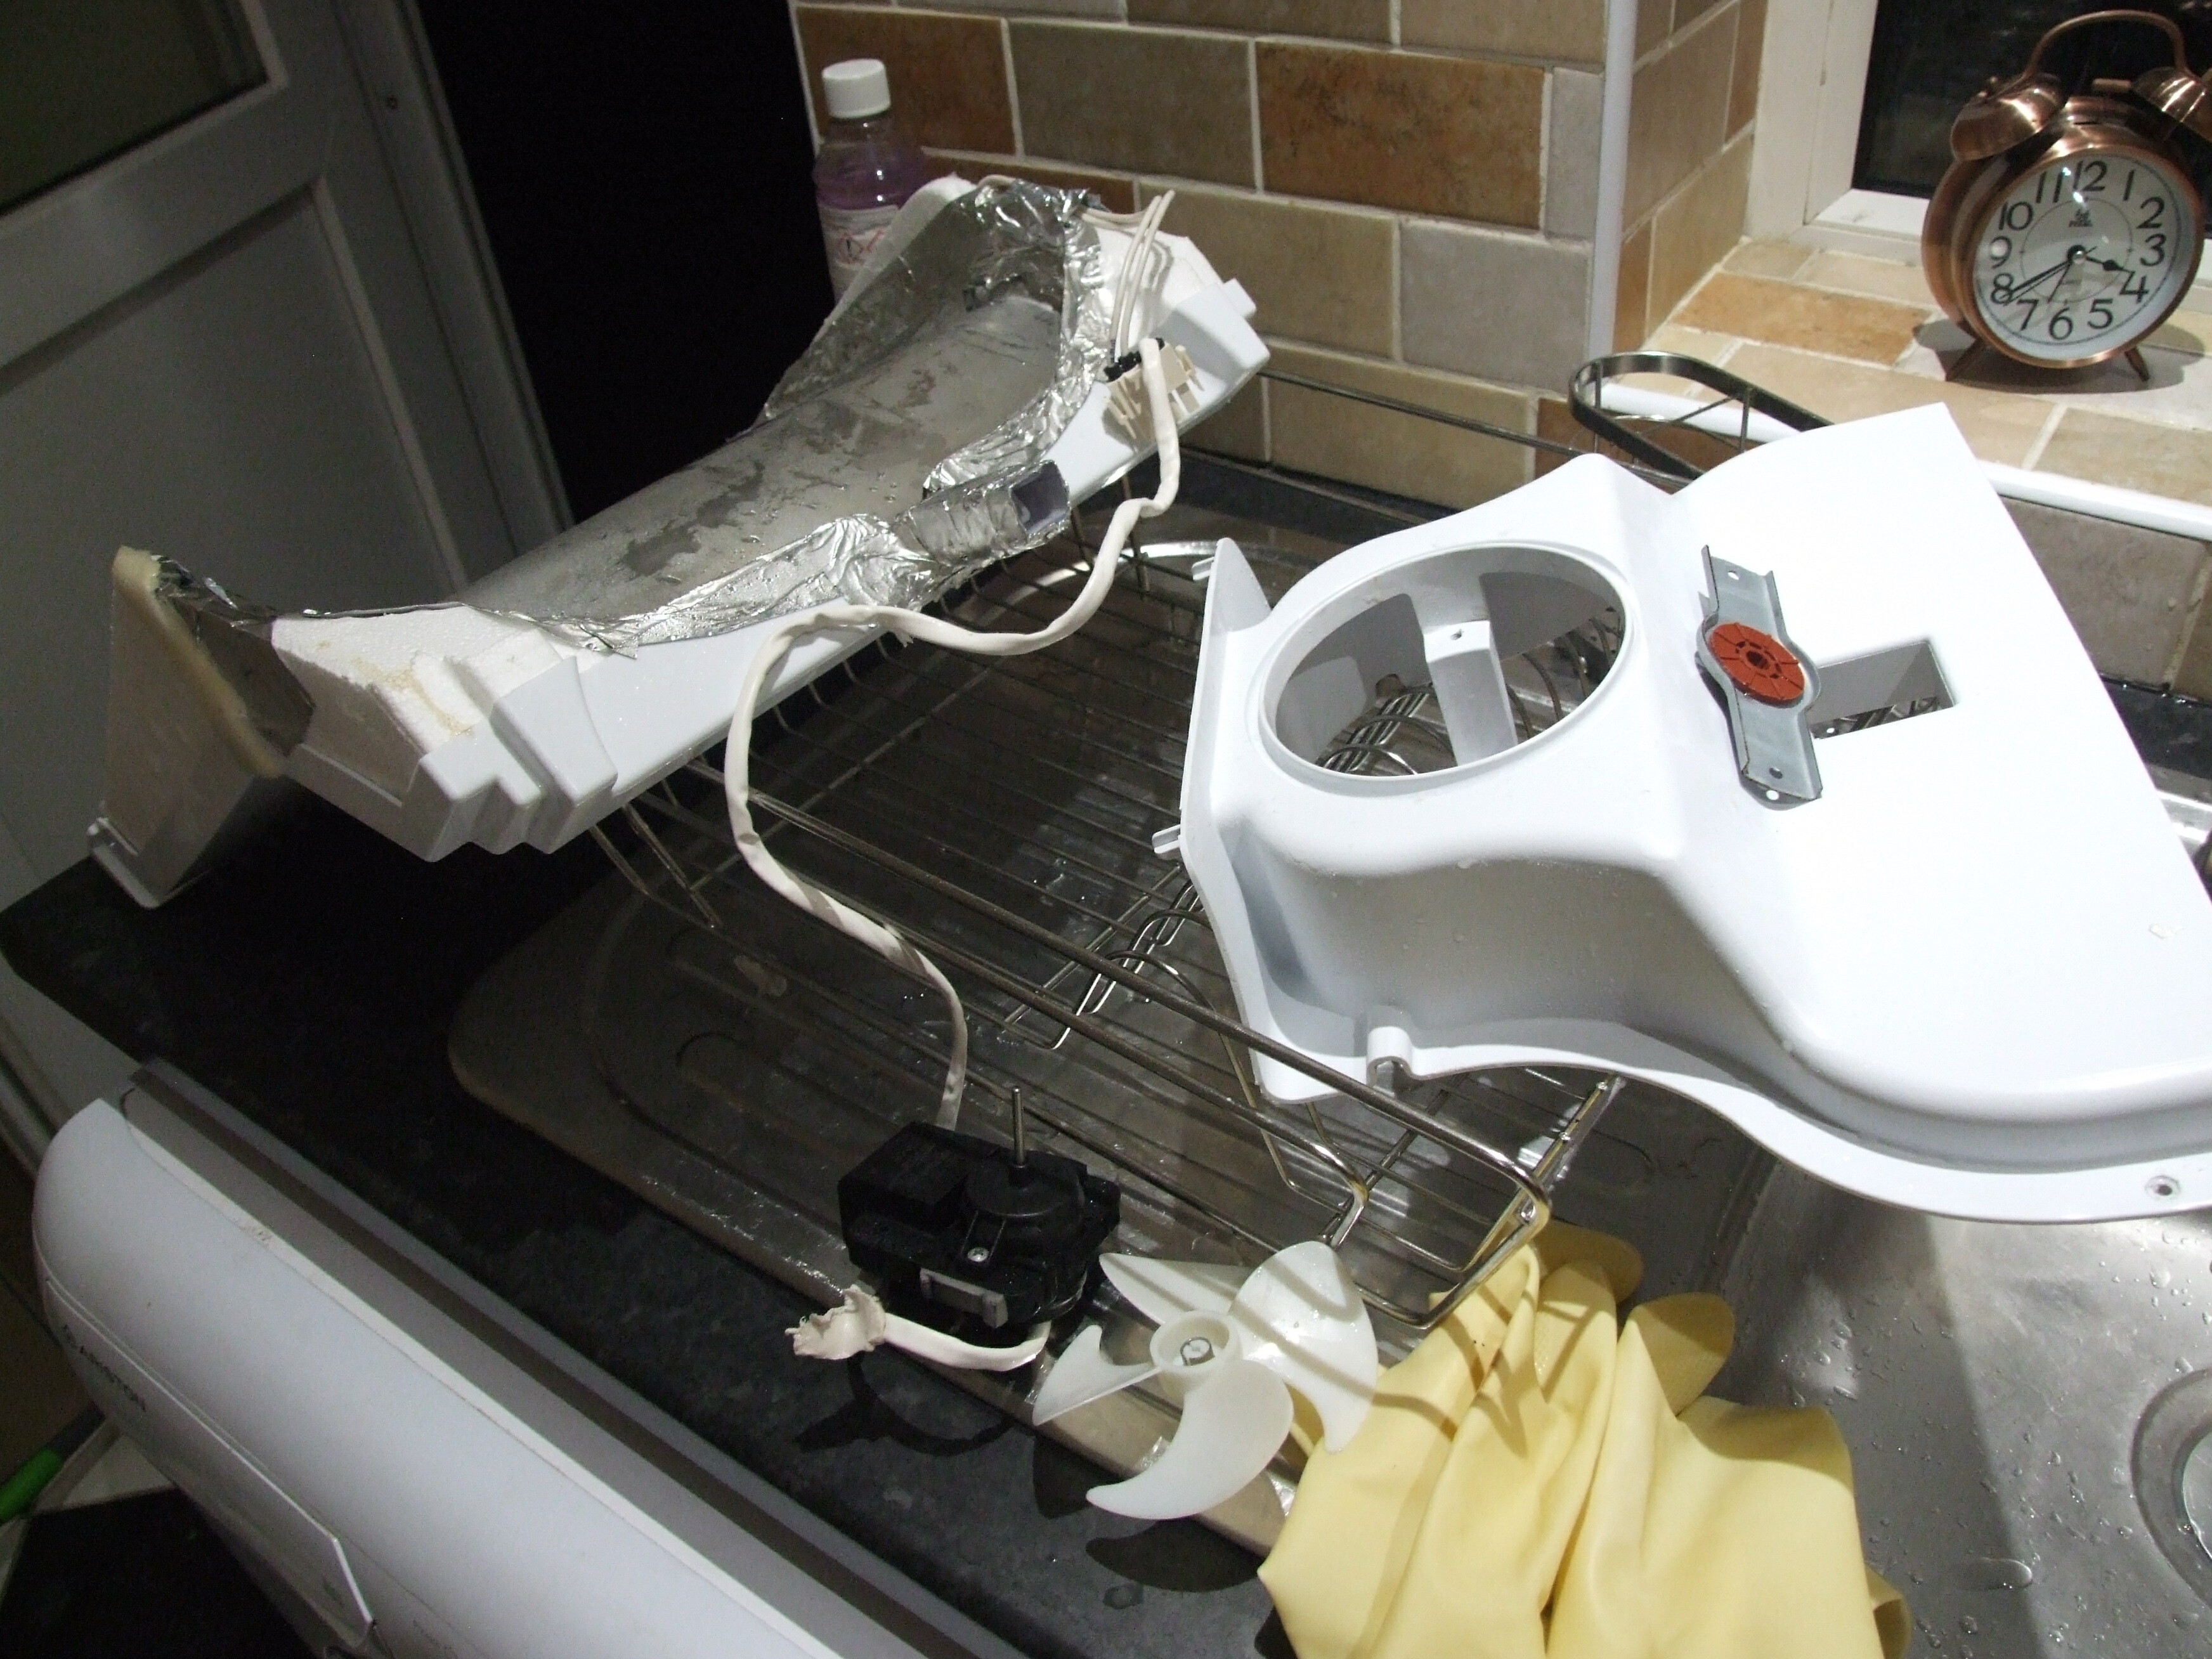
The fan assembly is simple: take plate out, remove the two vibration-free rubber mounts and the blade, set them in neat bleach to soak. Wipe the motor down (it’s probably immersion-proof—after all, this is a freezer—but why risk it?).
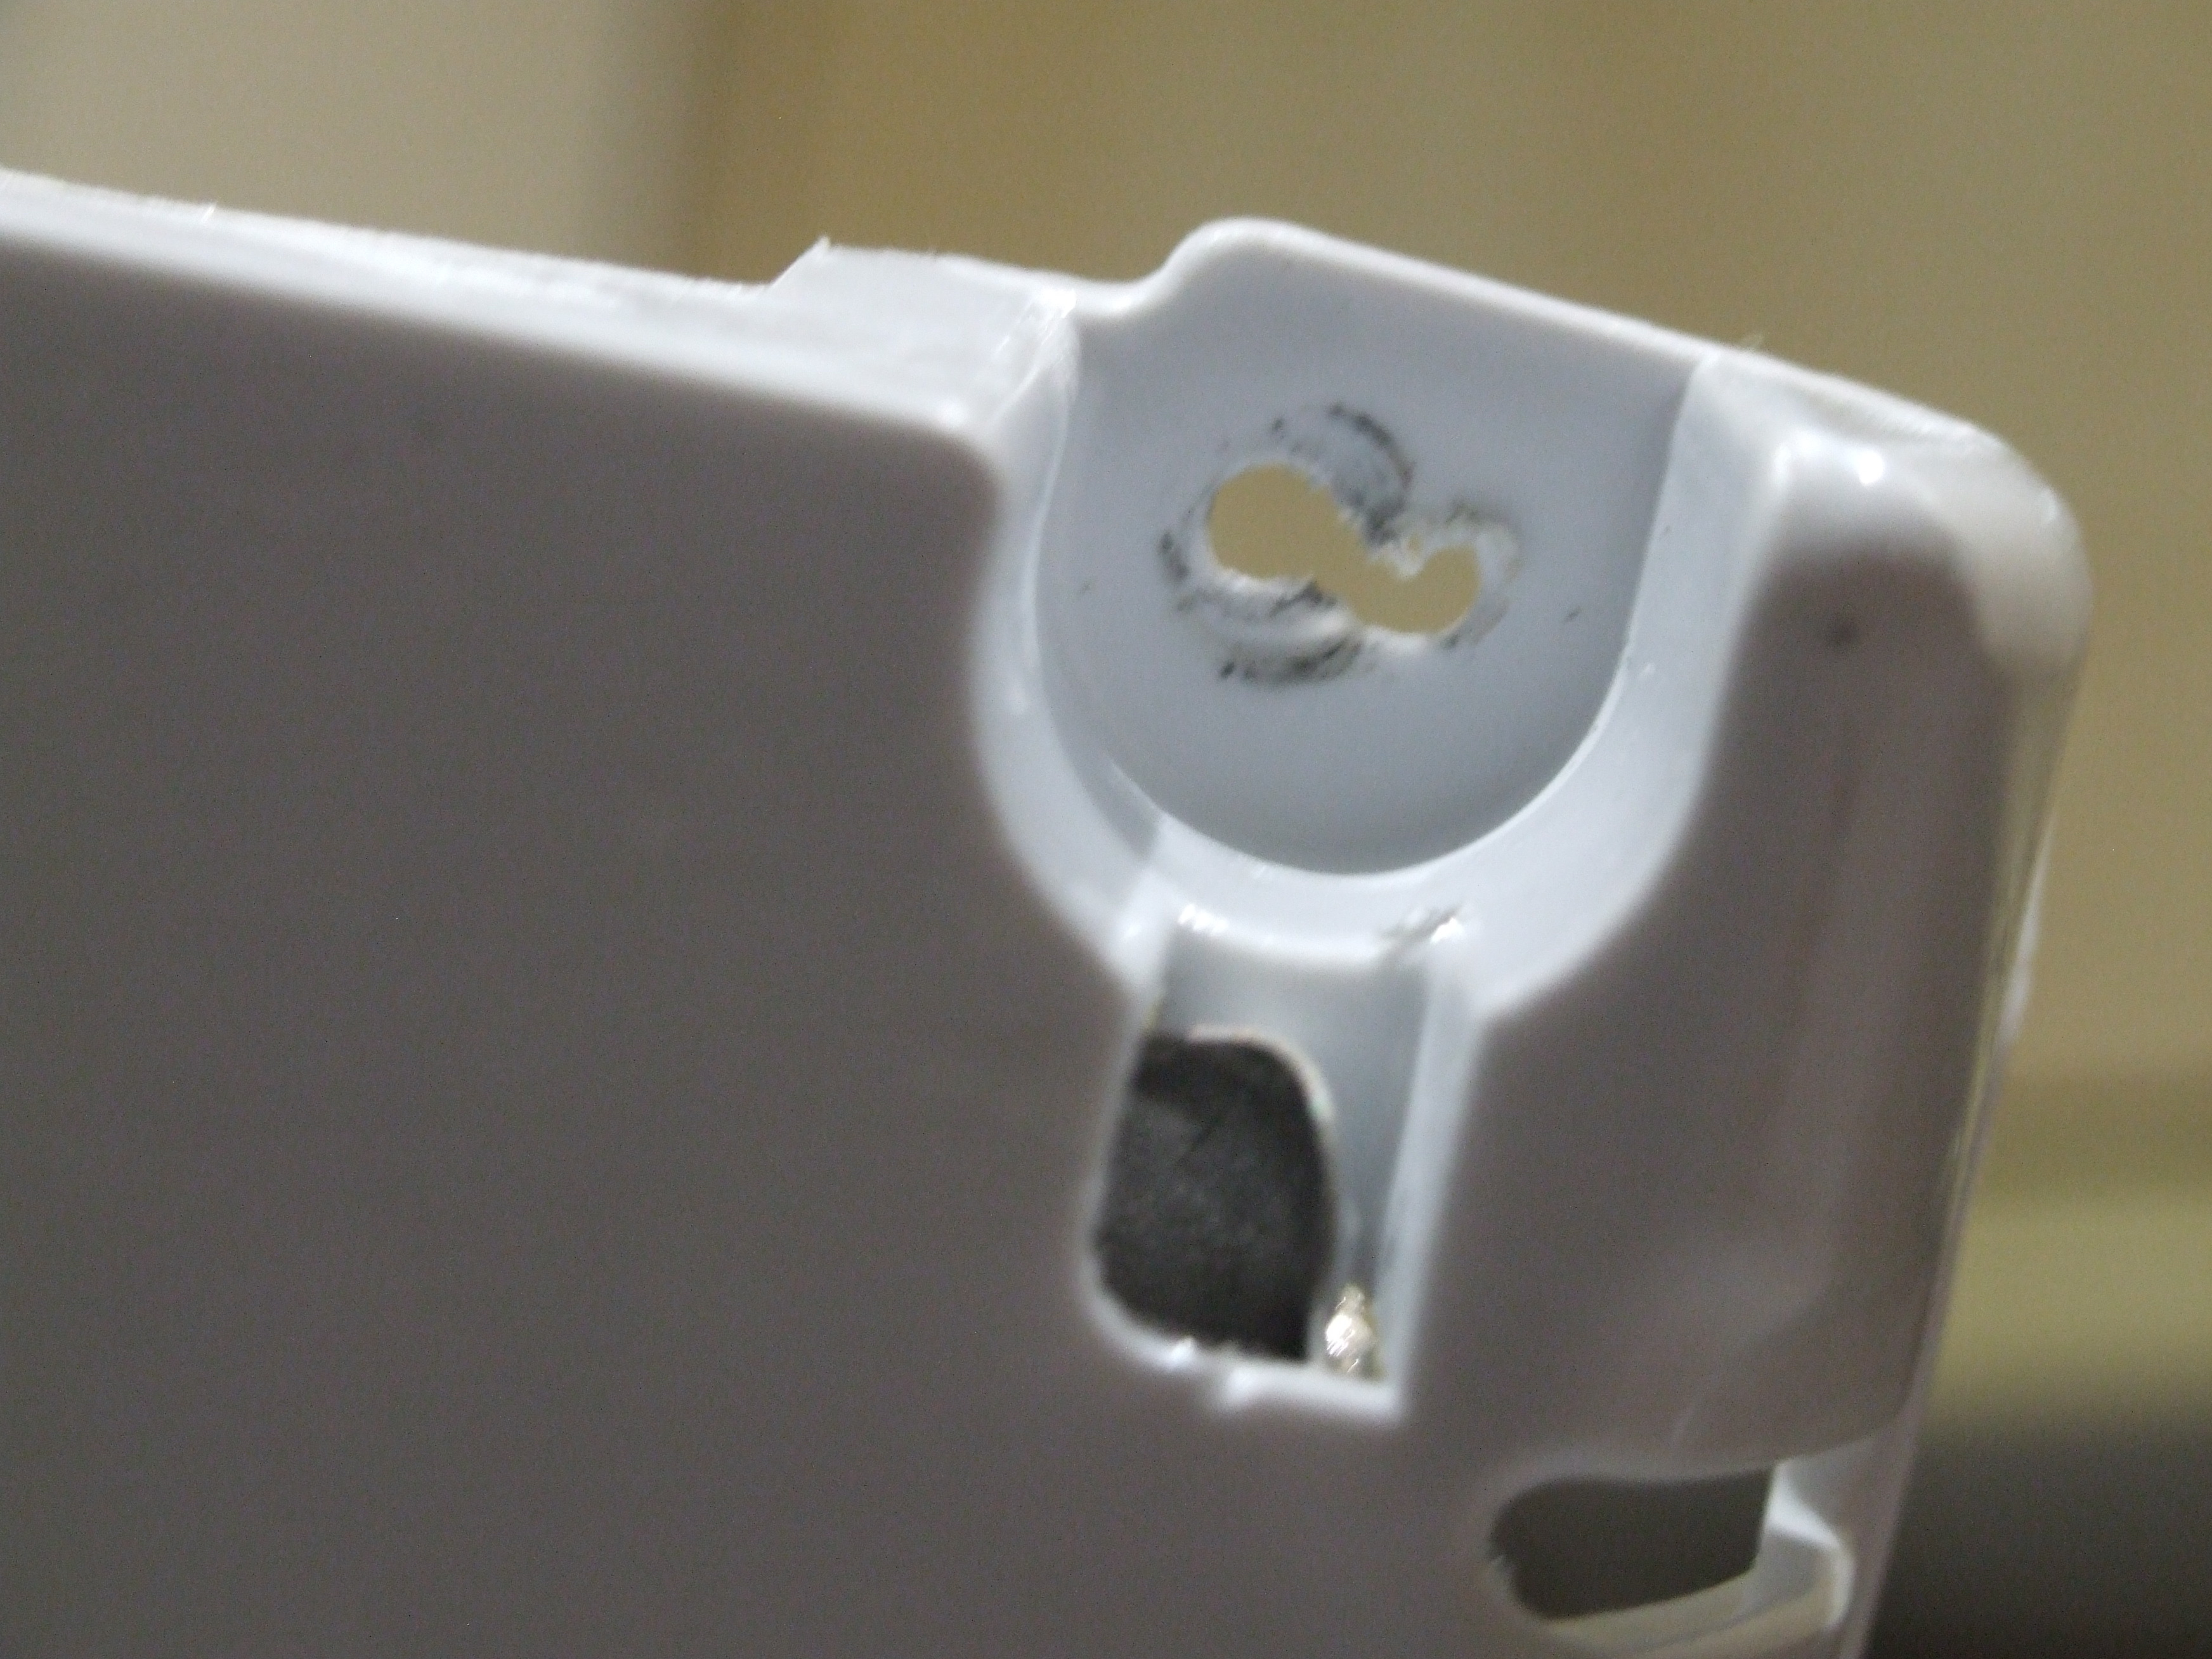
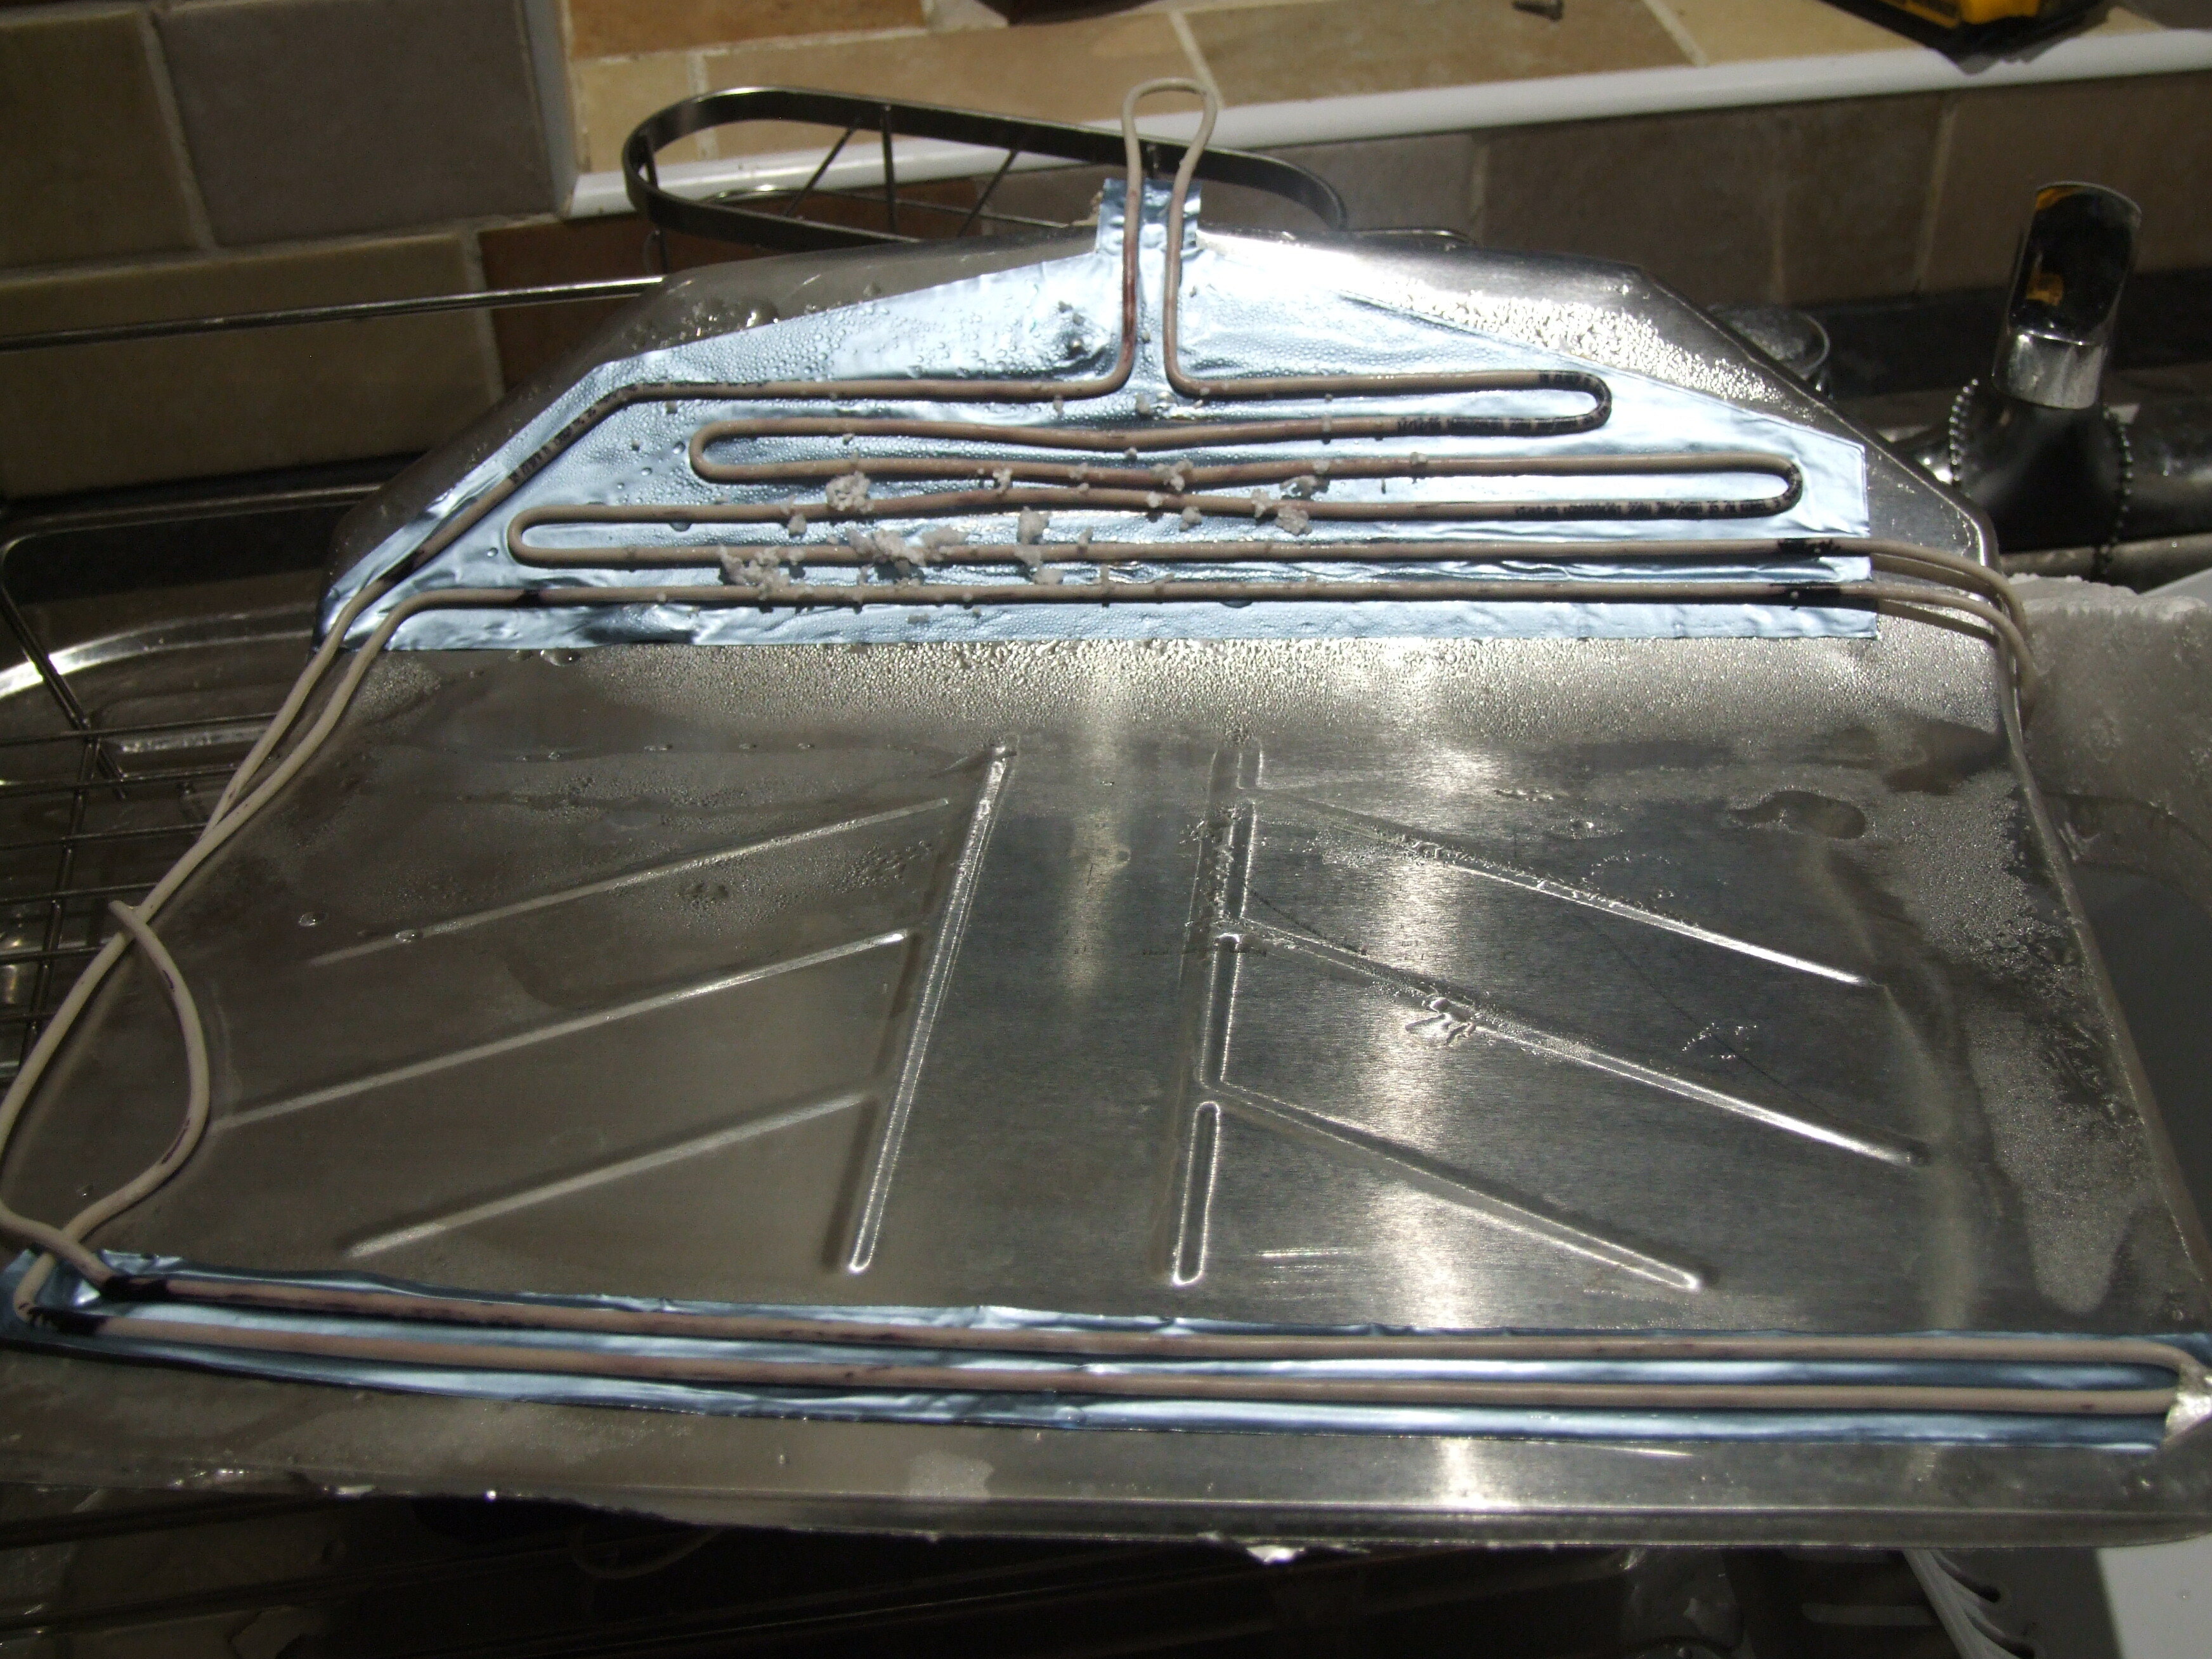
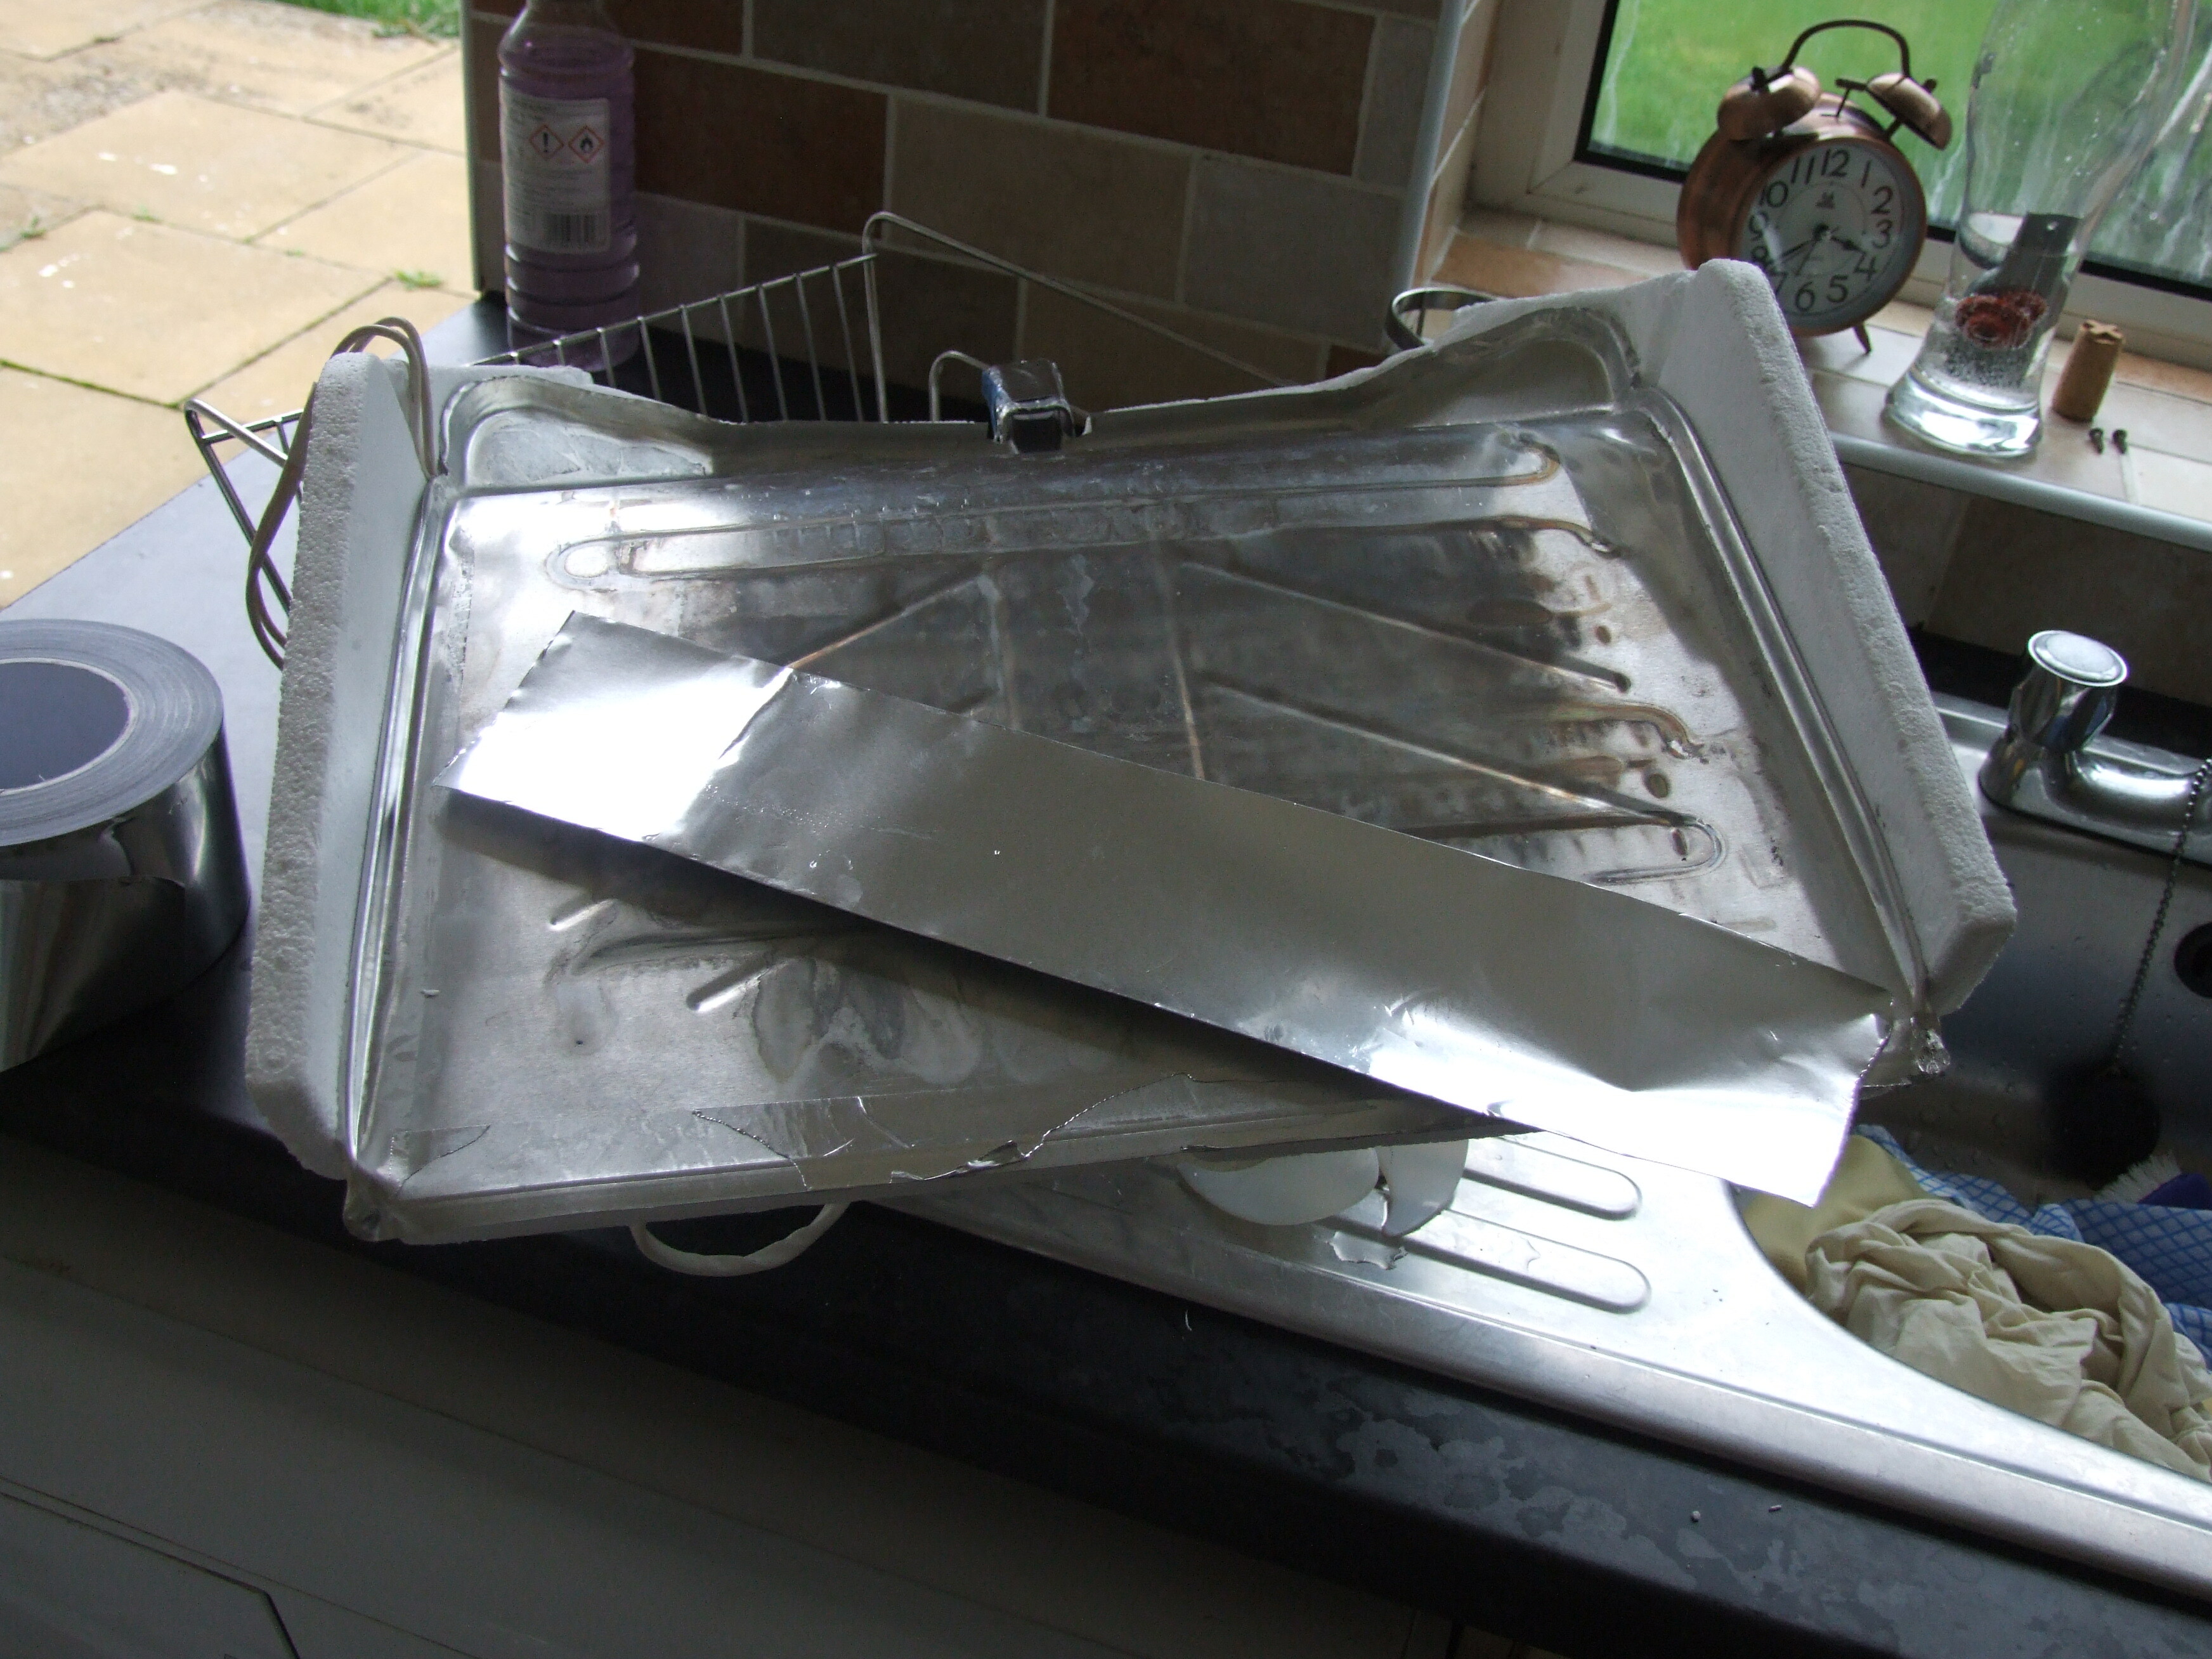
Wash plastic parts down with bleach and add to the bath. Now for the tray: it seems the steel (?) plate is held in place with two bends at the front:
Bend those tabs and the whole thing can be removed. Here it is after scrubbing, with the metal tray to the left. Under the tray is the heating element—yes, fridges contain heaters to periodically de-ice the heat exchange. There’s another element running around the array itself, in a smaller tube. Also visible is the polystyrene insulation: this stank. According to the internet, there’s nothing you can do if anything gets into the insulation. Hmm.
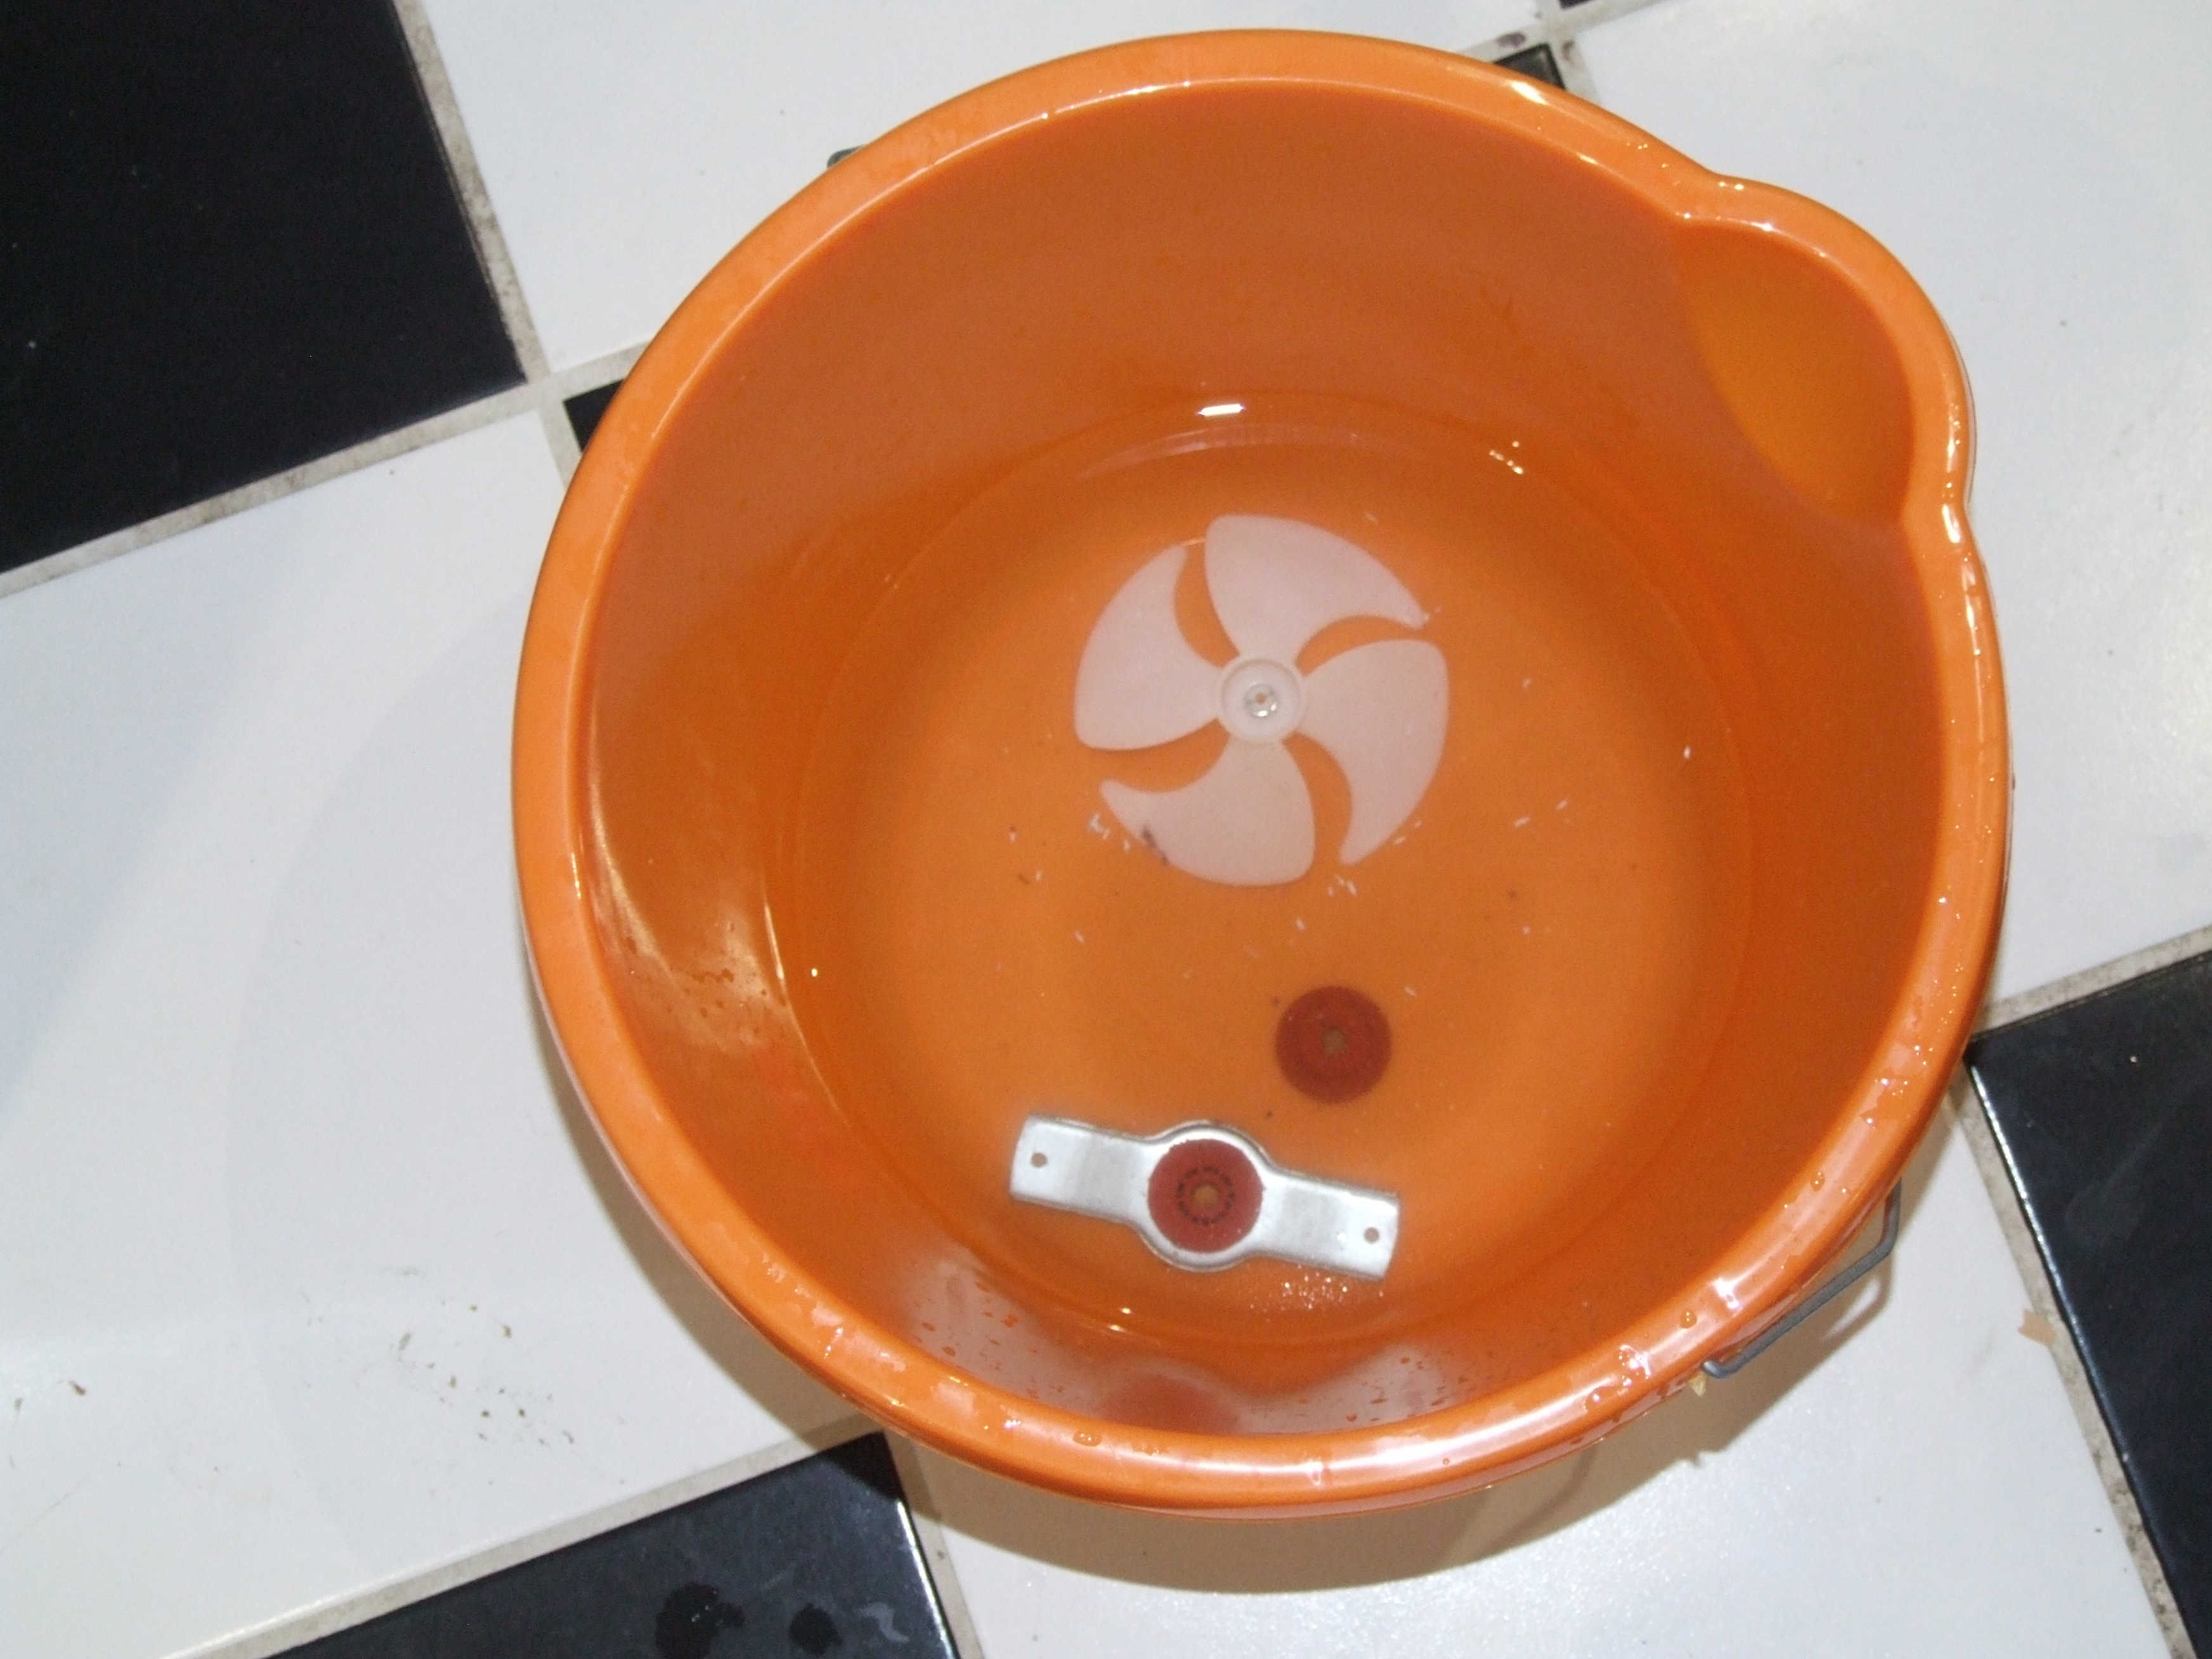
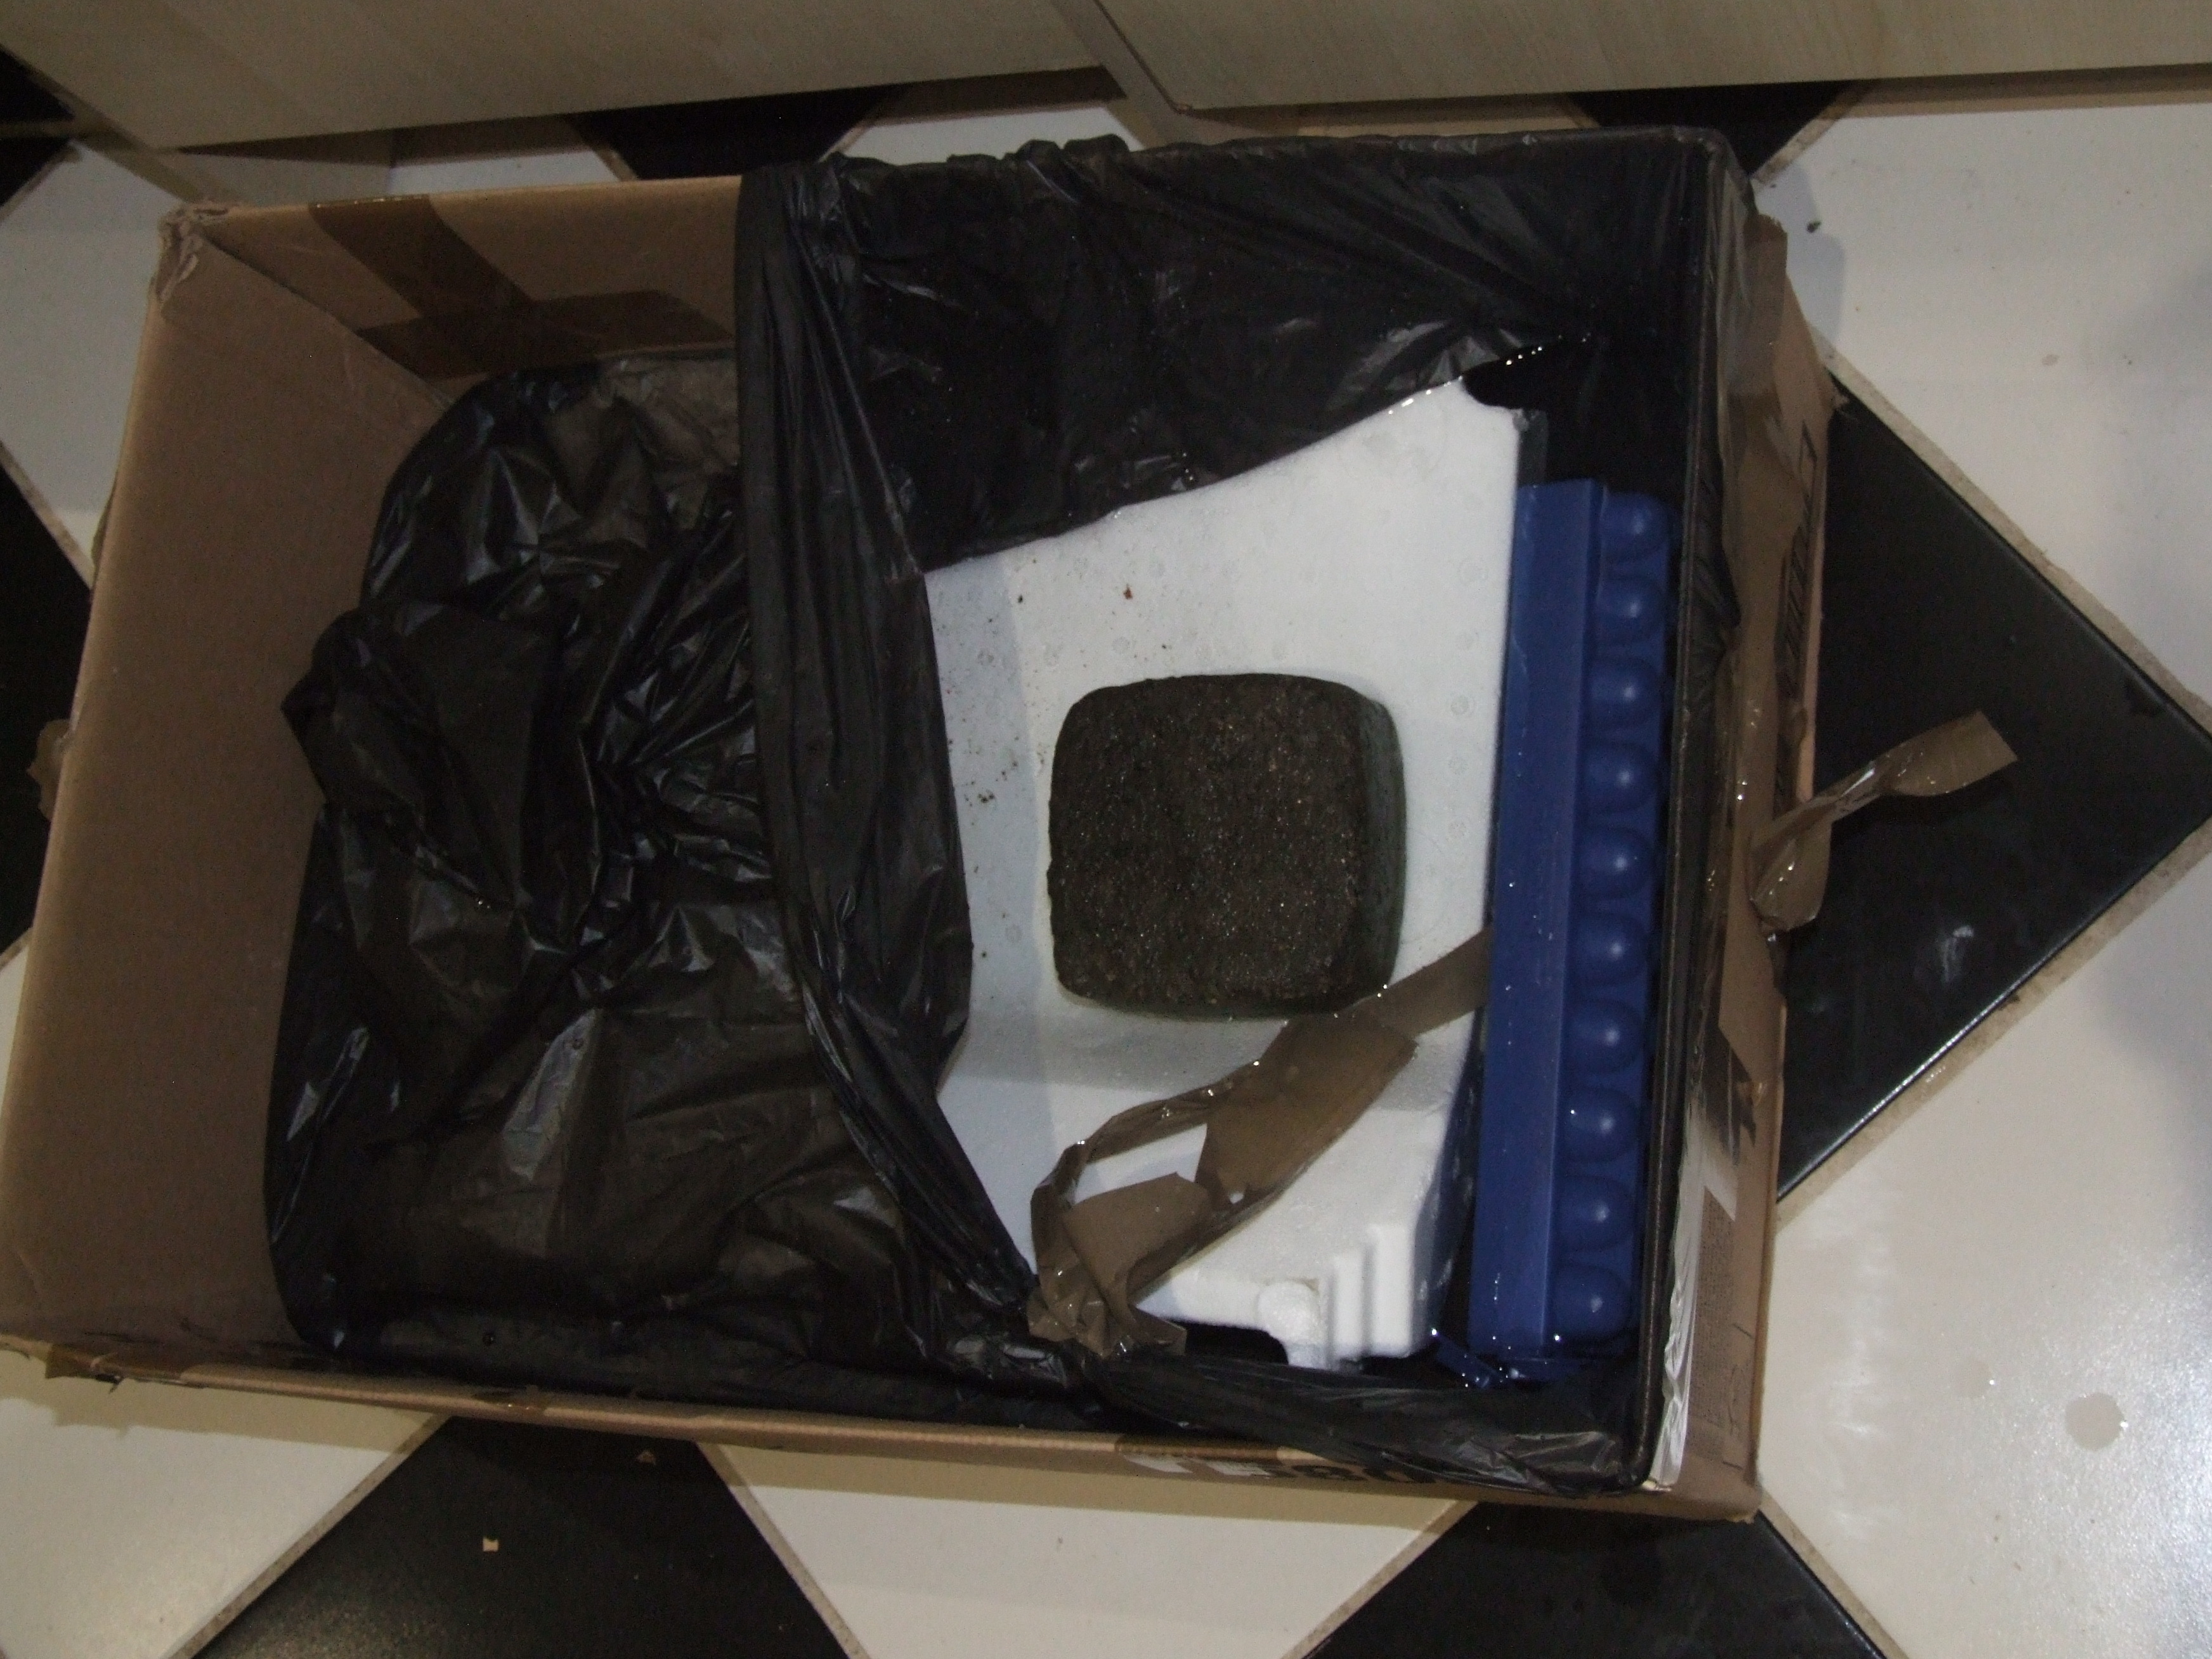
Now, how does one clean polystyrene? I rubbed down with neat bleach and got all the surface mould off, but that’s not doing much. Of course, I could just spray-laquer it or something and try to seal the smell in but (1) I didn’t think of it and (2) I’m not sure how it would like the heating. Equally, I could make a new one, but that would take at least a day with hot wire and sandpaper to get anything like the original shape. Instead, here it is soaking in an improvised bleach bath, weighed down with two paving bricks:
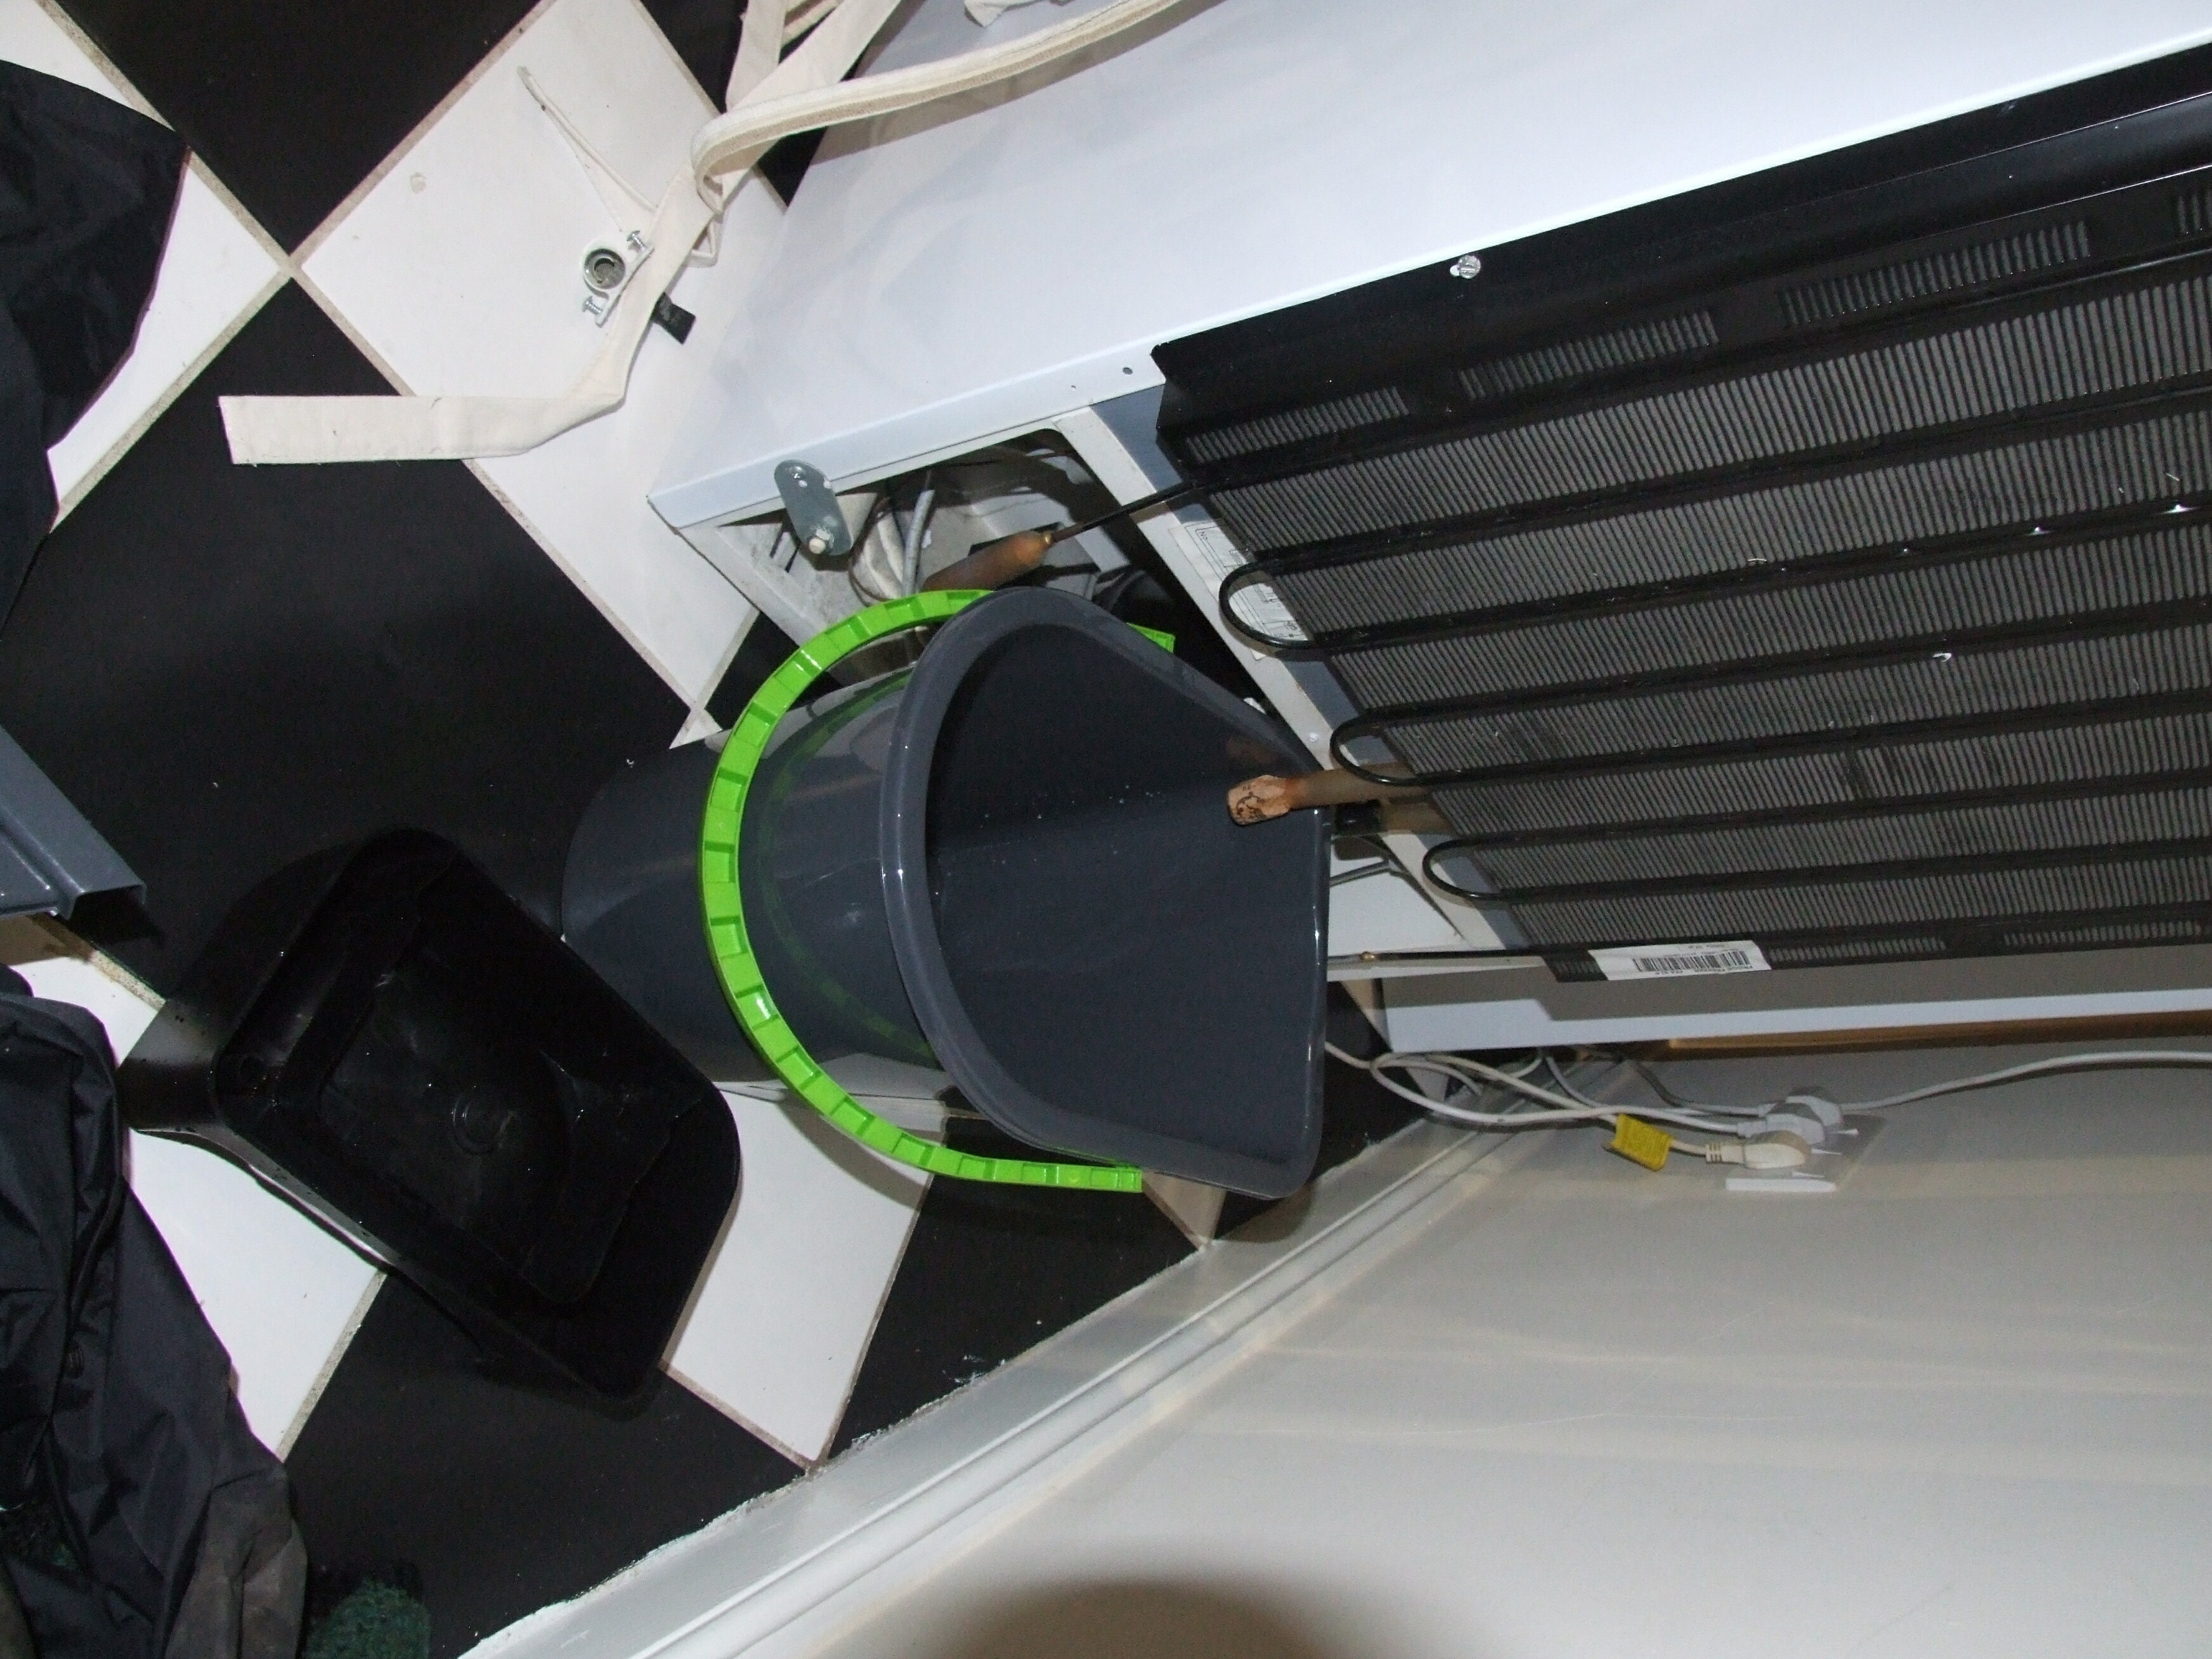
Well, we’ll see what that does. Meanwhile the drip tray had to be removed and cleaned, and the exit pipe corked and filled with ‘plughole cleaner’:
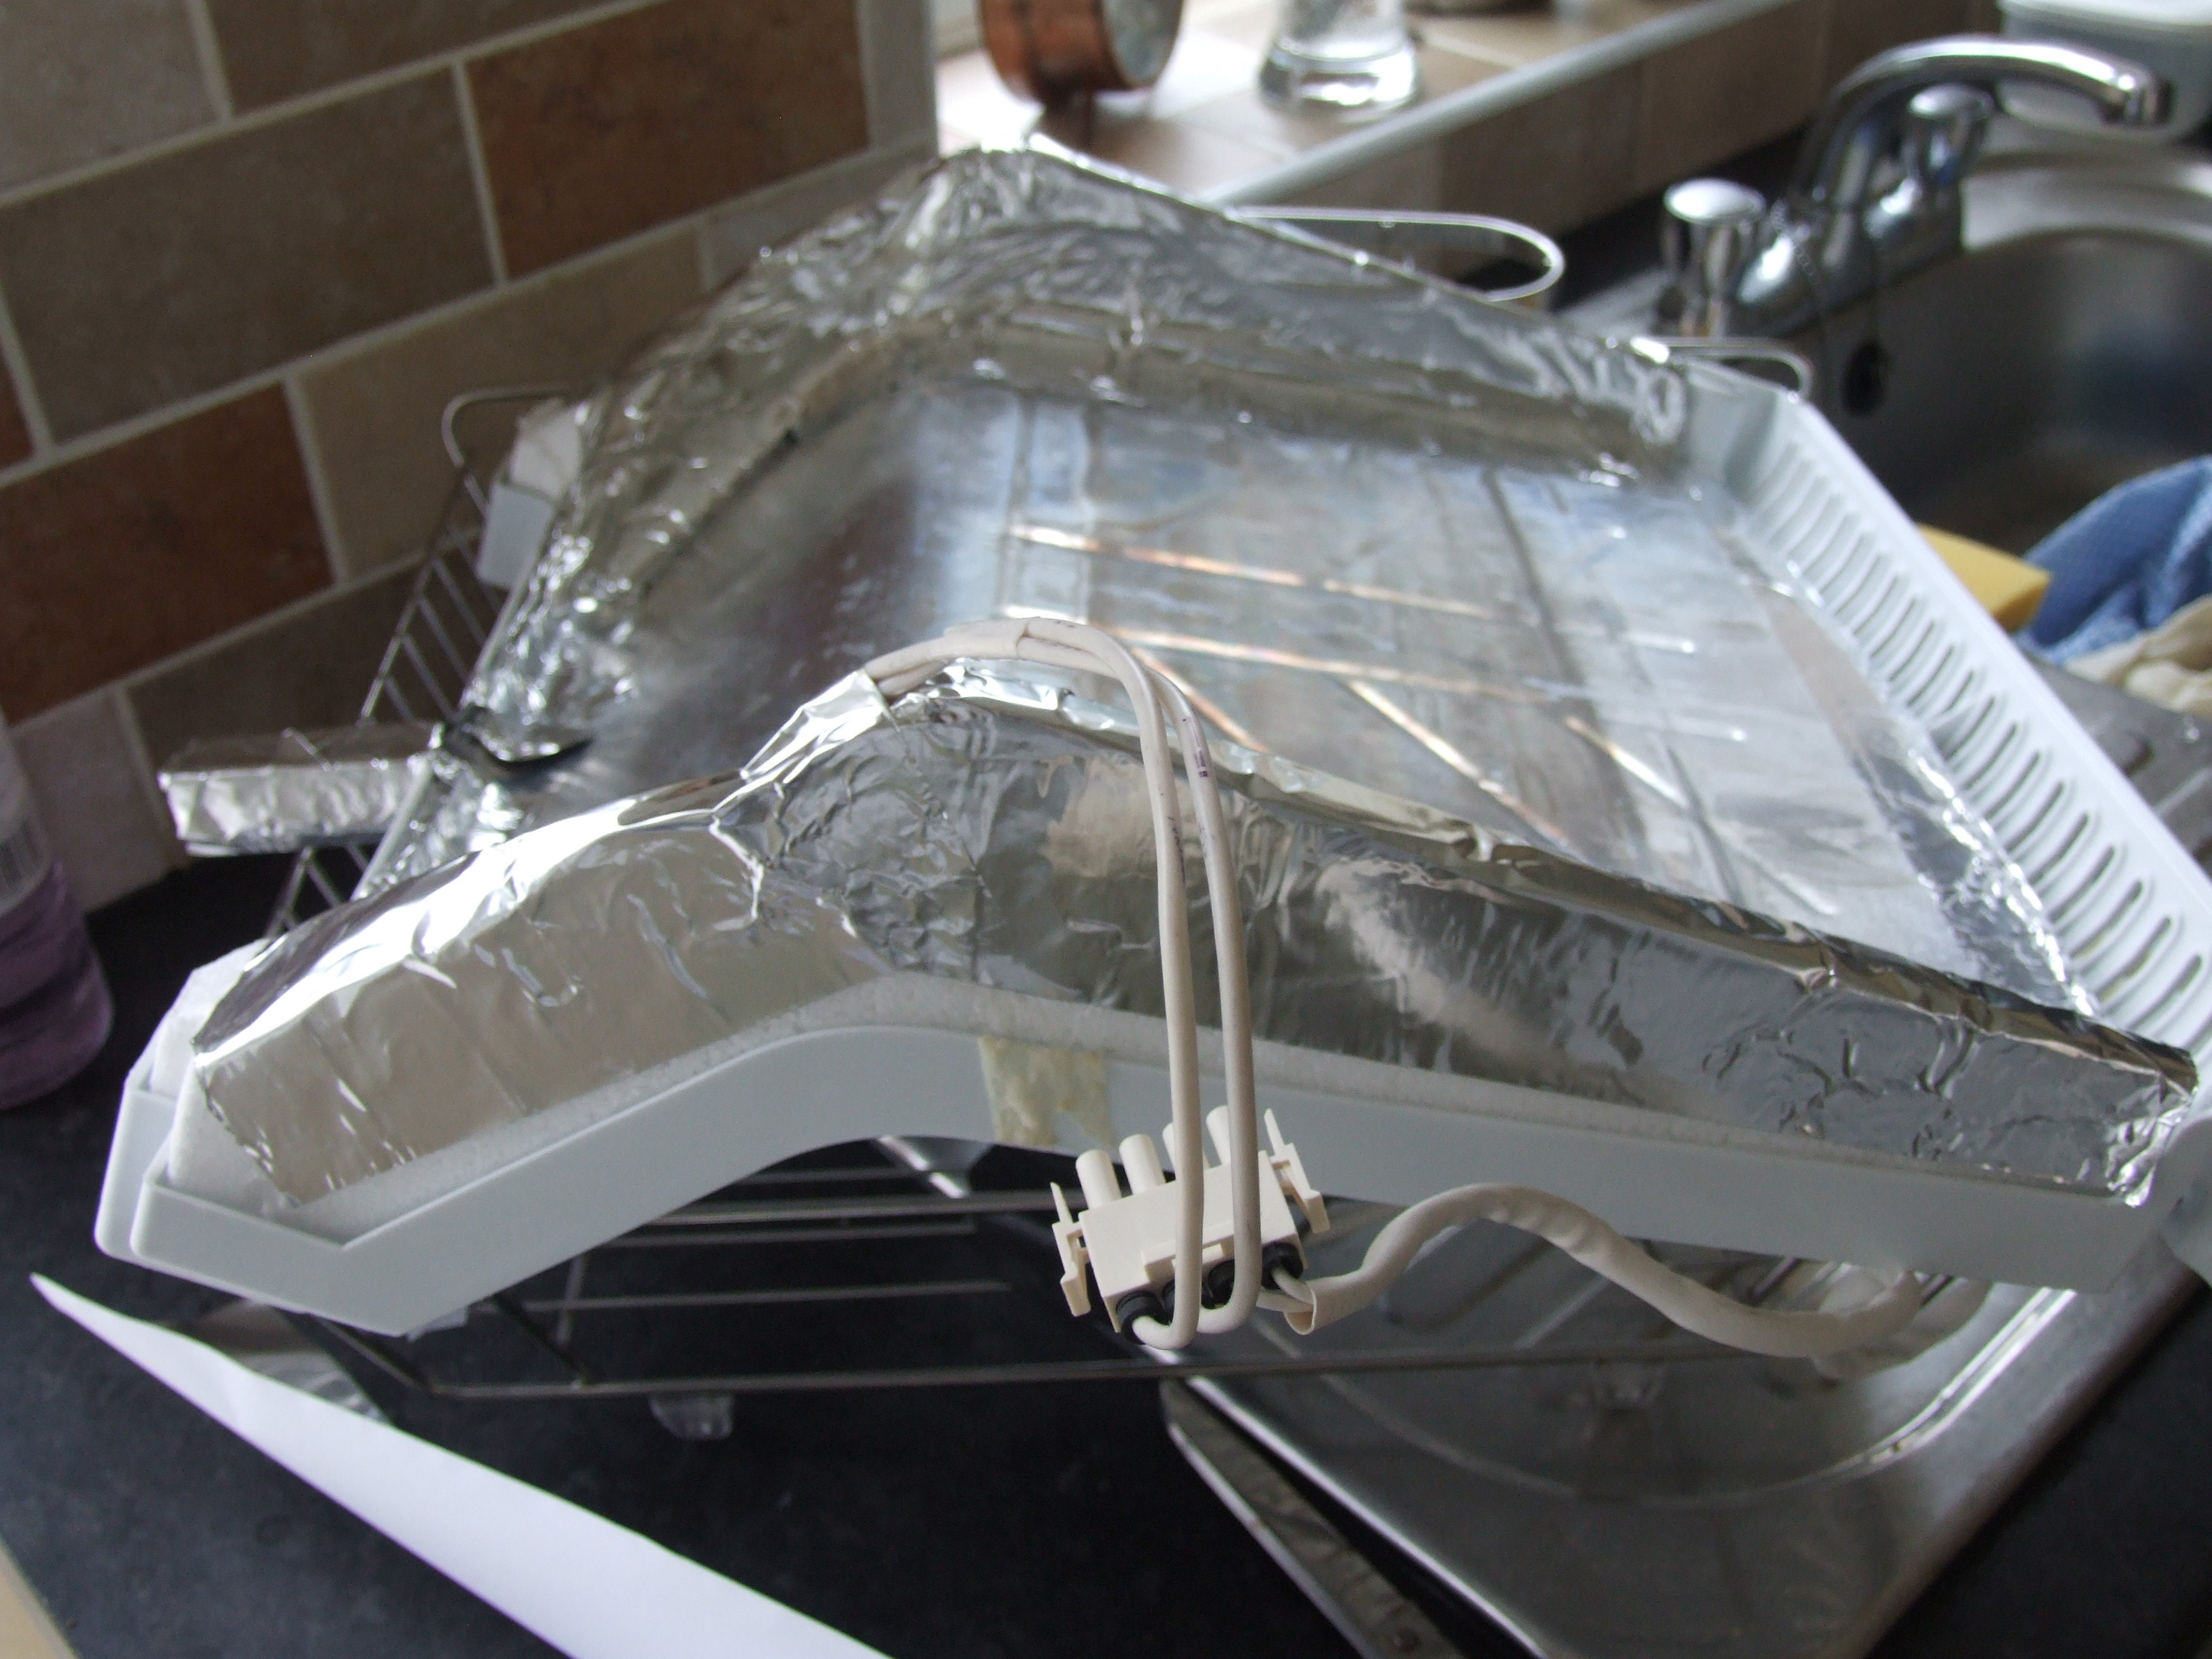
The exif on those pictures is accurate. Time for dinner and bed. In the morning, with great difficulty I took the box of water outside and emptied it (water: 1kgdm^-1; there are a few bucketfuls in there). The polystyrene stank much less. I took it up to the bath and washed it down with detergent. It smelt even less, though that might be the perfume in the detergent. Now, the polystyrene was held to the steel with aluminium tape, which I threw away. Screwfix is just around the corner, and, although it’s a Sunday, this ox has fallen into a pit and I’m going tomorrow. So a little Sunday shopping and we can start taping it all back together:
I taped the exit pipe on (which has a loop of heating element to de-ice it), and had to take it all off again. Then back into the plastic, bend the sheet down to fit, then back up to lock (?!) and tape up everything—the less showing, the less smell, right?
And all back into the freezer. Needless to say nothing would quite fit and it was a wrestling match, but eventually:
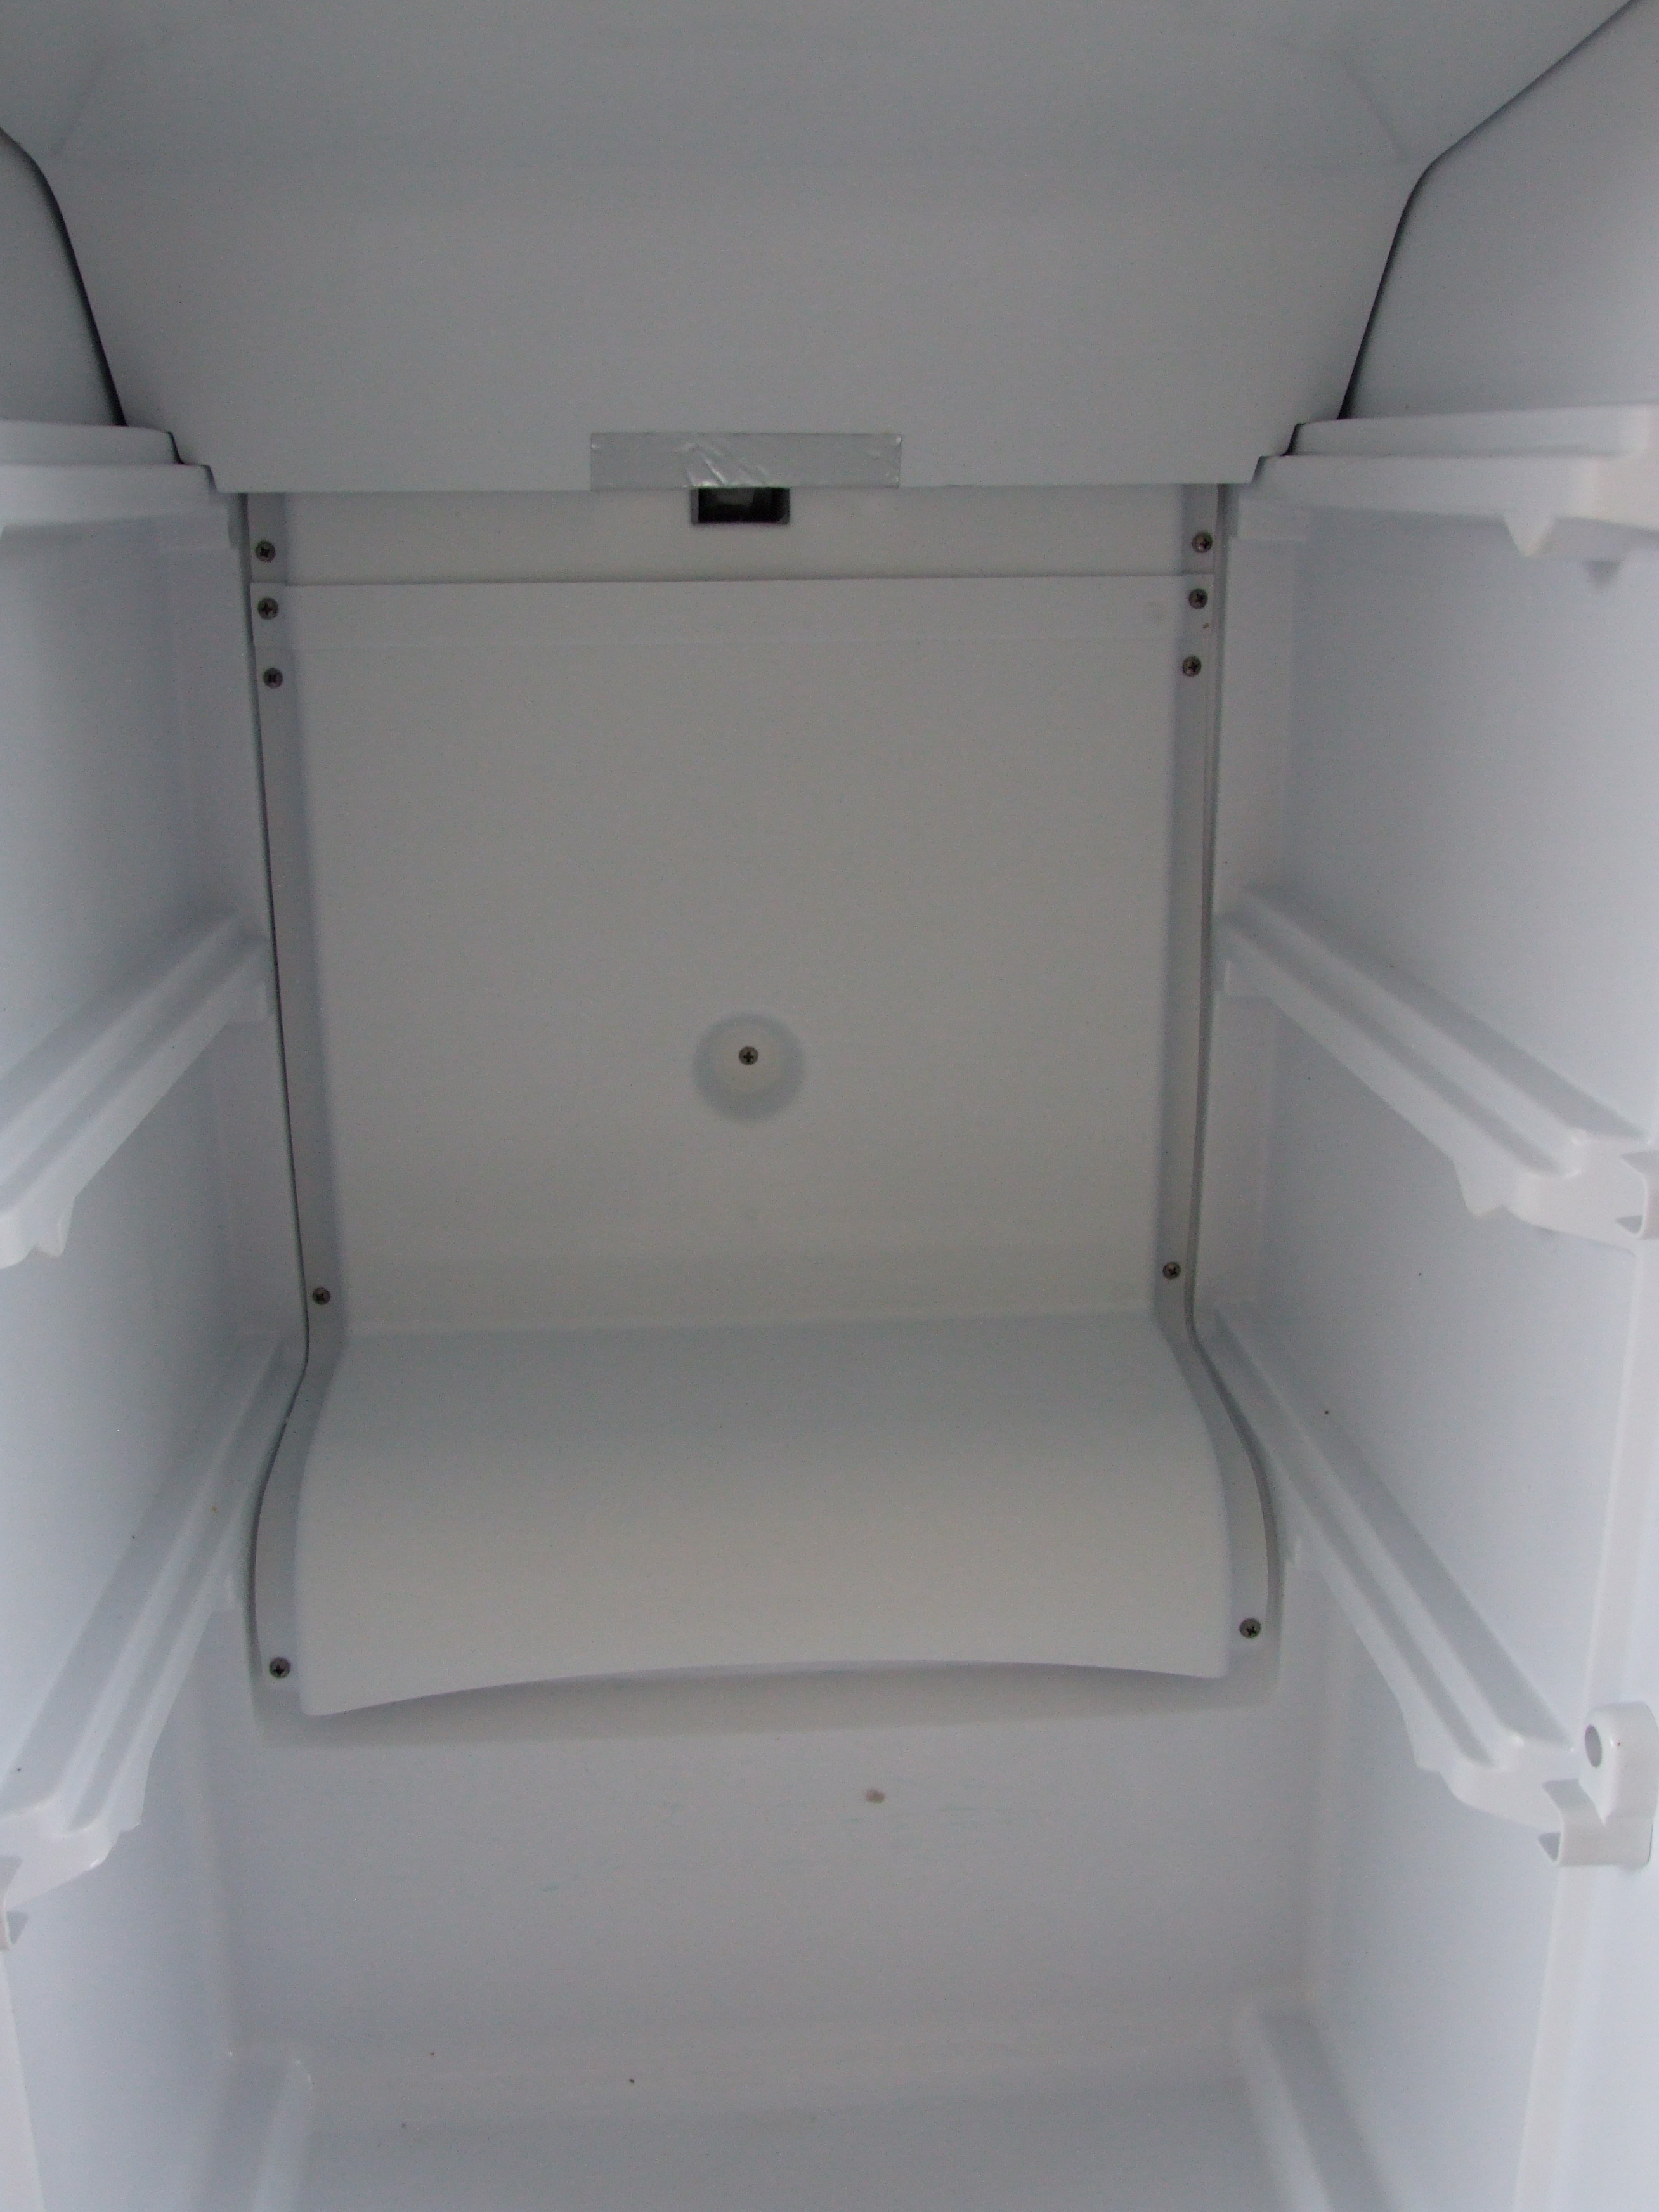
Shelves, draws back in. Turn on. Leave. Result: the air from the cooling fan definitely doesn’t stink any more. The whole thing smells, well, not exactly fragrant, but no worse than a freezer sometimes does. Now to get back to writing.
Since credit added to the prepayment ‘smart’ meter I’m stuck with doesn’t go on until you press a button on the meter. What idiot designed that ‘feature’? “It stops, erm, people maliciously paying each other’s bills!” ↩︎
In fact, the same failure occured over the Christmas holidays, and everything in the freezer was fine. I think the house might have been colder than the freezer normally is… ↩︎
In fact I think the fridge is purely passively cooled from the freezer. ↩︎