About five years ago now I stopped dreaming of a proper bench vice and built one from some old oak kitchen doors I rescued from a skip, an old oak drawer, and long M6 bolts.
Some day if I find the pictures I might write it up as an example of how not to do it: I dovetailed the two runners on in opposite directions and a whole host of other things. Still, it’s a pretty good vice all told except for those M6 bolts. Of course we should use a proper thread designed for clamping, but I’ve now left school so it’s too late to cut one on one of the lathes in the workshop, and have you seen the prices? I thought about replacing it with M10 studding, as used in the bookbinder’s press, but there’s not enough wood on the bottom of the jaws to do it without extending them, and I’ve never got round to it. So I view the screws as expendable and replace them with studding when the thread strips.
Except that up till now I’ve epoxied a pair of locked nuts into the wooden block on the end of the screw, but I don’t think it’ll take another knock-out-and-re-glue cycle. Really, if this is an ’expendable’ it should be easier than that. So when I tried to use the vice and the thread jumped, I put aside whatever I was doing and looked for a block of hardwood. This is old ‘hardwood windowsill’ saved from when they installed double glazing: the cowboys cut it in half, badly, with a blunt pull saw, to make it easier to get out. They were going to throw it, as well…
There was a drawing, but I’ve lost it. The design is simplicity itself: a single nut is hammered into one side of the block to form a captive nut, and a penny washer glued into a recess over it to protect the vice jaws. The studding passes through, and then another nut and washer are tightened down on the other side with a socket. Lots of axial holes (thank goodness for the pillar drill). Also, it’s nice working hardwood—it’s properly dimensioned!
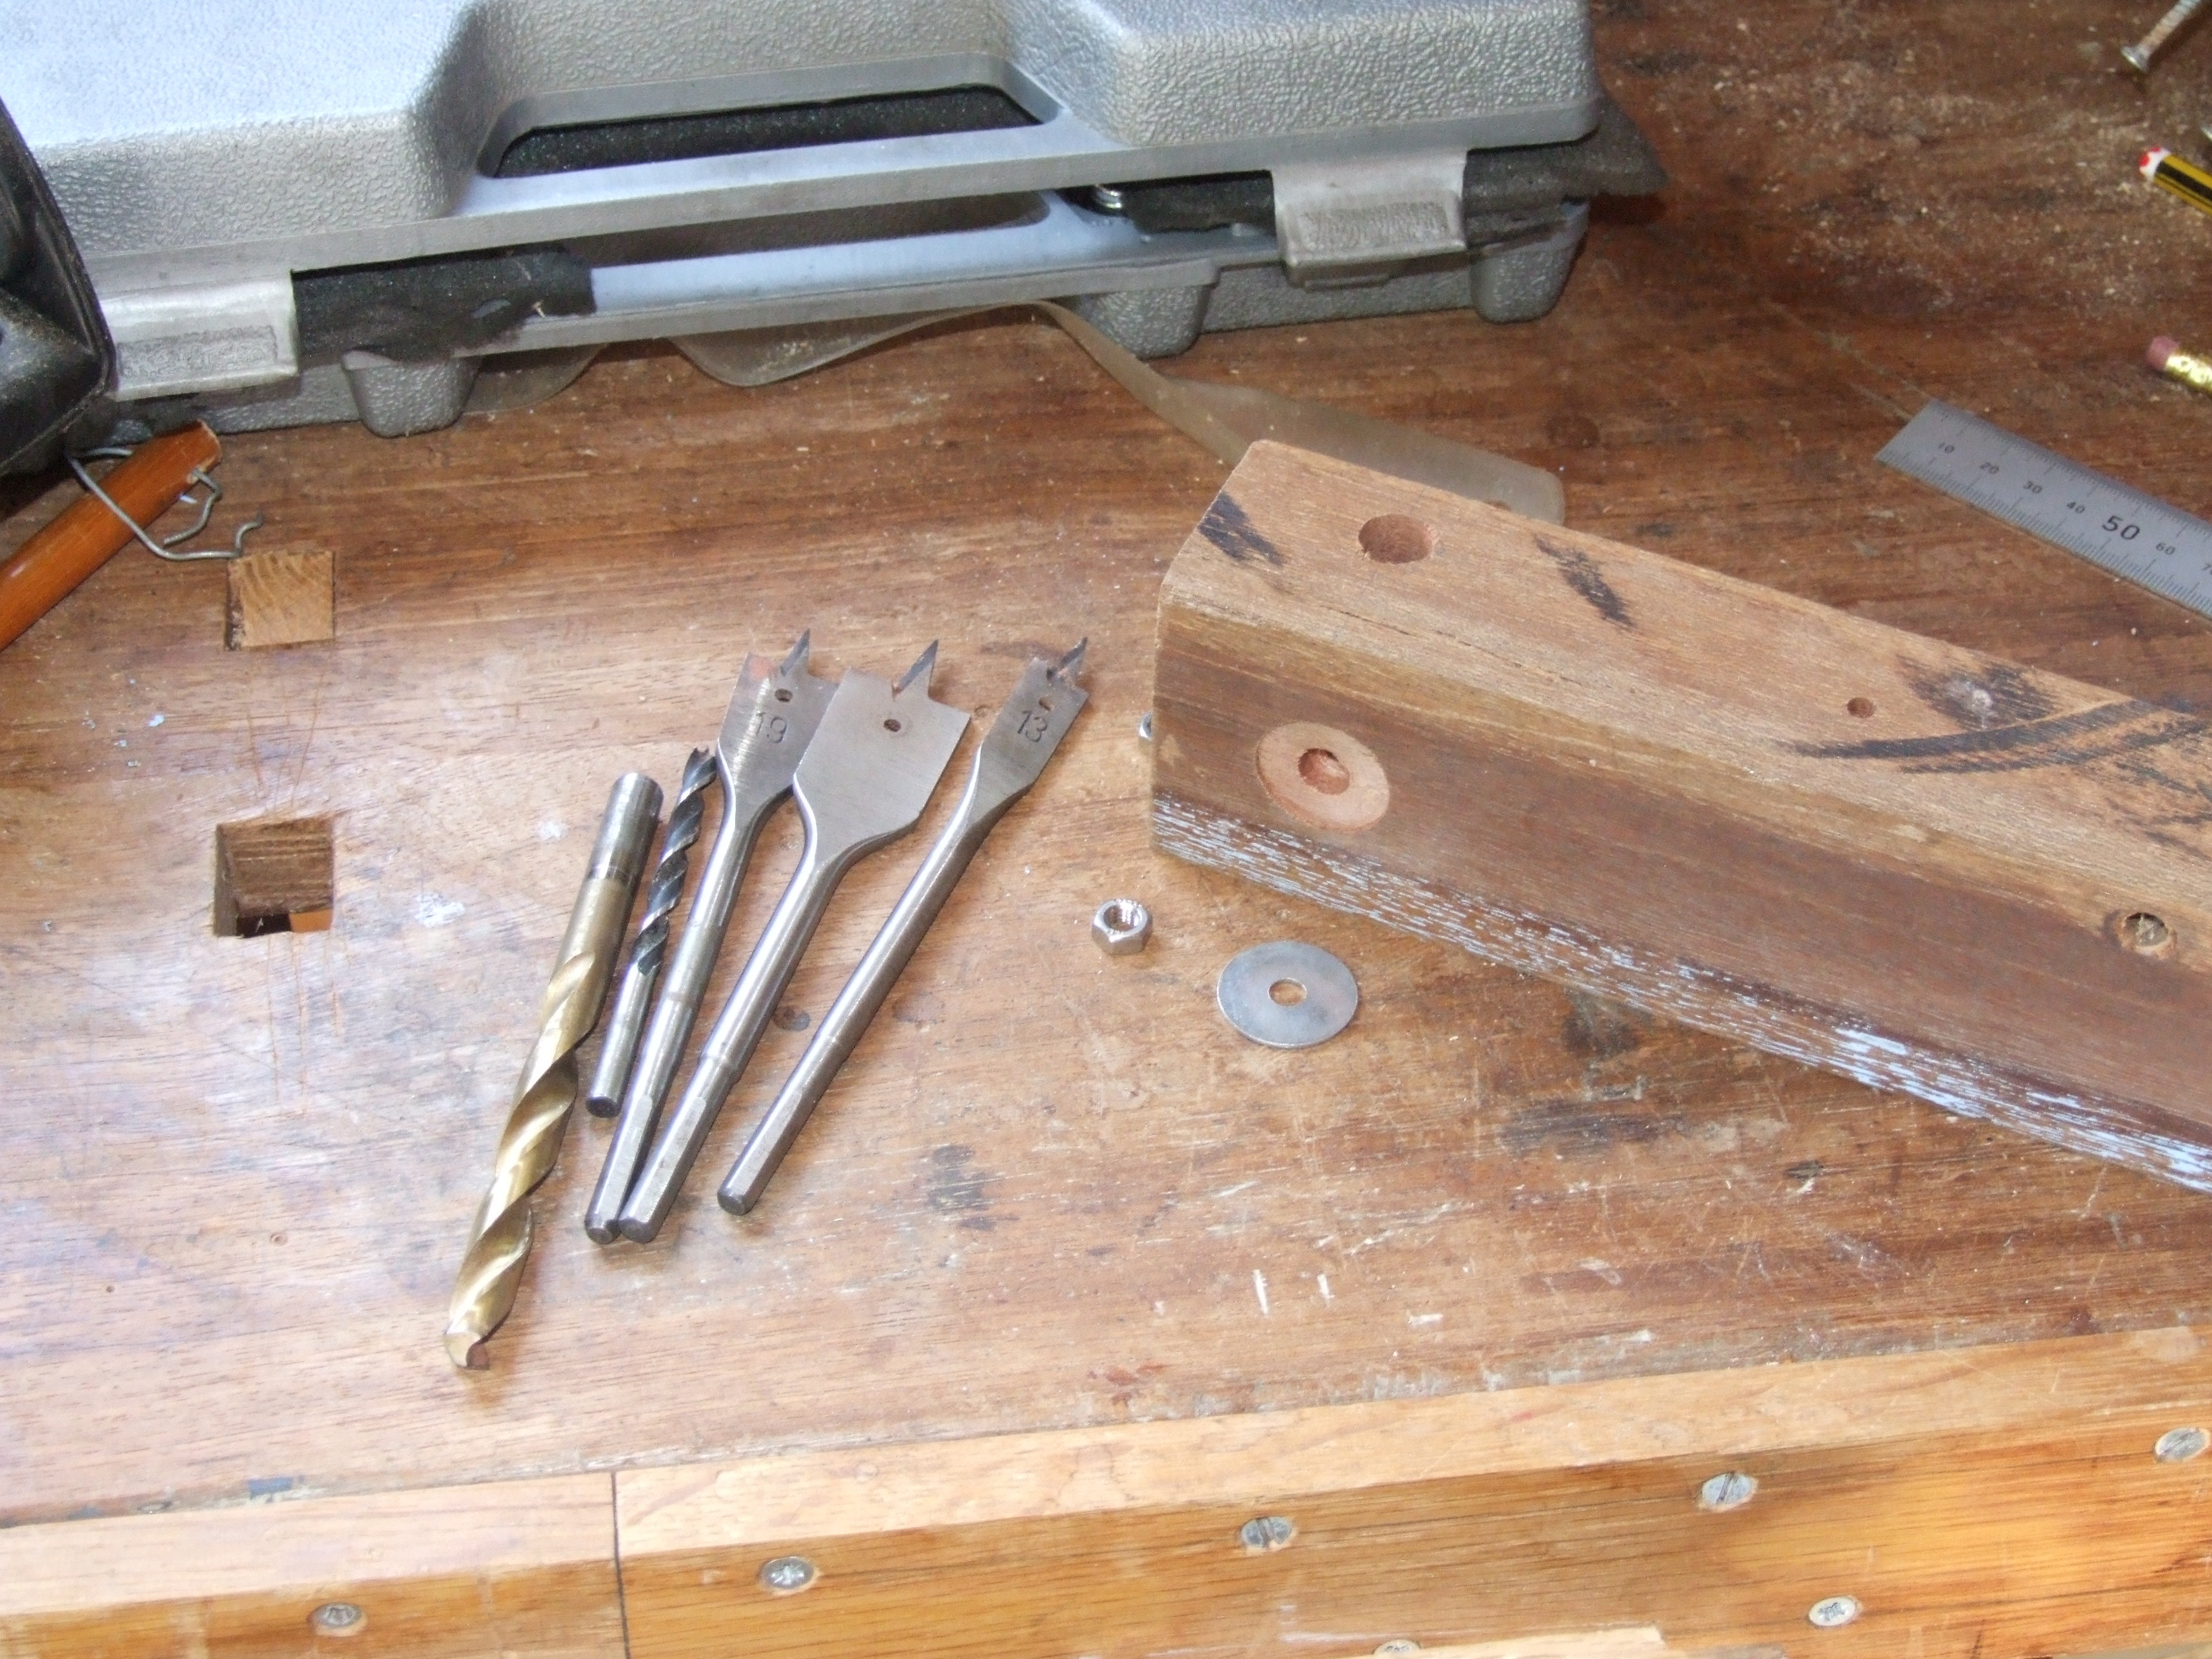
Then the block was cut into a rough hexagon and rounded with a simple jig on the neighbour’s disc sander (recess a bolt through a bit of ply, clamp it to the table and spin the block on it). If you don’t have access to a disk sander make it an accurate hexagon and leave it at that: it’s all æsthetic anyhow.

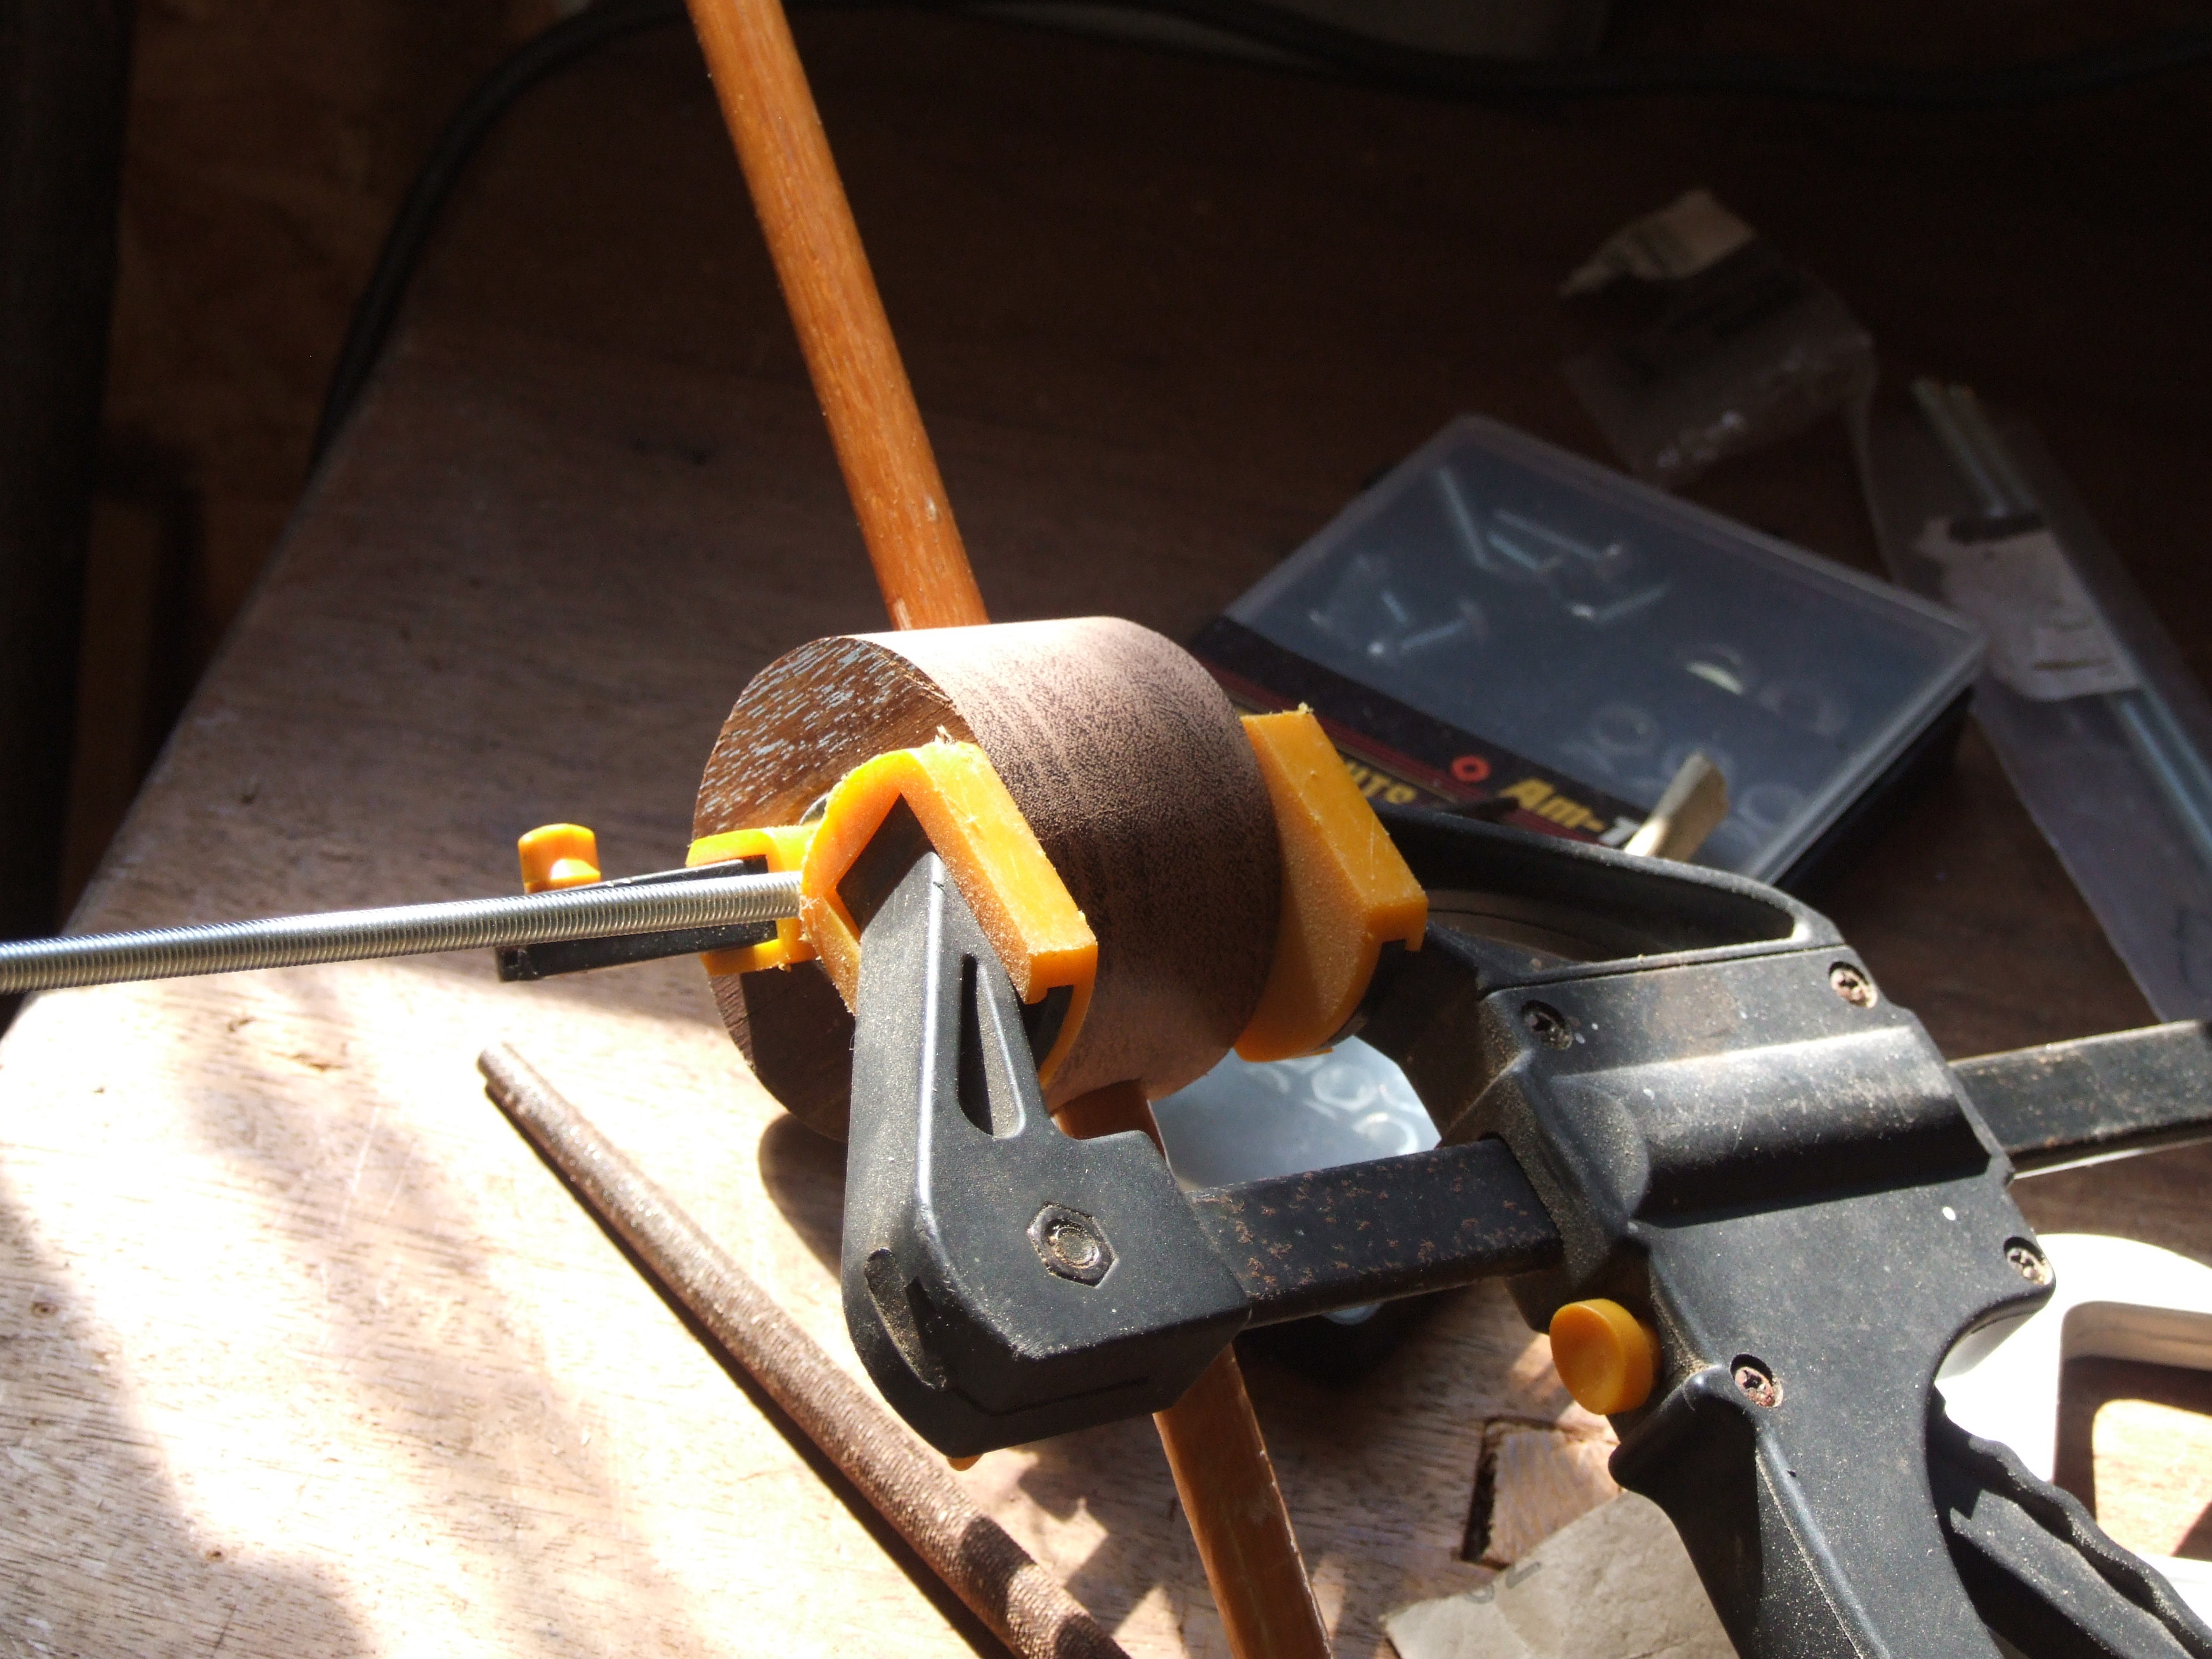
Assembled, and gluing the penny washer in with PVA. This washer really shouldn’t have to do anything, but at least if the nut does come loose it’ll protect whatever’s the other side.
And then (after filing the cross-hole a bit because the internal nut was slightly proud), we can re-assemble:
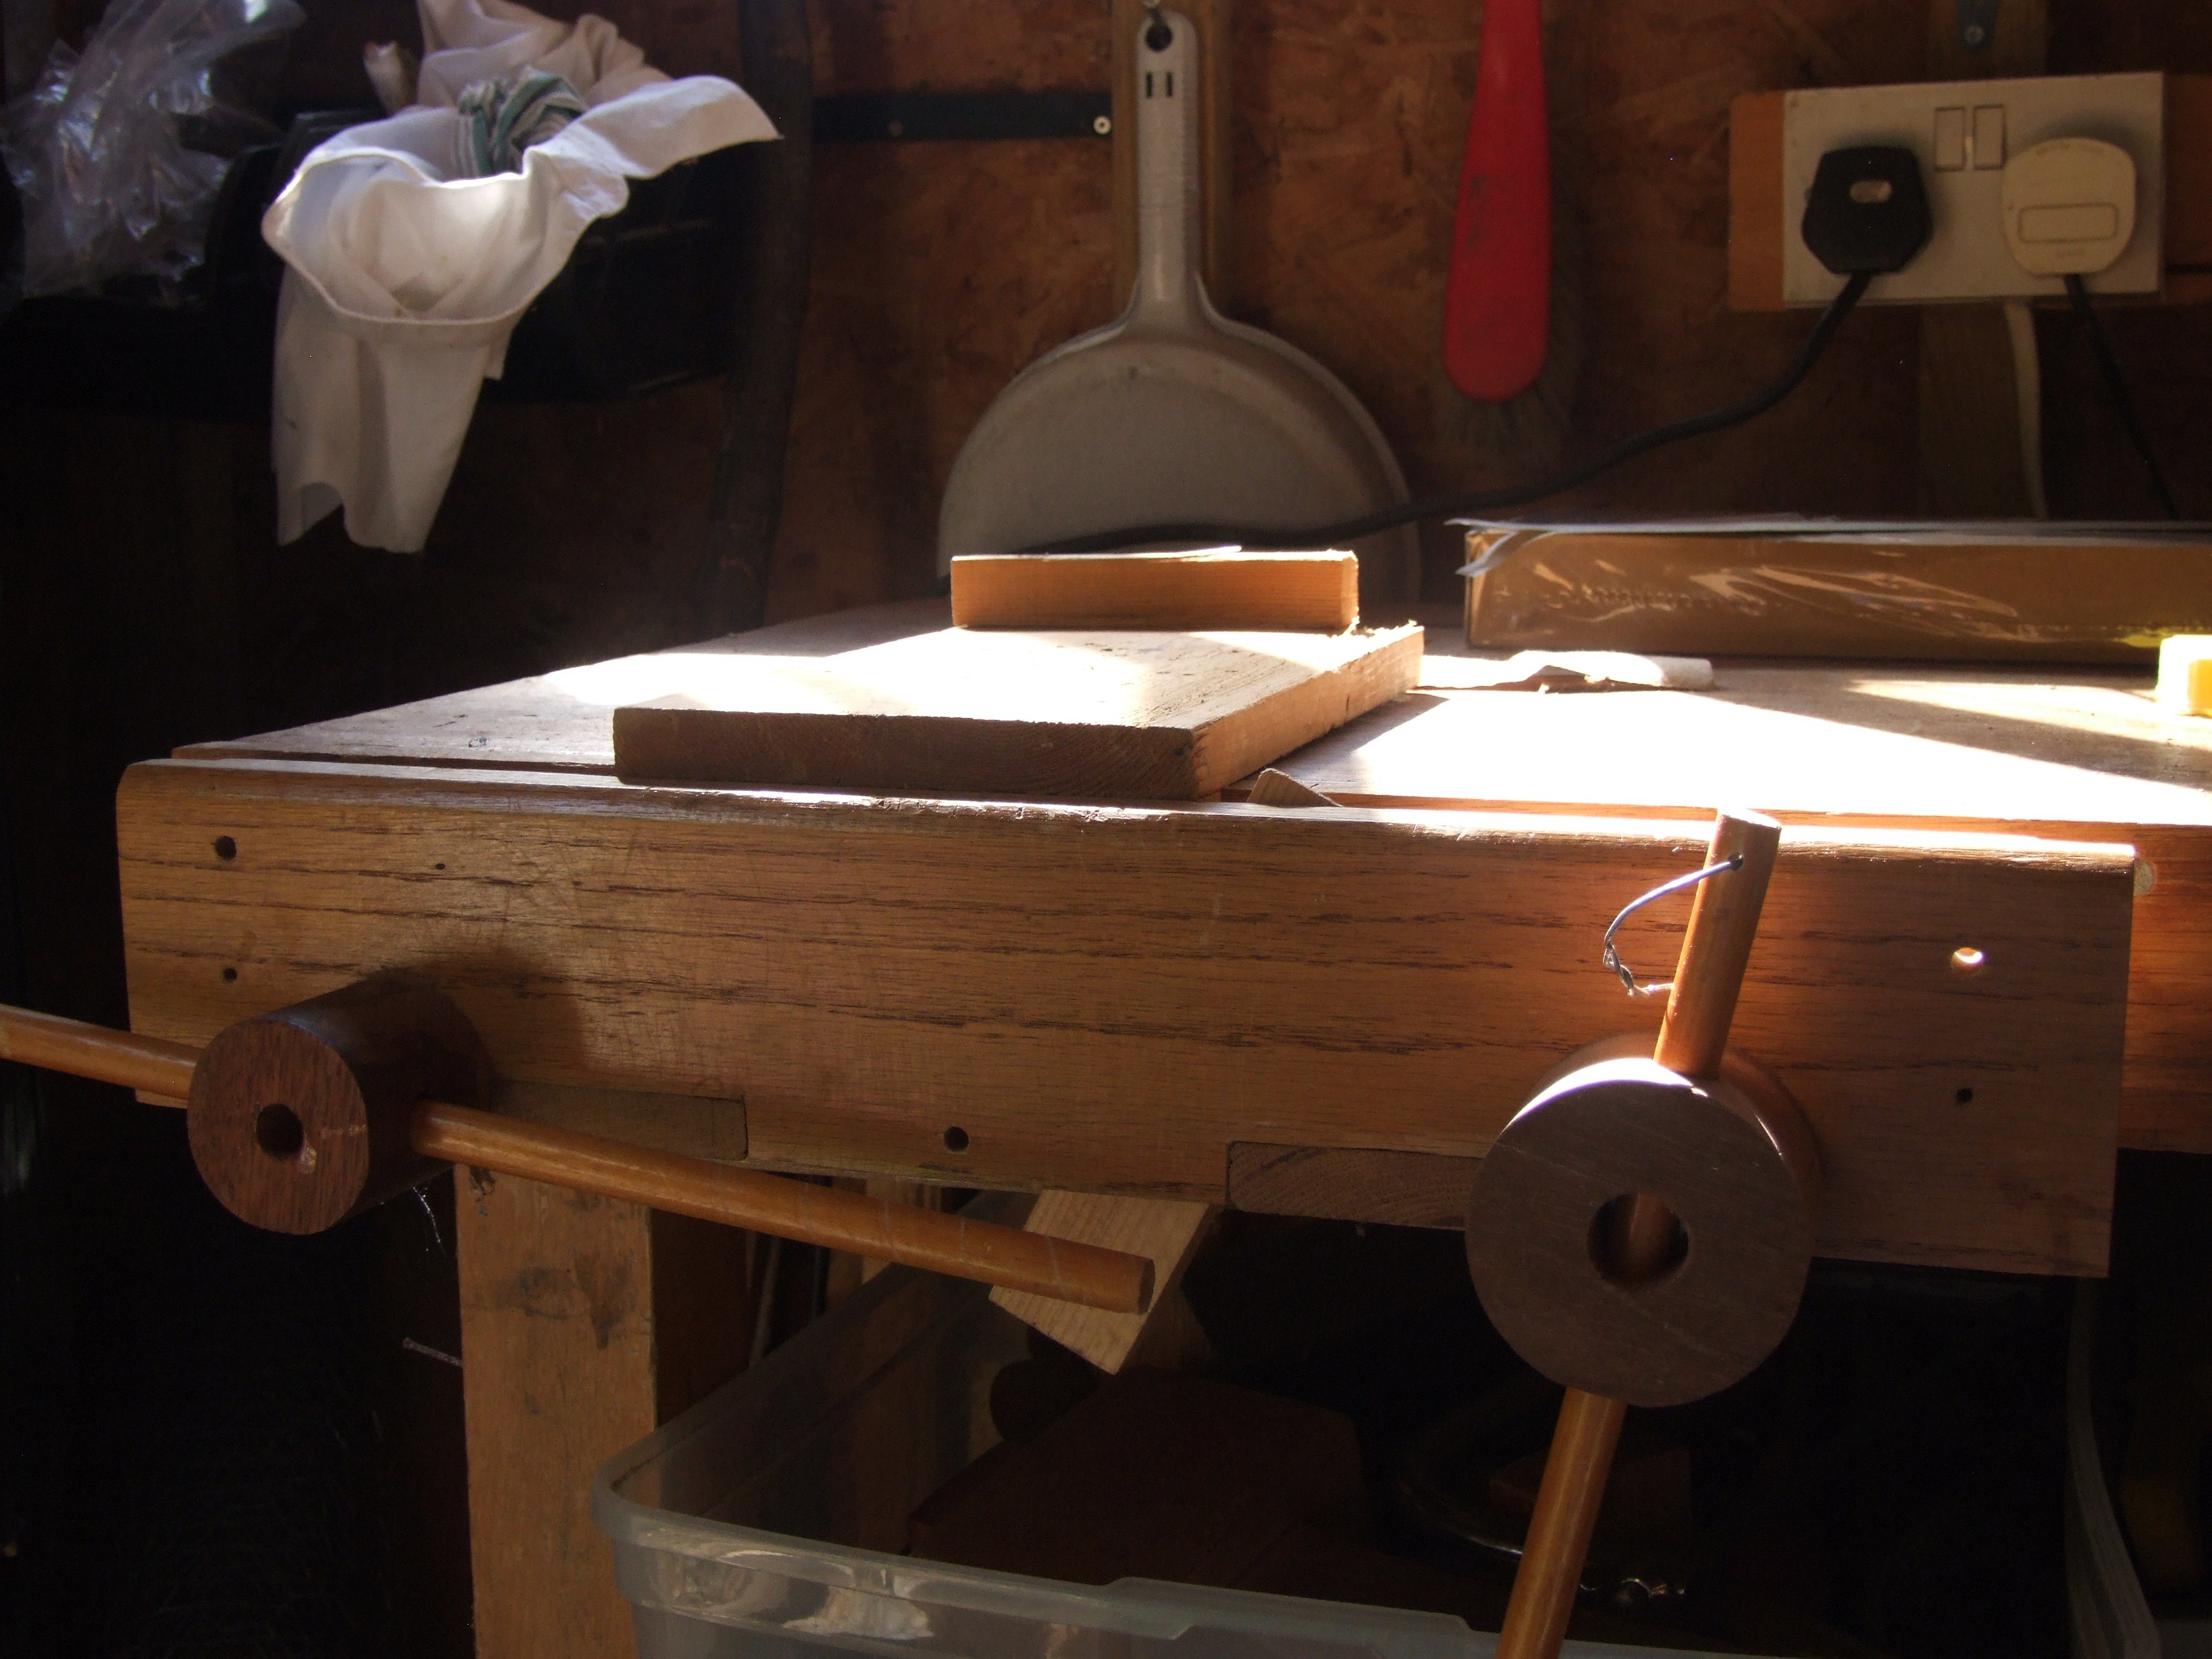
Yes, I need a new bench-hook. And the slot the runners move in, which keeps the jaws parallel, has worn a bit and should probably looked at (hence the wedge to square it all up). But that’s for another day and another post.
Update: the outer captive nut kept undoing at high tensions, driving the studding into the handle. I probably shouldn’t tighten it that much, but it’s annoying, so I bought some loctite (blue), and glued the nut on. We’ll have to see whether it holds, and whether it can be undone next time it needs replacing.